
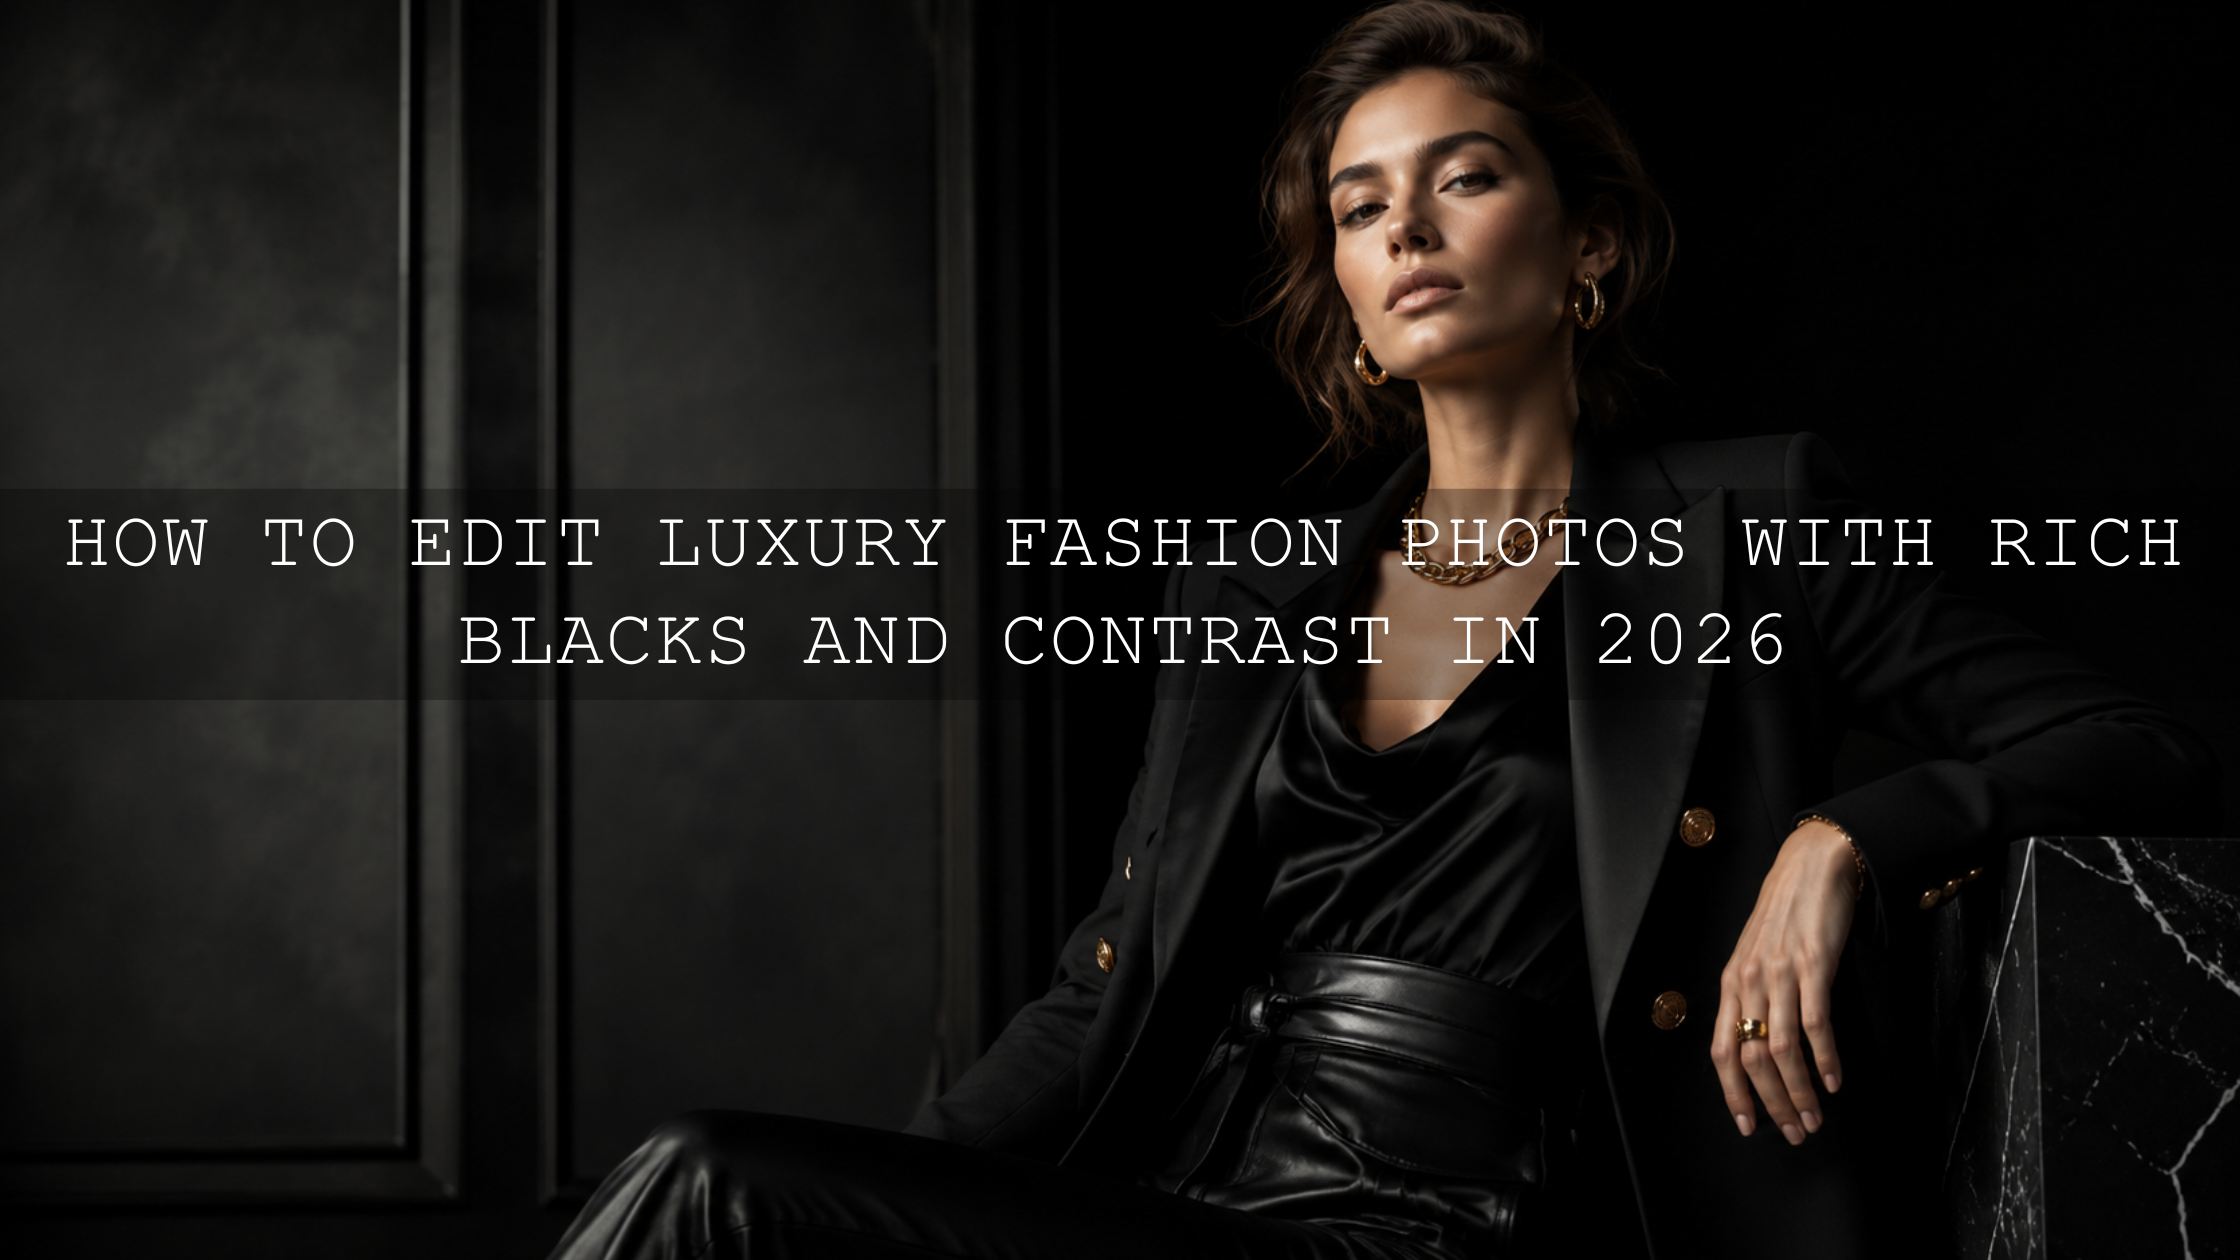
Fix Exposure Before Applying Lightroom Presets in 2026
Fix exposure before applying Lightroom presets if you want cleaner edits, better colors, softer highlights, and more natural-looking results. A preset can add mood, contrast, color grading, film tones, or a cinematic style, but it works best when the original photo already has a balanced light foundation.
Here’s why this matters: presets are not magic repair tools. They are creative starting points. If your photo is too dark, too bright, or missing important highlight and shadow detail, the preset may exaggerate the problem instead of improving the image. A moody preset can crush shadows. A bright preset can blow out skin or skies. A warm preset can make overexposed highlights look orange or washed out.
Before you apply your favorite look, build a strong editing base. If you want a flexible preset collection after your exposure is balanced, explore the 1000+ Master Lightroom Presets Bundle and browse the Lightroom Presets for Lightroom Mobile & Desktop collection. Try these presets today, Buy 3, Get 9 FREE, and use them as creative finishing tools after your light is under control.
Why Exposure Is the Foundation of Every Preset Edit
Exposure controls how light or dark your image appears. In camera, exposure is shaped by aperture, shutter speed, and ISO. In Lightroom, you refine that captured light using tools such as Exposure, Contrast, Highlights, Shadows, Whites, and Blacks.
When I test presets for AAAPresets, I always check exposure first. The same preset can look premium on a well-exposed portrait and harsh on a photo with clipped highlights or muddy shadows. That is not always the preset’s fault. Most of the time, the photo needs a better base correction before the creative style is applied.
Adobe explains that Lightroom’s editing controls help adjust the tonal range of a photo, including Exposure, Contrast, Highlights, Shadows, Whites, and Blacks. You can review Adobe’s official guide to editing photos with Lightroom desktop controls for a deeper look at how these core light adjustments work.
What Happens When You Apply Presets to Bad Exposure
A preset follows instructions. It may lift shadows, darken blacks, warm the white balance, boost contrast, soften highlights, add grain, or change the tone curve. If the photo is already badly exposed, those instructions can push the image too far.
If the Photo Is Too Dark
Underexposed photos usually have shadow detail hidden deep in the left side of the tonal range. When you brighten them after applying a preset, you may see more grain, dull colors, and weak skin tones. Shadows can become muddy instead of detailed.
- Noise becomes more visible: Brightening very dark areas can reveal digital noise, especially in high ISO photos.
- Colors become unstable: Dark areas often hold less clean color information, so strong presets may create strange color shifts.
- Skin can look heavy: Portraits may lose natural softness when shadows are pushed too hard.
- Contrast can feel forced: A dark photo plus a contrast-heavy preset often creates blocked shadows.
If the Photo Is Too Bright
Overexposed photos are even harder to repair because bright detail can be permanently lost. If a sky, white dress, forehead, window, or beach reflection is completely blown out, no preset can bring back detail that was not captured.
- Highlights lose texture: Clouds, dresses, skin, and reflective surfaces can turn flat white.
- Colors look washed out: A bright image may lose richness before the preset is even applied.
- Warm presets become too strong: Golden, film, or sunset presets can make bright highlights look unnatural.
- The edit looks less professional: The viewer notices the technical problem before they feel the mood of the image.
If overexposure is a common issue in your edits, read how to fix overexposed Lightroom preset edits for a more focused troubleshooting workflow.
Use the Histogram Before You Touch Any Preset
The histogram is one of the most useful tools in Lightroom because it gives you an honest view of your photo’s brightness. It shows dark tones on the left, midtones in the center, and bright tones on the right.
Here’s the simple way to read it:
- Stacked left side: The image may be underexposed or too shadow-heavy.
- Stacked right side: The image may be overexposed or highlight-heavy.
- Hard edge on the left: You may be losing shadow detail.
- Hard edge on the right: You may be losing highlight detail.
- Balanced spread: The photo usually has more editing flexibility.
You do not need a perfect histogram for every photo. A dark, moody street image may naturally lean left. A bright snow scene may naturally lean right. The goal is not mathematical perfection. The goal is to protect important detail before the preset changes the tone and color.
For Lightroom Classic users, Adobe notes that the Develop module includes controls for Highlights, Shadows, Whites, Blacks, Exposure, and Contrast in the Basic panel. You can learn more from Adobe’s official page about Lightroom Classic Develop module options.
The Best Pre-Preset Exposure Workflow
Let’s break it down into a simple workflow you can repeat on portraits, weddings, travel photos, product shots, landscapes, drone images, and social media content.
1. Start With the Original Photo, Not the Preset
Before choosing a style, look at the image as a clean photo. Ask yourself: is the subject visible, is the face properly lit, are the highlights controlled, and is there enough detail in the important shadows?
This step saves time because you are not forcing a preset to solve a technical issue. If your photo selection is weak, your editing time becomes longer. For a stronger workflow before editing, you may also like how to organize RAW photos before applying presets.
2. Adjust Overall Exposure First
Use the Exposure slider to set the general brightness of the image. Do not try to create the final mood yet. Your goal is simply to make the photo feel balanced.
- If the image is too dark, lift Exposure slowly.
- If the image is too bright, reduce Exposure carefully.
- Watch the subject first, then check the background.
- Stop before bright areas lose important detail.
Pro tip: For portraits, expose for the face first. A beautiful background does not matter if the skin looks too dark, too bright, or lifeless.
3. Recover Highlights
The Highlights slider helps control bright areas without darkening the entire image too much. This is useful for skies, windows, wedding dresses, white shirts, shiny skin, water reflections, and sunset clouds.
Pull Highlights down when the bright parts feel too strong. Be careful not to drag it too far, because an extreme highlight recovery can make the image look flat or gray.
4. Lift Shadows Carefully
The Shadows slider helps reveal detail in darker parts of the image. This is helpful for hair, dark clothing, indoor backgrounds, trees, foregrounds, and backlit subjects.
Use it with control. If you push Shadows too far, the image may lose depth, contrast, and natural mood. For cinematic edits, you usually want some shadow richness. Do not remove all darkness from the photo.
5. Set Whites and Blacks for Clean Contrast
Whites and Blacks shape the bright and dark endpoints of the image. Think of them as the boundaries of your tonal range.
- Whites: Add clean brightness and sparkle to the image.
- Blacks: Add depth, richness, and contrast.
A common mistake is only adjusting Exposure and ignoring Whites and Blacks. That can make a photo look technically brighter but still dull. Small Whites and Blacks adjustments help the photo feel finished before the preset adds its style.
6. Apply the Preset After the Base Is Balanced
Now apply your Lightroom preset. Because the exposure is already controlled, the preset can focus on what it does best: color, mood, contrast, film tone, style, and consistency.
Adobe describes Lightroom presets as pre-defined settings that apply specific adjustments to photos, including changes such as exposure, contrast, saturation, and color grading. You can read Adobe’s official guide to editing photos with presets in Lightroom for more details.
7. Make Small Final Tweaks
After applying the preset, do a final check. You may still need a small Exposure adjustment, a little Highlight recovery, or a slight Shadow change. This is normal. Presets speed up the creative process, but each photo still deserves a quick personal adjustment.
For a deeper preset correction workflow, read how to master exposure, contrast, and whites to make presets work better.
Presets vs Manual Editing: Which One Should Come First?
Presets and manual editing are not enemies. The best Lightroom workflow uses both. Manual editing builds the technical foundation. Presets add the creative style.
- Manual editing first: Best for fixing exposure, white balance, highlight recovery, shadow detail, cropping, and important corrections.
- Presets second: Best for adding style, mood, tone, film color, warmth, contrast, and consistency.
- Manual editing again: Best for final tweaks after the preset is applied.
Think of manual editing as preparing the canvas and presets as applying the artistic direction. If the canvas is damaged, the style will not sit properly. If the canvas is clean, the style looks intentional.
This is especially important for photographers who edit full galleries. A wedding photographer may apply the same preset across hundreds of images, but every scene has different light. The ceremony, portraits, indoor reception, golden hour couple photos, and dance floor shots all need small exposure adjustments to look consistent.
Real Example: Fixing a Sunset Beach Photo Before a Preset
Imagine a sunset beach photo. The sky has beautiful color, but the people in the foreground are too dark. If you apply a warm golden preset immediately, the sky may become too orange while the people remain muddy.
A better workflow looks like this:
- Check the histogram and notice that shadows are heavy.
- Lift Exposure slightly until the people become more visible.
- Pull Highlights down to protect the sunset sky.
- Raise Shadows carefully to bring back detail in clothing and sand.
- Adjust Whites for clean glow without blowing out the sun.
- Lower Blacks slightly to keep depth in the water and foreground.
- Apply a warm cinematic preset.
- Fine-tune Exposure and White Balance after the preset.
For this kind of image, the AI-Optimized Golden Hour Film Glow Lightroom Presets can work beautifully after the exposure is balanced. The preset can enhance the warm sunset feeling instead of fighting against a dark foreground or blown-out sky.
Real Example: Fixing an Indoor Window Light Portrait
Indoor window light is soft and beautiful, but it can also fool your camera. The window may be bright, while the face falls into shadow. If you apply a bright preset too early, the window can become white and distracting.
Here’s the better order:
- Lower Highlights to control the window area.
- Lift Shadows gently to reveal the face.
- Adjust Exposure until the skin feels natural.
- Use Whites carefully so the background stays clean but not blown out.
- Apply a soft indoor preset.
- Check skin tones and reduce warmth if needed.
The AI-Optimized Soft Window Light Lightroom Presets are a strong match for this type of photo because they are designed for soft indoor light, clean highlights, and natural lifestyle edits.
Real Example: Protecting Skin Tones Before a Portrait Preset
Portraits need extra care because viewers notice skin tone problems quickly. If exposure is too bright, skin can lose texture. If exposure is too dark, skin can look heavy or uneven after the preset adds contrast.
When I test portrait presets, I look at the cheeks, forehead, eyes, and shadow side of the face before judging the color grade. A preset may be beautiful, but if the face is not exposed well, the final edit will still feel off.
- Use Exposure to set the face brightness.
- Use Highlights to protect forehead, nose, and cheek brightness.
- Use Shadows to keep enough detail around hair and clothing.
- Use Whites and Blacks gently so the portrait keeps natural depth.
- Apply the preset and then check skin tone again.
If portraits are a big part of your workflow, try the AI-Optimized Skin Tone Safe Pro Portrait Lightroom Presets after balancing exposure, especially when you want a polished look without pushing skin too far.
Common Exposure Mistakes Before Applying Lightroom Presets
Mistake 1: Applying the Preset First Every Time
This is the most common mistake. Applying a preset first is fast, but it can make you judge the photo incorrectly. You may think the preset is too strong when the real issue is that the original exposure was not ready.
Mistake 2: Using Exposure to Fix Everything
The Exposure slider affects the overall brightness. It is powerful, but it is not the only tool. Highlights, Shadows, Whites, and Blacks give you more control over specific tonal areas.
Mistake 3: Recovering Too Much Detail
Not every shadow needs to be bright. Not every highlight needs to be dark. Good editing keeps mood. A cinematic image often needs contrast, depth, and controlled darkness.
Mistake 4: Ignoring White Balance
Exposure and white balance work together. If a photo is too warm, too cool, too green, or too magenta before the preset, the final color grade may feel unnatural. Balance the light first, then correct color if needed.
Mistake 5: Editing JPEGs Like RAW Files
RAW files usually give you more flexibility for highlight and shadow recovery. JPEGs can still look great, but they may break faster when pushed too hard. Make smaller adjustments if you are working with JPEG photos.
Quick Pre-Preset Checklist
Use this checklist before applying any Lightroom preset:
- Check the histogram for major clipping.
- Set overall brightness with Exposure.
- Recover important bright areas with Highlights.
- Lift useful shadow detail without flattening the image.
- Set Whites for clean brightness.
- Set Blacks for depth and contrast.
- Correct White Balance if the image has a strong color cast.
- Apply the preset.
- Make final small adjustments for the specific photo.
If you want a broader preparation guide, read how to prepare your photos before applying Lightroom presets.
Best Lightroom Preset Types for Properly Exposed Photos
Once your exposure is balanced, you have more creative freedom. Different preset styles work better for different lighting situations.
- Golden hour presets: Best for sunset, sunrise, travel, couples, weddings, and warm outdoor portraits.
- Soft window light presets: Best for indoor portraits, lifestyle content, workspace photos, and clean product images.
- Cinematic movie look presets: Best for street, travel, portraits, fashion, and moody storytelling images.
- Skin tone safe portrait presets: Best for portraits where natural skin is more important than extreme color grading.
- AI-optimized presets: Best for creators who want faster editing while still making small personal adjustments.
For creators who want more style options in one place, browse the AI-Optimized Lightroom Presets for Mobile and Desktop collection. A balanced exposure gives these looks a much better chance to perform consistently across different cameras, lighting conditions, and subjects.
Related Reading
- How to organize RAW photos before applying presets
- How to fix overexposure in Lightroom preset edits
- Master exposure, contrast, and whites to make presets work better
- How to prepare photos before applying Lightroom presets
Final Takeaway: Foundation First, Preset Second
The best preset edits usually start before the preset is applied. When you fix exposure before applying Lightroom presets, your edits look cleaner, your colors behave better, and your final image feels more professional. You are not just clicking a style. You are preparing the light so the style can work properly.
Use Lightroom’s histogram, Exposure, Highlights, Shadows, Whites, and Blacks as your foundation tools. Then apply the preset as the creative layer. This simple order can improve portraits, weddings, travel photos, landscapes, product shots, and everyday social media content.
Ready to build a faster and more consistent editing workflow? Start with the 1000+ Master Lightroom Presets Bundle, try warm outdoor looks like AI-Optimized Golden Hour Film Glow Lightroom Presets, and explore more styles in the Lightroom Presets for Lightroom Mobile & Desktop collection. Build your toolkit today with Buy 3, Get 9 FREE, and let each preset enhance a photo that already has strong light.
FAQ
Should I fix exposure before or after applying Lightroom presets?
Fix the main exposure before applying a preset, then make small final adjustments after the preset. This gives the preset a cleaner foundation and helps prevent blown highlights, crushed shadows, and unnatural colors.
Can a Lightroom preset fix a badly exposed photo?
A preset can improve the style of a photo, but it cannot fully repair missing highlight or shadow detail. If the image is badly overexposed or extremely underexposed, fix the exposure first before choosing a creative preset.
Which Lightroom sliders should I adjust before applying presets?
Start with Exposure, Highlights, Shadows, Whites, and Blacks. These sliders help balance overall brightness, recover important detail, and create a stronger tonal range before the preset adds style.
Why do my presets make photos too bright or too dark?
Your original photo may already be close to overexposed or underexposed. When the preset adds its own tone, contrast, or brightness adjustments, it can push the image too far. Balance exposure first, then apply the preset.
Do presets work better on RAW photos?
Yes, RAW photos usually give you more flexibility for exposure, highlight recovery, shadow detail, and white balance corrections. JPEG photos can still work, but they need gentler adjustments.
Written by Asanka — creator of AAAPresets (10,000+ customers).

Leave a comment
This site is protected by hCaptcha and the hCaptcha Privacy Policy and Terms of Service apply.