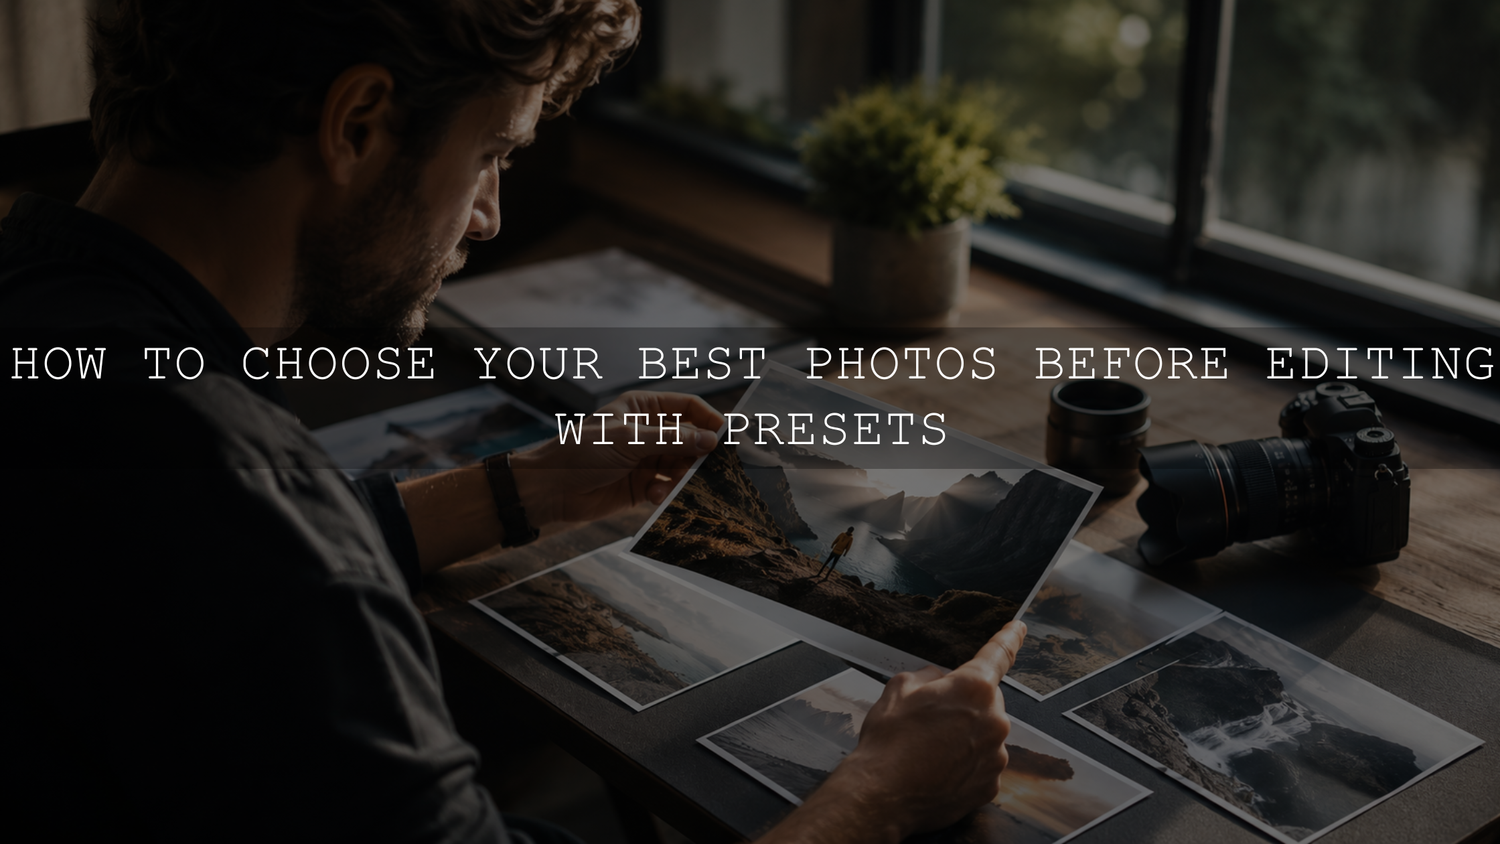
How to Choose Your Best Photos Before Editing With Presets
Choosing your best photos before editing is one of the most important steps in a clean Lightroom workflow. Before you apply presets, adjust exposure, fix skin tones, or start color grading, you need to decide which images truly deserve your time. A strong photo selection workflow helps you avoid weak shots, edit faster, and create a final gallery that feels polished, emotional, and consistent.
Here’s why this matters: presets work best when the original photo already has a strong foundation. Good light, sharp focus, balanced exposure, and a clear subject give your edits more control. If the photo is badly missed, no preset can fully save it without making the final result look forced.
If you want a faster creative starting point after selecting your best images, explore the 1000+ Master Lightroom Presets Bundle and browse the Lightroom Presets for Lightroom Mobile & Desktop collection. Try these presets today — Buy 3, Get 9 FREE — and use them to build a consistent editing style from your strongest photos.
Why Photo Selection Is More Than Just Deleting Bad Photos
Many photographers think photo selection is only about removing blurry images. That is part of it, but a professional selection process goes much deeper. You are not only choosing technically clean photos. You are choosing the images that tell the strongest story.
After a portrait session, wedding shoot, travel day, birthday party, or product shoot, it is tempting to edit almost everything. You may feel attached to the moment because you were there. But the viewer only sees the final image. They do not know how hard you worked, how beautiful the location felt, or how many photos you captured. They only react to what is in front of them.
A strong selection process helps you:
- Save editing time by removing weak images before you start detailed adjustments.
- Create a cleaner gallery with fewer repetitive or distracting shots.
- Improve preset results because presets respond better to well-exposed and well-composed images.
- Protect your creative energy by focusing on images that already have potential.
- Build a stronger portfolio that shows only your best visual work.
I have tested this workflow on portrait and lifestyle images where the difference was clear: the strongest selects needed only a preset, minor exposure correction, and small color refinements. The weaker images took far longer and still did not feel as professional.
Start With a Fast First Pass
The first stage is not about perfection. It is about removing the obvious rejects quickly. This is where you clear the visual noise so your best photos become easier to see.
Remove Technical Mistakes First
Start by rejecting images with serious technical issues. These include photos that are badly out of focus, heavily underexposed, overexposed beyond recovery, awkwardly cropped, or filled with distracting motion blur. A slightly imperfect image can still be useful, but a photo with no recoverable detail or no clear subject usually wastes editing time.
In Lightroom Classic, you can use flags, star ratings, and color labels to sort images faster. Adobe explains how these tools work in its guide to flagging, labeling, and rating photos in Lightroom Classic.
Pro tip: do not zoom into every image during the first pass. Look for big problems first. If the photo immediately feels weak, reject it and move on. You can review the stronger images more carefully later.
Use the Gut Reaction Test
Your first reaction matters. If a photo makes you pause, it probably has something worth exploring. If it feels flat, awkward, or forgettable at first glance, it may not deserve detailed editing.
This does not mean you should only keep perfect photos. Sometimes a slightly soft candid moment has more emotion than a technically perfect pose. But the image should still have a reason to exist. Ask yourself: does this photo make me feel something, show something clearly, or support the story of the shoot?
Build a Stronger Second Pass With Ratings
After the first pass, you should have a smaller group of possible keepers. Now it is time to slow down and judge each image with more intention.
Look for Light, Focus, Expression, and Composition
A good preset-ready photo usually has four key strengths:
- Good light: soft natural light, controlled highlights, or dramatic light that supports the mood.
- Clear focus: the important subject, especially the eyes in portraits, should be sharp enough.
- Strong expression or moment: the image should feel natural, emotional, or visually interesting.
- Clean composition: the subject should stand out without too many distractions.
Here’s why this matters: presets can enhance color, contrast, warmth, mood, and style, but they cannot fully fix a photo that has no clear subject or no emotional pull. When you start with better images, your edits look more natural and premium.
Compare Similar Photos Side by Side
One of the hardest parts of photo selection is choosing between similar shots. Maybe you have five photos of the same pose, three versions of the same landscape, or ten frames from one candid moment. Do not keep all of them unless each image adds something different.
Use side-by-side comparison to choose the strongest version. Look for the best expression, sharpest focus, cleanest background, most flattering light, and strongest body language. Adobe’s guide to Compare view and Survey view in Lightroom Classic is useful for this stage because it helps you review similar images more clearly.
Pro tip: when two photos are almost identical, pick one. A tighter final gallery often feels more professional than a large gallery filled with repeated frames.
Presets vs Manual Editing: What Should Come First?
Presets and manual editing are both important, but they should not fight each other. A preset gives you a creative direction. Manual editing gives you control. The best workflow uses both in the right order.
When Presets Help Most
Presets are ideal when you already have a strong photo and want to apply a consistent mood quickly. For example, a golden-hour portrait with good exposure can become warm, cinematic, and polished with the right preset. A clean travel photo can become richer and more film-like without starting from zero.
This is where a flexible pack like the 1000+ Master Lightroom Presets Bundle can help because you can test different styles across portraits, landscapes, travel photos, weddings, and lifestyle images.
When Manual Editing Matters More
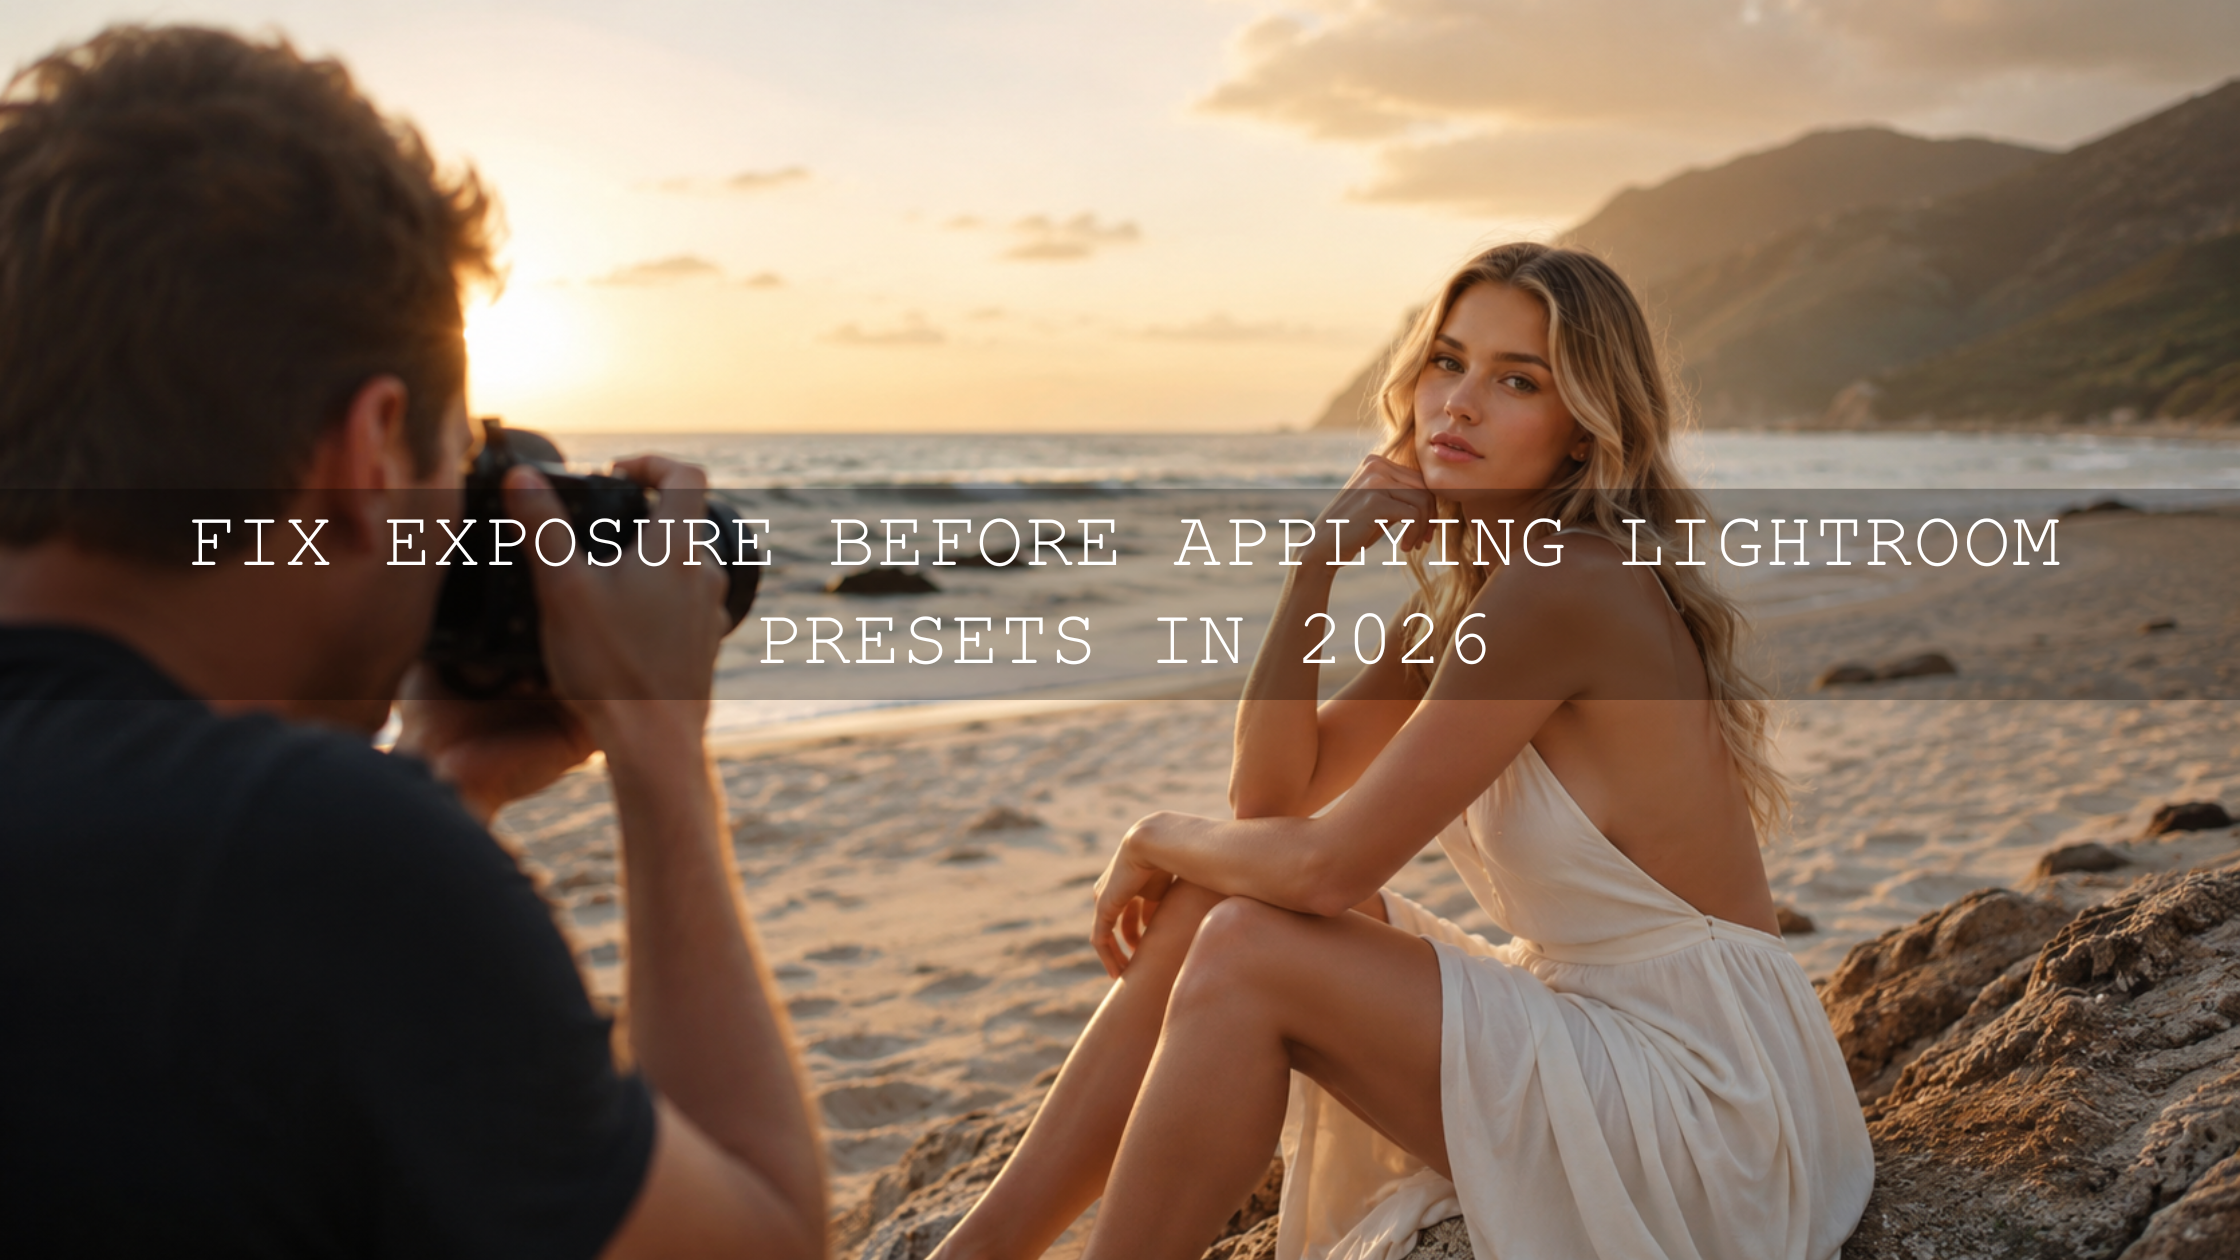
Manual editing matters when the photo needs basic correction before the preset. Exposure, white balance, cropping, lens corrections, and subject brightness often need small adjustments first. If the base image is too dark, too orange, or too flat, the preset may exaggerate the problem.
A smart workflow looks like this:
- Choose your strongest photos.
- Correct exposure and white balance if needed.
- Apply the preset that matches the image mood.
- Refine contrast, highlights, shadows, and color intensity.
- Use masking only where the image needs local control.
For portraits, a product such as AI Optimized Portrait Lightroom Presets works best when the face is already sharp, the lighting is usable, and skin tones are not heavily damaged by mixed lighting.
Create a Final Gallery That Feels Cohesive
Once you have your top-rated images, review them as a full set. A single good image is valuable, but a strong gallery should feel connected. The colors, mood, pacing, and subject variety should work together.
Check for Repetition
Repetition is one of the easiest ways to weaken a gallery. If you include too many similar images, the viewer may stop paying attention. Keep the best version of each moment and remove the rest unless they serve a clear purpose.
For example, in a family session, you might keep one wide group shot, one close emotional moment, one candid laugh, and one detail photo. That creates variety. Keeping ten nearly identical group shots makes the gallery feel heavy.
Think About Story Flow
A good gallery should feel like a journey. Start with strong opening images, move through details and emotional moments, then end with a memorable final shot. This matters for wedding galleries, travel stories, brand shoots, and even social media carousels.
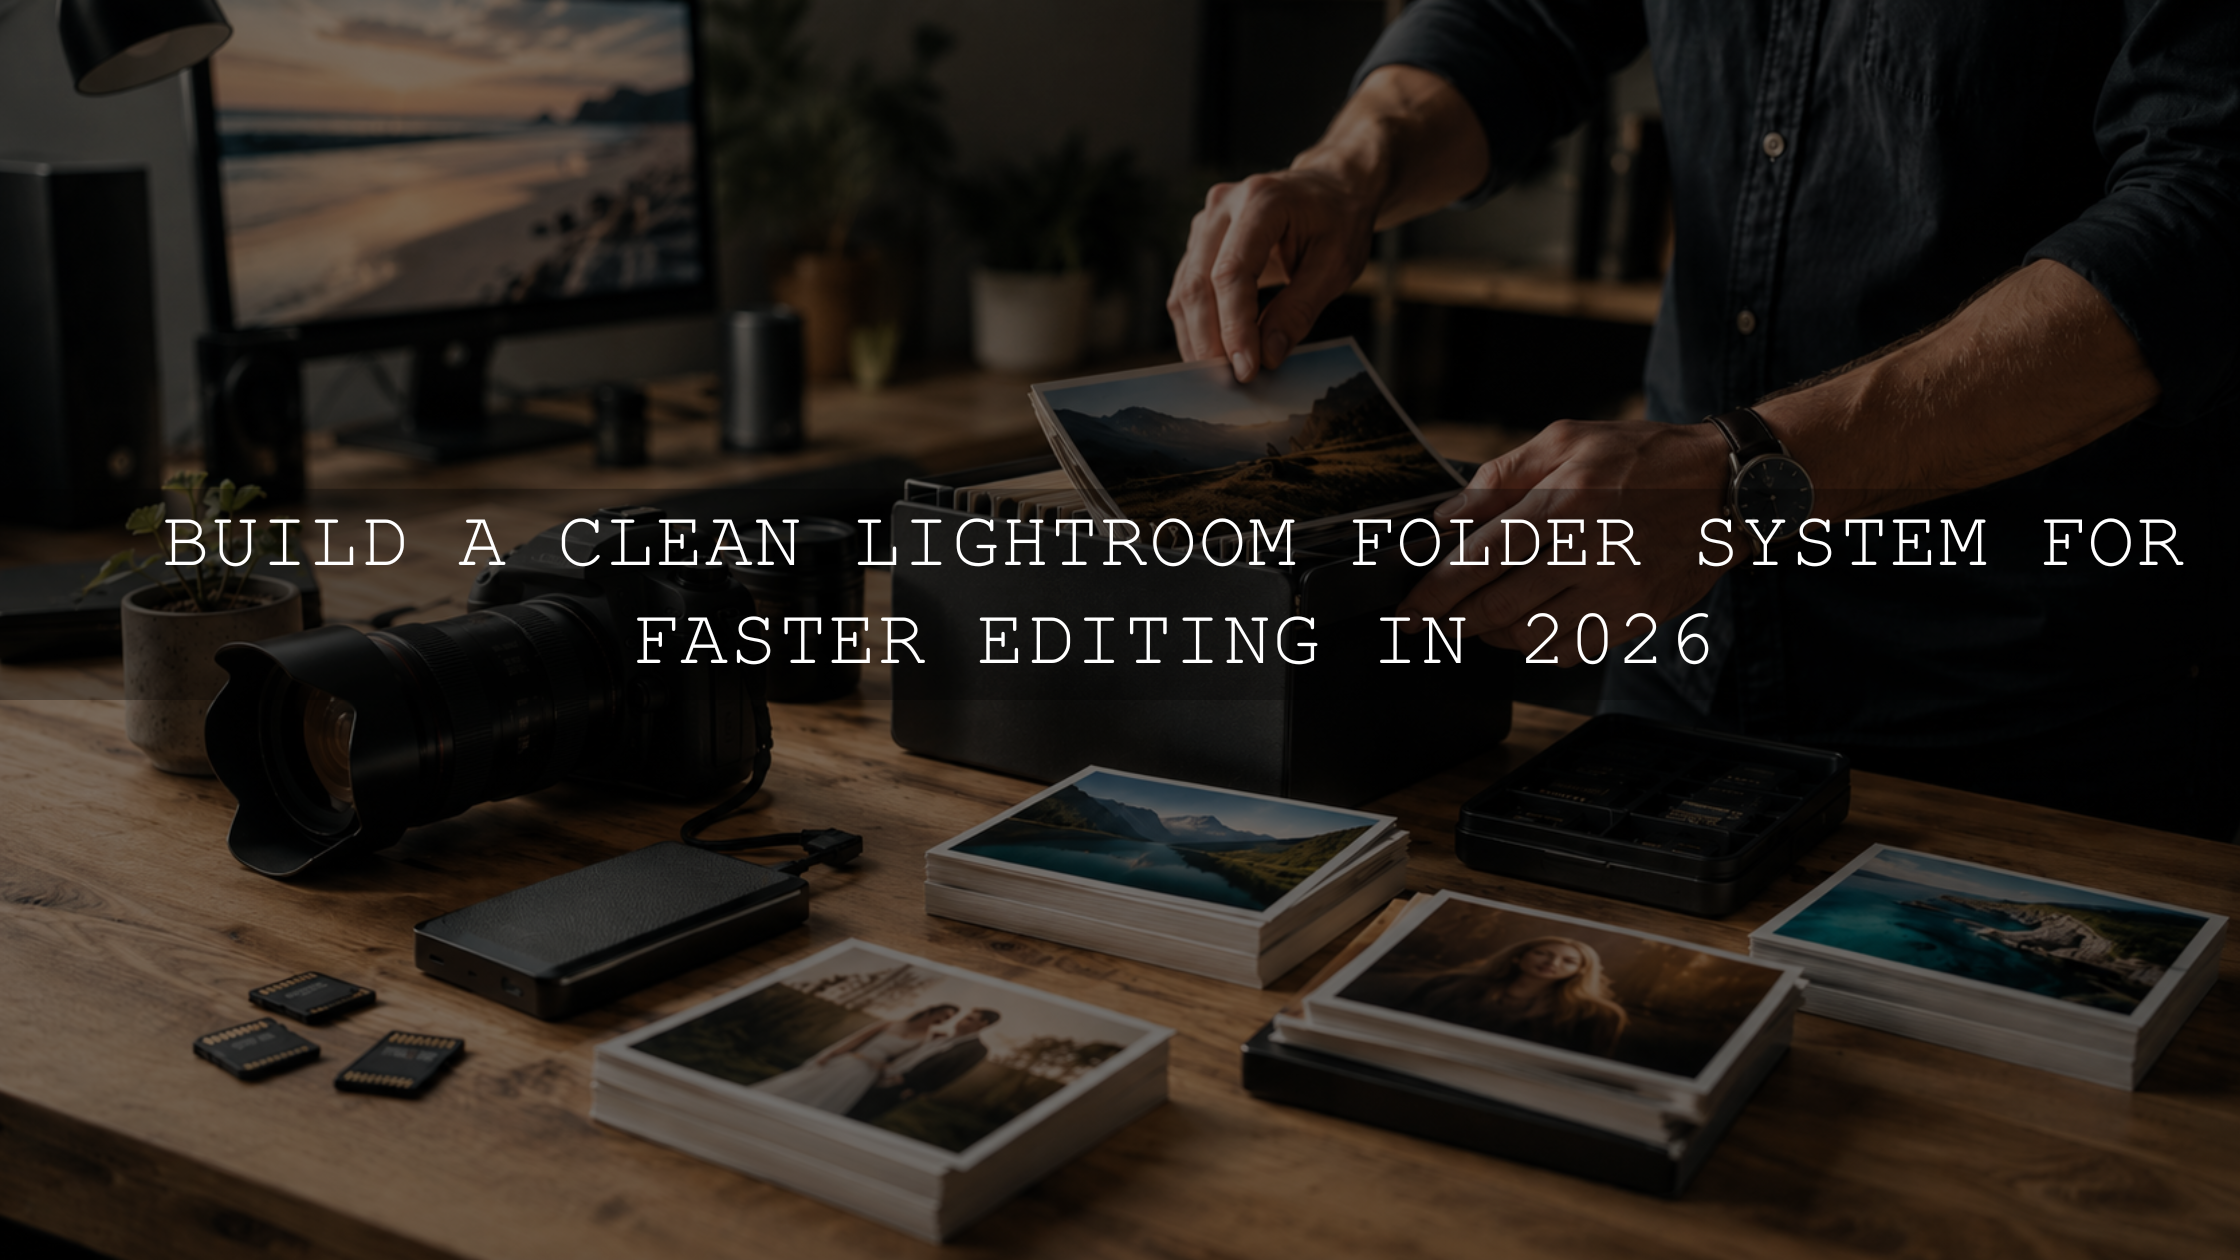
If you want more workflow structure before editing, read how to organize RAW photos before applying presets. A clean folder and selection system makes the final edit much easier.
Use Lightroom Tools to Work Faster
Lightroom gives you several tools that make photo selection more efficient. You do not need to use every feature, but a few smart habits can save a lot of time.
Use Flags for Quick Decisions
Use pick flags for possible keepers and reject flags for obvious weak shots. This keeps your first pass fast. After that, use star ratings to separate good images from excellent images.
Use Keywords and Collections
Keywords help you organize images by mood, subject, location, client, or theme. Collections help you group images without moving the original files. Adobe’s guide to using keywords in Lightroom Classic is helpful if you want a more searchable photo library.
Use AI Culling Carefully
AI culling can speed up the first selection stage, especially when you have hundreds or thousands of photos. But do not let AI fully decide your final gallery. It may detect closed eyes or blur, but it cannot always understand emotion, story, or creative intention.
For a balanced approach, read AI culling tips for keeping your creativity intact. Use automation to remove obvious weak images, then use your own eye to choose the photos that truly matter.
What Makes a Photo Preset-Ready?
A preset-ready photo does not need to be perfect. It needs to have enough quality and direction for the preset to enhance it naturally.
Before applying presets, ask these questions:
- Is the subject clear?
- Is the main focus sharp enough?
- Is the exposure recoverable?
- Does the light support the mood I want?
- Are the colors clean enough to edit without looking strange?
- Does this image add value to the final gallery?
If most answers are yes, the photo is likely worth editing. If you are forcing the image to work, it may be better to move on.
For warm lifestyle, travel, and vintage-style images, you can test a pack like AI-Optimized Warm Dust Vintage Lightroom Presets. For brighter, cleaner edits, browse the Premium Lightroom Presets and LUTs Bundles to find broader creative options.
A Simple Step-by-Step Photo Selection Workflow
Here is a practical workflow you can use after every shoot:
- Import and back up your photos. Do not start deleting before you have a safe copy.
- Make a fast first pass. Reject blurry, badly exposed, awkward, and repeated images.
- Rate possible keepers. Use stars, flags, or color labels to mark your best shots.
- Compare similar images. Choose the strongest expression, focus, and composition.
- Review the gallery as a story. Remove repetition and balance wide, medium, and close shots.
- Apply basic corrections. Fix exposure, white balance, crop, and lens issues before heavy styling.
- Apply presets creatively. Choose a preset that supports the photo instead of forcing a trend.
- Refine manually. Adjust brightness, contrast, color, skin tones, and masks for the final polish.
This process works for many editing styles, from family sessions to travel photography. For example, if you are building a consistent family gallery, this guide on creating a consistent family photography style can help you think beyond single-image edits.
Common Photo Selection Mistakes to Avoid
Keeping Too Many Similar Images
More photos do not always mean a stronger gallery. A smaller selection of strong images often feels more premium than a large set with repetition.
Editing Before Selecting
If you start editing too early, you may waste time improving images that should have been rejected. Select first, edit second.
Choosing Only Technically Perfect Photos
Technical quality matters, but emotion matters too. A slightly imperfect photo with a powerful moment can be more valuable than a sharp but lifeless image.
Using Presets to Fix Weak Photos
Presets should enhance a good image, not hide major problems. If the light, focus, or composition is too weak, the final edit may still feel disappointing.
Related Reading
- How to organize RAW photos before applying presets
- AI culling workflow tips for Lightroom users
- How to edit travel photos for a cinematic feel
- Why photographers use the 1000+ Lightroom Presets Bundle
Final Thoughts on Choosing Your Best Photos Before Editing
Choosing your best photos before editing is not a boring admin task. It is part of the creative process. The images you reject help define the quality of the images you keep. When you select with intention, your Lightroom workflow becomes faster, your presets perform better, and your final gallery feels more professional.
Before your next edit, slow down and build a stronger selection. Remove the weak shots, compare similar frames, choose the images with the best emotion and light, then apply your creative style with confidence.
To speed up your editing after the selection stage, start with the 1000+ Master Lightroom Presets Bundle, explore AI-Optimized Cinematic Bright Lightroom Presets, and browse the Lightroom Presets for Mobile and Desktop collection. Try these presets today — Buy 3, Get 9 FREE — and turn your strongest photos into consistent, polished edits.
FAQ
How do I choose the best photos before editing?
Start by rejecting blurry, badly exposed, awkward, and repetitive images. Then rate the strongest photos based on focus, light, composition, emotion, and story value before applying presets.
Should I apply presets before or after photo selection?
Apply presets after photo selection. Select your strongest images first, make basic exposure and white balance corrections, then use presets as a creative starting point.
What makes a photo good for Lightroom presets?
A good preset-ready photo has clear focus, usable exposure, clean light, strong composition, and a subject that stands out. Presets work best when the photo already has a solid foundation.
Is AI culling enough for choosing final photos?
AI culling can help remove obvious weak images, but your final selection should still be guided by human judgment. Emotion, story, mood, and creative purpose are best judged by the photographer.
How many photos should I keep from a shoot?
There is no fixed number. Keep the images that support the story and remove repeated or weaker versions. A smaller, stronger gallery usually feels more professional than a large gallery with too many similar shots.
Written by Asanka — creator of AAAPresets (10,000+ customers).
Leave a comment
This site is protected by hCaptcha and the hCaptcha Privacy Policy and Terms of Service apply.