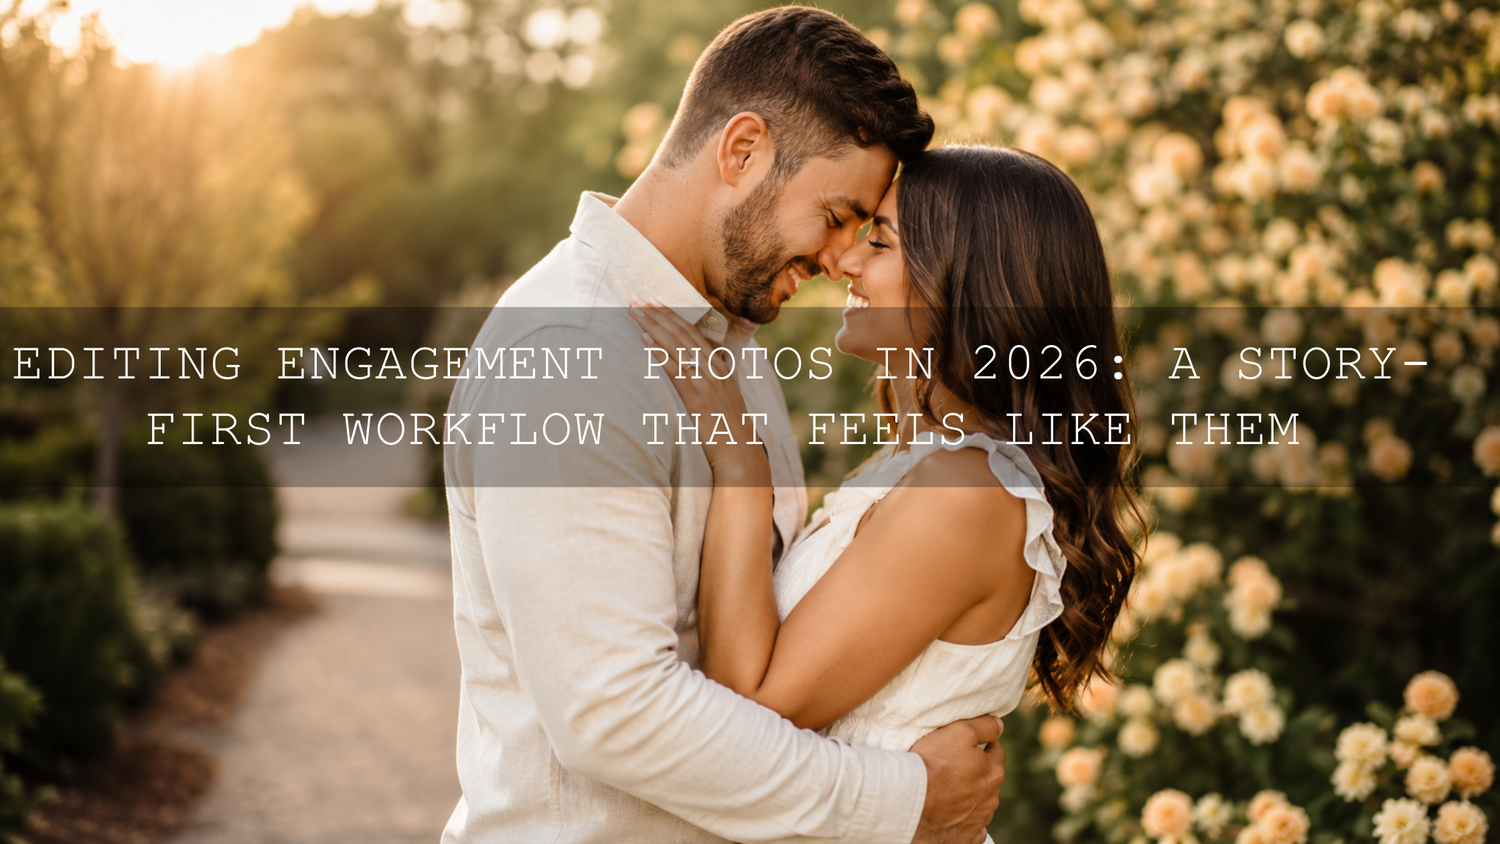
Editing Engagement Photos in 2026: A Story-First Workflow That Feels Like Them
Great engagement photo editing isn’t just “make it pretty.” It’s how you turn a good session into a love story the couple can feel every time they scroll. In 2026, clients want authenticity—real skin, real emotion, real connection—so your engagement photo editing workflow has to protect those moments while still delivering a polished, premium look. This guide breaks down a practical, repeatable approach for pre-wedding photo editing, from culling to color grading engagement photos, with Lightroom-based steps you can use immediately.
If you want a fast, wedding-ready starting point for engagement edits, explore 150 + Gorgeous Lightroom Presets for Wedding Photography and browse the Wedding Lightroom Presets for Wedding Photography collection. If you’re building your toolkit, remember you can Buy 3, Get 9 FREE when you add 12 items to your cart and pay for only 3.
1) Start With the Story: Culling Engagement Sessions Like a Film Editor
Before sliders, before presets, before anything—your story is decided in the cull. This is where you stop thinking “best photos” and start thinking “best sequence.”
Here’s a culling method that creates a natural narrative arc (and makes your final gallery feel intentional):
- Pick the anchors first: Choose 10–20 “emotional peak” frames—real laughter, a quiet forehead touch, the look right before a kiss, the hand squeeze, the deep exhale after a playful moment.
- Build the beginning: Add wide establishing shots that show the location, mood, and anticipation (walk-in frames, adjusting hair, fixing a jacket, “warming up”).
- Fill the middle with variety: Mix mid-shots (interaction) with close-ups (details and expressions). Keep switching distance so the gallery breathes.
- End with the strongest “future” images: The frames that feel like a promise—confident, connected, timeless. Your last 3–5 images should hit hardest.
- Remove near-duplicates: If two frames tell the same beat, keep the one with better emotion, better posture, cleaner composition, or stronger eye contact.
Pro tip: When you’re stuck between two similar photos, zoom out and ask: Which one reads instantly at thumbnail size? That’s usually the keeper.
2) Build a Clean Base Edit Before Any “Style”
Most engagement edits fall apart for one reason: the “style” gets applied on top of an unstable base. Your base edit is where you protect skin tones, whites, and consistency—especially when a session includes shade, backlight, mixed indoor lighting, or a surprise cloudy-to-sun shift.
The clean-base checklist (Lightroom-friendly)
- Profile first, not last: Choose a camera profile that matches your intent (neutral for accuracy, slightly contrasty for punch). If you’re unsure what RAW is really doing under the hood, Adobe’s official explanation is helpful: Introduction to Camera Raw files.
- Set white balance off skin, not the background: Use the couple’s skin as your truth. A “perfect” sky can still produce sickly skin.
- Dial exposure for faces: Engagement work lives and dies by faces. Protect highlights in foreheads and cheeks; don’t let eyes sink into shadow.
- Recover highlights gently: Keep dresses, shirts, and forehead shine clean—especially in backlight.
- Lift shadows with restraint: Too much shadow lift creates gray, lifeless skin and noisy backgrounds.
- Correct lens issues: Enable lens corrections and remove chromatic aberration early so edges stay clean.
If your engagement session includes ceremony-like mixed lighting (window light + tungsten, shade + warm practical lights), the same logic applies—group by lighting and edit one strong reference frame per group. You can go deeper here: Mastering Mixed Light Wedding Edits in 2026.
3) Color Grading Engagement Photos: Mood Without Fake Skin
Color grading engagement photos is where your signature style lives—but it should still feel like the couple’s real day. The goal is emotion-first color: the palette supports the moment instead of overpowering it.
Three engagement-friendly palettes (and when to use them)
- Warm romantic glow: Creamy highlights, gentle gold, soft browns. Best for golden hour, cozy cafés, warm sunsets, and intimate close-ups.
- Cool dreamy elegance: Clean whites, subtle blues/teals, calm contrast. Best for dramatic landscapes, modern city sessions, and editorial vibes.
- Earthy natural connection: Muted greens, honest browns, soft contrast. Best for forests, gardens, and outdoor sessions where you want “real life, but elevated.”
Quick grading moves that preserve authenticity
- Use saturation like seasoning: Boosting global saturation is the fastest way to break skin. Instead, add color where it matters (greens, sky, clothing) and protect faces.
- HSL/Color Mixer with a skin-first rule: Touch orange/red last. If skin is going orange, don’t panic—fix WB and luminance before you crush saturation.
- Control greens gently: Engagement sessions often live in parks. Slightly lowering green saturation (or shifting green hue) can instantly feel more cinematic.
If you’re fighting “preset made everything neon” problems, these two internal guides help a lot: How to keep natural colors while still using powerful presets and Make Lightroom presets work on every skin tone.
4) Presets vs Manual Editing: The Fastest Way to Stay Consistent
Here’s the truth: your best engagement galleries usually use both. Presets create a consistent base and speed up your workflow; manual editing is how you protect skin and fix the “one weird frame” issues.
Presets are best for…
- Creating a consistent look across the entire session
- Batch editing fast (especially for large galleries)
- Maintaining your signature color style from shoot to shoot
- Giving clients that “cohesive story” feeling
Manual edits are best for…
- Fixing mixed lighting and color casts on faces
- Balancing tricky backlight or harsh overhead sun
- Refining skin tone accuracy (especially on different complexions)
- Local corrections (eyes, teeth, distracting hotspots)
My own engagement workflow is simple: preset for the base look, then 3–5 fast manual moves (WB, exposure, highlights, skin tone check, one mask). When I pushed our AI-Optimized Bridal Window Glow Lightroom Presets on a bright getting-ready + engagement combo shoot, the glow landed instantly—but the “premium” difference came from a tiny face mask and a quick highlight control on the dress.
If you want an all-in-one library so you’re not hunting for “the one preset” every time, the 1000+ Master Lightroom Presets Bundle is built for exactly that—portraits, weddings, engagement sessions, travel, and everything in between.
5) Masking and Micro-Adjustments: Where the “Premium” Look Comes From
If presets are the engine, masking is the steering wheel. This is the step that makes your engagement photo editing feel expensive—because it’s tailored to this couple, this light, this moment.
If you want the official reference for these tools, Adobe’s documentation is here: Lightroom Classic Masking tool.
A 5-minute masking routine for engagement edits
- Face/Subject mask: Lift exposure slightly (+0.10 to +0.30 feel), reduce highlights a touch, and add tiny warmth if skin reads cold.
- Eyes (subtle): Slight lift in exposure, small clarity/texture (very small), and avoid making whites too bright.
- Background soften: Invert a subject mask or create a background mask and reduce texture/clarity slightly so the couple feels separated.
- Hotspot control: Mask bright patches (forehead shine, sun spots on arms, bright pavement) and lower highlights.
- Color cast cleanup: If shade makes skin go green/blue, adjust tint and orange luminance locally instead of globally.
For consistent skin across different complexions (and fewer “why does this look orange?” moments), I often start with AI-Optimized Skin Tone Safe Pro Portrait Lightroom Presets and then customize with one face mask. I tested it on a sunset engagement shoot where the sky was warm but the couple stood in open shade—skin stayed natural, and it only took a quick mask to match the warmth to the mood.
6) Sharpening, Noise, and Texture: Detail Without Crunch
Engagement photos should feel clean and romantic—not crispy. The mistake is chasing “sharpness” globally and accidentally turning skin into sandpaper.
- Sharpen strategically: Keep eyes and key details crisp, but don’t over-sharpen faces.
- Noise reduction with intention: Apply enough to remove distraction, not enough to melt detail.
- Texture/clarity: Use lightly. If you want “dreamy,” reduce micro-contrast; if you want “editorial,” add it carefully and watch pores.
Pro tip: If one image feels “too digital,” try lowering clarity slightly and lifting shadows less. Many “muddy” edits are simply over-lifted shadows.
7) Distraction Removal and Composition Tweaks Without Breaking Reality
Your job is to protect the couple’s moment. That means removing distractions that pull attention away—without creating an obvious “edited” look.
- Clean the edges: Look for bright trash, random people, signs, and hotspots near the frame edges.
- Fix micro distractions: Tiny sensor dust, stray hair across a face, small background clutter.
- Crop with purpose: Tight crops feel intimate; wider crops feel cinematic and environmental. Choose based on the story beat.
If the viewer notices your removal work, it’s too strong. If the viewer only notices the couple, you nailed it.
8) Lightroom vs DaVinci Resolve: When Your Engagement Package Includes Video
Many engagement packages now include short films or reels. A helpful split is:
- Lightroom: Fast photo workflow, gallery consistency, skin tone control, batching, and culling-friendly editing.
- DaVinci Resolve: Best for video color pipelines, node-based control, and consistent grading across different clips.
If you’re learning Resolve grading to match your photo style, Blackmagic’s official training is a strong starting point: Training - DaVinci Resolve.
The Final Gallery: Sequencing for Maximum Emotional Impact
Sequencing is the difference between “nice photos” and “wow, that feels like us.” After edits are consistent:
- Start with atmosphere: 2–4 images that establish location and mood.
- Build connection: Move into interaction—walking, laughing, small touches.
- Hit the emotional core: The close-ups, the quiet moments, the real expressions.
- End with power: Your strongest “signature” frames—confident, timeless, story-complete.
If you ever struggle with consistency across the set, this guide helps diagnose the “why does this preset look different?” problem: Why Lightroom presets look different on every photo (and how to fix it).
Related Reading (If You Want to Go Deeper)
- Mastering Mixed Light Wedding Edits in 2026
- Crafting soft, dreamy portraits with presets in 2026
- Bright & airy edits for lifestyle and wedding photography
- Keep natural colors while using powerful presets
- Make presets work across every skin tone
If you’re ready to speed up engagement session edits while keeping skin tones honest and consistent, start with 150 + Gorgeous Lightroom Presets for Wedding Photography (made for full wedding-day lighting changes) and keep Skin Tone Safe Pro Portrait presets nearby for quick, reliable face-friendly results. You can also browse all styles in Lightroom Presets for Lightroom Mobile & Desktop, and if you’re purchasing for client work, review usage details on File Licenses. Don’t forget: you can Buy 3, Get 9 FREE when you add 12 items to your cart and pay for only 3.
Suggested Image Alt Texts
- Engagement photo editing before and after using Lightroom engagement presets with natural skin tones
- Color grading engagement photos in Lightroom with warm romantic tones and clean highlights
- Pre-wedding photo editing workflow showing culling, base edit, and final gallery sequence
- Masking for engagement photo editing in Lightroom to brighten faces and soften backgrounds
- Presets vs manual editing comparison for engagement photo editing in 2026 Lightroom workflow
How do I keep skin tones natural when editing engagement photos?
Set white balance from the couple’s faces first, not the environment. Use a preset for the base look, then fix skin locally with a face/subject mask (small exposure and tint moves beat heavy global saturation changes).
Should I use presets for engagement photo editing or edit everything manually?
Use both: presets give speed and consistency, and manual edits handle the tricky 10% (skin, mixed light, hotspots). The fastest premium workflow is preset + 3–5 small corrections + one mask.
Why do my engagement session photos look inconsistent across the gallery?
Usually the lighting changes (shade vs sun vs indoor) or your base exposure/WB varies between frames. Group photos by lighting, edit one reference image per group, then sync and fine-tune faces.
What’s the best way to color grade engagement photos without making them look fake?
Pick a palette (warm romantic, cool dreamy, earthy natural) and apply it gently through HSL and tone control. Protect skin by adjusting oranges/reds last and using local masks for targeted fixes.
What should I prioritize when exporting engagement photos for clients?
Export consistent sizing, keep sharpening moderate, and check skin tones on a neutral screen before delivery. A cohesive color grade and clean highlights usually matter more to clients than ultra-crisp detail.
Written by Asanka — creator of AAAPresets (10,000+ customers).
::contentReference[oaicite:0]{index=0} ::contentReference[oaicite:0]{index=0}

Leave a comment
This site is protected by hCaptcha and the hCaptcha Privacy Policy and Terms of Service apply.