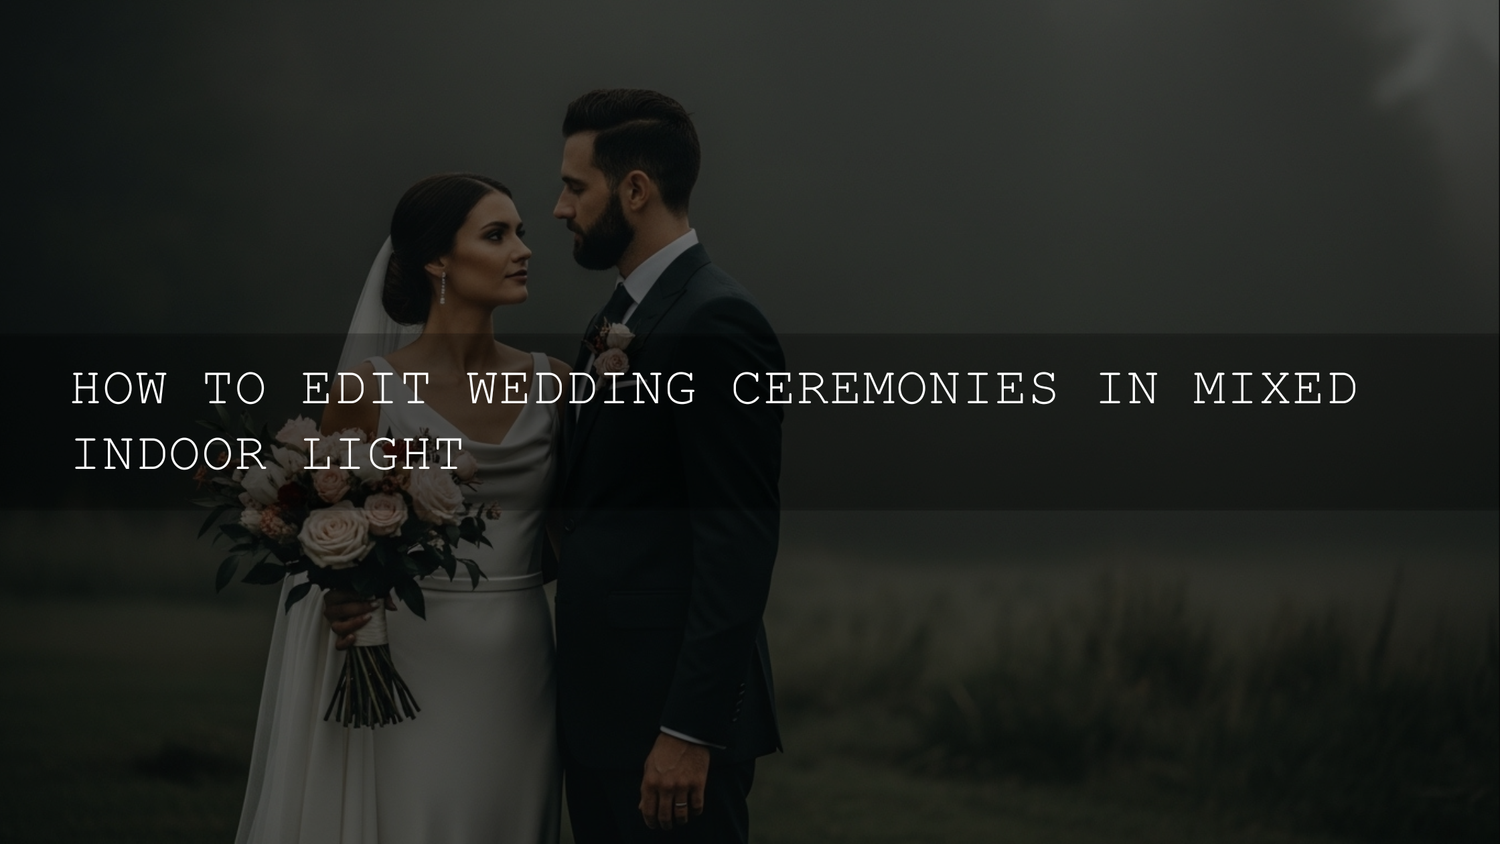
How to Fix Mixed Lighting in Wedding Ceremonies Without Ruining Skin Tones
Mixed lighting wedding photos can look amazing in-camera emotionally and messy in post technically. One ceremony frame might include window daylight, tungsten chandeliers, LED uplights, and candle glow all at once. If you’re editing wedding ceremony lighting in Lightroom and your whites look yellow, skin tones go green, or the bride’s dress shifts blue in the shadows, the fix is not one slider—it’s a clean workflow. The goal is simple: keep faces natural, protect highlights, and create a consistent gallery that still feels like the real moment.
If you want a faster starting point before you fine-tune local corrections, you can try these wedding Lightroom presets for photography and browse the Wedding Lightroom Presets collection. If you’re building a full toolkit for ceremony, portraits, and reception edits, you can use the brand offer naturally in your workflow planning: Buy 3, Get 9 FREE when you add 12 items to your cart.
Why Mixed Light Is So Hard in Wedding Ceremony Editing
Mixed light is challenging because your camera is being asked to interpret multiple color temperatures and tint biases in the same frame. Daylight is cooler, tungsten is warmer, many LEDs shift magenta/green, and fluorescent fixtures can introduce uneven casts across skin and clothing. Auto White Balance can get you close, but in a church or indoor venue it often prioritizes the wrong area.
- Skin tones become inconsistent: Faces can look orange under chandeliers and green near LEDs in the same image.
- White dress and shirt issues: A “white” dress may look yellow in highlights and blue in shadows.
- Mood gets lost: Overcorrecting kills the ambient warmth that made the ceremony feel intimate.
- Batch editing breaks: One preset or sync pass won’t behave the same across every angle.
Here’s why this matters: couples may not know the term “mixed lighting,” but they instantly notice when skin looks off. Natural skin tone accuracy is what makes wedding edits feel premium.
Start Before the Preset: The Clean Base Workflow
Presets help speed up style, but they perform best when you give them a clean foundation. If you apply a strong look before fixing white balance and exposure, you’ll often amplify the exact problem you’re trying to solve.
1) Shoot RAW and protect highlights
RAW files give you far more room for white balance and highlight recovery than JPEGs. In ceremony scenes with bright windows and dark interiors, protecting highlights in the dress and veil usually gives you the safest file to recover later.
2) Set a stable exposure baseline first
Before touching color, get exposure close enough that you can judge skin properly. Use a simple order:
- Exposure
- Highlights
- Shadows
- Whites/Blacks
If you’re newer to Lightroom or need a refresher on core tonal controls, Adobe’s official Camera Raw color and tonal adjustment guide is a solid reference for how Temperature, Tint, and tone controls interact.
3) Fix global white balance before local corrections
Think of global white balance as your “best compromise” for the entire image. Get the couple’s skin close first—even if the background still looks warm or cool. You can fix the background locally later; fixing skin after stylizing the whole frame is usually harder.
I tested this exact order on indoor wedding ceremony frames with window light on one side and tungsten chandeliers overhead, and the edits became much faster once I stopped chasing perfect background color before fixing faces.
Step-by-Step Lightroom Workflow for Mixed Lighting Wedding Photos
Step 1: Build a neutral starting point in Lightroom Classic
Use the Basic panel to create a clean, believable base. Start with Temperature and Tint, then adjust exposure and contrast. If the eyedropper works, use it—but don’t trust it blindly in mixed light. In many ceremony frames, there is no truly neutral target because “white” surfaces are contaminated by warm or cool spill.
- Prioritize skin over walls: It is okay if ambient light stays slightly warm in the background.
- Watch the dress and veil: Avoid pushing white balance so far that whites go cyan or yellow.
- Zoom in while adjusting: Small Tint changes can dramatically improve skin tone realism.
Step 2: Use masking to correct problem zones, not the whole image
This is the biggest upgrade for wedding ceremony editing in 2026. Instead of forcing one global correction, use masks to repair specific areas. Adobe’s Lightroom Classic masking guide is the best official reference if you want a deep refresher on mask types and non-destructive local edits.
- Subject/People mask: Correct the couple’s skin tone and exposure first.
- Background mask: Leave warm chandeliers warm, but reduce excess yellow/orange if it distracts.
- Linear gradient for windows: Pull highlights down near bright windows without flattening the entire image.
- Brush for faces/hands: Fine-tune Temp/Tint only where skin is contaminated by colored spill.
A practical trick: if skin is good but the room is too orange, do not cool the whole image. Mask the background and cool that mask slightly. This protects natural skin while keeping the room’s wedding ambience intact.
Step 3: Clean up color casts in HSL (carefully)
When mixed lighting leaves stubborn green or yellow contamination, HSL can help—but go lightly. HSL is powerful and easy to overdo, especially on skin.
- Orange Luminance: A small lift can make skin look fresher without fake smoothing.
- Orange Saturation: Lower slightly if skin looks too sunburnt.
- Yellow Hue/Saturation: Helpful when tungsten spill is turning neutrals muddy.
- Green Saturation: Useful for fluorescent/LED contamination in shadows or suits.
When I pushed a wedding preset before fixing white balance, I often saw yellow/magenta problems get worse. Fixing WB first, then doing tiny HSL moves, kept the result believable and much easier to batch across the ceremony set.
Step 4: Recover contrast without crushing the mood
Wedding ceremonies usually need a balance between detail and atmosphere. If you flatten everything to “save” the image, it loses depth. If you push contrast too hard, you lose dress detail and shadow texture.
- Use Highlights/Shadows for broad recovery.
- Use the Tone Curve for shape (subtle S-curve, not aggressive).
- Use local dodge and burn to guide attention to faces and hands.
- Add texture/clarity selectively—avoid heavy clarity on skin.
Pro tip you can test right now: add a very light radial mask around the couple, lift exposure slightly, then reduce background saturation a touch. This often improves subject separation more naturally than adding global contrast.
Step 5: Denoise first, sharpen second
Indoor ceremony files often come from high ISO settings. If you sharpen before reducing noise, you’ll emphasize grain and color speckling. A better order is:
- Noise reduction / AI denoise
- Global contrast and local corrections
- Sharpening with masking
Use sharpening masking so edges (eyelashes, bouquet details, suit seams) get crisp while smoother skin and backgrounds stay clean.
Presets vs Manual Editing for Mixed Light Wedding Ceremonies
Both approaches work. The real win is knowing when to use each one.
Presets are best for
- Creating a consistent base look across a full wedding gallery
- Speeding up repetitive edits after white balance/exposure cleanup
- Matching your brand style (soft, bright, moody, cinematic, warm)
Manual editing is best for
- Ceremony frames with severe mixed light contamination
- Faces under different light sources in the same shot
- Scenes with white dress + dark suits + bright windows
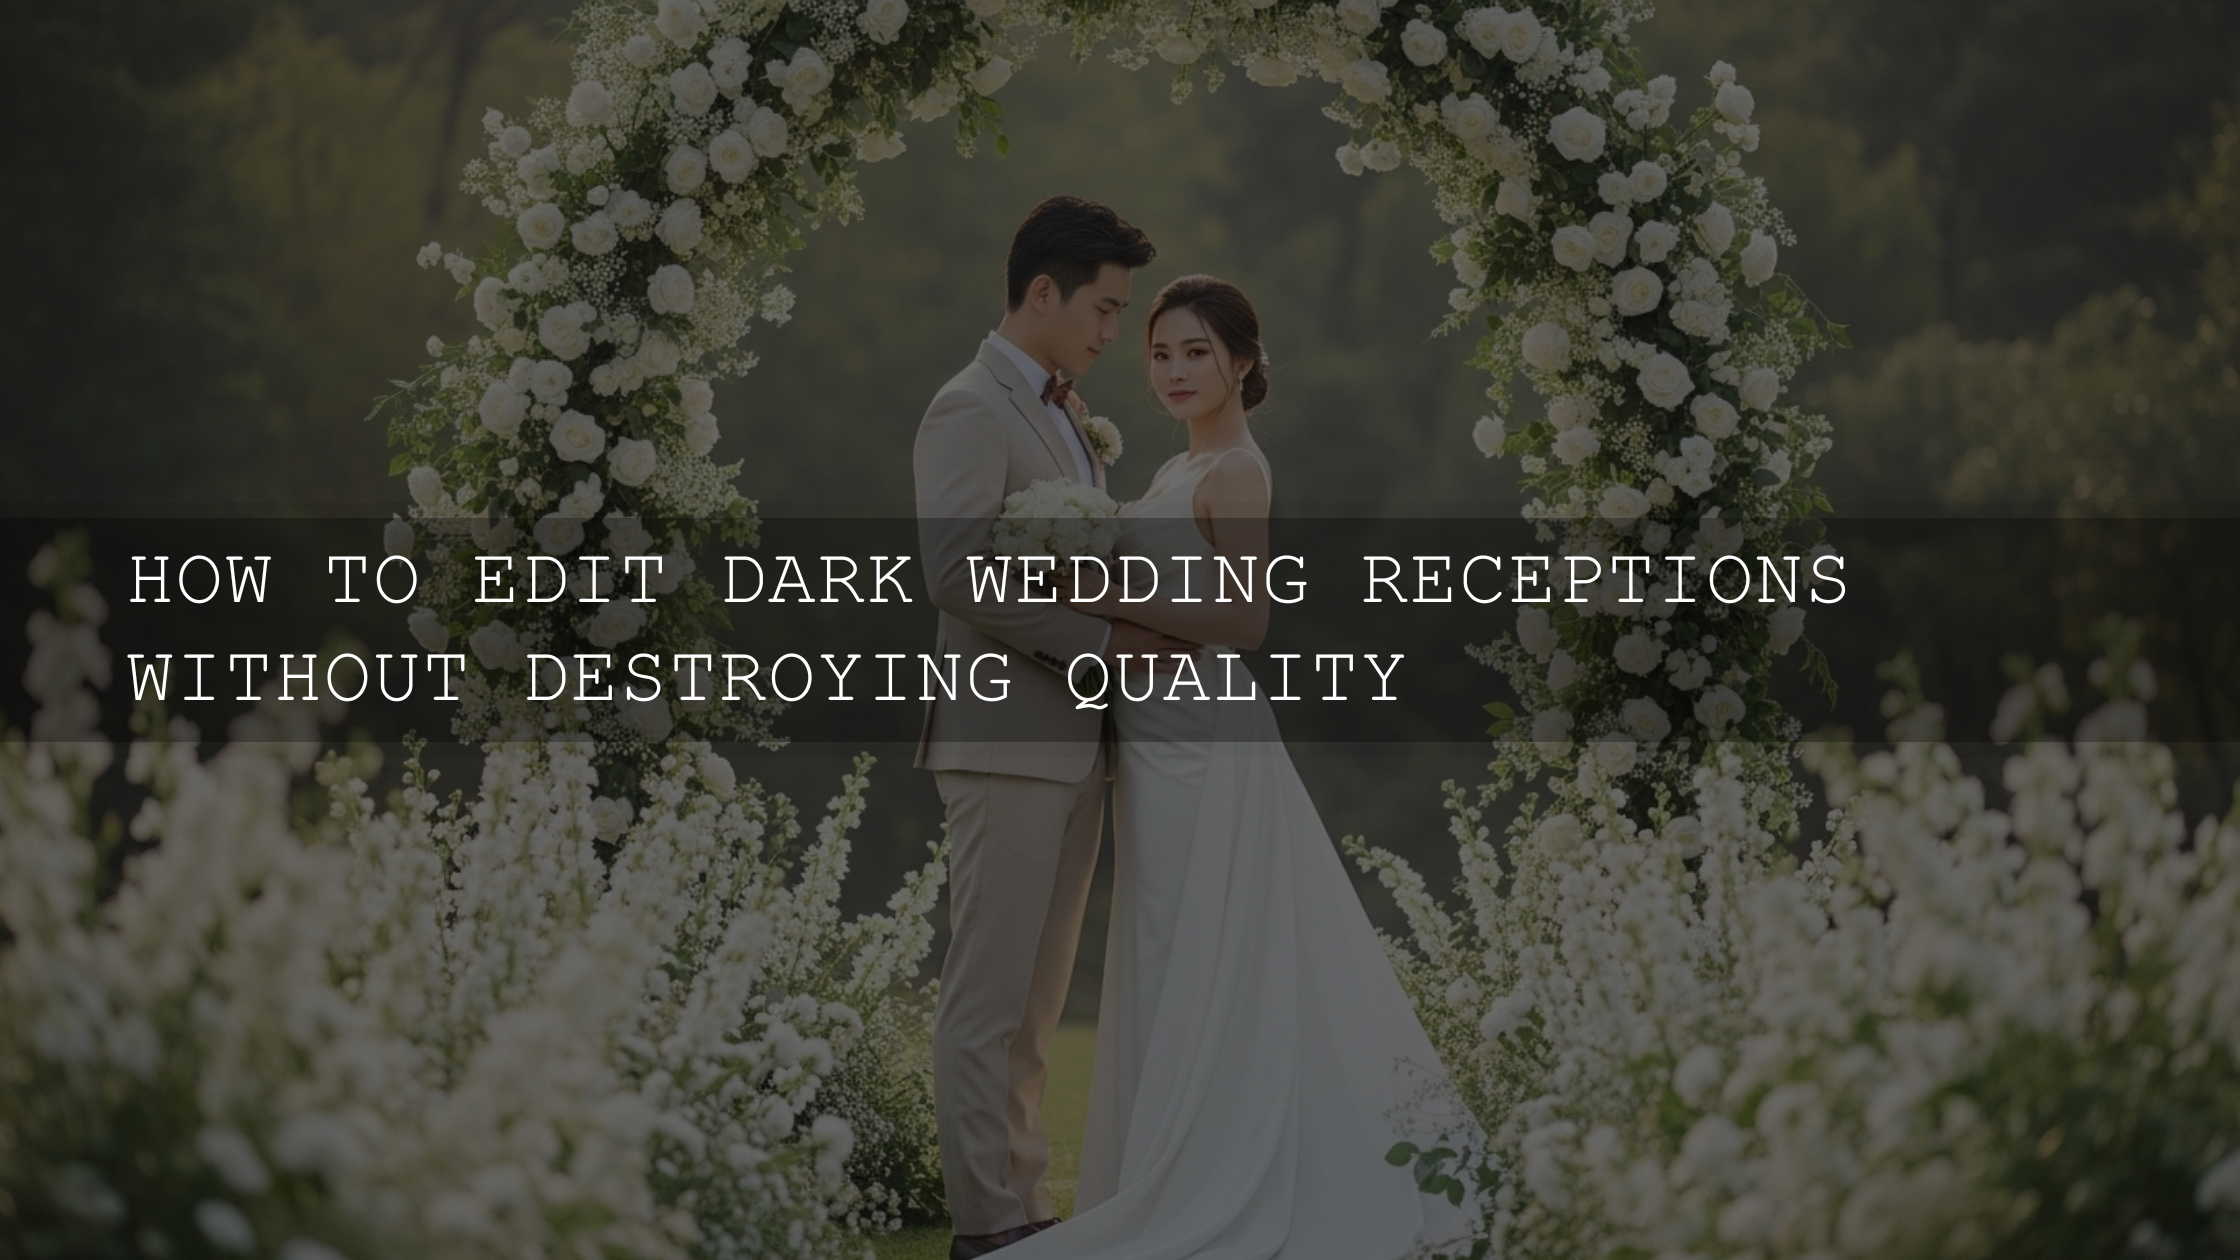
The best workflow is hybrid: manual cleanup first, preset for style second, local corrections last. If you want a broad toolkit for different lighting conditions (ceremony, portraits, outdoor golden hour, reception), the 1000+ Master Lightroom Presets Bundle is a strong all-in-one option. If your focus is mostly weddings, the 150+ Gorgeous Wedding Lightroom Presets bundle gives you more wedding-specific looks to start from.
Lightroom vs Photoshop for the Toughest Mixed Lighting Frames
Lightroom should handle most wedding ceremony images if your masking workflow is solid. Photoshop becomes useful when a frame needs surgical corrections—like selective color cleanup on a dress, targeted skin corrections, or compositing/blending for extreme contrast situations.
- Use Lightroom for: fast batch workflow, white balance, masking, tone work, denoise, consistency.
- Use Photoshop for: complex selective color fixes, advanced retouching, difficult local color contamination.
If you’re optimizing your desktop workflow around ceremony edits and batch consistency, Adobe’s Lightroom Classic product page is a useful overview of the desktop-focused editing and organization tools that wedding photographers rely on.
How to Keep a Wedding Gallery Consistent When Lighting Changes Every 10 Minutes
Ceremonies often shift from bright entrance scenes to darker altar moments and backlit exits. Consistency doesn’t mean making every image identical—it means making the gallery feel like one story.
Create lighting groups before you edit
Instead of editing in capture order, group images by lighting type:
- Window-dominant ceremony frames
- Tungsten/indoor ambient frames
- LED/magenta contamination frames
- Backlit aisle or exit frames
Sync smart, not blindly
Sync base settings across similar images, then spot-check faces and whites. Mixed lighting shifts even when the composition looks similar.
Use a “skin check” pass before export
Do one final pass where you zoom in only on faces, hands, and dress highlights. This catches tiny tint errors that are easy to miss when you’re focused on composition.
For extra help keeping edits natural when presets are involved, these internal guides can save time: mastering white balance for natural colors, keeping natural colors while using powerful presets, and why Lightroom presets look different on every photo (and how to fix it).
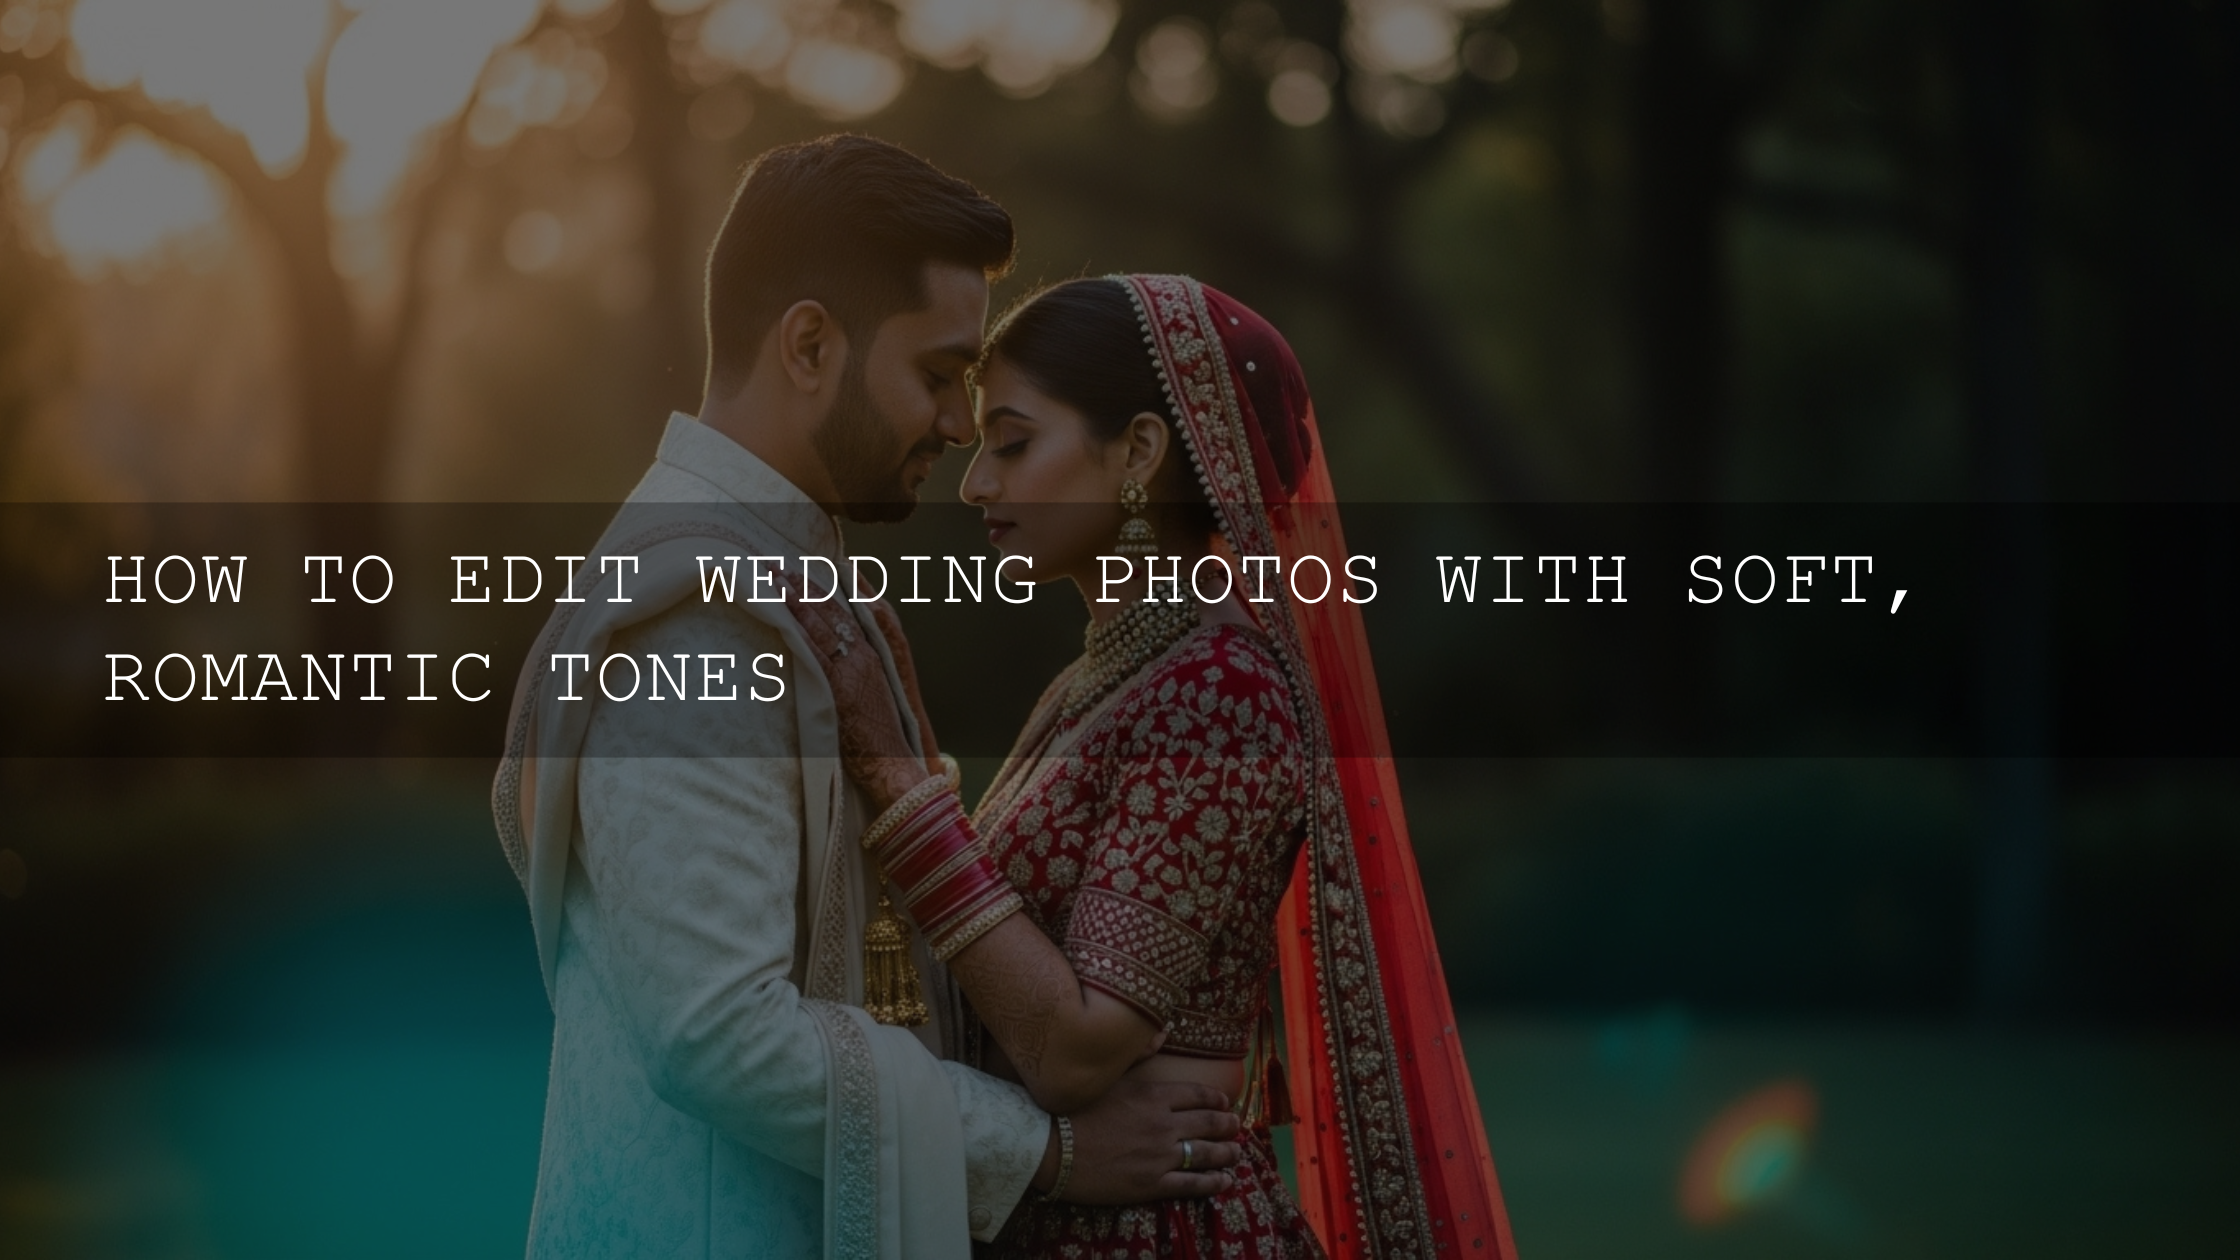
Real-World Mixed Lighting Example You Can Copy
Scenario: Indoor ceremony, window light from left side, warm chandelier overhead, dark wood interior.
- Set exposure for faces, then recover highlights in the dress.
- Set global white balance so skin is close (ignore warm room for now).
- Create a People/Subject mask and fine-tune Temp/Tint for skin.
- Create a background mask and reduce orange/yellow saturation slightly.
- Use a linear gradient on the window side to pull highlights and reduce blue cast.
- Apply a wedding preset at lower intensity (or preset + reduced strength if needed).
- Finish with subtle dodge/burn and noise reduction.
This workflow keeps the romance of the venue while preventing the common “orange skin + blue shadows” look that makes mixed lighting wedding photos feel artificial.
Related Reading for Wedding and Color Workflow Improvements
- Bright & airy presets for lifestyle and wedding photography
- Best wedding LUTs for a romantic and dreamy look
- How to install Lightroom presets (quick guide)
If skin tone accuracy is your biggest pain point during ceremony edits, the AI-Optimized Skin Tone Safe Pro Portrait Lightroom Presets can be a useful starting point for portraits and close-ups, while the Lightroom Presets for Mobile & Desktop collection makes it easier to build a flexible workflow across different wedding scenes and devices.
Final Thoughts on Editing Mixed Light Without Losing the Moment
Mixed lighting is not a “bad lighting” problem—it’s a decision-making problem. Once you stop trying to fix the entire frame with one white balance and start using masks to correct specific zones, your wedding ceremony edits become faster, cleaner, and more consistent. Preserve skin first, protect highlights second, style third.
If you’re ready to streamline your ceremony workflow, start with a wedding-focused preset pack like 50 Wedding Lightroom Presets for Photography or browse the Wedding Lightroom Presets collection. For a wider toolkit that covers weddings, portraits, travel, and more, explore the 1000+ Master Lightroom Presets Bundle—and if you’re stocking up, remember the Buy 3, Get 9 FREE offer when you add 12 items to your cart. If you need help choosing the right pack for your workflow, you can also visit the AAAPresets contact page.
FAQ
Should I fix white balance before applying a wedding preset?
Yes. Mixed lighting issues get worse when a preset is applied on top of an uncorrected file. Get exposure and white balance close first, then use the preset for style.
Can Lightroom alone fix mixed lighting in wedding ceremony photos?
In most cases, yes—especially with masking. Lightroom can handle global white balance, local corrections, highlight recovery, and skin tone cleanup for the majority of ceremony images.
Why do my skin tones turn yellow or green indoors?
Indoor ceremonies often combine tungsten, LED, and fluorescent light, each with different color temperature and tint. Your camera records all of them, so skin picks up uneven color casts unless you correct them locally.
What is the fastest way to batch edit a mixed lighting ceremony?
Group images by lighting type first, edit one strong reference frame per group, then sync settings and fine-tune faces/whites. This is much faster than syncing one edit across the entire ceremony blindly.
When should I move a wedding photo from Lightroom to Photoshop?
Move to Photoshop when you need very targeted color cleanup, complex retouching, or advanced selective corrections that feel too limited in Lightroom. Lightroom should still be your main workflow hub for speed and consistency.
Written by Asanka — creator of AAAPresets (10,000+ customers).
Leave a comment
This site is protected by hCaptcha and the hCaptcha Privacy Policy and Terms of Service apply.