
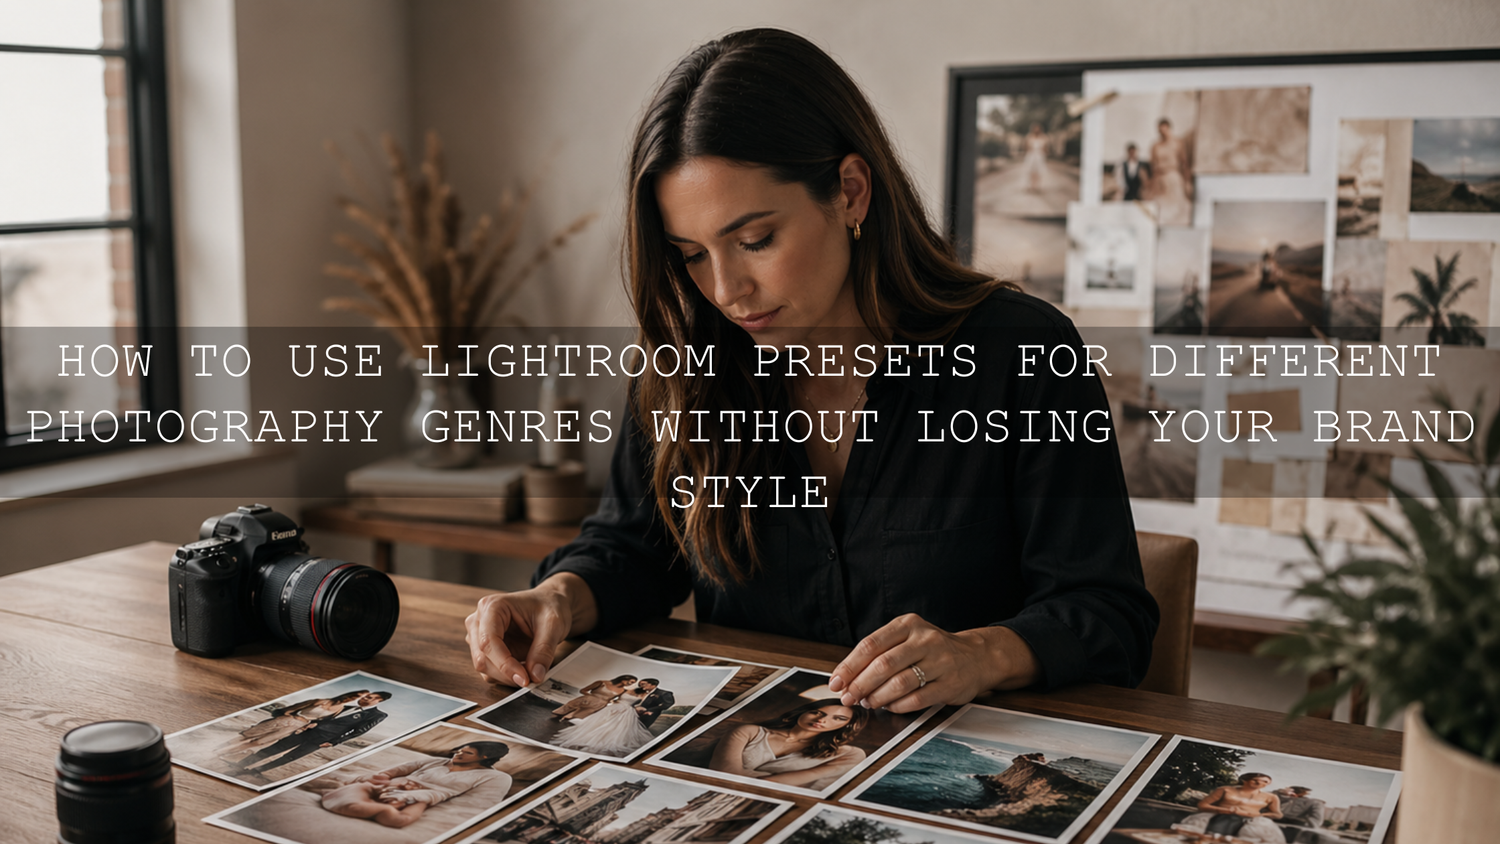
How to Use Lightroom Presets for Different Photography Genres Without Losing Your Brand Style
Using Lightroom presets for different photography genres is one of the fastest ways to edit wedding, newborn, portrait, travel, street, lifestyle, and family photos in 2026. But the real challenge is not applying presets. The real challenge is keeping your brand style consistent while each shoot needs a different mood, color palette, and emotional finish.
Here’s why this matters: a wedding gallery should feel romantic and polished, newborn photos should feel soft and gentle, street photos may need contrast and energy, and travel images often need rich atmosphere. If every genre gets a completely different edit, your portfolio can start to feel disconnected. The best approach is to treat presets as flexible starting points, then adjust them with your own visual identity in mind.
For a strong all-in-one editing workflow, start with the 1000+ Master Lightroom Presets Bundle and browse the Lightroom Presets for Lightroom Mobile and Desktop collection for more genre-ready looks. Try these presets today — Buy 3, Get 9 FREE.
Why Presets Should Support Your Style, Not Replace It
A preset is not a final edit. It is a shortcut that applies a group of adjustments such as exposure, contrast, saturation, color grading, sharpening, and tone settings. Adobe explains presets as predefined settings that apply specific edits to photos, which makes them useful for speeding up your workflow while still leaving room for personal adjustments through Lightroom’s editing tools.
The mistake many photographers make is applying a preset and exporting immediately. That can work for quick social media content, but for professional photography, you should always check the image after applying a preset. Lighting, skin tone, background color, camera profile, and exposure all affect the final result.
I have tested this workflow on mixed galleries where one shoot included bright outdoor portraits, indoor detail shots, and low-light candid images. The best results came from choosing presets by mood first, then adjusting white balance, exposure, highlights, and skin tones to keep the gallery connected.
The Strategic Advantage of Comprehensive Preset Bundles
If you shoot more than one photography genre, a comprehensive preset bundle can save a huge amount of time. Instead of using one preset pack for every situation, you can choose a starting look that fits the scene: clean portraits, cinematic weddings, soft newborn photos, moody street images, natural travel edits, or vintage film tones.
The 1000+ Master Lightroom Presets Bundle is useful for multi-genre photographers because it gives you a wide range of looks in one place. It works well when you need different editing styles but still want one consistent workflow across Lightroom Mobile and Desktop.
For wedding photographers, the 100+ AI-Optimized Cinematic Wedding Lightroom Presets Bundle is a strong choice because wedding galleries need both emotion and consistency. A full wedding day can include getting-ready rooms, outdoor ceremonies, sunset portraits, reception lighting, flash moments, and detail shots. A good preset gives you a base mood, but your adjustments keep the gallery polished.
For newborn and baby photography, the 150+ First Years Baby & Newborn Lightroom Presets are better suited to soft tones, gentle contrast, creamy highlights, and natural skin. This is very different from a dramatic street or wedding edit, but your brand can still remain consistent through warm skin tones, balanced whites, and clean shadows.
Define Your Brand’s Visual DNA First
Before choosing presets, define what your brand should feel like. This gives you a clear direction when editing across different genres.
- Bright and airy: soft whites, gentle contrast, clean skin tones, fresh highlights.
- Moody cinematic: deeper shadows, richer contrast, muted highlights, emotional color depth.
- Warm film style: golden midtones, soft grain, nostalgic color, gentle fade.
- Clean commercial: accurate color, balanced contrast, sharp details, natural whites.
- Minimal aesthetic: soft tones, controlled saturation, simple color palette, calm mood.
Once you understand your visual DNA, every preset choice becomes easier. For example, if your brand is warm and cinematic, you can still edit newborn photos softly, but you may keep a small amount of warmth in the midtones. If your brand is clean and bright, you can still edit wedding photos romantically, but you may avoid overly heavy shadows.
For more style-building ideas, read this guide to creating a cohesive photography style and this family photography style guide.
Presets vs Manual Editing
Presets and manual editing are not enemies. They work best together.
Presets
Presets help you apply a mood quickly. They are useful when you have large galleries, tight deadlines, or a consistent style you want to repeat. A preset can instantly move an image toward warm, cinematic, bright, moody, vintage, or clean tones.
Manual Editing
Manual editing gives you control. After applying a preset, you still need to check exposure, white balance, highlights, shadows, skin tones, crop, and local adjustments. Adobe’s Lightroom edit controls are helpful for refining the image after your preset gives you the starting look.
The Best Workflow
The best workflow is simple: apply a preset, adjust the technical basics, refine the subject, then save your final look as a custom brand preset. That way, presets speed up your editing while manual adjustments protect your unique style.
How to Choose Presets by Photography Genre
Wedding Photography
Wedding photos need emotion, clean skin tones, and gallery-wide consistency. Start with wedding-specific presets such as the 100+ AI-Optimized Cinematic Wedding Lightroom Presets Bundle or the 150+ Gorgeous Lightroom Presets for Wedding Photography.
Use bright presets for bridal prep and daytime portraits, warm cinematic presets for sunset moments, and black-and-white presets for emotional candids. The key is to keep skin tones natural across the full gallery. If one preset makes skin too orange, reduce warmth or adjust orange saturation slightly.
Newborn and Baby Photography
Newborn photos should feel soft, clean, and gentle. Avoid too much clarity, contrast, or saturation because it can make delicate skin look harsh. A newborn preset should smooth the overall mood without removing natural detail.
After applying a preset, check the whites in blankets, wraps, and clothing. If whites turn yellow or gray, adjust white balance and tint. Keep the edit soft but not flat.
Street and Travel Photography
Street and travel photography can handle more contrast, stronger shadows, and richer color. A cinematic street preset can help bring out city lights, textures, buildings, road scenes, markets, and candid moments. For inspiration, see this guide to street photography Lightroom presets and this travel photography preset guide.
If your brand is clean and minimal, use street presets carefully. Reduce saturation, control contrast, and keep your color palette simple. If your brand is moody, allow deeper shadows but protect important details in faces and skies.
Vintage and Film Photography
Film-style presets are perfect when you want warmth, nostalgia, soft contrast, and a timeless mood. The 35mm Vintage Kodak Lightroom Presets are a strong choice for lifestyle, portraits, travel, and documentary-style images.
Film presets can easily become too yellow, green, or faded if used heavily. To keep your brand style, reduce the intensity of the look by adjusting contrast, grain, saturation, and tone curve settings.
Portrait and Lifestyle Photography
Portrait presets should support the person first. Skin tone matters more than the background color. After applying a portrait preset, zoom in and check the face, hands, and neck. If skin looks too red, orange, pale, or gray, adjust white balance and HSL sliders carefully.
For lifestyle shoots, choose presets that match the story. Coffee shop images may need warm tones, outdoor portraits may need natural greens, and home studio images may need clean whites and soft contrast.
Step-by-Step Workflow for Consistent Brand Editing
- Start with your brand mood. Decide whether the final image should feel bright, moody, warm, cinematic, clean, soft, or nostalgic.
- Choose a genre-specific preset. Pick a preset that matches the subject and lighting, not just the trend.
- Correct white balance first. White balance affects skin tones, whites, greens, shadows, and the whole emotional tone of the image.
- Fix exposure and contrast. Make sure the photo is bright enough without losing highlight detail.
- Protect skin tones. Adjust orange, red, and yellow channels carefully when editing people.
- Use masking for local control. Adobe’s guide to masking in Lightroom is useful when you want to brighten a face, darken a background, or refine the subject without changing the whole image.
- Check color harmony. Use Adobe Color harmony rules to understand how colors work together across your brand palette.
- Save your final settings. Once your edit matches your style, save it as a custom preset for future sessions.
Pro Tips for Making Different Presets Feel Like One Brand
- Use one anchor color. Keep one repeated color feeling across your work, such as warm highlights, soft greens, clean whites, or muted shadows.
- Limit extreme edits. Heavy orange skin, crushed blacks, neon greens, and overly faded whites can make your portfolio look inconsistent.
- Create preset families. Save your own versions such as “Brand Wedding Warm,” “Brand Newborn Soft,” and “Brand Street Moody.”
- Compare images side by side. Before exporting, look at 6–9 images together to see whether the gallery feels connected.
- Adjust for lighting, not just genre. A wedding photo in harsh sunlight needs different settings from a wedding photo in a dark reception hall.
How AI-Optimized Presets Help in 2026
AI-optimized presets are useful because modern editing workflows often involve mixed lighting, different camera bodies, mobile editing, and large content demands. In 2026, photographers are expected to deliver faster while still keeping a professional style.
AI-optimized preset packs can give you a more stable starting point across different image types. They are especially helpful for wedding, travel, portrait, and content creator workflows where you may need to edit many photos quickly. You can browse the AI-Optimized Lightroom Presets for Mobile and Desktop collection if you want presets built for faster, more adaptive editing.
Still, AI does not replace your eye. Your brand style comes from the final decisions: how warm the skin should be, how deep the shadows should feel, how clean the whites should look, and how much color the image should carry.
Common Mistakes to Avoid
- Using the same preset on every image: Different lighting conditions need different adjustments.
- Ignoring skin tones: A beautiful color grade is not successful if skin looks unnatural.
- Overusing contrast: Too much contrast can damage soft genres like newborn, family, and wedding portraits.
- Not checking highlights: Bridal dresses, white blankets, skies, and product backgrounds can lose detail quickly.
- Following trends too strongly: Trendy edits can date your work if they overpower your own style.
Related Reading
- Why every photographer needs a Lightroom presets bundle
- A deep dive into trending Lightroom preset styles
- Top Lightroom presets for travel photography
- Best street photography Lightroom presets
Final Thoughts: Build a Flexible Preset System Around Your Brand
The best way to use Lightroom presets for different photography genres is to build a flexible system. Use wedding presets for wedding emotion, newborn presets for softness, street presets for energy, travel presets for atmosphere, and film presets for nostalgia. Then refine every edit through your own brand lens.
Start with the 1000+ Master Lightroom Presets Bundle if you want one versatile toolkit for many genres, or choose the 100+ AI-Optimized Cinematic Wedding Lightroom Presets Bundle, 150+ First Years Baby & Newborn Lightroom Presets, and 35mm Vintage Kodak Lightroom Presets for more specific creative needs. You can also explore the Wedding Lightroom Presets collection for more romantic and professional gallery-ready looks. Try these presets today — Buy 3, Get 9 FREE.
FAQ
Can I use the same Lightroom preset for every photography genre?
You can, but it is usually better to use genre-specific presets and then adjust them to match your brand style. Wedding, newborn, street, travel, and portrait photos all need different levels of contrast, warmth, softness, and color control.
How do I keep my editing style consistent across different shoots?
Define your brand colors, contrast level, skin tone style, and overall mood first. Then apply presets as starting points and fine-tune white balance, exposure, highlights, shadows, and HSL settings so every gallery feels connected.
Are presets better than manual editing?
Presets are faster, while manual editing gives more control. The best workflow is to apply a preset first, then manually refine the image so the final photo matches your lighting, subject, and brand style.
Should I create my own custom presets?
Yes. After adjusting a preset to match your style, save those settings as your own custom preset. This helps you edit faster and keep your brand look consistent across future projects.
What is the best preset bundle for multi-genre photographers?
The 1000+ Master Lightroom Presets Bundle is a strong option for photographers who edit weddings, portraits, travel, lifestyle, street, family, and social media content because it includes many different looks in one toolkit.
Written by Asanka — creator of AAAPresets (10,000+ customers).


Leave a comment
This site is protected by hCaptcha and the hCaptcha Privacy Policy and Terms of Service apply.