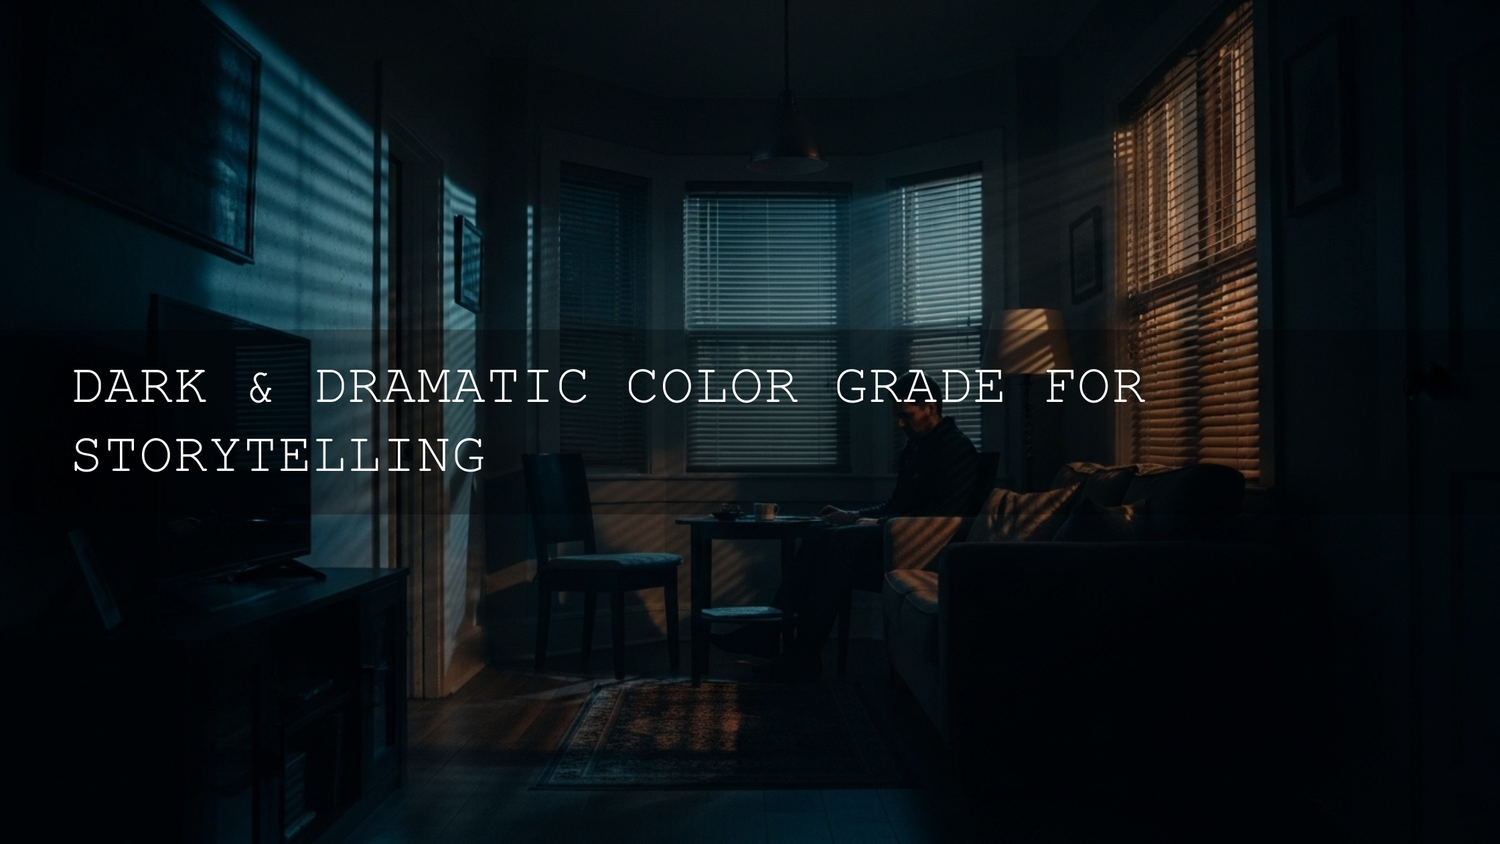
Dark and Dramatic Color Grading LUTs for Cinematic Storytelling
In a world where every social feed is packed with bright, punchy visuals, dark and dramatic color grading LUTs give you something different: mood, depth, and story. Instead of just “making things darker,” you’re shaping light, contrast, and color so your footage feels intentional, cinematic, and emotionally heavy. Whether you’re chasing dark and moody LUTs for a short film, music video, gym edit, or city-at-night b-roll, the right cinematic LUTs can turn ordinary clips into sequences that feel like scenes from a movie.
If you’d rather start from proven looks than build everything from scratch, you can always lean on curated LUT packs—Cinematic LUTs for Dark and Moody Film Aesthetics and Video LUTs Collection are great starting points. Try these presets today and take advantage of the Buy 3, Get 9 FREE offer so you can experiment with multiple dark aesthetics without stressing about budget.
Why Dark & Dramatic Color Grading Works So Well
Dark cinematic color grading isn’t just a style trend. It taps directly into how we emotionally read light and shadow. When you push your palette into deeper blacks, stronger contrast, and selective highlights, you automatically change how your viewer feels.
- Mystery and intrigue: Deep shadows hide information, so the viewer leans in. A character half-lit in a doorway or walking through a dimly lit alley instantly feels more complex and unpredictable.
- Seriousness and gravity: Darker tones suggest that what we’re watching matters. This is why so many dramas and prestige series use controlled, moody lighting and restrained colors.
- Introspection and melancholy: Cool, desaturated tones plus soft contrast feel reflective and internal. Think of a character staring out a rain-streaked window, wrapped in quiet blues and greys.
- Power and intensity: High contrast with solid blacks and sharp highlights makes action scenes, training montages, and confrontations feel visceral and strong.
- Sophistication and elegance: A well-executed dark grade feels premium—perfect for fashion, luxury, automotive, and high-end commercial work.
Used deliberately, dark and dramatic color grading LUTs help you guide the emotional journey without saying a word. You’re using brightness and color the way a composer uses music—subtle, but powerful.
When a Dark & Dramatic Look Is the Right Choice
Not every project needs a moody grade—but when you match the look to the story, the results are incredibly strong. Consider dark and moody LUTs when you are working on:
- Thrillers and horror: Darkness becomes part of the threat. What you don’t see can be more unsettling than what you do.
- Character-driven dramas: Inner conflict, grief, and moral tension all read beautifully through restrained color and rich shadows.
- Noir-inspired stories: Strong chiaroscuro lighting, silhouettes, and glowing highlights over deep blacks are the language of noir.
- Music videos: A dark palette can make a ballad more emotional or give a rock/rap track a raw, underground feel.
- Cinematic documentaries: Use darkness to communicate weighty subject matter—social issues, hardship, or quiet moments of reflection.
- Premium brand and product promos: A dark, contrasty aesthetic screams exclusivity, power, and taste.
- Action and fitness content: Dark environments with pockets of light make muscles, motion, and impact feel bigger and more intense.
The key is alignment: your grade should support the message. If the story is light-hearted and playful, a heavy, dramatic grade might fight against it. But if you want intensity, mystery, or emotional weight, this look is your best friend.
Dark and Dramatic LUTs vs Manual Color Grading
You can absolutely build every dark look by hand using tools like Lumetri Color in Adobe Premiere Pro, grading nodes in DaVinci Resolve, or color wheels in Final Cut Pro. But LUTs give you a massive head start.
- Speed: A good dark aesthetic LUT pack can get you 80% of the way there in one click, especially when you’re working on tight client deadlines or editing weekly content.
- Consistency: Using the same LUTs across a project keeps your visual language stable from scene to scene.
- Exploration: With multiple LUT variations, you can quickly audition different moods—subtle moody vs extreme dramatic—without rebuilding everything manually.
- Manual grading still matters: The best approach is usually “LUT + refinement.” Let the LUT establish the overall mood, then tweak exposure, contrast, and color to match your specific footage.
Adobe’s own documentation encourages this workflow—using LUTs as a starting point and then refining the color grade. If you’re new to the tools, check out Adobe’s guidance on the Lumetri Color panel in Premiere Pro and their overview of professional color grading tools in Premiere Pro to understand what’s happening under the hood.
Core Dark & Dramatic LUT Packs for Different Stories
I’ve tested these looks on real-world projects—gym edits, rainy city b-roll, travel footage, and narrative scenes—and the difference between “flat” and “cinematic” is huge once the right LUT is in place and dialed in.
Cinematic Dark Aesthetic LUTs Pack – Your Foundation for Mood
For a flexible base that works across multiple genres, the Cinematic Dark Aesthetic LUTs Pack is a perfect starting point. You get 10 carefully tuned .cube LUTs designed to add depth, rich contrast, and a controlled, atmospheric darkness without destroying detail.
These LUTs are ideal when you want your project to feel serious, polished, and cinematic—think narrative shorts, emotional client films, or YouTube content with a “mini-movie” vibe. They work seamlessly in Adobe Premiere Pro, DaVinci Resolve, Final Cut Pro, and Adobe After Effects.
I’ve used this pack on a low-light wedding reception and a moody street sequence shot in the rain; with a few exposure tweaks, the grade instantly felt intentional instead of just “underexposed.”

Dark Street Cinematic LUTs Pack – Gritty Urban Nights
The city at night is full of neon glow, reflections, and deep shadows—perfect territory for dark and moody LUTs. The Dark Street Cinematic LUTs Pack includes 8 .cube LUTs tailored for urban environments under low light.
Use these LUTs when you’re capturing:
- Street photography-style video with bright signs and dark alleyways
- Music videos that live in clubs, parking garages, or city rooftops
- Candid night vlogs that you want to feel more cinematic than “run and gun”
You’ll get deep blacks, rich midtones, and stylized highlights that make your subject stand out in the chaos of the city.

Cinematic Landscape Dark and Moody Video LUTs – Atmospheric Nature
Landscapes don’t always have to be bright and colorful. Sometimes the most powerful travel films and outdoor stories feel cold, lonely, or epic. The Cinematic Landscape Dark and Moody Video LUTs pack (8 .cube LUTs) is designed specifically for that.
- Turn foggy forests into moody, cinematic frames.
- Add drama to mountains, cliffs, and coastlines by deepening shadows and pulling attention to the highlights.
- Give overcast travel footage a deliberate, filmic mood instead of just looking “grey.”
I like using these LUTs on sunrise and blue-hour shots where the light is already soft and directional—once you dial the exposure in, the result feels like a nature documentary with a narrative edge.

Cinematic Gym Dark Aesthetic LUTs Pack – Intensity for Fitness Content
Most fitness videos are bright and punchy—but sometimes you want something heavier, grittier, and more focused. The Cinematic Gym Dark Aesthetic LUTs Pack is designed to make workouts feel like scenes from a training montage.
These LUTs emphasize dramatic lighting, texture in skin and clothing, and the contrast between the athlete and the environment. Perfect for:
- Personal brand fitness edits
- Commercial gym or supplement promos
- Short “day in the life” training films
I’ve graded gym clips lit with just one overhead or side light using this pack, and with a bit of tweaking, every rep feels more intense and cinematic.

Cinematic LUTs for Dark and Moody Film Aesthetics – The Polished Finish
If you want that unmistakable “this belongs in a film festival” look, the Cinematic LUTs for Dark and Moody Film Aesthetics pack is your finishing touch. You get 8 .cube LUTs crafted for narrative and high-end work where subtlety, skin tones, and consistency really matter.
Expect:
- Rich but controlled shadows that keep detail in the dark areas
- Beautiful skin tones inside a darker environment
- Grades that work across different cameras once you’ve balanced your exposure and white balance
On narrative projects, I like to choose one hero LUT from this pack for the majority of the film and then use nearby variations for flashbacks, dream sequences, or emotional peaks.

How to Apply Dark LUTs Step by Step (Premiere Pro, DaVinci Resolve & More)
Once you’ve chosen the right LUT pack, the magic happens in how you apply and refine it. Here’s a practical workflow that works across major editing apps.
- Start with solid footage: Aim for clean exposure and a balanced image in-camera. Shoot with enough light and protect your highlights so your LUT has information to work with.
- Balance exposure and white balance first: Before adding any LUT, adjust your basic exposure, contrast, and white balance. In Premiere Pro, you can use the Basic Correction controls in the Lumetri Color panel for this.
- Apply the LUT on an adjustment layer: In most editors, it’s best to place your dark LUT on an adjustment layer or node above your clips. That way you can toggle, reorder, or soften the effect without touching the source clips.
- Refine the grade: After the LUT is applied, adjust contrast, shadows, midtones, and highlights to taste. Use tools like curves and color wheels to keep faces readable while backgrounds stay moody.
- Use scopes, not just your eyes: To avoid crushed blacks or blown highlights, rely on video scopes. Adobe’s guide to Lumetri Scopes in Premiere Pro is a great reference for reading waveforms and vectorscopes.
- Adjust LUT intensity: Dial back the strength if the look feels too heavy. Often 60–80% opacity (or a gentle curve adjustment) is all you need for a tasteful, cinematic grade.
If you’re just getting started with LUTs inside Premiere Pro, you can also follow Adobe’s step-by-step instructions for adding and using Look Up Tables in Premiere Pro. And for picking complementary color palettes that work with your grade, exploring the Adobe Color harmony rules can be surprisingly helpful.
Pro Tips for Dark & Dramatic Grades (Without Losing Detail)
- Protect skin tones: Even in a dark scene, faces should feel alive. Use masks or secondary corrections to stop skin from going muddy or overly green.
- Keep a “comfort” level of brightness: Pure aesthetic darkness is great, but viewers still need to see expressions and key story beats. Check your work on a normal laptop or phone—not just a perfectly calibrated monitor.
- Use local contrast, not just global contrast: Tools like clarity, texture, and local curves adjustments can add shape without turning the whole frame into a silhouette.
- Leverage practical lights: Lamps, windows, neon, candles, and screens make beautiful bright spots in a dark world. Grade so those practicals feel rich and intentional.
- Stay consistent: Once you lock in the mood, apply the same core LUT and refinement approach across the project so shots don’t jump in brightness or color from cut to cut.
For even more detailed workflows on specific types of projects, you might later dive into resources like Best LUTs for cinematic color grading in DaVinci Resolve 2025 – A deep dive or How to achieve a film look in DaVinci Resolve using LUTs & grading tools once those guides are open in front of you.
Related Reading
- Best LUTs for cinematic color grading in DaVinci Resolve 2025 – A deep dive
- How to achieve a film look in DaVinci Resolve using LUTs & grading tools
- DaVinci color grading for music videos – step-by-step workflow
- Matching LUTs with lighting styles – daylight, indoor & blue hour
Choosing the Right Pack for Your Project (and Stacking Value)
If you’re building a toolkit that covers multiple shooting styles, a smart approach is:
- Pick one “all-rounder” base pack like the Cinematic Dark Aesthetic LUTs Pack.
- Add one environment-specific pack such as Dark Street Cinematic LUTs Pack or Cinematic Landscape Dark and Moody Video LUTs.
- Keep a high-end finishing set like Cinematic LUTs for Dark and Moody Film Aesthetics for your most important projects.
Because of the Buy 3, Get 9 FREE offer, it’s easy to build a full dark and dramatic toolkit in one go—mixing street, gym, film, and landscape LUTs so you’re ready for whatever your next shoot throws at you. If you also grade photos, you can cross over into 1000+ Master Lightroom Presets or Lightroom Presets for Lightroom Mobile & Desktop to keep your stills and motion work aligned in style.
FAQ: Dark and Dramatic Color Grading LUTs
What are dark and dramatic color grading LUTs?
They’re Look Up Tables designed specifically to push your footage toward a cinematic, moody aesthetic—deeper blacks, controlled highlights, and carefully shaped color. Instead of starting from a flat image every time, you apply the LUT for an instant dark base and then refine the grade.
Do I need to shoot in Log to use these LUTs?
Shooting in Log or a flat picture profile gives you more flexibility, but you don’t have to. You can absolutely use these LUTs on standard profiles if you first balance exposure and contrast. Just avoid badly underexposed or blown-out footage; LUTs can’t recover detail that isn’t there.
Which software works with these LUT packs?
The .cube format is widely supported. You can use these dark and moody LUTs in Adobe Premiere Pro, DaVinci Resolve, Final Cut Pro, Adobe After Effects, and many other editors that support custom LUTs.
How do I avoid crushing the shadows too much?
After applying the LUT, reduce its intensity or lift the shadows slightly until you can still read important detail (especially in faces and key objects). Always check your waveform or histogram so you’re not stacking everything at the absolute black point.
Can I combine LUTs with manual grading?
Yes—and that’s usually the best approach. Treat the LUT as your creative starting point, then manually refine exposure, contrast, saturation, and color balance to suit each scene. You’ll get the speed of presets with the precision of custom grading.
Written by Asanka — creator of AAAPresets (10,000+ customers).


Leave a comment
This site is protected by hCaptcha and the hCaptcha Privacy Policy and Terms of Service apply.