
Welcome, aspiring video creators, to the dynamic and exciting world of Adobe Premiere Pro! As we navigate, you've picked a professional-grade video editing software that forms the backbone of content creation for countless industries, from viral social media clips to blockbuster movies. While its extensive feature set might initially seem daunting, think of this guide as your trusted companion, designed to demystify Premiere Pro and equip you with the essential knowledge to start your editing journey with confidence. We'll peel back the layers, clarify the interface, and set you on the path to producing compelling video content.
Understanding the Premiere Pro Workspace: Your Editing Command Center
Upon launching Premiere Pro, you'll be greeted by the Home screen. This is your launchpad, allowing you to either embark on a brand new project or reopen existing ones. For newcomers, selecting "New Project" is your first step. This action triggers a critical dialog box where you'll define key project parameters:
- Project Name: This is where you give your project a distinct identity. Choosing a descriptive name, such as "Summer Vacation Montage" or "Beginner's Vlog Series - Episode 1," will greatly assist in future organization and retrieval.
- Project Location: This setting is paramount for maintaining order and preventing data loss. It is imperative that you designate a specific folder on your computer to house all components of your project. Creating a unique folder for each new project is a best practice that cannot be overstated; it shields you from the chaos of scattered files. Your future self will thank you profusely for this discipline.
- General Settings: For your initial forays into editing, it’s perfectly acceptable to retain the default settings. Advanced users will delve into options like the Mercury Playback Engine renderer, which can significantly boost performance. However, for your foundational projects, the defaults provide a stable and functional starting point.
Once you’ve meticulously set your project's name and location, click "OK." Prepare yourself to enter the main workspace, which is your digital editing suite. The Premiere Pro interface is a sophisticated yet intuitive arrangement of panels, each serving a distinct role in the editing workflow. Familiarizing yourself with these core components is the bedrock of your learning:
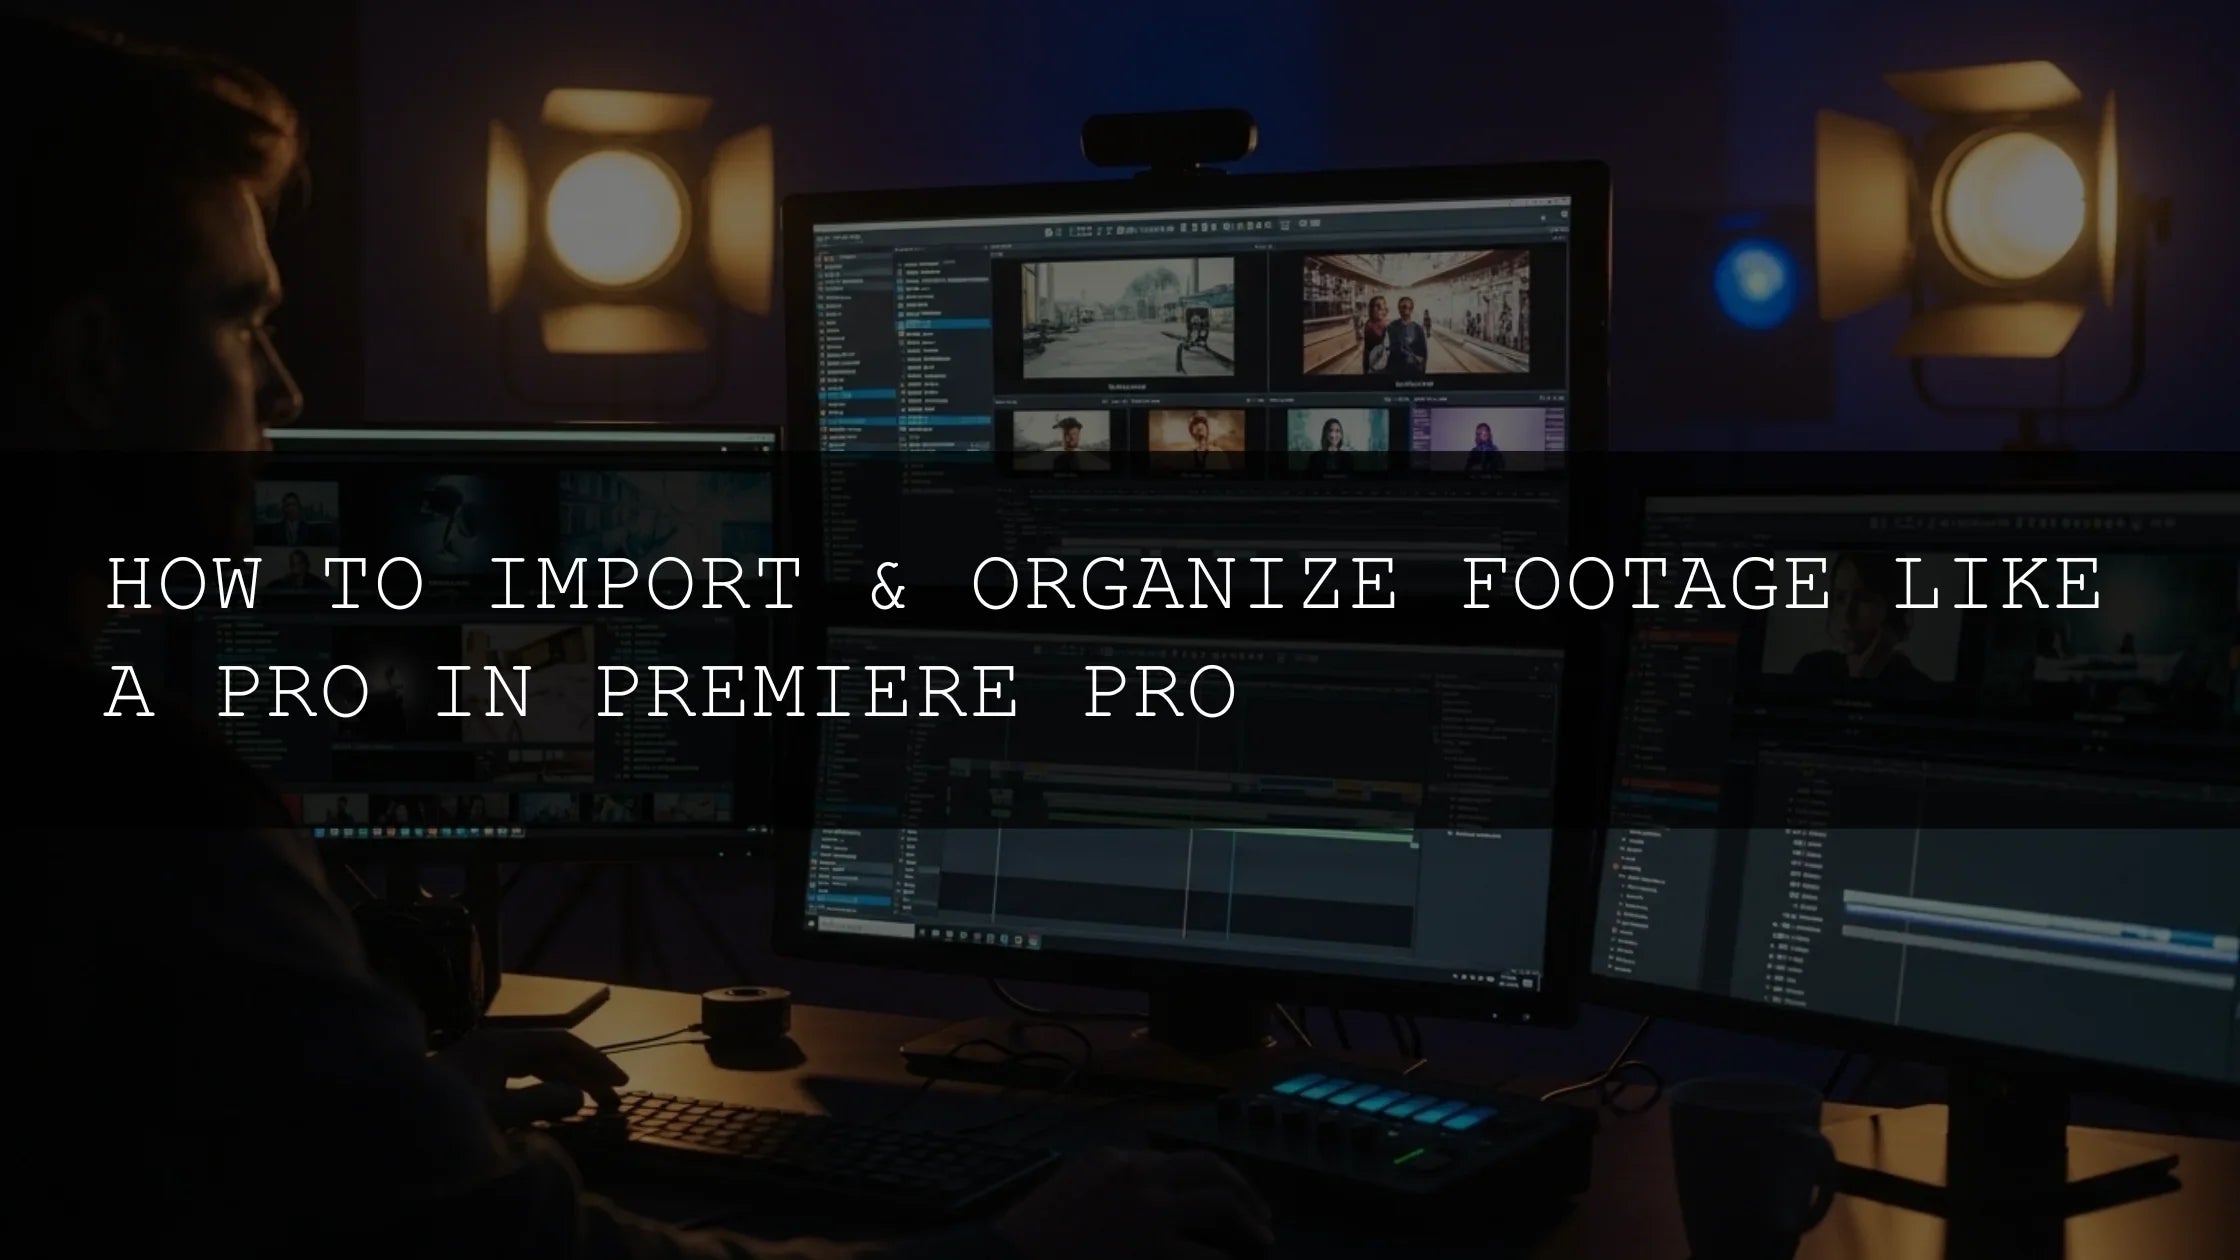
- Project Panel: Envision this as your project’s central library or asset manager. Every piece of media you import – video clips, audio files, still images, graphics, and even your final sequences – will be cataloged here. It's the organizational hub for all your project's assets.
- Source Monitor: This is your preview window for individual media clips *before* they are integrated into your main edit. You can meticulously play through footage, set precise 'In' and 'Out' points to define the exact start and end of a clip you wish to use, and even perform basic trims. This allows you to select precisely what you need for your Timeline.
- Program Monitor: This panel acts as the playback display for your edited sequence. It's the window through which you view the video you are actively constructing on the Timeline, showcasing your edits in real-time as you make them.
- Timeline Panel: This is the absolute heart of the editing process. Here, you’ll strategically arrange your clips in chronological order, layer multiple audio tracks for sound design, insert transitions, apply visual effects, and meticulously craft your narrative from beginning to end. It’s a visual representation of your video’s temporal flow.
- Tools Panel: Typically positioned to the left of the Timeline, this panel houses your indispensable editing tools. For beginners, the most crucial are the Selection Tool (shortcut: V), which enables you to select, move, and trim clips, and the Razor Tool (shortcut: C), which allows you to precisely cut clips into segments.
- Effect Controls Panel: When you select any clip or element on your Timeline, this panel dynamically displays its associated properties and any applied effects. Here, you can fine-tune parameters such as scale, position, rotation, opacity, and the specific settings of various video and audio effects.
- Effects Panel: This is your repository for a vast array of pre-built video transitions, video effects, audio effects, and more. You can easily browse, search, and drag these effects directly onto your clips on the Timeline.
Don't feel overwhelmed if these descriptions seem a bit abstract initially. The true understanding of each panel's utility will emerge organically as you begin actively editing and experimenting.
Importing Your Media: Bringing Your Assets into Premiere Pro
The editing process commences with the importation of your raw materials. Premiere Pro offers a streamlined approach to bringing your video, audio, and image files into your project:
- Navigate to the Project Panel.
- You can initiate the import process by right-clicking within an empty space in the Project Panel and selecting "Import..." from the contextual menu that appears.
- Alternatively, and often more efficiently, you can simply drag and drop your media files directly from your computer's file explorer (like Windows Explorer or macOS Finder) into the Project Panel.
Reiterating the importance of organization: ensure your media is sorted within your designated project folder *before* you import. This proactive step significantly enhances your ability to locate and manage your files throughout the editing lifecycle.
Constructing Your Narrative: Mastering the Timeline
The Timeline is where your creative vision truly materializes. Let's begin assembling your footage into a coherent sequence:
- Creating a Sequence: A sequence serves as the foundational canvas for your edited video. The most user-friendly method for beginners is often to drag a video clip directly from the Project Panel onto the empty Timeline panel. Premiere Pro is intelligently designed to automatically generate a sequence with settings that harmonize with your clip's properties, such as frame rate and resolution. While you can manually create a sequence via File > New > Sequence, the drag-and-drop approach is exceptionally convenient for initial projects.
- Placing Clips on the Timeline: Once your sequence is established, you can begin populating it by dragging individual clips from the Project Panel onto the Timeline tracks. Video clips are placed on video tracks (designated as V1, V2, V3, etc.), and audio clips are assigned to audio tracks (A1, A2, A3, etc.). This track-based system allows for the layering of multiple video and audio elements, enabling sophisticated productions.
- Precise Clip Selection with In and Out Points: To achieve more refined control over your edits than simply dropping entire clips, utilize the Source Monitor. Load a clip, play through it using the playhead, and press the 'I' key on your keyboard when you pinpoint the exact start of the segment you want. Subsequently, advance the playhead to your desired end point and press the 'O' key. When you then drag this clip to the Timeline, only the precisely defined portion will be inserted, significantly streamlining your workflow.
- Trimming and Cutting Clips: After clips are placed on the Timeline, you will frequently need to adjust their duration. The Selection Tool (V) allows you to click and drag the beginning or end edge of a clip to shorten or lengthen it – this is known as trimming. To divide a clip into two distinct segments, select the Razor Tool (C), position the playhead over the clip where you wish to make the cut, click to slice it, and then switch back to the Selection Tool (V) to manipulate or delete the unwanted portion.
- Understanding Edit Types (Ripple vs. Roll): As you gain experience, you’ll encounter different trimming methodologies. A basic trim adjusts a clip's duration without affecting others. However, a Ripple Edit, performed by dragging the edge of a clip, automatically shifts all subsequent clips on the same track to close any resulting gaps, thereby maintaining the continuity of your edit and saving valuable time.
Enhancing Your Vision: Applying Transitions and Basic Effects
Premiere Pro boasts an extensive library of effects designed to elevate the polish and aesthetic appeal of your videos. Let's explore a couple of fundamental yet powerful tools:
- The Ubiquitous Cross Dissolve: This is a classic and perhaps the most frequently used transition for its subtlety and seamlessness. Position two clips on your Timeline so that they are directly adjacent. Access the "Effects" panel, navigate to "Video Transitions" > "Dissolve," and select "Cross Dissolve." Drag this transition and drop it precisely onto the cut point between your two clips. The duration of the dissolve can be adjusted by clicking on the transition on the Timeline and manipulating its edges.
- Introduction to Lumetri Color Panel: Color grading is a transformative technique that can profoundly influence the mood, atmosphere, and overall visual narrative of your footage. Locate the "Lumetri Color" effect within the "Effects" panel and apply it to a clip on your Timeline. Within the "Effect Controls" panel, you will discover a comprehensive suite of sliders and controls under the "Basic Correction" section. These allow you to meticulously adjust exposure, contrast, highlights, shadows, white balance, and color temperature. For beginners, it’s wise to start with subtle adjustments; often, understated enhancements yield the most professional results.
- The Power of Keyframing: Many effects and properties can be animated over time using keyframes, enabling dynamic visual storytelling. For instance, to animate a clip's position or scale, select the clip on your Timeline. In the "Effect Controls" panel, find the specific property you wish to animate (e.g., "Scale"). Click the stopwatch icon adjacent to it to set the initial keyframe. Then, move the playhead forward on the Timeline to a new point in time, adjust the property's value, and Premiere Pro will automatically generate a second keyframe, creating a smooth animation between the two points.
Sharing Your Masterpiece: The Export Process
Once your video project reaches its conclusion, the final step is to export it into a universally compatible video file. Navigate to File > Export > Media.
- Format Selection: For the vast majority of online platforms and general viewing purposes, the H.264 format is the industry standard. It offers an exceptional balance between high visual quality and manageable file sizes, making it ideal for web sharing.
- Choosing the Right Preset: Premiere Pro provides a plethora of pre-configured presets optimized for specific platforms and resolutions. Prioritize presets such as "YouTube 1080p Full HD" or "Vimeo 1080p HD." These presets automate many complex settings, providing an excellent starting point for ensuring compatibility and optimal quality.
- Defining the Output Name and Location: Click on the blue text associated with "Output Name." This action opens a dialog box where you can specify the destination folder and assign a clear, descriptive name to your final exported video file. Ensuring this is easily locatable is crucial for accessing your finished product.
- Utilizing "Match Source" Options: To maintain the highest fidelity and quality of your original footage, it is often beneficial to select "Match Source" or "Match Source - High Bitrate" from the preset options. This ensures that your export settings closely mirror your sequence settings, preserving the integrity of your edit.
Initiate the export by clicking the "Export" button. Premiere Pro will then commence the rendering process, transforming your Timeline edits into a final video file. Congratulations – you've successfully navigated the end-to-end workflow of your first video project!
Embarking on Your Premiere Pro Journey and Beyond
This foundational guide has introduced you to the core pillars of Premiere Pro. However, the software is a universe of creative possibilities, with depth and versatility that continue to evolve. The most potent method for mastering Premiere Pro is through consistent practice and exploration. Don't hesitate to experiment with the various tools, delve into different editing techniques, and actively seek out online tutorials and resources. Remember, every seasoned editor began their journey exactly where you are today. Embrace the learning curve, revel in the process of bringing your unique visual stories to life, and may your editing endeavors be both productive and inspiring!

Leave a comment
This site is protected by hCaptcha and the hCaptcha Privacy Policy and Terms of Service apply.