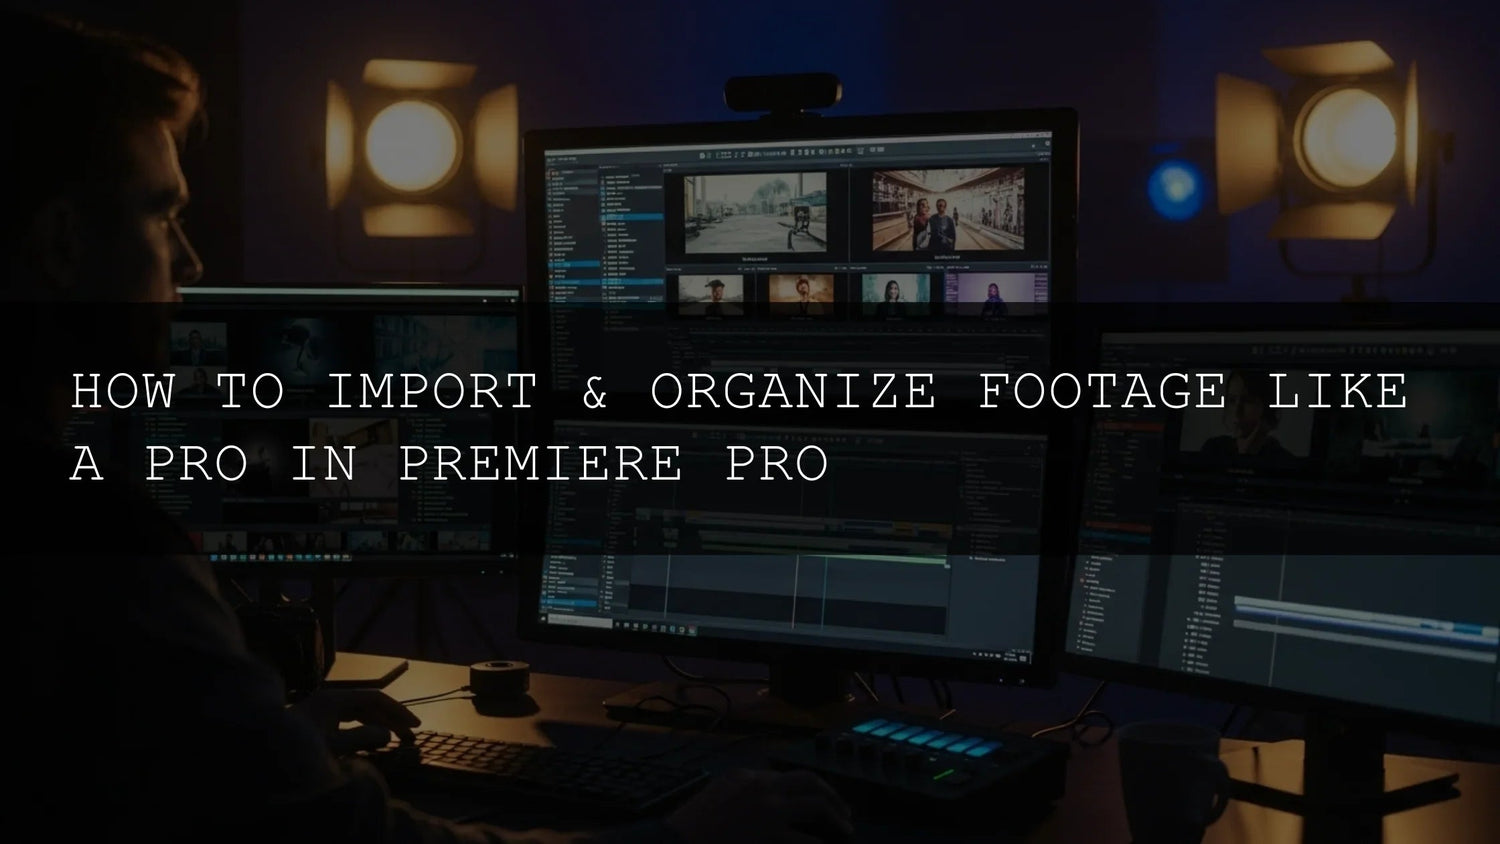
Greetings fellow visual storytellers! So, you've navigated the exciting, and sometimes chaotic, landscape of a video shoot. You've got hours of footage, sound bites, graphics, and maybe even some drone footage, all waiting to be transformed into a masterpiece. But before you dive into the creative abyss of editing, there’s a crucial, often underestimated, step: mastering the art of importing and organizing your media in Adobe Premiere Pro. If you're still dragging and dropping everything haphazardly into your project, you're likely wasting precious editing time and inviting future headaches. Today, we're going to elevate your workflow by exploring advanced techniques and pro-level strategies for managing your footage, ensuring a smooth, efficient, and stress-free editing experience for the future and beyond.
The True Cost of Disorganization: Why 'Good Enough' Isn't
We've all been there – staring blankly at a Project panel overflowing with ambiguously named clips, desperately trying to locate that perfect two-second shot. This isn't just frustrating; it's a significant drain on your productivity and creative energy. A disorganized project leads to:
- Endless Searching: Wasting minutes, even hours, hunting for specific files.
- The 'Media Offline' Nightmare: Accidental deletion or relocation of files can break your entire edit.
- Collaboration Breakdown: Difficulty sharing projects or handing off work to others.
- Reduced Render Speeds: Premiere Pro can struggle with inefficiently managed media.
- Increased Stress and Burnout: The mental toll of constant file wrangling detracts from the joy of editing.
Investing time upfront in a solid organizational system is not a luxury; it's a necessity for professional video editing.
Architecting Your Digital Foundation: Pre-Premiere Pro Preparations
Before you even think about importing, take command of your digital storage. A consistent, logical, and scalable folder structure is your project's skeletal system. This structure should be established on your fastest available drive (preferably an SSD or NVMe drive) and replicated for backup. Consider this robust structure as a best practice:
-
Project_Name/
-
01_Source_Media/
- 01a_Video/ (Raw camera footage, drone footage, screen recordings)
- 01b_Audio/ (External audio recordings, interviews, voiceovers)
- 01c_Stills/ (Photographs, scanned images)
- 01d_Graphics/ (Logos, lower thirds, title cards, Motion Graphics Templates)
- 02_Projects/ (Premiere Pro project files, auto-saves)
- 03_Proxies/ (Lower-resolution files for smooth editing)
-
04_Exports/
- 04a_Rough_Cuts/
- 04b_Final_Exports/
- 04c_Web_Exports/
- 05_Audio_Mix/ (Mixed audio stems, music, sound effects library)
- 06_Supporting_Docs/ (Scripts, storyboards, call sheets, client feedback)
- 07_Archive/ (For completed projects, older versions)
-
01_Source_Media/
Crucially, once footage is ingested into your `01_Source_Media` folder, resist the urge to rename or move individual files there. Let Premiere Pro manage the links.
Import Strategies: Beyond Simple File > Import
Premiere Pro offers multiple pathways for bringing your assets into the project. Each has its nuances and best-use cases:
The Media Browser: Your Central Command Hub
This is the professional's go-to tool. Accessible via Window > Media Browser, it provides:
- Direct Camera Card Access: Seamlessly browse footage directly from camera media, ensuring proper ingest of complex formats (e.g., ARRI Alexa, RED, Canon Cinema RAW Light).
- Format Compatibility: Handles a vast array of codecs and file types, often with better metadata preservation than standard import.
- Preview and Selection: Scrub through clips, view metadata, and even create subclips before importing, allowing for pre-selection of essential takes.
- Batch Importing: Select multiple clips or entire folders to import at once.
- Proxy Creation Integration: You can often initiate proxy creation directly from the Media Browser.
To import, navigate to your footage within the Media Browser, select the clips, right-click, and choose 'Import'. For camera footage, consider right-clicking the camera card or folder and selecting 'Ingest' to create copies and potentially transcode or create proxies during import.
The 'Copy and Transcode' Workflow (Ingest Settings)
When importing via the Media Browser, you can utilize 'Ingest Settings' to automate copying footage to your designated storage location and simultaneously create proxies or transcode to an editing-friendly codec (like ProRes or DNxHD/HR). To enable this:
- Open the Media Browser.
- Click the 'Gear' icon in the Media Browser panel to access preferences.
- Check the 'Ingest' box.
- Choose your desired destination for copied media (this should align with your `01_Source_Media` folder structure).
- Select your 'Create Proxies' or 'Transcode' option and choose your preferred codec and resolution.
Now, whenever you import files with ingest settings enabled, Premiere Pro will automatically copy them to your specified location and generate proxies, ensuring your source media remains untouched on your original drives until you decide to copy it over.
Drag and Drop: For Simplicity and Speed
While less feature-rich than the Media Browser, dragging files directly from your file explorer into the Project panel is quick and effective for easily accessible media like JPEGs, MP3s, or simple H.264 clips. Just ensure you're dragging into the correct bin.
Organizing the Chaos: Mastering the Project Panel
Once your media is in Premiere Pro, the Project panel becomes your control center. Effective organization here is paramount for navigating complex projects.
Bins: The Cornerstone of Structure
Think of bins as folders within Premiere Pro. Create them religiously for every logical category:
- By Shoot Day: 'Day_01', 'Day_02'
- By Location: 'Studio_A', 'Outdoor_Park'
- By Shot Type: 'A_Roll_Interviews', 'B_Roll_Wides', 'Closeups', 'Drone_Shots'
- By Media Type: 'Interview_Audio', 'Music_Tracks', 'SFX', 'Graphics'
- By Sequence Type: 'Edit_Sequences', 'Color_Grades', 'Masters'
- Utility Bins: 'Scratch', 'Unused Clips'
Use keyboard shortcuts: 'Ctrl+B' (Windows) or 'Cmd+B' (Mac) to create a new bin quickly.
Color Labeling: Visual Cues for Instant Recognition
Assigning colors to bins and clips provides an immediate visual hierarchy. Configure your default labels in Edit > Preferences > Label Colors. Common conventions:
- Red: Main Interviews / Primary Audio
- Blue: B-Roll / Supporting Visuals
- Green: Music / SFX
- Yellow: Graphics / Titles
- Orange: Sequences (Edit / Rough Cut)
- Purple: Color Graded Shots
This system allows you to quickly scan your timeline or Project panel and identify different types of media at a glance.
Mastering Clip Naming Conventions
Forget generic names. Adopt a consistent, descriptive naming scheme. Examples:
- `YYYYMMDD_Location_ShotType_Subject_Take#` (e.g., `20250315_CentralPark_Interview_JaneDoe_Take04`)
- `ProjectCode_SequenceName_ShotNumber` (e.g., `AdCampaign_Launch_Shot012`)
Rename clips directly in the Project panel by double-clicking their name or pressing 'Enter'.
Leveraging Metadata for Searchability
Premiere Pro's Metadata panel (Window > Metadata) is a powerful, yet often overlooked, tool:
- Keywords: Tag clips with relevant keywords ('sunset', 'dialogue', 'action', 'product shot').
- Description: Add brief descriptions of the clip's content.
- Comments: Use for notes, client feedback, or specific editing instructions.
- Custom Metadata Fields: Create your own fields if needed.
With rich metadata, you can utilize the powerful search function within the Project panel (Ctrl+F or Cmd+F) to instantly find clips based on keywords, descriptions, or any other metadata you've assigned.
Smart Bins: Automated Organization
Smart Bins allow you to create dynamic bins that automatically populate based on predefined criteria. To create a Smart Bin:
- Go to File > New Smart Bin.
- Define your search criteria (e.g., 'Label is Red', 'Keywords contain "interview"', 'Media Type is Audio').
This is fantastic for automatically grouping all your interview footage, all your music, or all clips from a specific day without manual intervention.
Advanced Workflow Integrations and Best Practices
To truly operate like a pro, integrate these advanced techniques:
- Proxy Workflows: For high-resolution footage (4K, 8K), proxy workflows are essential. Create low-resolution media (e.g., ProRes Proxy) during ingest or later via right-clicking clips -> Proxy -> Create Proxies. Toggle proxies on/off in the Program Monitor using the '+' button to reveal the 'Toggle Proxies' icon. This drastically improves playback performance on less powerful machines or during complex edits.
- Project Manager for Archiving: When a project is complete, use File > Project Manager. Select 'Consolidate and Transcode' to create a clean copy of your project with only the used media, reducing file size and ensuring all assets are included for archival or future use. You can also choose to 'Collect Files and Copy to New Location'.
- Regular Housekeeping: Periodically review your Project panel. Delete or archive unused clips (Premiere Pro can help identify these via Edit > Remove Unused Clips). Keep your sequences neatly organized in their own bin.
- Utilize Markers and Subclips: Within sequences, use markers (press 'M') to denote key moments or notes. Create subclips (drag a portion of a clip from the Source Monitor to the Project panel or use keyboard shortcuts) to isolate frequently used segments.
- Consistent Backups: Regularly back up your project files and source media to multiple locations (e.g., external hard drives, cloud storage). An organized project is useless if the data is lost.
By embracing these import and organization strategies, you're not just tidying up; you're building a robust, efficient foundation for your entire editing workflow. This discipline will save you time, reduce stress, and ultimately allow you to focus on what truly matters: telling compelling stories. Happy editing!

Leave a comment
This site is protected by hCaptcha and the hCaptcha Privacy Policy and Terms of Service apply.