
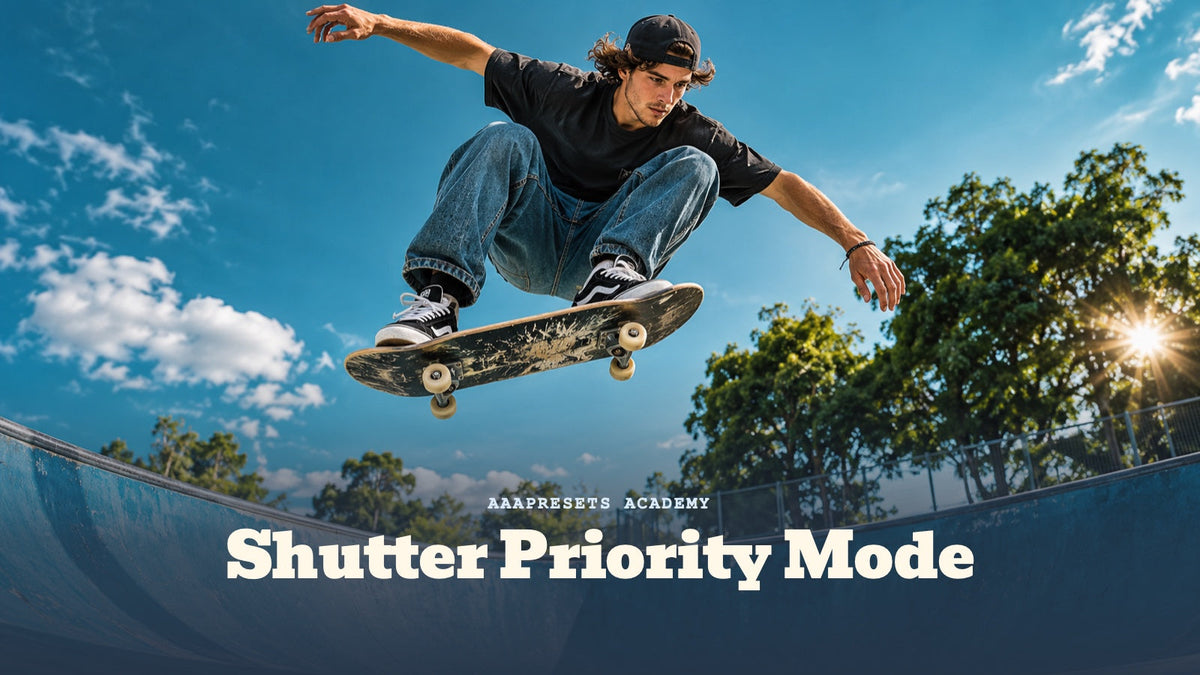
Shutter Priority mode lets you choose the shutter speed while your camera automatically selects an aperture to suit the available light. It is usually marked S or Tv. Use it when you want to freeze a moving subject, deliberately blur motion, or change how flowing water and traffic look without setting every exposure control manually.
The important catch is that the camera cannot create light or go beyond your lens's aperture limits. This guide explains how to set up Shutter Priority, which speeds to try, and what to check when your photos are still blurry or incorrectly exposed.
What Is Shutter Priority Mode?
Shutter Priority is a semi-automatic exposure mode. You decide how long each photograph's exposure lasts, and the camera adjusts the lens aperture according to its meter. If Auto ISO is enabled, ISO may also change, depending on the camera and its settings. With a fixed ISO, the camera generally relies on aperture adjustments alone.
A speed of 1/1000 second records a much shorter slice of movement than 1/30 second. Faster speeds help freeze action; slower speeds let movement appear as blur. Shutter speed also affects how much light is recorded. For example, moving from 1/500 to 1/1000 second halves the exposure time, so the camera may need a wider aperture or higher ISO to maintain a similar image brightness. For the fundamentals, see what shutter speed means in photography.
Where to Find S or Tv on Your Camera
- Sony and Nikon: Look for S on the mode dial or shooting-mode menu. Sony's Alpha 7 V Shutter Priority instructions provide a model-specific example.
- Canon and Pentax: The equivalent mode is commonly labeled Tv, short for Time Value. Canon's EOS R100 Tv mode instructions explain how shutter speed can freeze or blur movement.
- Fujifilm: Controls depend on the model. On an X-T5, for example, setting the aperture to automatic and selecting a shutter speed activates Shutter-Priority AE, as shown in the official X-T5 guide.
Some cameras display 1000 to mean 1/1000 second; a quotation mark, such as 2", usually indicates two whole seconds. The exact controls and available speed range vary by model.
Which Shutter Speed Should You Choose?
Start with the movement you want to capture rather than one supposedly perfect setting. These are practical starting points, not guarantees:
- 1/2000 second or faster: Very rapid movement, flying birds, or splashing water when you want crisp details.
- 1/500 to 1/1000 second: Running children, active pets, cyclists, and many sports situations.
- Around 1/250 second: People walking and everyday street scenes with moderate movement.
- 1/125 to 1/250 second: Relatively still portraits and general handheld photographs, provided your focal length and conditions allow it.
- 1/30 to 1/125 second: Panning with a moving cyclist or vehicle so the tracked subject can remain relatively sharp while the background streaks.
- 1/15 second to several seconds: Flowing water, blurred crowds, and intentional motion effects; stabilize the camera when necessary.
- Several seconds or longer, where supported: Night traffic trails and very smooth water, usually with a tripod and careful exposure control.
Subject speed, direction, distance, focal length, focus accuracy, and the size at which you view the image all affect the result. Check a test shot and increase or decrease the speed based on what you see.
How to Use Shutter Priority in Five Steps
- Select S or Tv. Put the camera in still-photo mode if it has separate photo and video controls. Then select Shutter Priority using the mode dial or menu.
- Set a starting shutter speed. Try 1/1000 second for a running dog, 1/250 second for a walking person, or 1/60 second for a first panning attempt. Adjust with the camera's control dial.
- Choose an ISO approach. Auto ISO can be useful when a subject moves between sunlight and shade. Check the maximum ISO setting so you understand the noise trade-off. For bright scenes and long exposures, a low ISO is usually a better starting point.
- Match autofocus to your subject. Use continuous autofocus or subject tracking when available for movement. For a stationary landscape or repeatable water flow, focus carefully on the part of the scene that should stay sharp.
- Inspect the shot. Zoom in to check focus and motion blur. Review the aperture, ISO, exposure compensation, and histogram or highlight warning if available. Change the shutter speed or exposure settings when the result does not match your intention.
Remember: Shutter Priority does not guarantee a correct exposure. If your lens cannot open or close far enough, or your ISO reaches a configured limit, the camera may show a warning and still produce an image that is too dark or too bright.
Three Situations Where Shutter Priority Helps
1. Freeze Sports, Pets, and Other Action
Imagine photographing a dog sprinting through a park. Begin around 1/1000 second, use continuous autofocus, and follow the animal through the frame. If the paws or fur still blur more than you want, try 1/1600 or 1/2000 second. If the picture becomes too dark, check whether the camera has opened the lens to its widest aperture and whether ISO can increase appropriately.
2. Pan With a Cyclist or Moving Car
To communicate speed instead of freezing everything, try about 1/60 second as a starting point. Follow the subject smoothly before, during, and just after pressing the shutter. The subject may remain relatively sharp while the background becomes streaked. This technique requires practice; slower speeds usually make successful tracking harder. Photograph vehicles only from safe, permitted locations.
3. Turn Flowing Water Into a Soft Blur
Place the camera on a tripod and test a stream or waterfall around 1/4 second, then one second. The camera records more of the water's movement, creating a softer appearance. In bright daylight, however, the narrowest available aperture and lowest practical ISO may still be insufficient: an ND filter can reduce the incoming light so you can keep the slow shutter. For more control over both depth of field and exposure, see how to create silky water with slow shutter speed.
Common Shutter Priority Problems and Fixes
- The photo is too dark: A fast shutter may not admit enough light. Try a slower speed if movement allows, increase ISO, add light, or use a lens with a wider maximum aperture. Look for an aperture or exposure warning.
- The photo is too bright: A slow shutter in strong daylight may overexpose even when the lens stops down. Lower ISO where appropriate, use an ND filter, or shorten the exposure.
- The meter makes the scene too bright or too dark: If no exposure-limit warning appears, try exposure compensation to request a brighter or darker result without changing the shutter speed you selected. Compensation cannot overcome your lens or ISO limits, so check the display after adjusting.
- The entire image looks shaky: Use a faster speed, improve support, or mount the camera on a tripod. Image stabilization can reduce some camera shake, but it does not freeze a moving subject.
- Only the moving subject is blurred: Increase the shutter speed if you want to freeze movement. Also inspect the focus point and tracking performance; missed focus can look similar to motion blur.
- The background is blurrier than expected: The camera may have selected a wide aperture to compensate for a fast shutter. If precise depth of field matters, switch to a mode that lets you set the aperture directly.
The traditional handheld guideline of roughly 1 divided by the focal length is only a starting point for camera shake on a full-frame camera. Sensor format, stabilization, resolution, technique, and subject motion can change the speed you actually need. For a broader explanation of the trade-offs, read how aperture, shutter speed, and ISO work together.
When Is Another Camera Mode Better?
Shutter Priority works best when controlling motion is your main goal. Choose Aperture Priority (A or Av) when you care more about background blur or keeping a larger part of a landscape in focus. Consider Manual mode with Auto ISO, where supported, when you need to keep both shutter speed and aperture fixed while brightness changes. For carefully planned tripod exposures, Manual mode with a fixed ISO can offer more predictable control.
The useful question is not which mode looks more professional, but which setting you need to protect. The AAAPresets guide on whether to change aperture or shutter speed first explores that decision in more detail.
A Simple Shutter Priority Practice Exercise
- Choose a safe, repeatable moving scene such as water flowing from a fountain.
- Take photographs at 1/1000, 1/250, 1/60, and 1/15 second, using a tripod for slower speeds when necessary.
- Compare the motion in each frame and note how the camera changed aperture and ISO.
- Repeat after the light changes, and watch for exposure warnings. If slow settings overexpose the image, move to dimmer light or use an appropriate ND filter.
After a few rounds, you should be able to choose a shutter speed based on the motion you want instead of guessing.
Refine Your Motion Photos After Shooting
Shutter Priority controls the movement captured in-camera; editing can then refine color, tone, and contrast. If you enjoy bold action and street-photography color, the AI-Optimized Vivid Motion Lightroom Presets offer eight adjustable DNG and XMP presets for Lightroom and Adobe Camera Raw. Check exposure and white balance after applying a look, and remember that a preset cannot restore detail lost to severe motion blur.
Written by Asanka — creator of AAAPresets, serving more than 10,000 customers.

Leave a comment
This site is protected by hCaptcha and the hCaptcha Privacy Policy and Terms of Service apply.