
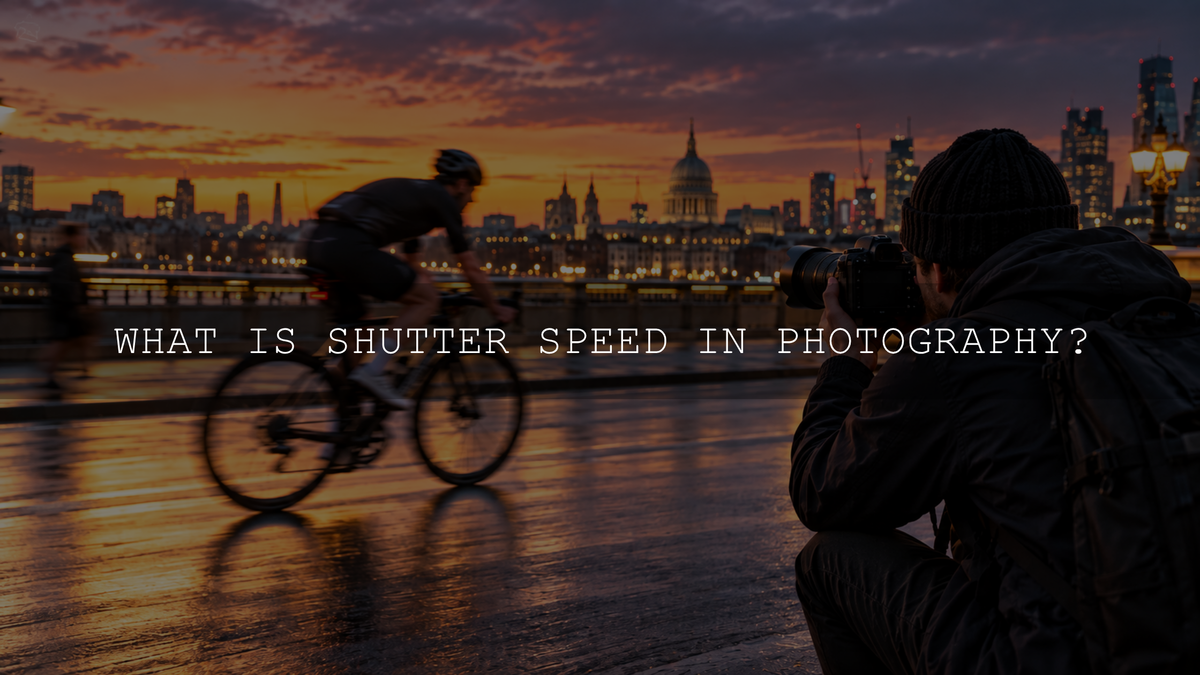
Shutter speed controls how long your camera records light for a photograph. A fast shutter speed records a very short moment and can freeze movement, while a slow shutter speed records a longer period and can turn movement into visible blur. It also affects how much light is captured, so changing shutter speed usually requires you to think about aperture, ISO or the available light.
The most useful way to learn shutter speed is not to memorize one supposedly perfect number. Instead, decide how you want movement to appear, choose a shutter speed that supports that result, and then balance the remaining exposure settings around it.
What Is Shutter Speed in Photography?
Shutter speed, also called exposure time, describes how long the camera records light during a photograph. Common values include 1/2000 second, 1/500 second, 1/125 second, 1/30 second and exposures lasting one second or longer.
For example, 1/1000 second records only one thousandth of a second. A two-second exposure records light for a full two seconds. The difference dramatically changes both the amount of light captured and the way movement appears.
A traditional explanation compares the shutter to curtains positioned in front of the camera sensor. That is useful for understanding a mechanical focal-plane shutter, but it is not the complete picture for modern cameras. Many mirrorless cameras can also use an electronic shutter, where the sensor electronically begins and ends the exposure without relying entirely on moving mechanical curtains.
If you want a manufacturer-level explanation of the fundamental concept, Nikon's guide to understanding shutter speed explains how exposure duration affects light, sharpness and movement.
How Shutter Speed Changes Light
With the aperture and scene brightness unchanged, a longer exposure records more light and a shorter exposure records less.
Shutter speeds are commonly discussed in stops. Doubling the exposure time adds approximately one stop of captured light, while halving it removes approximately one stop. If stops are new to you, see our guide to what one stop of exposure means.
- 1/1000 to 1/500 second: approximately twice the exposure time.
- 1/500 to 1/250 second: approximately twice the exposure time again.
- 1/250 to 1/125 second: another approximately one-stop increase.
- 1/30 to 1/15 second: approximately twice as much exposure time.
The displayed numbers may be rounded slightly by the camera, and many cameras let you change shutter speed in one-third-stop or half-stop increments rather than only full stops.
The important idea is simple: making the shutter faster gives you less captured light but more ability to freeze movement. Making it slower gives you more captured light but increases the amount of movement that can be recorded during the exposure.
Fast Shutter Speed: Freezing Movement
A fast shutter speed records such a short interval that movement may appear frozen. This is useful for sports, wildlife, running children, active pets, splashing water and other subjects where unwanted motion blur could ruin an otherwise good photograph.
Useful starting points include:
- A person moving casually: around 1/250 second can be a practical starting point.
- Running children or active pets: try approximately 1/500 second and increase it if movement is still blurred.
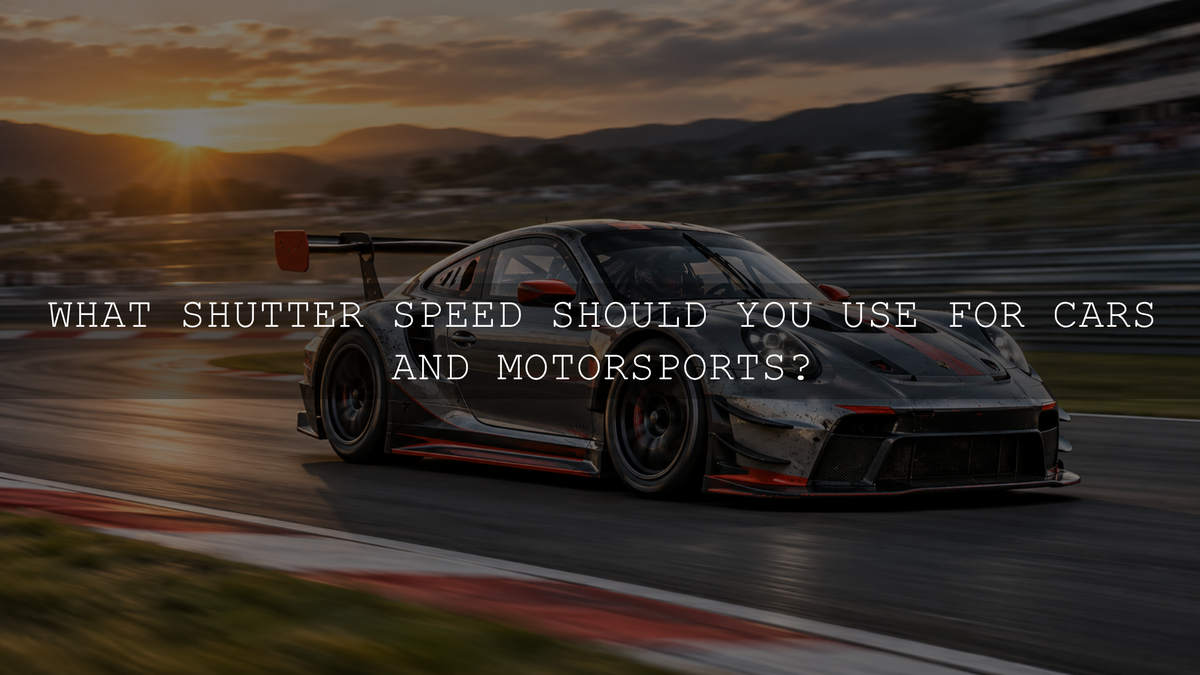
- Fast sports or wildlife: approximately 1/1000 second or faster may be needed.
- Very rapid movement: 1/2000 second, 1/4000 second or faster may be useful when the camera, available light and subject require it.
These are starting points, not guaranteed settings. A bird flying across the frame can require a different speed from a person walking toward the camera. Subject speed, direction of movement, distance, focal length, image resolution and how large the final photograph will be viewed all influence how much blur becomes visible.
Slow Shutter Speed: Showing Movement
Blur is not always a mistake. A slower shutter speed can deliberately show that something moved while the exposure was being recorded.
You can use slower exposures to create:
- Soft or silky-looking moving water.
- Vehicle light trails at night.
- Blurred crowds around a stationary subject.
- Movement in waves, clouds or foliage.
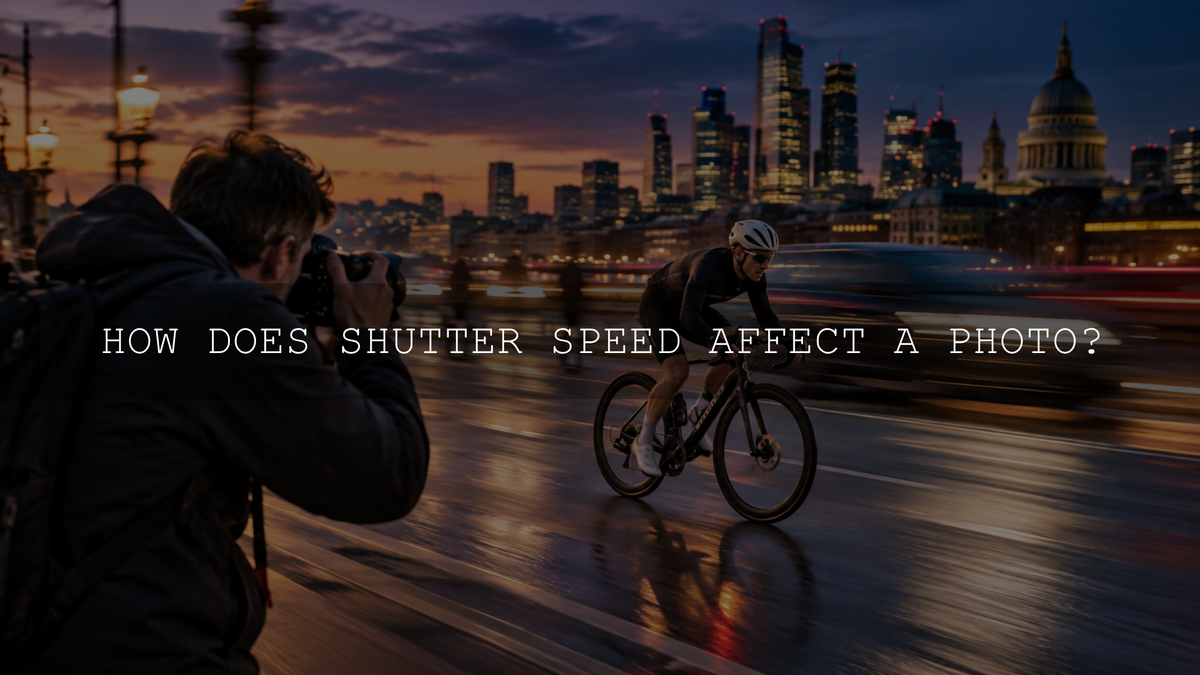
- Dynamic panning photographs of cyclists, cars or runners.
For example, photographing flowing water at 1/1000 second may separate individual droplets, while 1/15 second can produce visible streaking. Exposures lasting a second or several seconds can smooth the movement much further.
The exact result depends on how quickly the subject moves. There is no single shutter speed that always produces the ideal waterfall, light trail or panning effect.
Camera Shake and Subject Motion Are Different Problems
One of the most useful distinctions for beginners is the difference between camera shake and subject-motion blur.
Camera shake happens because the camera moves during the exposure. If the shutter is too slow while you are handholding the camera, stationary details throughout the frame can become soft.
Subject-motion blur happens because the subject moves while the camera is recording the exposure. The camera itself can be completely stable and the subject can still be blurred.
This difference matters because the solutions are not identical. A tripod or image stabilization can help reduce blur caused by camera movement, but neither can stop a person, animal or vehicle from moving during the exposure. To freeze the subject, you generally need a sufficiently fast shutter speed.
How Slow Can You Shoot Handheld?
A traditional guideline for handheld photography is the reciprocal rule. As a basic full-frame starting point, try to keep the shutter speed around the reciprocal of the focal length or faster.
For example:
- 50mm lens: approximately 1/50 second or faster.
- 100mm lens: approximately 1/100 second or faster.
- 200mm lens: approximately 1/200 second or faster.
Sony also describes 1 divided by the focal length as a generally accepted starting guideline for reducing handheld camera shake in its camera-blur guidance.
However, do not treat the reciprocal rule as a guarantee. Crop-sensor cameras, very high-resolution sensors, your holding technique, wind, lens size, viewing distance and individual steadiness can justify using a faster speed.
Image stabilization can sometimes let you handhold a stationary scene at shutter speeds slower than the traditional rule suggests. Its effectiveness depends on the camera, lens, technique and shooting conditions.
Most importantly, stabilization compensates for camera movement. It does not freeze a moving subject. You may be able to handhold a stabilized camera at 1/15 second and keep a building sharp, but a person walking through the scene may still be visibly blurred.
Shutter Speed in Low Light
Low light creates an important trade-off. A slower shutter records more light, but it also records movement for longer. That can work well for a stationary night scene on a tripod but poorly for a person moving inside a dark room.
If your subject requires a faster shutter speed than the available light comfortably supports, you generally have several options:
- Use a wider aperture when the lens and required depth of field allow it.
- Raise ISO enough to maintain the shutter speed you need.
- Add light with an appropriate lighting source when practical.
- Accept some motion blur when it supports the creative result.
Digital ISO is sometimes described as making the sensor more sensitive to light. For practical beginner photography that shortcut can seem convenient, but raising ISO does not physically extend the exposure or open the lens. Aperture and shutter duration determine how much light is captured during the exposure, while digital ISO changes how the camera amplifies, processes or represents the resulting signal.
This is why keeping ISO at its minimum value should not automatically take priority over shutter speed. A slightly noisier photograph with the important subject sharp can be more useful than a cleaner file ruined by unwanted motion blur. For the broader relationship between these controls, see how aperture, shutter speed and ISO work together.
Useful Shutter-Speed Starting Points
Instead of memorizing these as rules, use them as initial test values and review the photograph.
- Stationary everyday subjects: around 1/125 second can be a convenient handheld starting point, depending on focal length and stabilization.
- Portraits: approximately 1/160 to 1/250 second can help control small movements, although the subject and focal length may require more.
- Walking people: approximately 1/250 to 1/500 second.
- Running people or active pets: approximately 1/500 to 1/1000 second.
- Fast sports or wildlife: approximately 1/1000 to 1/2000 second or faster when needed.
- Panning: experiment around 1/15 to 1/125 second depending on subject speed and the amount of background streaking you want.
- Moving water: try anything from around 1/30 second to several seconds depending on the effect.
- Night traffic trails: exposures lasting several seconds can record long trails when the camera is stable.
After every test photograph, zoom in on an important area and ask why any blur is visible. Was the camera moving, was the subject moving, did focus miss, or was the blur intentional? Identifying the cause is more useful than blindly increasing shutter speed every time an image looks soft.
When to Use Shutter Priority Mode
Shutter Priority is useful when movement is your main concern. Depending on the camera brand, the mode may be labeled S or Tv.
You select the shutter speed and the camera automatically chooses an aperture within the available range. ISO may also change when Auto ISO is enabled, depending on the camera and configuration.
This makes Shutter Priority useful for:
- Sports.
- Wildlife.
- Running children.
- Moving vehicles.
- Water.
- Panning practice.
- Any situation where the appearance of movement matters more than maintaining one exact aperture.
If the light changes quickly, Shutter Priority can be easier than constantly adjusting every exposure setting manually.
When Manual Mode Makes More Sense
Manual exposure is useful when you want direct control over both shutter speed and aperture.
For example, imagine you are photographing an indoor sporting event. You may decide that 1/1000 second is necessary to freeze movement and f/2.8 is needed because of the limited light. If your camera supports it, Manual mode with Auto ISO can allow you to lock those two visual priorities while ISO changes as the lighting varies.
For a long-exposure landscape, you may instead fix a relatively low ISO and choose the aperture for the required depth of field, then select the shutter speed that produces the movement and exposure you want.
Manual mode is not automatically more professional. The best mode is the one that lets you protect the setting that matters most without making the shooting process unnecessarily difficult.
Mechanical vs Electronic Shutter
The word “shutter” does not always mean that two physical curtains are moving for every photograph.
A mechanical focal-plane shutter typically uses physical curtains to control the exposure. Many modern mirrorless cameras can also use an electronic shutter, where the sensor electronically controls the start and end of image capture. Some cameras additionally offer an electronic front-curtain mode that combines electronic exposure initiation with a mechanical rear curtain.
Electronic shutters can provide advantages such as quieter operation and, on some cameras, access to very fast shutter speeds. However, their behavior is camera-dependent. Rapid subject movement can cause rolling-shutter distortion on some sensors, while certain artificial lights can create banding. Flash compatibility and available shutter speeds can also vary by model.
Sony documents these model-dependent limitations in its electronic-shutter guidance.
If you are photographing fast action, flickering LED lighting or flash, check your specific camera manual instead of assuming that mechanical and electronic shutter modes behave identically.
Common Shutter Speed Mistakes
Using 1/60 Second for Everything
There is nothing universally safe about 1/60 second. It may work for one stationary scene with a wide lens and fail completely with a running subject or long telephoto lens.
Trusting Image Stabilization to Freeze People
Stabilization can reduce camera shake. It cannot stop your subject from walking, turning, running or moving their hands during a long exposure.
Using an Extremely Fast Shutter Without Enough Light
A fast shutter can freeze movement but reduces exposure time. If the frame becomes too dark, you may need a wider aperture, higher ISO or additional light.
Always Choosing the Lowest ISO
A low ISO can be useful for image quality, but not if it forces a shutter speed that creates unwanted subject blur. Protect the shutter speed the photograph actually requires.
Assuming Every Soft Photograph Is Caused by Shutter Speed
Blur can also result from missed focus, insufficient depth of field, lens performance, subject movement, camera movement or atmospheric conditions. Diagnose the cause before changing settings.
Expecting Editing to Repair Severe Motion Blur
Editing software can improve exposure, contrast, color and local detail, and some sharpening tools can improve the appearance of mild softness. However, severe motion blur means important spatial detail was never recorded sharply in the original exposure. Getting the shutter speed right during capture remains the more reliable solution.
A Simple Shutter Speed Practice Exercise
You can understand shutter speed more quickly by photographing the same movement repeatedly instead of only reading about the numbers.
- Put the camera in Shutter Priority mode.
- Find a continuously moving subject such as flowing water, a fan, passing vehicles or someone walking.
- Start with a relatively fast speed such as 1/1000 second.
- Take a photograph and inspect the movement.
- Change to 1/500, 1/250, 1/125, 1/60 and 1/30 second, letting the camera adjust the other exposure settings where possible.
- Compare how the same motion changes from frame to frame.
- If the shutter becomes too slow to hold steadily, stabilize the camera so you can separate subject movement from camera shake.
You should see a gradual transition from frozen detail to increasingly visible motion. That visual comparison is much more useful than memorizing a list of numbers without understanding what they do.
How to Choose Shutter Speed in the Real World
Start by asking one question: How do I want movement to appear?
If the movement must be frozen, choose a sufficiently fast shutter speed first. If you deliberately want blur, choose the slower exposure that creates that effect. Then choose an aperture that provides suitable depth of field and adjust ISO when necessary to make those settings practical in the available light.
If the subject is stationary but the camera is handheld, consider focal length, stabilization and your own technique. If the subject itself is moving, prioritize its movement even if stabilization would otherwise allow a slower exposure.
There is no universally correct shutter speed. The correct choice depends on the subject, available light, focal length, stabilization, camera, creative intent and how much blur you are willing to accept.
Frequently Asked Questions
Is 1/500 Second a Fast Shutter Speed?
For many everyday subjects, yes. It can freeze moderate movement effectively, but very fast sports, birds in flight or rapidly moving vehicles may require 1/1000 second, 1/2000 second or faster. The required value depends on the actual movement and shooting conditions.
What Is the Best Shutter Speed for Photography?
There is no single best shutter speed. Use a faster exposure when you need to freeze motion, a slower exposure when you deliberately want movement to blur, and a sufficiently fast handheld speed when camera shake is the main concern.
Does Shutter Speed Affect Exposure?
Yes. With the aperture and scene unchanged, a longer shutter duration records more light and a shorter duration records less. Doubling or halving the exposure time changes the captured light by approximately one stop.
Can Image Stabilization Replace a Fast Shutter Speed?
Not when the subject itself is moving. Stabilization can reduce blur caused by camera movement, which may help with stationary scenes, but a moving person, animal or vehicle still requires a shutter speed appropriate for that movement.
The Main Idea to Remember
Shutter speed controls time in a photograph. Short exposures can freeze a fraction of a second, while long exposures allow movement to build across the image.
Instead of asking for one universal shutter speed, decide whether you want motion frozen or visible. Protect that creative decision first, then use aperture, ISO, stabilization or additional light as needed to make the exposure practical.
Practice the same moving subject at several shutter speeds and compare the results closely. Once you can predict how 1/1000, 1/250, 1/60 and 1/15 second will change movement, shutter speed stops feeling like an abstract number and becomes one of the most intuitive creative controls on your camera.
Written by Asanka — creator of AAAPresets.

Leave a comment
This site is protected by hCaptcha and the hCaptcha Privacy Policy and Terms of Service apply.