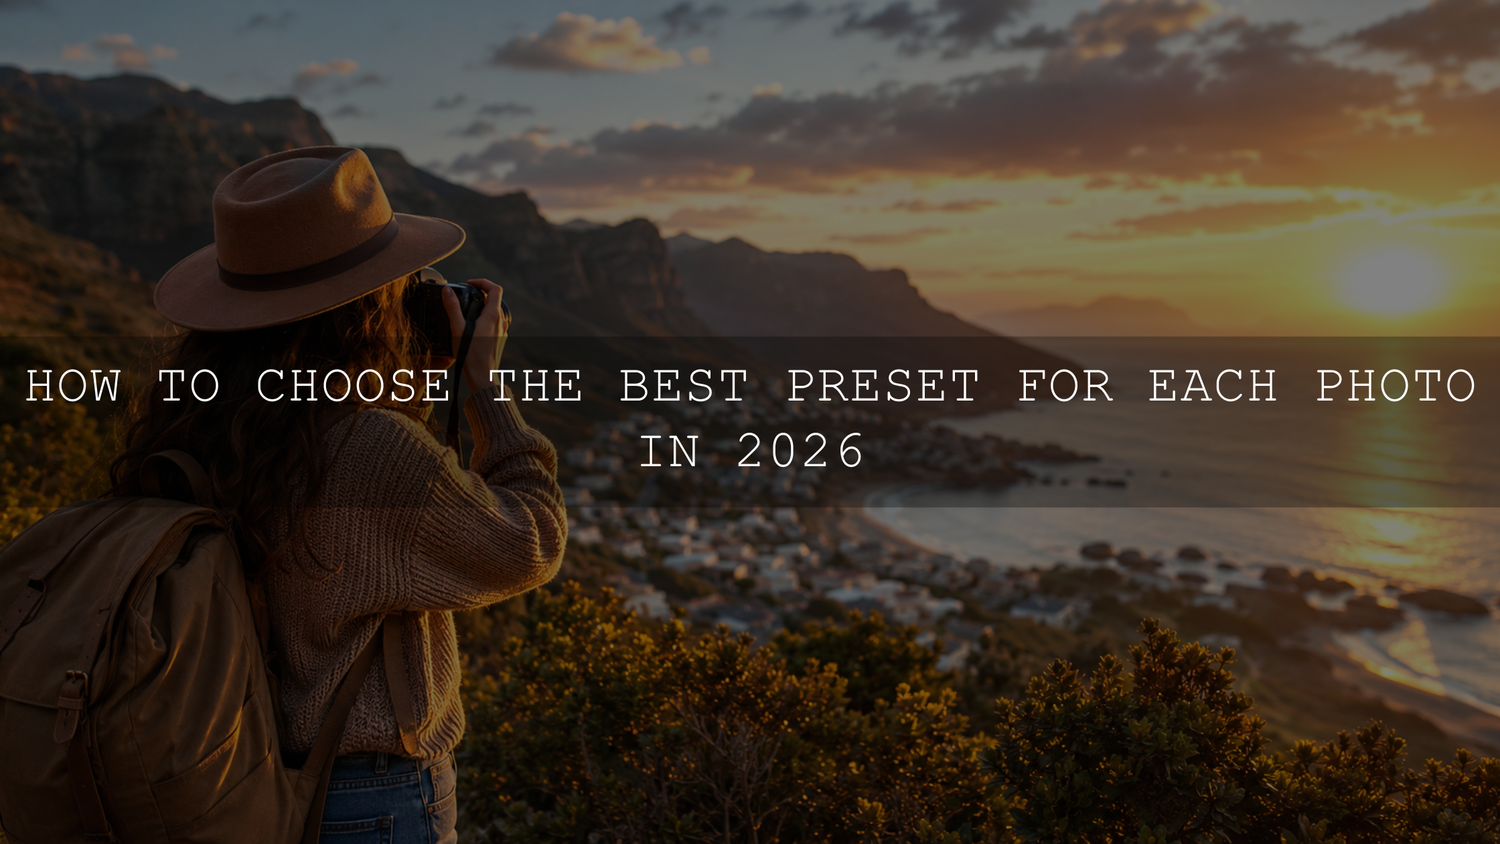
How to Choose the Best Preset for Each Photo in 2026
Choosing the best preset for each photo is not about clicking the most dramatic look first. It is about reading the image, understanding the light, protecting the subject, and selecting a Lightroom preset that supports the story already inside the photo. In 2026, presets are faster, smarter, and more creative than ever, but the best results still come from one simple habit: match the preset to the photo’s mood, lighting, color, and purpose.
Here’s why this matters: the same preset can look beautiful on a golden hour portrait and completely wrong on an indoor photo with yellow lighting. A cinematic preset may add depth to a street scene, but it could make a bright family photo feel too heavy. A vintage preset can create emotion, but it may also flatten skin tones if the original photo is already warm. That is why preset selection is a creative decision, not just a one-click shortcut.
For a faster editing workflow, start with a flexible pack like the 1000+ Master Lightroom Presets Bundle and browse more styles in the Lightroom Presets for Mobile and Desktop collection. Try these presets today — Buy 3, Get 9 FREE — and use them as creative starting points you can fine-tune for each photo.
What Is a Lightroom Preset?
A Lightroom preset is a saved group of editing settings that can be applied to a photo with one click. It may adjust exposure, contrast, highlights, shadows, white balance, color mixer settings, tone curve, sharpening, grain, and other creative controls. In simple words, a preset gives your image a ready-made editing style.
But a preset is not only a filter. A good preset is more like a professional editing recipe. It gives you a strong starting point, then you adjust it to fit the photo. Adobe’s own Lightroom editing tools allow photographers to refine tone, color, and individual color ranges after applying a preset, which is why presets work best when you treat them as adjustable foundations rather than final edits. You can learn more from Adobe’s guide to editing photos in Lightroom.
I have tested presets on portraits, wedding photos, street images, travel shots, product-style edits, and mobile images for AAAPresets. The biggest lesson is simple: the preset is only one part of the edit. The original light, exposure, color, and subject decide whether that preset will look natural or overdone.
Why Presets Are Useful for Modern Photo Editing
Presets are popular because they save time, create consistency, and help photographers build a recognizable visual style. When you are editing one photo, manual editing may feel easy. But when you are editing 50 travel photos, a wedding gallery, a product shoot, or daily social media content, presets can make your workflow much faster.
- They save editing time: A preset can apply a full creative look in seconds.
- They help your brand look consistent: Your Instagram feed, portfolio, website, or client gallery can feel more polished.
- They make experimentation easier: You can test cinematic, moody, vintage, bright, or portrait styles quickly.
- They teach editing techniques: By checking what a preset changes, you can learn how color grading, tone curves, and contrast work.
- They give you creative direction: A preset can help you see a new mood in a photo that looked ordinary before.
If you want to understand why presets can look different from one photo to another, read this related guide on why Lightroom presets look different on every photo. It explains one of the most common issues photographers face when a preset looks amazing on one image but strange on the next.
The Golden Rule: Match the Preset to the Photo’s Intent
The best preset is not always the most popular one. It is the one that supports the purpose of the photo. Before applying anything, ask yourself: what should this image feel like?
A beach photo may need clean blues, soft warmth, and bright highlights. A rainy city photo may need deeper shadows, cooler tones, and stronger contrast. A wedding portrait may need natural skin, soft highlights, and gentle color. A vintage memory-style image may need faded blacks, grain, and muted warm tones.
This is where many beginners make mistakes. They choose a preset because it looks good in the preview, not because it fits the photo. A preset should enhance the image, not fight it.
Step-by-Step Guide to Choosing the Right Preset
1. Read the Photo Before You Edit
Before applying a Lightroom preset, look at the photo carefully. This step takes only a few seconds, but it can save you from choosing the wrong style.
- Check the light: Is it bright, soft, harsh, golden, cloudy, indoor, or low-light?
- Check the exposure: Is the image too dark, too bright, or already balanced?
- Check the colors: Are the tones warm, cool, green, blue, orange, or mixed?
- Check the subject: Is it a person, landscape, street scene, product, food, wedding moment, or travel image?
- Check the emotion: Should the final image feel clean, dramatic, romantic, nostalgic, bold, calm, or cinematic?
Here’s a simple example. If your image is a soft outdoor portrait with natural light, a heavy moody preset may crush the shadows and make the skin look dull. A portrait-friendly or warm cinematic preset will usually be a better starting point. For portraits, you can explore the Professional Portrait Lightroom Presets because they are better suited for people-focused edits.
2. Choose a Preset Category That Matches the Scene
Most presets are created around a specific visual style. Understanding the category helps you choose faster and with more confidence.
- Cinematic presets: Best for storytelling, travel, street, lifestyle, and dramatic portraits.
- Bright and airy presets: Best for weddings, family photos, lifestyle images, and clean Instagram edits.
- Moody presets: Best for dramatic landscapes, urban photos, deep shadows, and emotional scenes.
- Vintage presets: Best for nostalgic photos, film-inspired edits, warm memories, and retro tones.
- Portrait presets: Best for people, skin tones, fashion, lifestyle, and beauty-style edits.
- Urban presets: Best for city streets, architecture, night scenes, concrete textures, and bold contrast.
For example, an urban photo with buildings, shadows, and street lights can work well with the Urban Cinematic Lightroom Presets Pack. A warm sunset portrait may look better with the Golden Film Cinematic Lightroom Presets. The goal is to choose a preset that feels natural for the scene.
3. Apply the Preset and Check the Main Problem Areas
After applying a preset, do not decide too quickly. Zoom out first, then zoom in. Check the full image and then check the details.
- Exposure: Did the preset make the image too dark or too bright?
- Highlights: Are bright areas still holding detail?
- Shadows: Are important details hidden?
- Skin tones: Do people still look natural?
- Color balance: Did greens, blues, oranges, or reds shift too much?
- Contrast: Does the image feel polished or too harsh?
One of my favorite checks is the “skin and sky test.” If the preset keeps skin tones natural and skies clean, it is usually a strong candidate. If skin turns orange, green, gray, or too red, you may need a different preset or a manual correction.
4. Fine-Tune the Preset Instead of Leaving It Untouched
Presets are starting points, not final destinations. This is the biggest difference between beginner editing and professional editing. A good preset gives you the look. Your final adjustments make it fit the photo.
After applying a preset, adjust the basic sliders first:
- Exposure: Use this to rebalance brightness after the preset.
- White Balance: Warm or cool the image until the subject looks natural.
- Highlights: Reduce this if skies, faces, or white clothing look too bright.
- Shadows: Lift this if the preset made the image too dark.
- Contrast: Reduce it if the edit looks too heavy; increase it if the image feels flat.
- Vibrance: Use this carefully to add life without over-saturating skin.
For more advanced color control, Adobe’s Color Mixer and Point Color tools help you adjust specific hues without changing the entire image. This is useful when greens look too yellow, skies look too cyan, or skin tones need subtle correction. Adobe explains this in its guide to using Color Mixer and Point Color in Lightroom Classic.
Presets vs Manual Editing
Presets and manual editing are not enemies. The best workflow often uses both.
- Presets are best for speed, consistency, and creative direction.
- Manual editing is best for precision, correction, and final polish.
A preset can quickly create a cinematic, vintage, moody, or bright style. Manual editing helps you protect the important details: skin tones, exposure, white balance, color casts, and sharpness. If you only use presets, some photos may look over-edited. If you only edit manually, your workflow may become slow and inconsistent. The strongest approach is a hybrid workflow: apply the preset, then adjust the photo based on what it needs.
For example, I tested a warm cinematic preset on a wedding couple photo taken near sunset. The mood looked beautiful, but the bride’s dress became slightly too warm. A small white balance adjustment and a gentle highlight recovery fixed the issue while keeping the preset’s romantic tone. That is the power of using presets with intention.
How Lighting Changes Preset Results
Lighting is one of the biggest reasons presets behave differently. A preset does not “see” your photo like a human does. It applies saved settings to whatever image you give it. That means the same preset can produce different results depending on the original light.
Bright Sunlight
Bright photos often need presets that control highlights and add contrast without blowing out details. Be careful with presets that increase exposure too much. If the sky or face becomes too bright, reduce highlights and whites.
Golden Hour
Golden hour photos already have warmth. Choose presets that enhance the glow without turning skin orange. Warm film presets, soft cinematic presets, and gentle portrait presets usually work well here.
Overcast Light
Overcast photos can look flat. A preset with added contrast, warmth, and color depth can bring them to life. Avoid presets that make the scene too gray or dull.
Indoor and Mixed Light
Indoor photos often have yellow, green, or orange color casts. Start with white balance before judging the preset. Sometimes a preset looks wrong simply because the original lighting needs correction first.
For mobile creators, this guide on adapting Lightroom Mobile presets to any lighting is a helpful next read because it explains how to adjust presets when lighting changes from photo to photo.
Skin Tones Are the Most Important Test
If your photo includes a person, skin tone should be your first priority. A trendy preset is not worth using if it makes skin look unnatural. This is especially important for portraits, weddings, fashion, lifestyle content, and personal branding photos.
After applying a preset, zoom in and check the face, hands, and neck. Look for color shifts. If skin looks too orange, reduce orange saturation or adjust the orange hue slightly. If skin looks too red, lower red saturation. If skin looks gray, the image may need more warmth, better exposure, or less contrast.
Adobe’s Lightroom masking tools can also help when the subject needs a separate adjustment from the background. For example, you can keep a cinematic background while gently brightening a face or correcting skin tone locally. Learn more from Adobe’s guide to masking in Lightroom.
How to Match Presets to Different Photography Styles
Portrait Photography
Use presets that protect skin tones, soften contrast, and keep the subject clean. Portrait presets should enhance the person, not overpower them. Avoid strong green shadows or extreme orange tones unless that is part of the creative concept.
Street Photography
Street photos often work well with cinematic, moody, black-and-white, or urban presets. Look for contrast, shadow depth, clean highlights, and strong color separation. If the scene already has neon lights or colorful signs, do not over-saturate them.
Landscape Photography
Landscape presets should support natural color and detail. Watch greens, blues, and sky tones carefully. If the greens look too yellow or the blues look too cyan, use the color mixer to correct them.
Wedding Photography
Wedding presets should feel timeless. Soft highlights, clean whites, natural skin, and warm emotional tones usually work better than extreme filters. Consistency across a gallery matters more than using the most dramatic look.
Vintage and Film-Inspired Photography
Vintage presets can add faded blacks, soft contrast, grain, and nostalgic colors. They work beautifully for memory-style images, travel photos, lifestyle shots, and creative portraits. Browse the Vintage Lightroom Presets collection if you want more retro and film-inspired looks.
Use Color Theory to Choose a Better Preset
Preset selection is also about color harmony. A photo with warm orange sunlight and blue shadows may look cinematic because warm and cool tones naturally contrast. A forest photo with greens and browns may feel better with earthy presets. A pastel lifestyle image may need softer saturation and lighter contrast.
If you want to build a stronger eye for color, Adobe Color is a useful reference for understanding complementary, analogous, and monochromatic palettes. You can explore Adobe Color harmony rules to understand why certain tones feel balanced together.
Pro tip: Before choosing a preset, identify the two most important colors in your photo. Then choose a preset that supports those colors instead of fighting them.
Common Preset Mistakes to Avoid
- Choosing by trend only: A trendy preset may not fit your photo’s light or subject.
- Ignoring exposure: Fix basic brightness before judging the preset.
- Over-editing skin: Natural skin is more important than a dramatic color grade.
- Using too many styles in one gallery: A wedding, brand shoot, or travel set should feel consistent.
- Not adjusting after applying: Small tweaks are what make presets look professional.
- Forgetting the story: The preset should help the viewer feel what the moment felt like.
If your presets ever look too dark, too warm, too flat, or inconsistent, this 10-step troubleshooting guide for preset problems can help you fix the edit without starting over.
A Simple Preset Selection Workflow You Can Use Every Time
- Start with a clean base edit: Adjust exposure, white balance, crop, and lens corrections first.
- Pick a preset category: Choose cinematic, portrait, vintage, moody, bright, or urban based on the photo.
- Apply 3–5 possible presets: Do not test every preset in your library. Narrow it down.
- Compare the mood: Choose the preset that supports the story best.
- Check skin, sky, and shadows: These areas reveal problems quickly.
- Fine-tune the edit: Adjust exposure, white balance, highlights, shadows, contrast, and color mixer.
- Save your favorite version: Use it as a reference for future edits in the same style.
For deeper preparation before buying or using presets, read the top things to learn before buying Lightroom presets or LUTs. It will help you choose packs that fit your photography style instead of collecting presets you rarely use.
Related Reading
- How to stack Lightroom presets for unique results
- Why Lightroom presets look different on every photo
- How to adapt Lightroom Mobile presets to any lighting
- Preset troubleshooting checklist for stubborn edits
- What to know before buying Lightroom presets or LUTs
Best Preset Types for Quick Creative Direction
If you are still unsure where to start, use this simple matching guide:
- For clean portraits: Choose portrait or bright lifestyle presets.
- For emotional travel photos: Choose cinematic or golden film presets.
- For city photos: Choose urban, moody, or cinematic street presets.
- For old memory-style photos: Choose vintage, film, or faded presets.
- For wedding galleries: Choose soft, warm, consistent presets.
- For social media content: Choose presets that keep colors clean and recognizable across multiple posts.
When you are ready to build a reliable preset library, the 1000+ Master Lightroom Presets Bundle gives you a wide range of creative styles for portraits, travel, street, lifestyle, wedding, cinematic, and vintage edits. You can also explore the full Lightroom Presets for Mobile and Desktop collection to find a look that fits your editing goals.
FAQs
How do I choose the best preset for a photo?
Choose the best preset by checking the photo’s lighting, subject, colors, and mood first. Then apply a preset that supports those elements. After applying it, adjust exposure, white balance, highlights, shadows, and color settings so the final image looks natural and polished.
Why does the same preset look different on every photo?
The same preset looks different because every photo has different exposure, white balance, lighting, camera settings, colors, and subject matter. A preset applies the same saved adjustments, but the starting image changes the result. That is why small manual tweaks are always important.
Should I edit before applying a preset?
Yes, a small base edit before applying a preset can improve the final result. Fix major exposure problems, white balance issues, cropping, and lens corrections first. This gives the preset a cleaner foundation and helps it create a more professional-looking edit.
Are presets better than manual editing?
Presets are better for speed, consistency, and creative direction, while manual editing is better for precise corrections. The best workflow uses both: apply a preset for the style, then manually adjust the photo to protect skin tones, light, contrast, and color accuracy.
Can I use the same preset for all my photos?
You can use the same preset family for consistency, but you should still adjust each photo. Different lighting conditions and subjects need different exposure, white balance, and color corrections. Using one style with custom tweaks creates a consistent but natural-looking gallery.
Final Thoughts
Choosing the best preset for each photo becomes much easier when you stop guessing and start reading the image first. Look at the light, subject, colors, mood, and story. Then choose a preset that enhances what is already there. The preset gives you speed and style, but your final adjustments create the professional finish.
Start with a versatile preset library, test different looks with intention, and fine-tune every edit until it feels right. For a faster workflow, explore the 1000+ Master Lightroom Presets Bundle, try portrait-ready options like the Professional Portrait Lightroom Presets, and browse more styles in the Lightroom Presets for Mobile and Desktop collection. Try these presets today — Buy 3, Get 9 FREE — and build a cleaner, faster, more consistent editing workflow.
Written by Asanka — creator of AAAPresets (10,000+ customers).


Leave a comment
This site is protected by hCaptcha and the hCaptcha Privacy Policy and Terms of Service apply.