
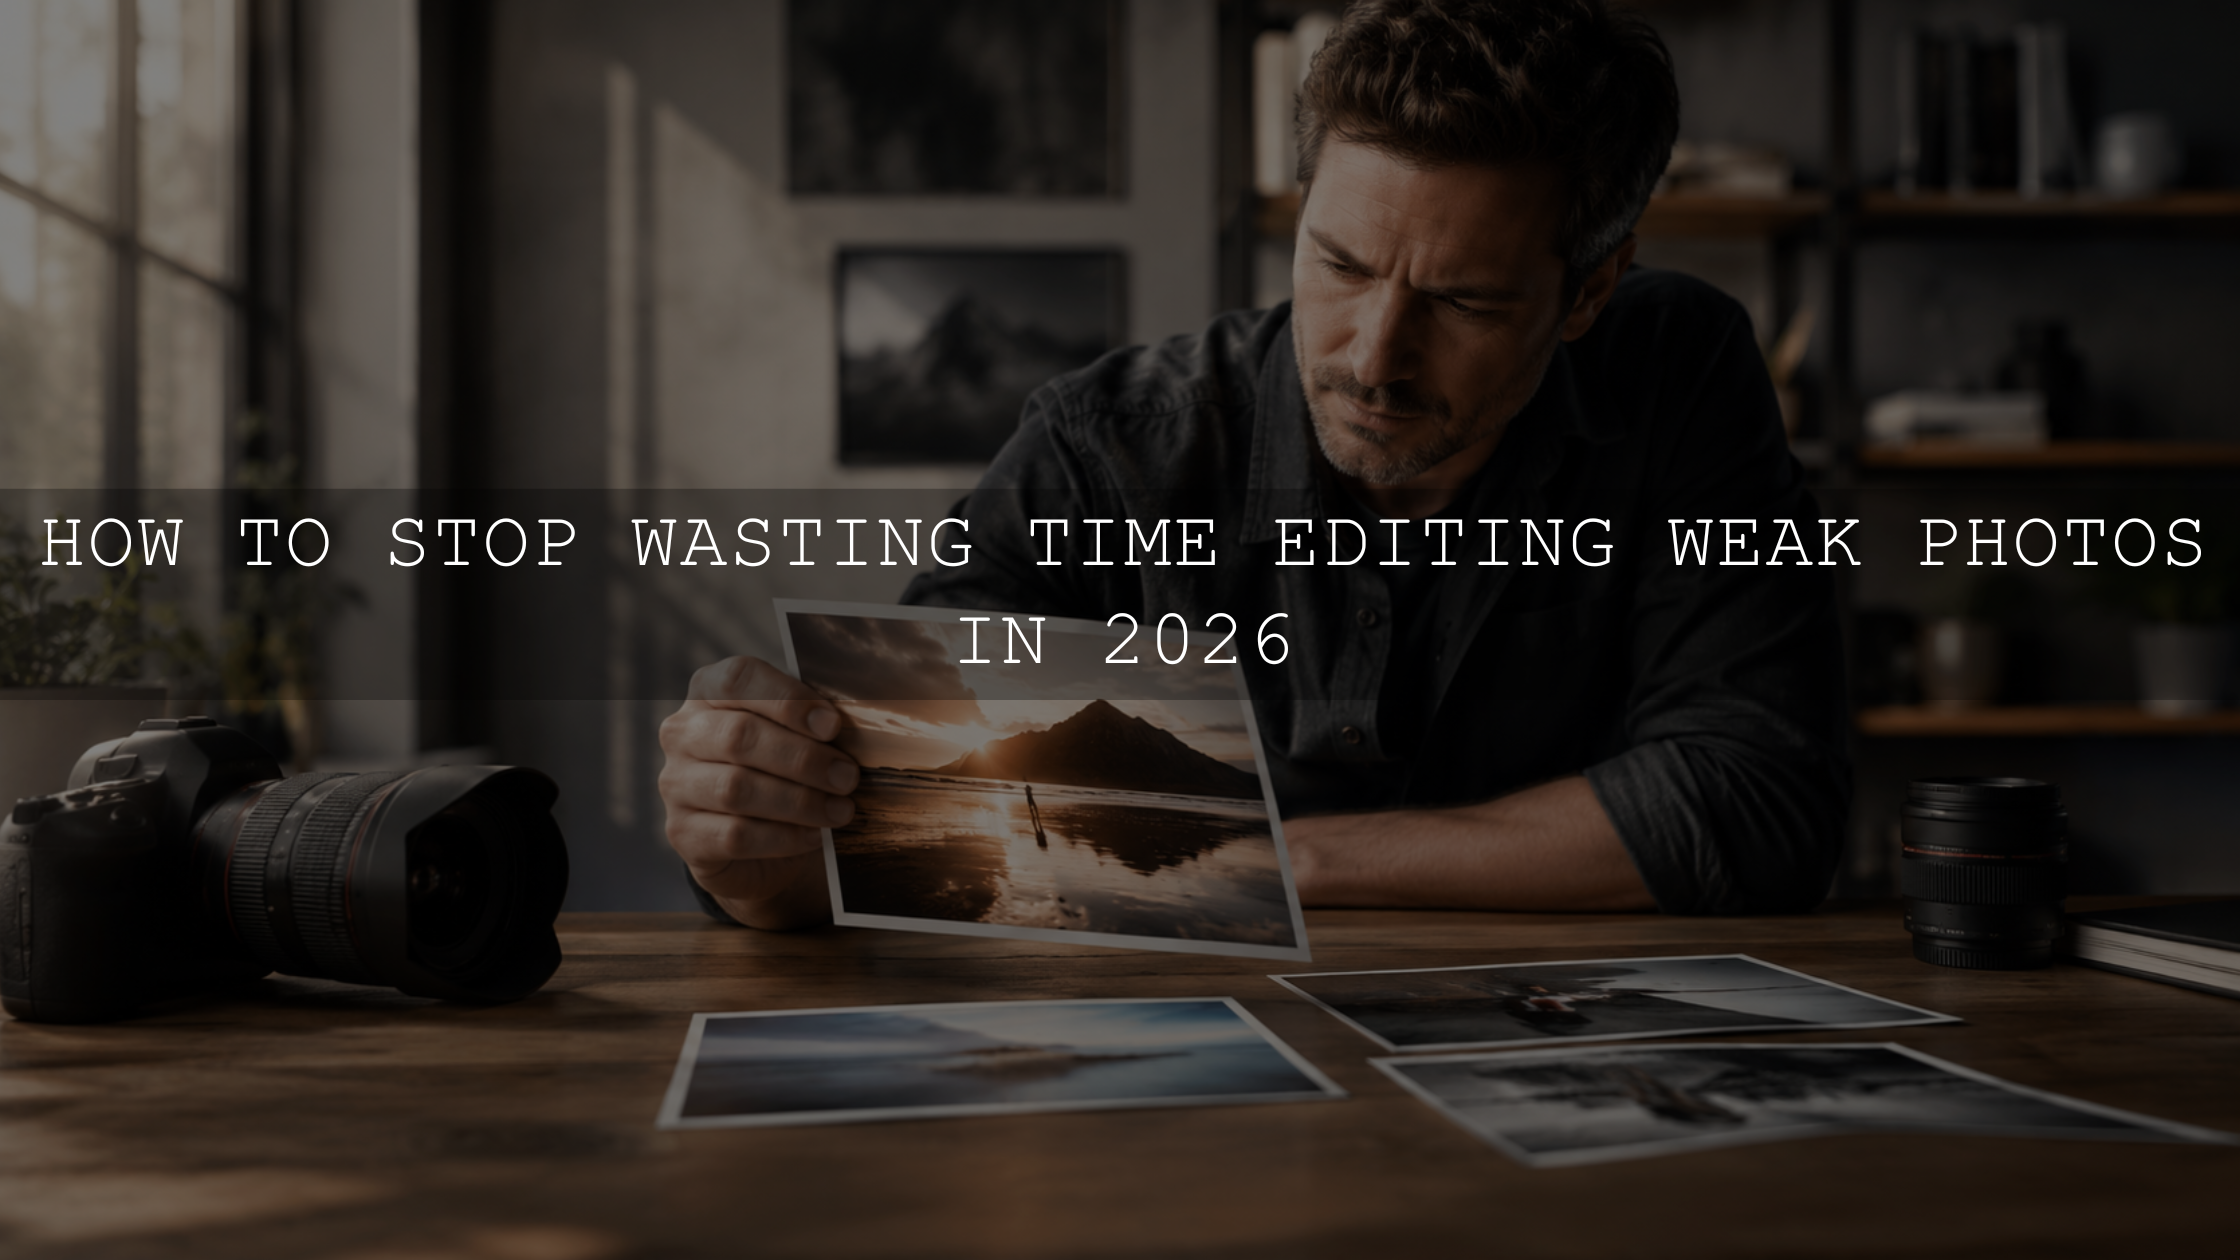
How to Use Reference Images for Photo Editing Style in Lightroom
Using reference images for photo editing style is one of the easiest ways to create a clear, consistent, and professional look in Lightroom. Instead of guessing your way through exposure, contrast, white balance, color grading, shadows, highlights, and presets, a reference image gives you a visual target. It helps you understand the mood you want before you start editing.
Here’s why this matters: a strong photo editing style is not created by copying another image exactly. It is created by studying what makes that image feel cinematic, soft, moody, clean, warm, vintage, dramatic, or natural, then applying that direction to your own photo. When you combine this method with a smart step-by-step Lightroom workflow, your edits become faster, calmer, and more intentional.
If you want a quicker starting point for matching different moods, explore the 1000+ Master Lightroom Presets Bundle and browse the Lightroom Presets for Lightroom Mobile & Desktop collection. Try these presets today — Buy 3, Get 9 FREE — and use them as creative starting points while you refine each image to match your chosen reference style.
Why Reference Images Make Your Editing Better
A reference image works like a creative compass. It gives your eyes something specific to compare against while you edit. Without one, it is easy to overdo contrast, push colors too far, make skin tones too orange, or create a preset look that does not match the emotion of the photo.
When I test Lightroom presets on wedding, drone, street, and portrait photos, I often keep one or two reference images beside the edit. This helps me check whether the final result feels warm and romantic, dark and cinematic, clean and commercial, or bold and social-media-ready.
A good reference image can help you identify:
- Color temperature: Is the image warm, cool, neutral, or mixed?
- Contrast level: Are the shadows deep and dramatic, or soft and lifted?
- Highlight control: Are bright areas clean, glowing, or slightly muted?
- Skin tone direction: Does the portrait feel natural, golden, peachy, matte, or editorial?
- Color palette: Are the main colors teal and orange, green and gold, brown and cream, or blue and gray?
- Overall mood: Does the image feel cinematic, airy, vintage, luxury, emotional, or documentary?
Adobe also explains that Lightroom edits are non-destructive, meaning your original photo is not permanently changed while you adjust tone and color in the Develop module. That makes reference-based editing safer because you can experiment, compare, refine, and reset without damaging the original file. Learn more from Adobe’s guide to editing in the Lightroom Classic Develop module.
Where to Find Good Reference Images
You do not need a complicated system to start. You only need a small folder or board filled with images that show the look you want to create. The key is to collect references by style, not randomly.
Social Media Inspiration
Instagram, Pinterest, TikTok, and YouTube thumbnails are full of visual editing ideas. Save images that match your target mood: cinematic travel, soft wedding, dark moody street, clean lifestyle, golden hour portraits, aerial landscapes, or vintage film tones. Do not save only “pretty” photos. Save images that teach you something about color, light, and emotion.
Film Stills and Cinematic Frames
Film stills are excellent for cinematic color grading because they usually have intentional lighting, controlled contrast, and strong color harmony. A desert scene might teach you about warm highlights and muted shadows. A night city frame might teach you about blue shadows, neon accents, and deep blacks.
Your Own Best Work
Your best reference image might already be in your own portfolio. Look at your favorite past edits and ask yourself: what did I do well here? Maybe the skin tones felt natural, the greens looked controlled, or the shadows had just enough depth. Save those images as personal benchmarks.
Adobe Color for Palette Direction
If you want to understand why certain reference images feel balanced, use Adobe Color’s color wheel and harmony tools. It can help you study color relationships such as complementary, analogous, monochromatic, and triadic palettes, which is useful when building a consistent photo editing style.
How to Analyze a Reference Image Before Editing
Before opening Lightroom sliders, spend one minute studying your reference image. This quick analysis will save you time because you will know what you are trying to create.
- Look at the exposure: Is the image bright and airy, dark and moody, or balanced?
- Check the shadows: Are the shadows black, faded, warm, cool, or detailed?
- Study the highlights: Are whites clean, creamy, golden, or slightly gray?
- Notice the colors: Which colors are strong, and which colors are muted?
- Check the skin tones: For portraits, do the skin tones look natural and healthy?
- Identify the mood: Use one phrase, such as “warm cinematic travel” or “soft luxury portrait.”
This is also where many beginners make a mistake. They apply a preset and expect the photo to match the reference instantly. But presets respond differently based on lighting, camera profile, exposure, white balance, and the original colors in the photo. If this happens to you, read why Lightroom presets look different on every photo so you understand how to adjust the starting image first.
Presets vs Manual Editing: Which Is Better for Matching a Reference?
Presets and manual editing both have a place in a reference-image workflow. The best approach is usually not one or the other. It is preset first, manual refinement second.
- Presets are best for speed: They give you a strong starting style in seconds, especially when you are editing many photos from the same shoot.
- Manual editing is best for accuracy: It lets you refine exposure, white balance, contrast, masks, skin tones, and specific colors until the image feels right.
- Reference images are best for direction: They help you decide what to adjust and when to stop.
For example, if your reference image has soft golden highlights and muted green backgrounds, you might start with a warm cinematic preset. Then you can manually lower green saturation, shift green hue slightly toward yellow, lift shadows, and reduce highlight harshness. That combination is usually more effective than trying to build the entire look from zero.
If you want a complete editing routine from import to final polish, the guide on building your first Lightroom editing workflow with presets is a helpful next step.
Step-by-Step Reference Image Workflow in Lightroom
Let’s break it down into a simple workflow you can use for portraits, travel photos, drone shots, weddings, street photography, and content creation.
Step 1: Choose One Main Reference Image
Start with one reference image, not ten. Too many references can confuse your direction. Choose the image that best matches the mood you want: cinematic, clean, dark, vintage, warm, airy, or editorial.
Step 2: Correct the Base Image First
Before applying a preset, fix the foundation. Adjust exposure, white balance, lens correction, and crop. If the photo is too dark, too blue, or poorly balanced before the preset, the final look will be harder to control.
Step 3: Apply a Preset That Matches the Mood
Choose a preset that moves your image closer to the reference. For broad creative flexibility, the 1000+ Master Lightroom Presets Bundle gives you many style directions for portraits, landscapes, travel, weddings, street photography, cinematic looks, and social media edits.
Step 4: Match Exposure and Contrast
Compare the brightness and shadow depth of your image to the reference. If the reference feels soft, reduce contrast or lift shadows. If it feels cinematic and dramatic, deepen blacks carefully while keeping important detail visible.
Step 5: Refine Color With HSL and Color Grading
Use HSL to control individual color families. For example, you can reduce overly bright greens in landscape photos, warm up orange tones in portraits, or shift blues toward teal for a cinematic look. Adobe’s Lightroom edit panel explains how Color Grading can add tints to shadows, midtones, and highlights to create mood and color harmony. See Adobe’s guide to Color Grading in Lightroom for more detail.
Step 6: Use Masking for Local Adjustments
Your reference image may have a brighter subject, darker background, softer sky, or more detailed landscape. Instead of changing the whole image, use masks to adjust only the subject, sky, background, or selected area. Adobe’s guide to masking in Lightroom for local adjustments is useful if you want more control over specific parts of your edit.
Step 7: Compare, Rest, and Recheck
After editing, step away for a few minutes. Then compare your image with the reference again. Ask: does it match the mood, or did I push the colors too far? A professional edit often comes from small adjustments, not extreme slider moves.
Using Reference Images for Drone and Landscape Editing
Drone and landscape photos are perfect for reference-based editing because skies, water, mountains, forests, roads, and cityscapes all respond strongly to color and contrast. If your reference image has a dramatic aerial look, study the sky first. Is it deep blue, warm sunset orange, teal, purple, or desaturated?
For aerial photos, the 50+ AI-Optimized Cinematic Drone Lightroom Presets Bundle is a strong starting point because it is built for drone landscapes, travel photos, cityscapes, oceans, mountains, and sunset scenes. You can also browse the Lightroom presets for aerial and drone photography if you want more drone-focused styles.

Pro tip: for drone edits, do not only increase saturation. First correct white balance, then balance highlights in the sky, then refine blues, greens, and yellows. This gives you a more premium look than simply pushing vibrance too high.
Using Reference Images for Cinematic Video Color Grading
Reference images are not only for photos. They are also powerful for video color grading. A film still can help you decide whether your footage should feel warm and nostalgic, cold and dramatic, high-contrast and bold, or soft and documentary-style.
For video editors, the 700+ Cinematic Video LUTs For Your Next Project pack can give you a fast starting point for different moods. You can also explore the cinematic LUTs collection for Premiere Pro, DaVinci Resolve, Final Cut Pro, and more to build a consistent color workflow across video projects.

In Premiere Pro, Adobe explains that comparison views can help you compare clips and reference frames when adjusting color and contrast. That makes reference-based grading more practical when you need multiple shots to feel like the same scene. For a deeper video workflow, read this guide on dark and dramatic cinematic color grading.
Using Reference Images for Portrait Editing
Portrait editing needs extra care because skin tones can quickly look unnatural. A good portrait reference image should guide your contrast, warmth, background color, and skin tone direction. But you should never copy the color blindly, especially if your model has different lighting, skin undertone, or environment.
The AI Optimized Portrait Lightroom Presets can help you create a clean starting look for portraits, lifestyle photos, personal branding images, and social media content. After applying a preset, check the face first. If the skin looks too orange, reduce orange saturation slightly or adjust white balance. If the face looks flat, add gentle contrast or use a subject mask.

Pro tip: when editing portraits, compare the background separately from the skin. You can make the background warmer, cooler, darker, or more muted without pushing the skin tone into an unnatural color.
Common Mistakes When Editing From Reference Images
Reference images are helpful, but only when used correctly. Here are the most common mistakes to avoid:
- Trying to copy everything exactly: Your photo has different light, subject, camera settings, and colors. Aim for the mood, not a clone.
- Skipping base correction: Fix exposure and white balance before applying presets or LUTs.
- Over-saturating colors: A cinematic image is often controlled, not overly colorful.
- Ignoring skin tones: In portraits and weddings, skin tone should stay natural even when the overall color grade is stylized.
- Using too many references at once: Choose one main style direction per edit.
- Not adjusting after presets: Presets are starting points. Final polish still matters.
One practical rule I use: if the reference image looks premium, the colors are usually controlled. The shadows may be rich, but not messy. The highlights may glow, but not clip. The skin may be warm, but not orange. Keep that balance in mind while editing.
Related Reading
- Step-by-Step Lightroom Workflow for Faster Photo Edits
- Build Your First Lightroom Editing Routine With Presets
- Why Lightroom Presets Look Different and How to Fix It
- Dark and Dramatic Color Grading Guide for Cinematic Video
- Camera-Specific Color Grading Series
Final Editing Checklist
Before exporting your image, use this quick checklist:
- Does the edit match the mood of your reference image?
- Are exposure and white balance corrected?
- Do the highlights still have detail?
- Are the shadows rich but not crushed?
- Do skin tones look natural?
- Are greens, blues, oranges, and reds controlled?
- Does the image still feel like your own work?
Reference images can make your Lightroom editing workflow faster, more focused, and more professional. Start with a clear visual goal, apply a preset or LUT that moves your edit in the right direction, then refine exposure, color, masks, and detail until the image feels complete. For a flexible creative toolkit, explore the 1000+ Master Lightroom Presets Bundle, the 50+ AI-Optimized Cinematic Drone Lightroom Presets Bundle, and the cinematic LUTs collection. Build your look faster, refine it with intention, and create edits that feel consistent across your photos and videos.
FAQ
What is a reference image in photo editing?
A reference image is a visual example that guides your editing style. It helps you compare mood, color, contrast, shadows, highlights, and overall tone while editing your own photo.
Should I copy a reference image exactly?
No. Use the reference image as direction, not as something to copy perfectly. Your lighting, camera, subject, and colors are different, so focus on matching the feeling and style.
Can Lightroom presets help match a reference image?
Yes. Lightroom presets can give you a fast starting point, especially for cinematic, portrait, drone, wedding, travel, and moody edits. After applying a preset, adjust exposure, white balance, HSL, masks, and contrast to better match the reference.
Why does my preset not look like the reference image?
Your original photo may have different lighting, white balance, exposure, camera profile, or colors. Correct the base image first, then apply the preset and refine the sliders manually.
Can I use reference images for video color grading too?
Yes. Film stills and sample frames are very useful for video color grading. They help you match contrast, color temperature, shadow tone, highlight style, and overall cinematic mood when using LUTs or manual grading tools.
Written by Asanka — creator of AAAPresets (10,000+ customers).
Leave a comment
This site is protected by hCaptcha and the hCaptcha Privacy Policy and Terms of Service apply.