
Lightroom Culling Workflow: How to Cull 500+ Photos Faster Before Editing
A strong Lightroom culling workflow can turn a messy 500-photo import into a clean, focused editing session. After a trip, wedding, family shoot, product session, or full day with your camera, the real challenge is not always editing. It is deciding which photos deserve your time first. Culling photos in Lightroom helps you remove duplicates, missed focus, weak expressions, and unnecessary frames before you apply presets, adjust color, or start detailed retouching.
Here’s why this matters: editing too many average images slows your workflow and weakens your final gallery. When you choose the best photos before editing, your presets work better, your gallery feels stronger, and your creative energy goes into the images that actually tell the story.
For a faster editing stage after culling, start with the 1000+ Master Lightroom Presets Bundle and browse flexible styles inside the Lightroom Presets for Mobile and Desktop collection. Try these presets today with Buy 3, Get 9 FREE, and build a smoother workflow from photo selection to final export.
Why Culling Photos in Lightroom Is a Professional Skill
Culling is not just deleting bad photos. It is the first creative decision in your editing process. Before exposure, skin tones, color grading, presets, masking, sharpening, and export settings, you need to decide which frames are worth editing.
In my own editing workflow, I have seen one simple rule save the most time: never start serious editing until the best images are selected. I tested this approach on a travel gallery with hundreds of similar street and landscape frames, and the editing stage became much easier once only the strongest storytelling images remained.
A good photo culling workflow helps you:
- Reduce editing time: You spend more time improving great images and less time trying to rescue weak ones.
- Build stronger galleries: A smaller set of powerful photos usually feels more professional than a huge folder of repeated frames.
- Improve consistency: Presets, white balance, and color adjustments are easier to match across a tighter selection.
- Avoid editing burnout: Fewer decisions later means more energy for creative refinement.
- Save storage space: Removing obvious rejects keeps your Lightroom catalog cleaner over time.
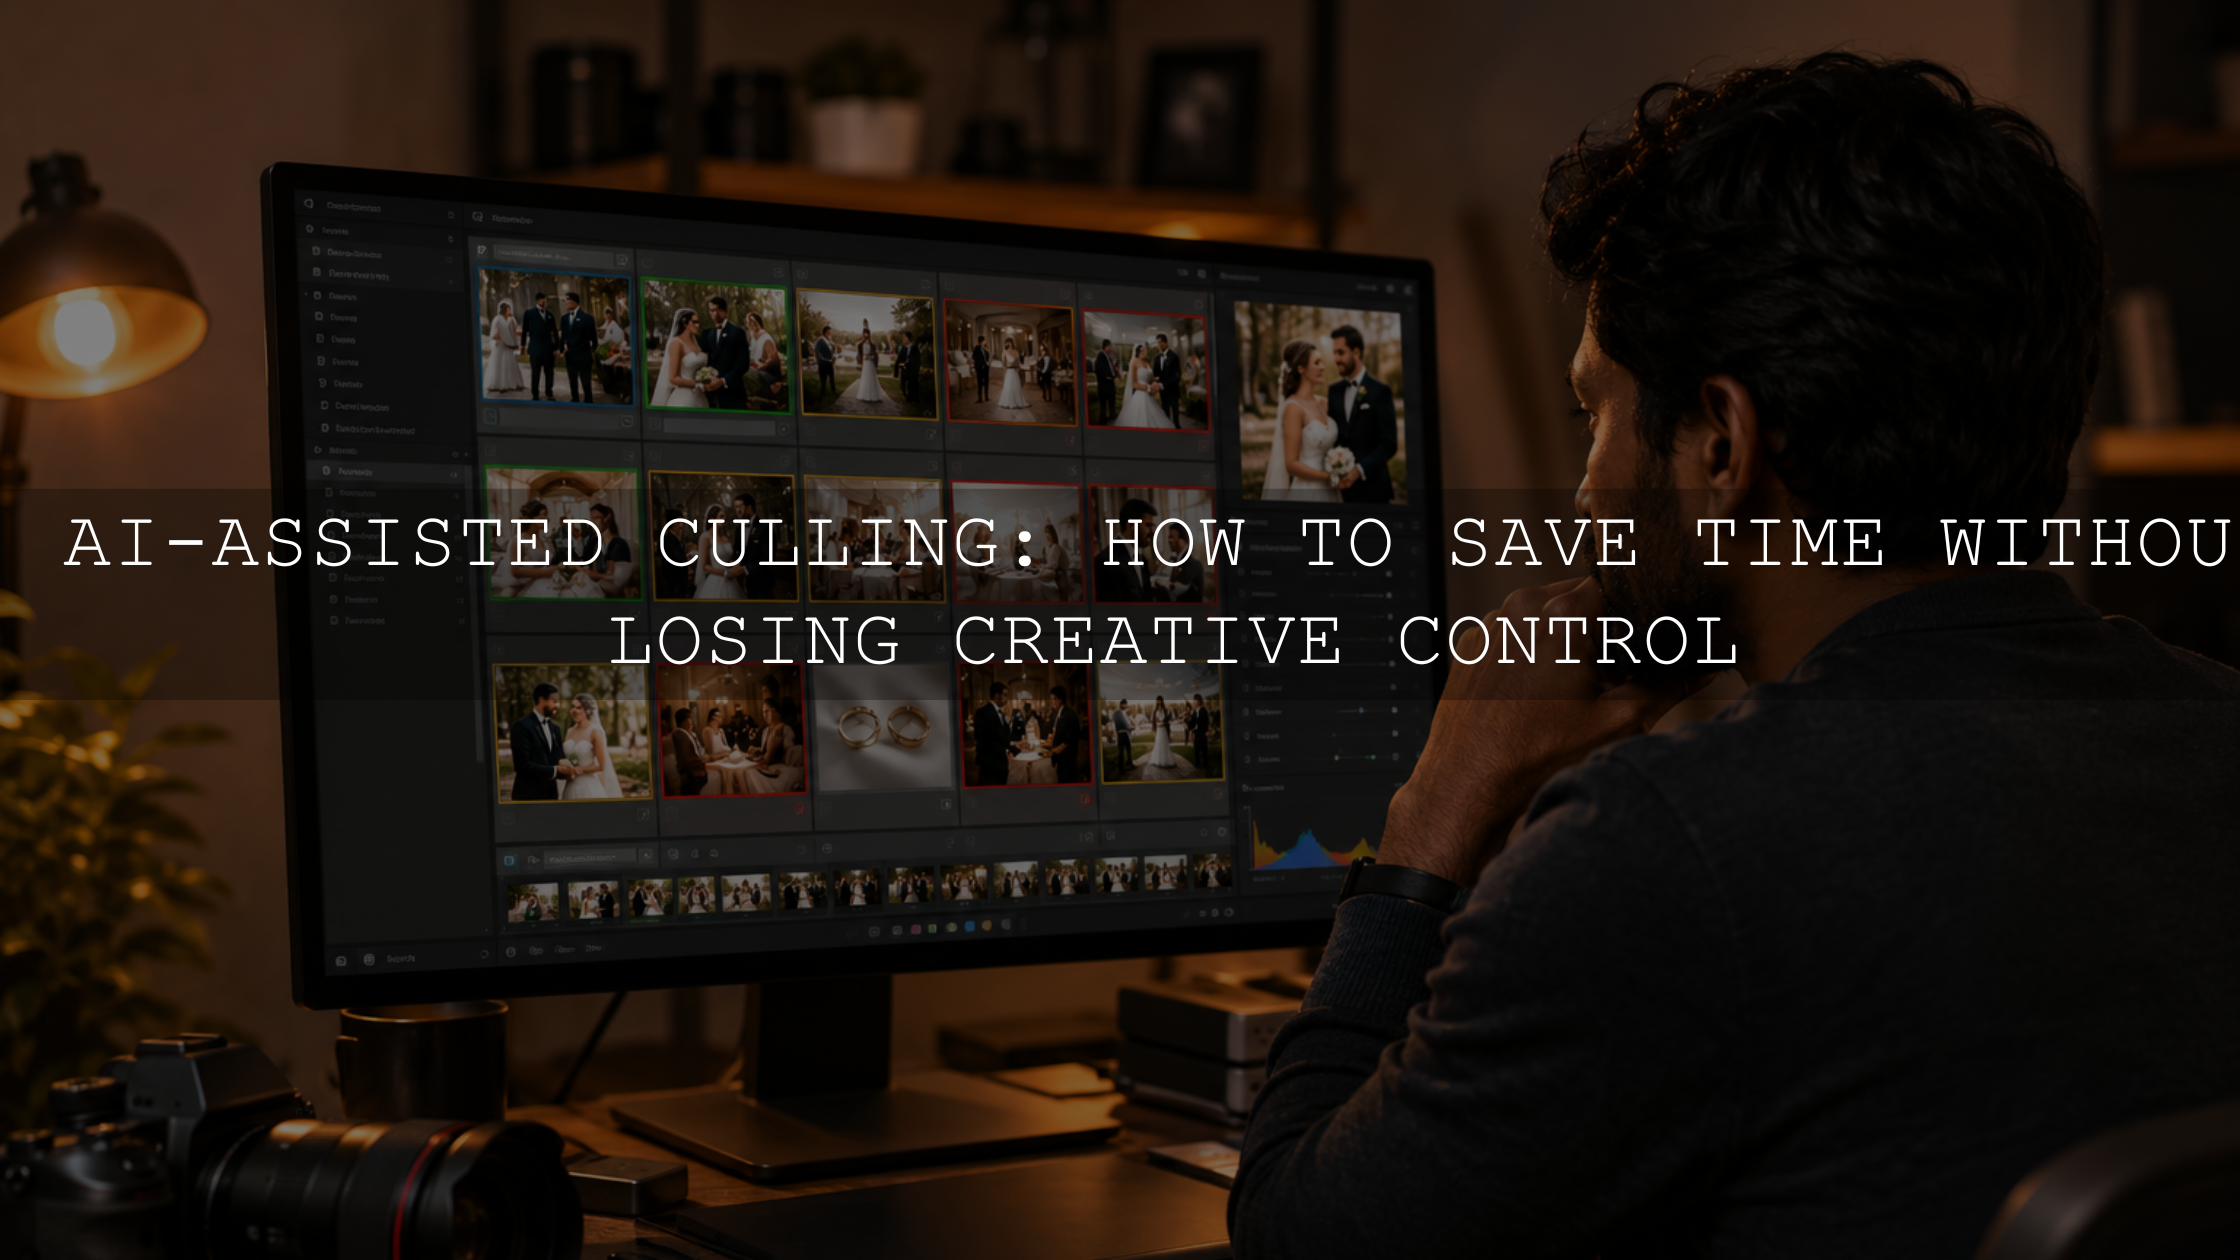
Adobe’s own Lightroom tools support this workflow with flags, star ratings, color labels, Compare view, Survey view, and filtering. You can review the official Adobe guide to flagging, rating, and labeling photos in Lightroom Classic if you want to understand how these tools work inside the Library module.
Start With a Simple Three-Pass Lightroom Culling Workflow
The fastest way to cull 500+ photos is not to judge every image perfectly on the first pass. That creates hesitation. Instead, use a three-pass system: reject the obvious misses, select the strong contenders, then choose the final hero images.
Pass 1: Remove the Obvious Rejects
Your first pass should be fast and ruthless. Do not compare tiny differences yet. Only remove images that clearly do not belong in the final edit.
Reject photos with:
- Missed focus on the main subject
- Unusable motion blur
- Blinking or awkward expressions
- Accidental shots of the floor, sky, bag, or camera strap
- Very poor exposure that does not support the story
- Exact duplicates with no meaningful difference
In Lightroom Classic, many photographers use X to mark rejects and P to mark picks. A useful beginner rule is simple: if the photo does not have clear purpose, emotion, sharpness, or story, reject it now and move forward.
Pass 2: Mark the Strong Contenders
After the obvious rejects are removed, your second pass is where you start finding the best photos. This is where flags, stars, and color labels become powerful. Use a system that is simple enough to repeat every time.
- Pick flag: Use for images that deserve another look.
- 3 stars: Good images that may be useful for a gallery or social media.
- 4 stars: Strong images that should probably be edited.
- 5 stars: Hero images for portfolio, client delivery, blog covers, or ads.
- Color label: Use for special categories like “needs retouching,” “best for Instagram,” or “client favorite.”
For a travel shoot, I might use 5 stars for the best hero images, 4 stars for supporting story frames, and a yellow color label for photos that need extra cleanup. This keeps the editing stage organized without creating a complicated system.
Pass 3: Compare Similar Images Side by Side
The third pass is where you handle similar photos. This is especially useful for portraits, weddings, events, sports, wildlife, street photography, and travel sequences. Instead of editing five nearly identical frames, compare them and keep only the strongest one or two.
Look for the image with the best combination of:
- Sharp focus on the important subject
- Natural expression or body language
- Clean composition
- Good light direction
- Strong storytelling moment
- Less distraction around the edges
Lightroom Classic includes Compare and Survey views for narrowing down similar photos. Adobe explains this in its guide to browsing and comparing photos in Lightroom Classic, including how Compare view and Survey view help you evaluate multiple frames more clearly.
Fast Culling Strategy for 500+ Photos
When you have hundreds or thousands of images, speed matters. The goal is not to make every decision perfect immediately. The goal is to reduce the folder into a smaller, stronger set that is easier to edit.
- Import and build previews first: Let Lightroom prepare previews before you start serious culling. This reduces waiting time between images.
- Use full-screen or Loupe view: A larger preview helps you judge focus, expression, and composition faster.
- Use keyboard shortcuts: Avoid switching between mouse and keyboard for every image.
- Reject fast: Remove obvious misses without emotional debate.
- Compare only similar winners: Do not compare every image. Compare only the strongest frames from a sequence.
- Filter your picks: Once the first pass is done, filter by picks, star ratings, or color labels and continue from there.
Pro tip: Do not adjust exposure, crop, or test presets during your first culling pass. Editing while culling breaks momentum. Select first, edit second.
If you often return from trips with large folders, the workflow in this travel preset workflow guide pairs well with a fast culling system because it focuses on importing, selecting, applying presets, refining, and exporting in a repeatable order.
Flags vs Stars vs Color Labels: What Should You Use?
Lightroom gives you multiple ways to organize image selections, but you do not need to use everything at once. The best system is the one you can apply quickly without confusion.
Use Flags for Fast Yes or No Decisions
Flags are perfect for the first pass. A picked photo means “keep reviewing.” A rejected photo means “remove from the active edit.” This is the simplest way to cut a large gallery down quickly.
Use Stars for Quality Levels
Stars are better for ranking. A 5-star image might be portfolio-ready, while a 3-star image might be useful for a supporting gallery or social post. For example, a wedding photographer may use 5 stars for album highlights, 4 stars for client delivery, and 3 stars for backup storytelling images.
Use Color Labels for Workflow Status
Color labels work best when they describe what happens next. For example, red can mean “needs retouching,” yellow can mean “client preview,” green can mean “ready to export,” and blue can mean “social media crop.” Adobe’s Lightroom photo organization guide also explains how ratings, flags, labels, metadata, and filtering help organize larger libraries.
Presets vs Manual Editing: What Actually Saves More Time?
Presets and manual editing are not enemies. The best workflow uses both. Culling decides which photos deserve attention. Presets create a fast creative starting point. Manual editing refines the final result.
Presets are best for:
- Creating a consistent color style across a full set
- Speeding up common edits for portraits, travel, lifestyle, weddings, and products
- Testing different moods before detailed adjustments
- Building a recognizable look for social media, blogs, or client galleries
Manual editing is best for:
- Correcting exposure and white balance per photo
- Fixing skin tones, color casts, and mixed lighting
- Using masks for faces, skies, backgrounds, or subjects
- Final crop, sharpening, noise reduction, and export polish
A smart workflow looks like this: cull first, apply a preset second, refine manually third. For portraits and people-focused galleries, the AI-Optimized Skin Tone Safe Pro Portrait Lightroom Presets can help you create a clean starting point while still leaving room for exposure, white balance, and skin tone refinements.
How to Choose the Best Photos Before Editing
Choosing the best photos is not only about sharpness. A technically sharp image can still feel boring, while a slightly imperfect image can feel powerful if the moment is real. Use this checklist when you are not sure whether to keep or reject a photo.
- Focus: Is the important subject sharp enough?
- Emotion: Does the image make you feel something?
- Light: Does the lighting support the mood?
- Composition: Are the subject, background, and edges working together?
- Story: Does the photo add something meaningful to the gallery?
- Variation: Is this image different enough from nearby frames?
- Edit potential: Can a preset and small manual adjustments improve it naturally?
For product or lookbook photography, this selection stage is especially important because the gallery needs consistency. The lookbook image editing workflow guide is a helpful next read if you want to connect culling with clean commercial edits.
Use Assisted Culling Carefully in 2026
In 2026, Lightroom workflows are becoming more intelligent, but human judgment still matters. Adobe has official guidance on selecting best photos with Assisted Culling in Lightroom Classic, which can help speed up the first selection stage where available. This can be useful for identifying technically stronger images, but it should not replace your eye for emotion, story, brand style, and final purpose.
Use AI-assisted tools as a helper, not the final decision-maker. For example, software may help you find sharper images, but you still need to choose the frame with the best expression, body language, and visual impact.
Common Culling Mistakes That Slow You Down
Even experienced photographers make culling harder than it needs to be. Avoid these traps if you want a faster Lightroom photo selection workflow.
- Editing during culling: This breaks your speed. Do not test presets until your selects are ready.
- Keeping too many similar photos: Five almost-identical images usually weaken the final gallery.
- Confusing personal memory with final selection: You can keep personal memories separately without including every frame in the edited set.
- Overrating average images: If everything is 5 stars, the rating system becomes useless.
- Ignoring the final purpose: A photo for a blog hero, Instagram carousel, client gallery, and product page may need different selection standards.
For lifestyle and family sessions, emotion often matters more than perfect stillness. You can see this idea in action in the cozy family photo editing guide, where the goal is to preserve feeling while improving tone, light, and consistency.
Build a Repeatable Lightroom Editing Routine After Culling
Once your best photos are selected, editing becomes much easier. Instead of jumping randomly from image to image, create a consistent routine.
- Filter your selected photos: Show only picks, 4-star, or 5-star images.
- Correct exposure and white balance: Fix the foundation before applying strong creative looks.
- Apply a preset: Choose a style that fits the scene, lighting, and story.
- Sync similar images: Apply consistent settings across images shot in the same light.
- Refine manually: Adjust skin tones, HSL, masks, crop, sharpening, and noise reduction.
- Export by purpose: Use different export sizes for website, client delivery, Instagram, Pinterest, or print.
If your culling session includes travel, street, or city photos, the AI-Optimized Cinematic Travel Street Lightroom Presets can help you test a polished mood quickly after your selects are ready. For film-inspired edits, the Fujifilm Pro Lightroom Presets Pack is another strong option for giving selected images a timeless color direction.
Related Reading
- 2026 travel preset workflow for faster Lightroom edits
- Lightroom Mobile mistakes to avoid for cleaner edits
- Lookbook image editing workflow for online shops and catalogs
- Cozy family photo editing guide for warm lifestyle images
Final Workflow: Cull Less, Edit Better
A faster Lightroom culling workflow is not about deleting memories carelessly. It is about protecting your creative time. When you remove weak frames early, your best photos become easier to see. When your best photos are easier to see, your editing becomes cleaner, faster, and more consistent.
Start with flags for fast decisions, use stars to rank your strongest images, and use color labels to manage your editing status. Then apply presets only after your best photos are selected. This simple order can save hours across weddings, trips, portraits, events, product shoots, and everyday content creation.
To speed up the editing stage after culling, explore the 1000+ Master Lightroom Presets Bundle and browse more styles in the Lightroom Mobile Presets collection. Build your favorite preset toolkit today and take advantage of Buy 3, Get 9 FREE.
FAQs
What is the fastest way to cull photos in Lightroom?
The fastest way is to use a three-pass system. First, reject obvious misses. Second, mark strong contenders with flags or stars. Third, compare similar images and keep only the best frames. Use keyboard shortcuts to avoid slow mouse-based decisions.
Should I use flags or star ratings for Lightroom culling?
Use flags for quick yes-or-no decisions and star ratings for ranking image quality. Flags are ideal for the first pass, while stars are better for choosing final hero images, client selects, portfolio shots, or social media content.
Should I edit before or after culling?
You should cull before serious editing. Editing during the first selection pass slows your workflow and makes decisions harder. Choose your best photos first, then apply presets, adjust exposure, refine color, use masks, and export.
How many photos should I keep from 500 images?
There is no fixed number, but a strong final selection is usually much smaller than the full import. For a 500-photo session, you may keep 50 to 150 useful images depending on the shoot type, client needs, story coverage, and final purpose.
Can presets help after culling photos in Lightroom?
Yes. Presets are most helpful after culling because they let you apply a consistent look to your strongest images. A preset gives you a creative base, while manual adjustments help refine exposure, white balance, skin tones, crop, and final polish.
Written by Asanka — creator of AAAPresets (10,000+ customers).

Leave a comment
This site is protected by hCaptcha and the hCaptcha Privacy Policy and Terms of Service apply.