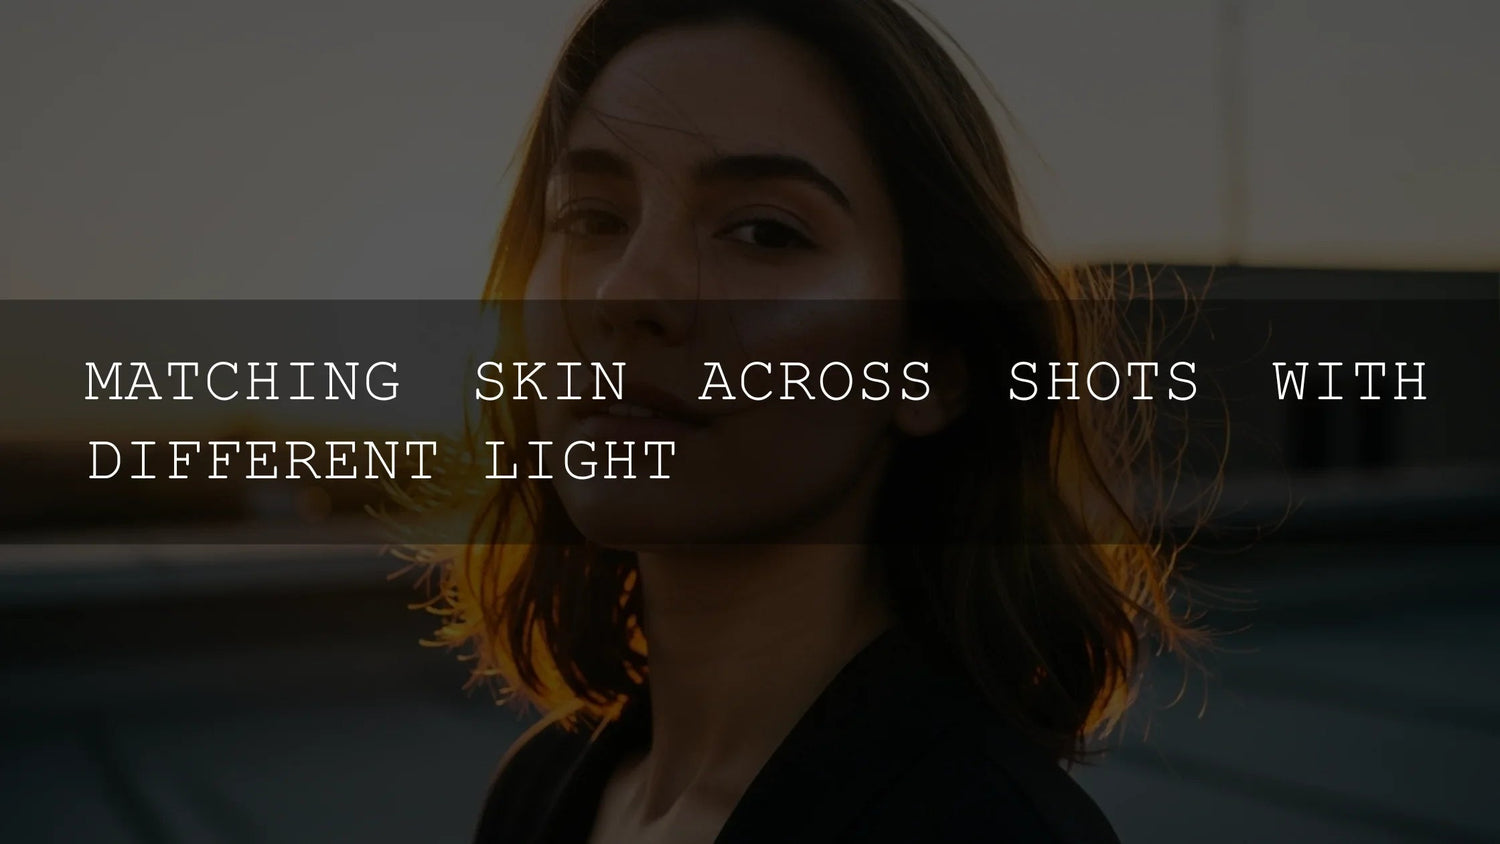
Working with Skin Tones: Balancing & Consistency
Consistent, natural skin tones make images feel trustworthy and professional. Whether you edit in Lightroom, Photoshop, or grade video in Premiere Pro/DaVinci Resolve, the core principles are the same: control light, set reliable references, and make subtle, targeted corrections. In the first 100 words, here’s your roadmap: why consistent skin tones matter, how light and white balance shape color, an on-set checklist (grey card, ColorChecker, matched color temps), a post workflow (reference shot > batch sync > scopes & masks), plus advanced tips (shot matching, HSL refinements, and vectorscope skin-tone line). If you want a fast, cohesive baseline, start with portrait-focused presets—then fine-tune locally.
Want a polished starting point you can adjust in seconds? Explore AI-Optimized Skin Retouch Portrait Presets and browse the Portrait Lightroom Presets collection—edit faster and take advantage of the brand offer: Buy 3, Get 9 FREE.
Why Skin Tone Consistency Matters
- Viewer trust & immersion: Our eyes anchor to faces. Stable tones keep attention on story and expression—not the grade.
- Brand & client standards: Campaigns need a unified look across locations, cameras, and days.
- Editing efficiency: A clear reference + batch syncing avoids clip-by-clip guesswork.
Light First: The #1 Driver of Skin Color
Skin behaves like a mirror for your light sources, so fix what you can before editing.
- Match color temperatures: Avoid mixed daylight/tungsten where possible. If you must mix, gel to a common Kelvin.
- Use a grey card or ColorChecker: Shoot a quick reference any time lighting changes; this becomes your correction anchor.
- Manual white balance: When the light is stable, set a custom WB in-camera to reduce post work.
Helpful Adobe resources: Learn how to neutralize casts with the White Balance eyedropper in Lightroom via Adobe’s remove color cast guide, and review the fundamentals of temperature/tint in Premiere Pro’s basic color correction options. For objective checks in video, see Lumetri Scopes and the skin-tone line tutorial.
The On-Set Checklist (Prevention Beats Cure)
- Unify sources: Kill stray practicals, gel to match, or flag off contaminating light.
- Reference frame: Hold a grey card/ColorChecker under key light; take one photo or 2–3 seconds of video.
- Stable exposure: Lock ISO/aperture where feasible; use a meter for repeatable results.
- Shoot RAW / Log: More bit depth and latitude = safer corrections without artifacts.
Post-Production Blueprint (Stills & Video)
1) Set the Reference
Open your reference shot and set white balance with the eyedropper on the grey card (Lightroom/Camera Raw) or Temp/Tint in Lumetri (Premiere Pro). This establishes your “true neutral.”
2) Propagate the Look
- Photography: Copy/paste settings (WB, Basic, HSL/Color Mixer) from the reference to images shot under the same light; then micro-tune per image.
- Video: Use comparison view/shot match tools, then refine Lift/Gamma/Gain or Offset.
3) Verify with Scopes
- Vectorscope & skin-tone line: Place a loose mask over cheeks/forehead; aim hue toward the line with tasteful saturation.
- Waveform: Keep faces in a consistent midtone range across shots; avoid crushed shadows or clipped highlights on skin.
4) Targeted Refinements
- HSL/Color Mixer (Lightroom): Nudge Orange (hue/sat/luma) for most complexions; use Red/Yellow sparingly to avoid lipstick/teeth shifts.
- Subject/Color Range masks: Soften over-red areas with a slight saturation pull; add a gentle exposure lift on faces to keep them “keyed.”
- Calibration safety valve: Small tweaks to Blue Primary saturation can calm global punch without flattening skin.
Real-World Mini-Workflows
Golden café interior (tungsten + window light)
- Flag window spill or gel practicals to match.
- WB to grey card, then reduce Orange saturation ~5–10 in HSL.
- Add a face mask: +0.2–0.3 EV, −5 saturation, tiny magenta tint if green cast remains.
Overcast exterior (blue shadows)
- Warm Temp a touch; add +magenta if green contamination appears.
- Lift midtones, retain micro-contrast; keep saturation moderate for realistic skin.
- Check vectorscope—skin hue should sit near the line, not inside yellow or red boxes.
Stage LEDs (magenta/green variance)
- Use selective color/secondary to neutralize spikes (add green to magenta, or vice-versa).
- Stabilize with a mild overall WB, then correct skin locally.
- Match shots via scopes; don’t rely on monitors alone.
Presets vs Manual Editing
Presets deliver an immediate, cohesive baseline, especially across sessions, while manual editing gives surgical control for skin nuance. The sweet spot? Apply a high-quality portrait preset, then refine via masked HSL and subtle Temp/Tint adjustments on faces. If you’re building a library, start with a robust bundle and favorite a few skin-friendly looks.
- Start fast with AI-Optimized Portrait Lightroom Presets, then fine-tune skin via masks.
- Need range across genres? The 1000+ Master Lightroom Presets Bundle covers portraits, weddings, lifestyle, and more.
Expert Tips (From the Edit Desk)
- Midtone first: Most skin decisions live in midtones—stabilize gamma before pushing highlights/shadows.
- Protect reds: Lipstick and ears can clip or oversaturate fast; tame Red saturation selectively.
- Subtle beats perfect: Aim for believable continuity, not clinical sameness. Different complexions should keep their individuality.
- Document your base: Save a “Skin Consistency” preset (WB + HSL + mask template) for each location or show.
Suggested Tools & Reading (Internal)
- Portrait Presets: Editing Skin Tones the Right Way
- Mastering Lightroom Mobile: Avoiding Common Mistakes
- Warm vs Cool Tones: Picking the Right Mobile Preset
- Lightroom Presets vs Photoshop Actions
- Seamless Lightroom Editing Across Mobile & Desktop
FAQ
What’s the fastest way to match skin tones across a set?
Use a reference shot with a grey card to set WB, sync those settings across similar images/clips, then refine faces with HSL and masks while checking the vectorscope skin-tone line.
Should I fix white balance globally or only on faces?
Do a global WB first so everything sits in the right neighborhood, then use Subject/Color Range masks to nudge skin without shifting backgrounds.
How do I keep skin natural when I want a warm overall look?
Warm globally with Temp, then reduce Orange saturation slightly on skin masks and lift midtones +0.2–0.3 EV to avoid “toasted” complexions.
Are presets enough for professional work?
They’re an excellent baseline for cohesion. For client-level polish, add local adjustments, scope checks, and per-scene micro-tuning.
Where can I find official guidance on the eyedropper and scopes?
See Adobe’s resources on removing color casts with the White Balance eyedropper, temperature/tint in Lumetri, and Lumetri scopes.
Keep Going (Products, Collections, Help)
- AI-Optimized Dark Skin Tones Presets
- Light & Airy Creamy Skin Presets
- AI-Optimized Portrait Presets
- Portrait Lightroom Presets – browse all
- Lightroom Presets for Mobile & Desktop – full collection
- Need help? Contact us
Building a consistent style? Try portrait-ready looks and refine locally—install a skin-friendly base in one click, then browse the wider Portrait Presets collection to expand your toolkit.
Written by Asanka — creator of AAAPresets (10,000+ customers).


Leave a comment
This site is protected by hCaptcha and the hCaptcha Privacy Policy and Terms of Service apply.