
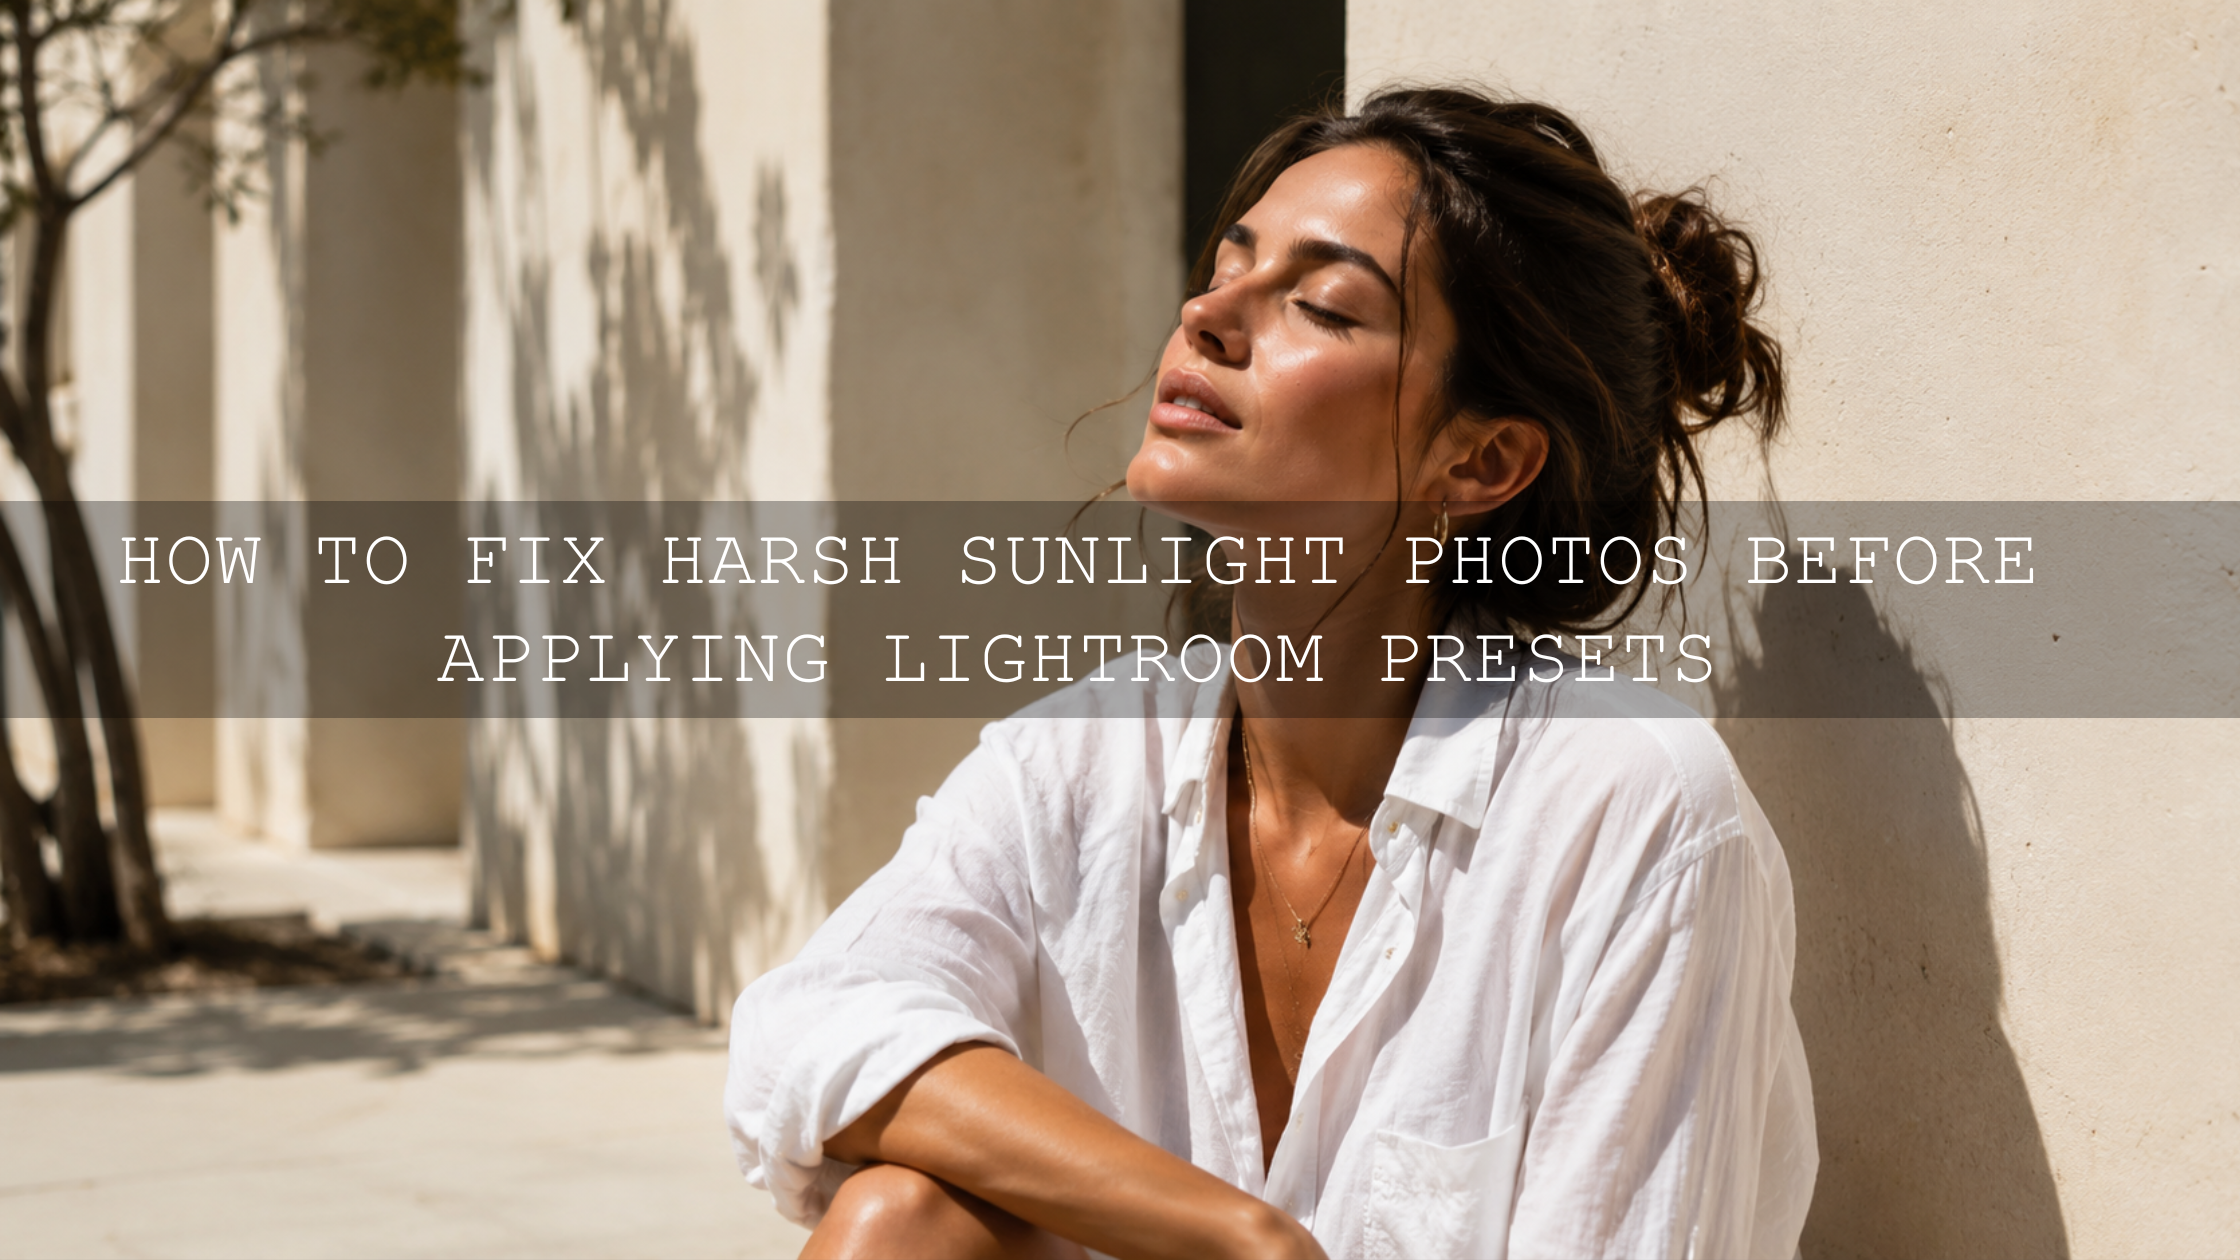
How to Master Yellow Light Indoor Photography Before Applying Lightroom Presets
Yellow light indoor photography can look cozy, cinematic, and emotional, but it can also make your photos look too orange, muddy, flat, or unnatural if you do not control the color first. Warm indoor light from lamps, candles, fairy lights, café bulbs, and golden window light can confuse your camera’s white balance and make Lightroom presets look stronger than expected.
Here’s why this matters: a Lightroom preset is a creative style tool, not a repair tool. If the original photo has a heavy yellow cast, orange skin tones, or mixed indoor and window lighting, the preset may exaggerate the problem instead of fixing it. The better workflow is simple: balance the light first, apply your creative look second, then fine-tune the final mood.
For a flexible editing workflow, start with the 1000+ Master Lightroom Presets Bundle and browse more styles in the Lightroom Presets for Mobile & Desktop collection. Correct your yellow light base first, apply your preset second, then adjust the warmth to match your story. Try these presets today — Buy 3, Get 9 FREE.
Why Yellow Light Makes Indoor Photos Look Too Orange
Yellow light usually comes from warm indoor bulbs, lamps, candles, decorative lights, or late afternoon sunlight passing through windows and curtains. In real life, that warmth feels comfortable and emotional. In-camera, it can become too strong because the camera is trying to guess what “neutral white” should look like.
The main issue is white balance. Auto White Balance tries to correct color automatically, but indoor lighting is not always clean or consistent. A bedside lamp may be very warm, a window may be cooler, and an LED bulb may add a slight green tint. When all of those light sources mix together, your photo can end up with orange faces, yellow walls, green shadows, or dull colors.
In Lightroom, this becomes more obvious after applying presets. A cinematic preset may add contrast, warmth, faded shadows, or rich browns. If the photo is already too yellow, those adjustments can push the image into an unnatural look. For more troubleshooting help, read this guide on why presets look bad indoors and how to fix indoor lighting.
Start With White Balance Before You Touch Presets
White balance is the most important step for fixing yellow indoor photos. It controls how warm, cool, green, or magenta your image appears. Adobe explains that Lightroom Classic uses Temp and Tint controls to fine-tune white balance, where Temperature shifts the image warmer or cooler and Tint helps correct green or magenta casts. You can learn more in Adobe’s Lightroom Classic guide to image tone and color.
For yellow light, do not immediately remove all warmth. The goal is not always to make the photo perfectly white. The goal is to make the warmth look intentional. A cozy coffee shop photo should still feel warm. A wedding reception photo should still feel romantic. A product photo, however, may need cleaner neutral color so the item looks accurate.
Quick white balance starting points
- If skin looks too orange: move Temperature slightly cooler and check the face before checking the background.
- If shadows look green: move Tint slightly toward magenta until the shadows feel cleaner.
- If the whole image looks flat: fix exposure before adding more saturation.
- If the lamp glow is beautiful: keep some warmth and correct only the subject area.
I often test warm indoor presets on café, lifestyle, and wedding-style photos by first setting a clean white balance, then applying the preset at full strength. When the starting color is balanced, the preset feels more expensive, more controlled, and less “one-click orange.”
Use RAW Files When Shooting Warm Indoor Light
If your camera or phone supports RAW, use it for difficult indoor lighting. RAW files give you more room to recover color, adjust exposure, and correct white balance after the shoot. JPEG files can still work, but the camera has already processed the color, which means heavy yellow casts may be harder to repair naturally.
This matters most when you are shooting portraits, weddings, interiors, food, or product images under warm lamps. RAW files give you more flexibility to cool the image slightly, recover highlight detail, and adjust skin tones without destroying the photo. Adobe’s Camera Raw tools include White Balance, Temperature, Tint, Exposure, Highlights, Shadows, and more, which makes RAW editing especially useful for indoor lighting correction. See Adobe’s guide to color and tonal adjustments in Camera Raw for a deeper explanation.
Control the Light Source Before Editing
The best edit starts before Lightroom. If the light is messy, the edit becomes harder. Before taking the photo, look at the room and ask one simple question: which light source should control the mood?
If you have warm lamps and cool window light in the same room, choose one as the main light. Place your subject closer to the dominant source and reduce the weaker source if possible. This prevents mixed color casts, where one side of the face looks yellow and the other side looks blue.
Simple ways to control yellow light while shooting
- Turn off extra bulbs: remove unnecessary color conflicts from the scene.
- Move the subject: place the face where the light is soft and consistent.
- Use window light carefully: let window light fill the face while warm lamps stay in the background for mood.
- Avoid direct lamp light on skin: direct warm bulbs can make faces look too orange and shiny.
- Use a gray card or white object: capture a neutral reference photo when color accuracy matters.
For mixed indoor and window lighting, this related guide on mastering presets in mixed indoor and window light will help you build a cleaner workflow before applying creative edits.
Camera Settings for Yellow Light Indoor Photography
Indoor scenes are usually darker than they look to your eyes. Your camera may raise ISO, slow the shutter, or open the aperture to compensate. That can create noise, blur, and weak contrast. A clean exposure gives your Lightroom preset better image data to work with.
Recommended starting settings
- White Balance: start with Auto, Tungsten, or a custom Kelvin setting, then adjust after a test shot.
- Aperture: use a wide aperture for portraits and lifestyle details, but stop down for group photos or product shots.
- Shutter Speed: keep it fast enough to avoid hand shake or subject movement.
- ISO: raise it only as much as needed, because very high ISO can make warm shadows look muddy.
- File Format: choose RAW when possible for better white balance correction.
If your photo is too dark, yellow light often becomes stronger and dirtier. Add a little exposure in-camera or in Lightroom before judging the preset. If your photo is too bright, highlights from lamps and skin can lose detail. The cleanest result usually comes from protecting highlights and lifting shadows carefully.
Presets vs Manual Editing: Which Works Better for Yellow Light?
Manual editing gives you full control over white balance, exposure, skin tones, and color correction. Presets give you speed, consistency, and a strong creative direction. The best workflow uses both.
Think of manual editing as the foundation and presets as the style. First, use manual adjustments to fix the technical problems: exposure, white balance, tint, highlights, shadows, and noise. Then apply a preset to create the mood: warm film, cinematic brown, soft portrait, vintage fade, or cozy lifestyle color.
A preset works best when the photo is already prepared. Fix the light first, then let the preset create the look.
For warm lifestyle, café, and indoor portraits, the AI-Optimized Aesthetic Coffee Shop Warm Film Lightroom Presets are a strong choice because they are built for cozy interiors, warm bulbs, café tones, and lifestyle scenes. For a darker premium look, the Moody Brown Lightroom Presets can help create rich warm-brown edits without making the photo feel too loud.
Step-by-Step Lightroom Workflow to Fix Yellow Indoor Photos
Use this workflow before applying your final Lightroom preset. It works for portraits, food photos, home lifestyle photos, wedding receptions, café scenes, and indoor content creation.
Step 1: Correct exposure first
Before changing color, fix the overall brightness. If the image is underexposed, yellow light can look muddy. If it is overexposed, lamp highlights and skin may look harsh. Start with Exposure, Highlights, Shadows, Whites, and Blacks. Keep the photo natural before adding style.
Step 2: Set a believable white balance
Move the Temperature slider cooler if everything looks too orange. Then adjust Tint if the image feels too green or too magenta. Use skin tones as your main guide. A white wall may not always be neutral, but skin tone problems are easy to notice.
Step 3: Apply your Lightroom preset
After the base correction, apply your chosen preset. If the edit becomes too strong, reduce the intensity where available or manually soften contrast, saturation, or color grading. For broad creative options, the 1000+ Master Lightroom Presets Bundle gives you many looks to test across warm indoor scenes, portraits, lifestyle images, and cinematic edits.
Step 4: Fix skin tones with HSL or Color Mixer
If skin still looks too orange, go to the orange and yellow color controls. Reduce orange saturation slightly, adjust orange luminance carefully, and avoid pushing hue too far. The goal is natural skin, not gray skin. For more help, read how to fix color issues after using presets with HSL.
Step 5: Use masks for mixed lighting
Sometimes only one part of the image needs correction. For example, the subject may look too yellow, but the background lamp glow looks beautiful. In that case, use masking to cool the subject slightly while keeping the background warm. Adobe’s masking tools allow local changes to Temperature, Tint, Exposure, Contrast, and other settings, which is helpful for mixed-lighting conditions. See Adobe’s guide to masking in Lightroom Classic.
Step 6: Finish with noise reduction and sharpening
Indoor photos often use higher ISO, so check shadows and darker areas for noise. Apply noise reduction gently, then sharpen only enough to restore detail. Too much sharpening can make skin texture, wall texture, and low-light grain look rough.
Creative Ways to Embrace Warm Indoor Light
Not every yellow light photo needs to become neutral. Sometimes warmth is the story. A warm lamp can make a bedroom portrait feel intimate. Café lights can make a food photo feel inviting. Wedding reception lights can make a dance floor feel emotional. The goal is to separate “beautiful warmth” from “uncontrolled yellow cast.”
For cozy indoor edits, try enhancing warm highlights while keeping shadows slightly cooler. This creates contrast between warm light and deeper tones. You can also soften saturation in the background so the subject remains the focus. If you like warm film-style edits, explore the Brown Presets for Lightroom Mobile and Desktop collection for earthy, cozy, and cinematic warm looks.
I tested warm film-style presets on indoor café photos with yellow bulbs and window light. The best result came from cooling the white balance slightly before applying the preset, then adding warmth back only to the highlights. That kept the atmosphere cozy without making the entire photo orange.
Common Yellow Light Editing Mistakes
- Removing all warmth: this can make indoor photos look lifeless and too clinical.
- Overcooling skin tones: if skin turns gray or pink, the correction has gone too far.
- Ignoring Tint: Temperature fixes blue and yellow, but Tint is needed for green and magenta shifts.
- Applying presets before correction: this can make orange casts, muddy shadows, and color problems stronger.
- Overusing saturation: warm colors can become heavy very quickly indoors.
If your presets look different on every indoor photo, the reason is usually the starting point. Exposure, white balance, camera profile, ISO, and light source all affect how a preset responds. This guide on why Lightroom presets look different on every photo explains how to get more consistent results.
Best Types of Photos for Warm Indoor Presets
Warm indoor presets work beautifully when the photo already has a strong mood. They are especially useful for lifestyle portraits, café photos, food photography, home interiors, family sessions, wedding reception details, product flat lays, and cozy social media content.
If you shoot food, coffee, desserts, or restaurant content, warm indoor light can make the image feel more appetizing when controlled properly. You can also browse the Food Photography Lightroom Presets collection for styles designed to enhance color, texture, and mood in indoor food scenes.
For warm family and lifestyle sessions, you may also like this guide on editing warm lifestyle family photos in Lightroom.
Related Reading
- Why presets look bad indoors and how to fix artificial light
- How to edit mixed indoor and window lighting with presets
- How to adapt Lightroom Mobile presets to different lighting
- How to fix color issues after applying presets
- Why Lightroom presets look different on every photo
Final Thoughts on Yellow Light Indoor Photography
Yellow light indoor photography is not something you need to avoid. It can create emotion, warmth, nostalgia, and cinematic atmosphere when you control it properly. The key is to prepare the photo before applying a preset: correct exposure, set white balance, manage Tint, protect skin tones, and use masks when different light sources compete in the same frame.
Once the base looks clean, presets can do what they are meant to do: create a beautiful style faster. For a wide range of indoor, portrait, lifestyle, warm film, and cinematic edits, explore the 1000+ Master Lightroom Presets Bundle, try the cozy AI-Optimized Warm Velvet Lightroom Presets, or browse the full Lightroom Presets for Mobile & Desktop collection. Correct the yellow cast first, apply your favorite look second, and finish with small adjustments for a polished result. Try these presets today — Buy 3, Get 9 FREE.
FAQ
Why do my indoor photos look too yellow?
Indoor photos often look too yellow because warm bulbs, lamps, candles, or mixed lighting affect white balance. Your camera may not know whether to preserve the warmth or neutralize it, so the photo can become orange, muddy, or uneven.
Should I fix yellow light before applying Lightroom presets?
Yes. Fix exposure, white balance, and Tint before applying a preset. This gives the preset a cleaner base and helps avoid overly orange skin, muddy shadows, and unnatural color shifts.
What Lightroom slider fixes yellow light?
The Temperature slider is the main control for yellow and blue balance. Move it cooler to reduce yellow warmth. Use the Tint slider if the image also has a green or magenta cast.
Can I keep yellow light for a cozy look?
Yes. You do not need to remove all yellow light. Keep some warmth if it supports the mood, but make sure skin tones and important subjects still look natural.
Are presets good for warm indoor photos?
Presets work very well for warm indoor photos when the original image is prepared first. Correct the technical problems manually, then use the preset to create the final cinematic, cozy, vintage, or lifestyle style.
Written by Asanka — creator of AAAPresets (10,000+ customers).

Leave a comment
This site is protected by hCaptcha and the hCaptcha Privacy Policy and Terms of Service apply.