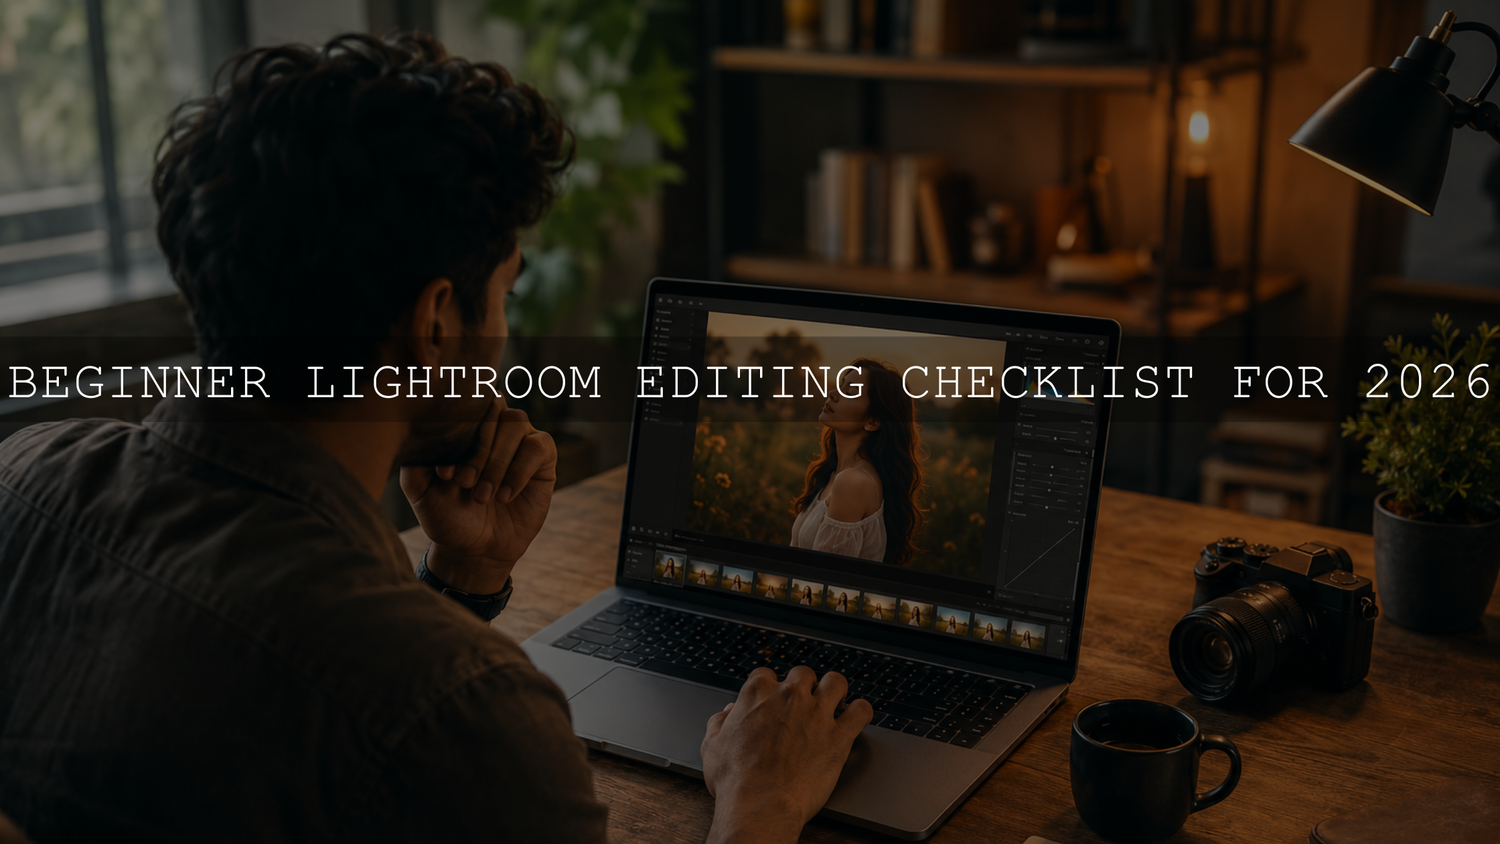
Beginner Lightroom Editing Checklist for 2026
A beginner Lightroom editing checklist is one of the easiest ways to stop guessing and start editing with confidence. Lightroom can feel overwhelming at first because there are panels for importing, organizing, exposure, color, masks, sharpening, presets, cropping, and exporting. But when you follow the same simple workflow every time, editing becomes much easier, faster, and more professional.
Here’s why this matters: most beginner edits go wrong because the steps happen in the wrong order. A photo may look flat, too orange, too dark, too sharp, or overly saturated, not because the image is bad, but because the foundation was not corrected first. This guide walks you through a clean Lightroom editing workflow for 2026, from import to final export, with practical tips you can use on portraits, travel photos, landscapes, weddings, street photos, and social media content.
For a faster creative starting point, begin with the 1000+ Master Lightroom Presets Bundle and explore more flexible styles in the Lightroom Presets for Mobile and Desktop collection. Try these presets today — Buy 3, Get 9 FREE.
Why Beginners Need a Lightroom Editing Workflow
Lightroom is powerful because it gives you control over both the technical side and the creative side of photo editing. You can fix exposure, correct white balance, recover highlights, improve skin tones, adjust colors, sharpen details, crop the frame, and export for web or print. But power without structure can quickly become confusing.
A good Lightroom editing workflow helps you make better decisions in the right order. Instead of randomly moving sliders, you build the image step by step:
- Organize and select your best photos first.
- Correct exposure and white balance before adding style.
- Use presets as a starting point, not the final edit.
- Fine-tune colors, contrast, and details after the base is clean.
- Export with the correct settings for your final use.
Adobe also recommends using Lightroom’s organization tools such as albums, keywords, metadata, flags, and ratings to keep your photo library easier to manage. You can learn more in Adobe’s guide to organizing photos in Lightroom.
Step 1: Import and Organize Your Photos First
Before editing, create a clean system for importing and organizing your images. This saves time and helps you avoid losing your best shots inside a messy folder structure.
Create a Simple Folder System
Use a folder structure that is easy to understand later. For example:
- 2026 > 01 January > Beach Portrait Shoot
- 2026 > 03 March > Wedding Client Gallery
- 2026 > 07 July > Street Photography Colombo
The exact structure is less important than consistency. If you name folders differently every time, finding old work becomes harder.
Add Keywords and Metadata
Keywords are useful when your library grows. Add simple, searchable words such as portrait, golden hour, wedding, travel, landscape, street photography, family, product shoot, or client name. Lightroom metadata can also include copyright details, creator name, camera information, ratings, and other helpful file data. Adobe explains metadata in more detail in Adobe’s Lightroom Classic metadata guide.
Cull Before You Edit
Culling means choosing the best images before you start editing. Use flags, star ratings, or color labels. A simple beginner method is:
- Pick: Photos worth editing.
- Reject: Blurry, duplicate, badly exposed, or weak photos.
- 5 stars: Best portfolio or client delivery images.
Do not edit every photo. Edit the strongest 10% to 20% first. This keeps your workflow focused and improves your final gallery quality.
Step 2: Fix the Basic Exposure Before Adding Style
The Basic panel is where most beginner Lightroom editing should start. Your first goal is not to make the photo cinematic, moody, bright, or vintage. Your first goal is to make the image balanced.
Start With White Balance
White balance controls the overall color temperature of your image. If the photo is too blue, warm it up. If it is too orange, cool it down. If skin looks too green or too pink, adjust the Tint slider carefully.
Here’s why this matters: if white balance is wrong, every color edit after it becomes harder. HSL adjustments, presets, tone curves, and color grading will all react differently when the base color is already off.
Adjust Exposure, Highlights, and Shadows
Use Exposure for overall brightness. Then use Highlights and Shadows to recover detail. A bright sky may need lower Highlights. A dark face may need lifted Shadows. Avoid pushing everything too far because over-recovery can make images look flat.
For beginners, a good order is:
- Fix Exposure until the subject looks natural.
- Lower Highlights if bright areas are too strong.
- Lift Shadows only enough to reveal detail.
- Set Whites and Blacks for clean contrast.
Adobe’s official Lightroom documentation explains that the Develop tools include core controls for white balance, tonal scale, saturation, and advanced adjustments. You can review the basics in Adobe’s guide to the Lightroom Classic Develop module.
Step 3: Use Presets as a Starting Point, Not the Final Edit
Lightroom presets are helpful because they apply a saved style quickly. They can add cinematic contrast, warm tones, soft highlights, moody shadows, bright clean colors, vintage film tones, or polished portrait looks. But a preset should usually be the starting point, not the final edit.
I tested this approach on a warm outdoor portrait where the preset gave the image a beautiful cinematic tone, but the subject’s face became slightly too orange. Instead of removing the preset, I corrected the white balance, reduced orange saturation slightly, and lifted the shadows on the face. The result kept the mood but looked much more natural.
If you want a movie-style base for portraits, lifestyle, travel, and street photos, try the AI-Optimized Aesthetic Cinematic Movie Look Lightroom Presets. For sunset and warm outdoor edits, the AI-Optimized Aesthetic Golden Hour Lightroom Presets can help you create a soft, glowing foundation.
Presets vs Manual Editing
Presets and manual editing are not enemies. They work best together.
- Presets save time: They give your image a strong creative direction in one click.
- Manual editing gives control: You adjust exposure, skin tones, white balance, contrast, and local details based on the actual photo.
- The best workflow uses both: Apply a preset, then refine the image so it fits the light, subject, and mood.
Adobe describes Lightroom presets as predefined settings that can apply adjustments such as exposure, contrast, saturation, and color grading. You can read more in Adobe’s guide to editing photos with presets in Lightroom.
If presets sometimes look inconsistent on your photos, read why editing presets are hit-or-miss and how to fix the base before judging the final look.
Step 4: Shape Contrast With the Tone Curve
Once your base exposure looks good, use the Tone Curve to shape contrast more carefully. The Tone Curve gives you deeper control than the basic Contrast slider because you can adjust shadows, midtones, and highlights separately.
Try a Gentle S-Curve
A beginner-friendly S-curve works like this:
- Add one point in the shadow area and pull it slightly down.
- Add one point in the highlight area and lift it slightly up.
- Keep the adjustment small so the image still looks natural.
This adds depth without making the edit too harsh. For portraits, avoid crushing shadows too much because it can make hair, clothing, and deeper skin tones lose detail. For landscapes and street photos, a stronger curve can work well if the mood needs more drama.
For difficult lighting, especially midday sun or high-contrast scenes, use a safer base first. This guide on safe Lightroom base presets for hard-light photos explains how to protect highlights and shadows before adding style.
Step 5: Improve Color With HSL and Color Mixer
The HSL or Color Mixer panel is where your edit starts to feel more intentional. HSL stands for Hue, Saturation, and Luminance.
- Hue: Changes the actual color, such as shifting green toward yellow or blue toward teal.
- Saturation: Controls how strong a color appears.
- Luminance: Controls how bright or dark a color appears.
Beginners often overuse saturation. Instead, adjust only the colors that matter most. For a portrait, focus on orange and red tones because they affect skin. For a landscape, focus on blues, greens, and yellows. For street photography, control oranges, cyans, and blues to create a cleaner cinematic feel.
Pro Tip: Fix Skin Before Styling the Background
Skin tones should look believable before you push the rest of the image. If the background looks amazing but the face looks too red, too yellow, or too flat, the edit will still feel unfinished. For more help, read how to make Lightroom presets work on different skin tones.
Step 6: Use Masks for Local Adjustments
Global sliders affect the whole image. Masks affect only selected areas. This is one of the biggest differences between beginner edits and more professional edits.
Use masks when only one part of the photo needs help:
- Brighten a face without brightening the whole background.
- Darken a sky without making the subject too dark.
- Add clarity to clothing or architecture without roughening skin.
- Warm the subject slightly while keeping the background cooler.
For example, on a backlit portrait, you may lift Shadows globally, but the background becomes too bright. A better option is to create a subject mask, brighten only the person, and keep the background rich.
Step 7: Sharpen Carefully and Reduce Noise Naturally
Sharpening should make edges cleaner, not make the whole photo crunchy. Zoom in to 100% before adjusting sharpening. If you sharpen skin, skies, or smooth backgrounds too much, the image can look harsh.
A simple beginner sharpening workflow:
- Apply a small amount of sharpening.
- Use Masking so sharpening mainly affects edges.
- Use Noise Reduction only when the image has visible grain or color speckles.
- Do not over-smooth faces or details.
If your photo was shot in low light, avoid heavy Clarity and heavy Sharpening because both can make noise more visible. A cleaner approach is light noise reduction, careful masking, and a softer contrast curve.
Step 8: Correct Lens Issues and Straighten the Photo
Lens corrections help fix distortion, vignetting, and chromatic aberration. This is especially helpful for wide-angle landscapes, architecture, real estate photos, and travel images where lines should look straight.
Then check the horizon. A slightly tilted horizon can make a good image feel careless. Use the Crop and Straighten tools to fix the frame before exporting.
Crop With Intention
Cropping is not only about removing unwanted areas. It helps guide the viewer’s eye. Crop out distractions near the edges, give your subject breathing room, and choose the best ratio for your final platform.
- Instagram square: 1:1 crop.
- Instagram portrait: 4:5 crop.
- Website/blog: wider landscape crop.
- Print: crop based on the final print size.
Step 9: Do a Final Before-and-After Check
Before exporting, compare your edit with the original photo. Ask yourself:
- Does the edit improve the image or only make it stronger?
- Does the subject still look natural?
- Are highlights or shadows losing important detail?
- Do the colors match the mood of the photo?
- Would this edit feel consistent with the rest of the gallery?
Here’s a simple rule: if the edit becomes more noticeable than the subject, reduce the effect. A professional edit should support the photo, not fight it.
If your presets change after updates or suddenly look different, this guide on fixing Lightroom presets after an update can help you troubleshoot color, contrast, and profile issues.
Step 10: Export With the Right Settings
Export settings depend on where the image will be used. For social media, blogs, and online portfolios, JPEG with sRGB is usually the safest choice. For further editing, a larger TIFF or high-quality file may be better.
Beginner Export Settings for Web and Social Media
- Format: JPEG
- Color Space: sRGB
- Quality: 80 to 100
- Sharpening: Screen sharpening if uploading online
- File naming: Use clear names such as client-name-final-01.jpg
If you use Lightroom Mobile, browse the Lightroom Mobile Presets collection for styles that work well on phone-based editing workflows. If you need setup help, the Lightroom preset installation guide is a useful place to start.
Beginner Lightroom Editing Checklist Summary
Use this quick checklist every time you edit:
- Import your photos into a clear folder structure.
- Add keywords, ratings, and useful metadata.
- Cull your images before editing.
- Fix white balance and exposure first.
- Recover highlights and shadows carefully.
- Apply a preset as a creative starting point.
- Adjust contrast with the Tone Curve.
- Refine colors using HSL or Color Mixer.
- Use masks for subject, sky, face, or background corrections.
- Sharpen only where needed and reduce noise naturally.
- Correct lens issues and straighten the frame.
- Crop for the final platform.
- Compare before and after.
- Export using the right format, quality, and color space.
Once you repeat this workflow a few times, Lightroom starts to feel much easier. You will know which sliders to touch first, which problems to fix manually, and when a preset is helping or hurting the final image.
Related Reading
- Why editing presets are hit-or-miss and how to fix them
- How to build safe Lightroom base presets for hard-light photos
- How to make Lightroom presets work on different skin tones
- Warm lifestyle family photo editing workflow for Lightroom
Final Thoughts: Build Confidence One Edit at a Time
Lightroom editing does not have to feel complicated. Start with a clean workflow, correct the foundation first, add creative style second, and refine the details last. The more you repeat this beginner Lightroom editing checklist, the faster you will develop your own editing taste.
For a complete editing toolkit, explore the 1000+ Master Lightroom Presets Bundle, pair it with the AI-Optimized Aesthetic Cinematic Movie Look Lightroom Presets, and browse the full Lightroom Presets for Mobile and Desktop collection. Build your preset library today — Buy 3, Get 9 FREE.
FAQs
What is the best Lightroom editing workflow for beginners?
The best beginner workflow is to import and organize first, cull the strongest photos, correct white balance and exposure, apply presets as a starting point, refine color and contrast, use masks for local fixes, then export with the correct settings for your platform.
Should I edit exposure before applying a Lightroom preset?
Yes, in most cases you should correct exposure and white balance before applying a preset. A preset works better when the photo has a clean foundation. If the image is too dark, too warm, or too flat before the preset, the final result may look inconsistent.
Are Lightroom presets good for beginners?
Lightroom presets are very helpful for beginners because they show how different editing styles are built. However, presets should not replace manual adjustments. Use them to create a quick direction, then adjust exposure, white balance, skin tones, and contrast for each photo.
What export settings should I use for social media?
For most social media uploads, export as JPEG, use sRGB color space, set quality between 80 and 100, and apply screen sharpening. Choose the image size and crop ratio based on the platform, such as 1:1 for square posts or 4:5 for Instagram portraits.
Why do my Lightroom edits look too strong?
Your edits may look too strong because contrast, clarity, saturation, sharpening, or preset intensity is too high. Reduce the strongest sliders first, check the skin tones, and compare the edit with the original photo. A clean edit should enhance the photo without overpowering it.
Written by Asanka — creator of AAAPresets (10,000+ customers).


Leave a comment
This site is protected by hCaptcha and the hCaptcha Privacy Policy and Terms of Service apply.