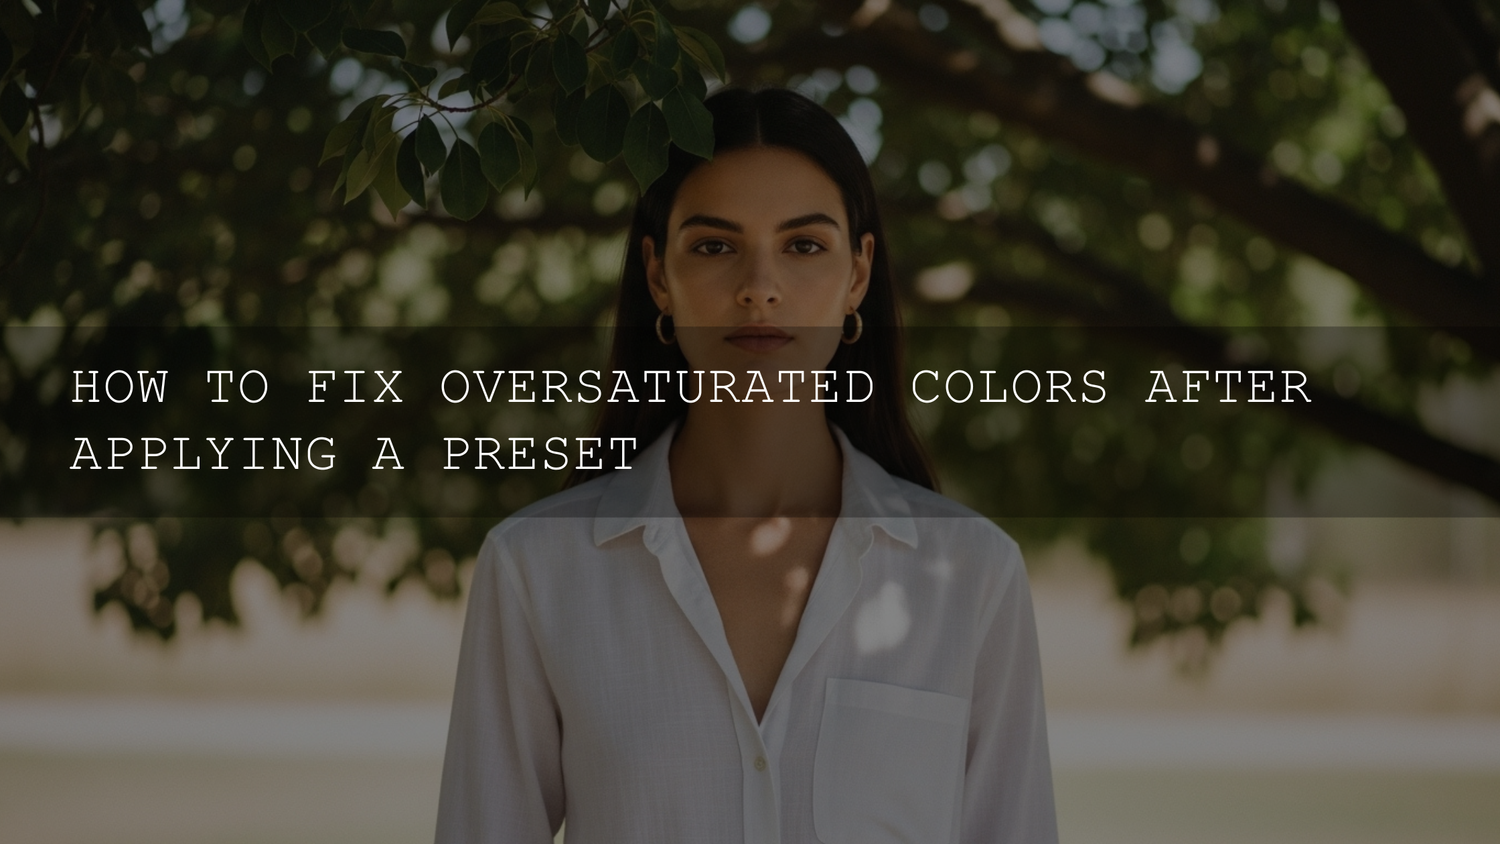
How to Fix Oversaturated Colors After Applying a Preset (Lightroom Workflow)
You apply a preset, and suddenly your photo looks like it drank an energy drink—greens go radioactive, reds turn neon, and skin starts looking “sunburnt.” If you’ve been searching for how to fix oversaturated colors after applying a preset, you’re in the right place. This guide walks you through a clean, repeatable Lightroom presets workflow using Vibrance vs Saturation, the HSL/Color Mixer, and white balance (Temperature & Tint) so your colors feel rich, not chaotic.
If you want a preset library that gives you lots of looks without forcing you into extreme color, start with the 1000+ Master Lightroom Presets Bundle and browse Lightroom presets for Mobile & Desktop. And if you’re building your toolkit, you can Buy 3, Get 9 FREE when you add 12 items to your cart.
Here’s the mindset shift that fixes most “preset problems”: a preset is a starting point, not a finish line. Your job is to make the preset match your lighting, your camera profile, and your subject.
Why presets can suddenly look “too colorful”
Oversaturation usually isn’t random—it’s a predictable clash between your photo and the preset’s assumptions.
- Lighting mismatch: A preset built for soft light can go wild in harsh sun (and vice versa).
- White balance drift: If the original photo is warm/cool, a preset that pushes color will exaggerate it.
- Already-vivid subjects: Neon signs, green trees, red clothes, sunsets—these can get pushed over the edge fast.
- RAW vs JPEG headroom: JPEGs clip color faster, so heavy preset color moves can look “crunchy.”
- Camera profiles and color science: Different cameras interpret reds/greens/blues differently, so the same preset can behave differently.
First-hand note: I tested this exact workflow on a night street shoot with mixed neon and warm shop lights—one preset looked great on the storefront, but made skin and reds explode. The fix wasn’t “ditch the preset,” it was a quick HSL calm-down plus a small white balance correction.
The 60-second rescue (before you touch anything advanced)
Do this in order. It’s fast, it’s safe, and it prevents over-correction.
- Lower Vibrance first (small move). Watch skin and greens.
- Lower Saturation second (tiny move). Only if Vibrance isn’t enough.
- Check the worst offender color (usually Orange, Yellow, Green, Aqua, or Blue).
- Use HSL/Color Mixer Saturation to reduce that one color.
- Re-check white balance (Temp/Tint). Oversaturation often hides a WB problem.
Pro tip: toggle before/after often. If you keep editing without checking, you’ll accidentally drain the life out of the photo.
Vibrance vs Saturation: which one to move first?
This is the cleanest “why” behind good color correction:
- Vibrance is the gentle tool. It tends to protect already-strong colors and brings down intensity more gracefully.
- Saturation is the blunt tool. It affects all colors more uniformly, so it can make skin and lips look flat if you go too far.
Rule of thumb: If the whole image feels loud, start with Vibrance. If one or two colors are screaming, skip global moves and go straight to HSL.
Use HSL/Color Mixer to calm ONE color without ruining the rest
This is where your edits start looking “pro.” Most oversaturation problems are not global—usually it’s just two channels causing drama.
If you want to see Adobe’s official breakdown of how the Color Mixer works (including HSL and more precise color targeting), read Adobe’s guide to the Color Mixer (HSL) in Lightroom Classic.
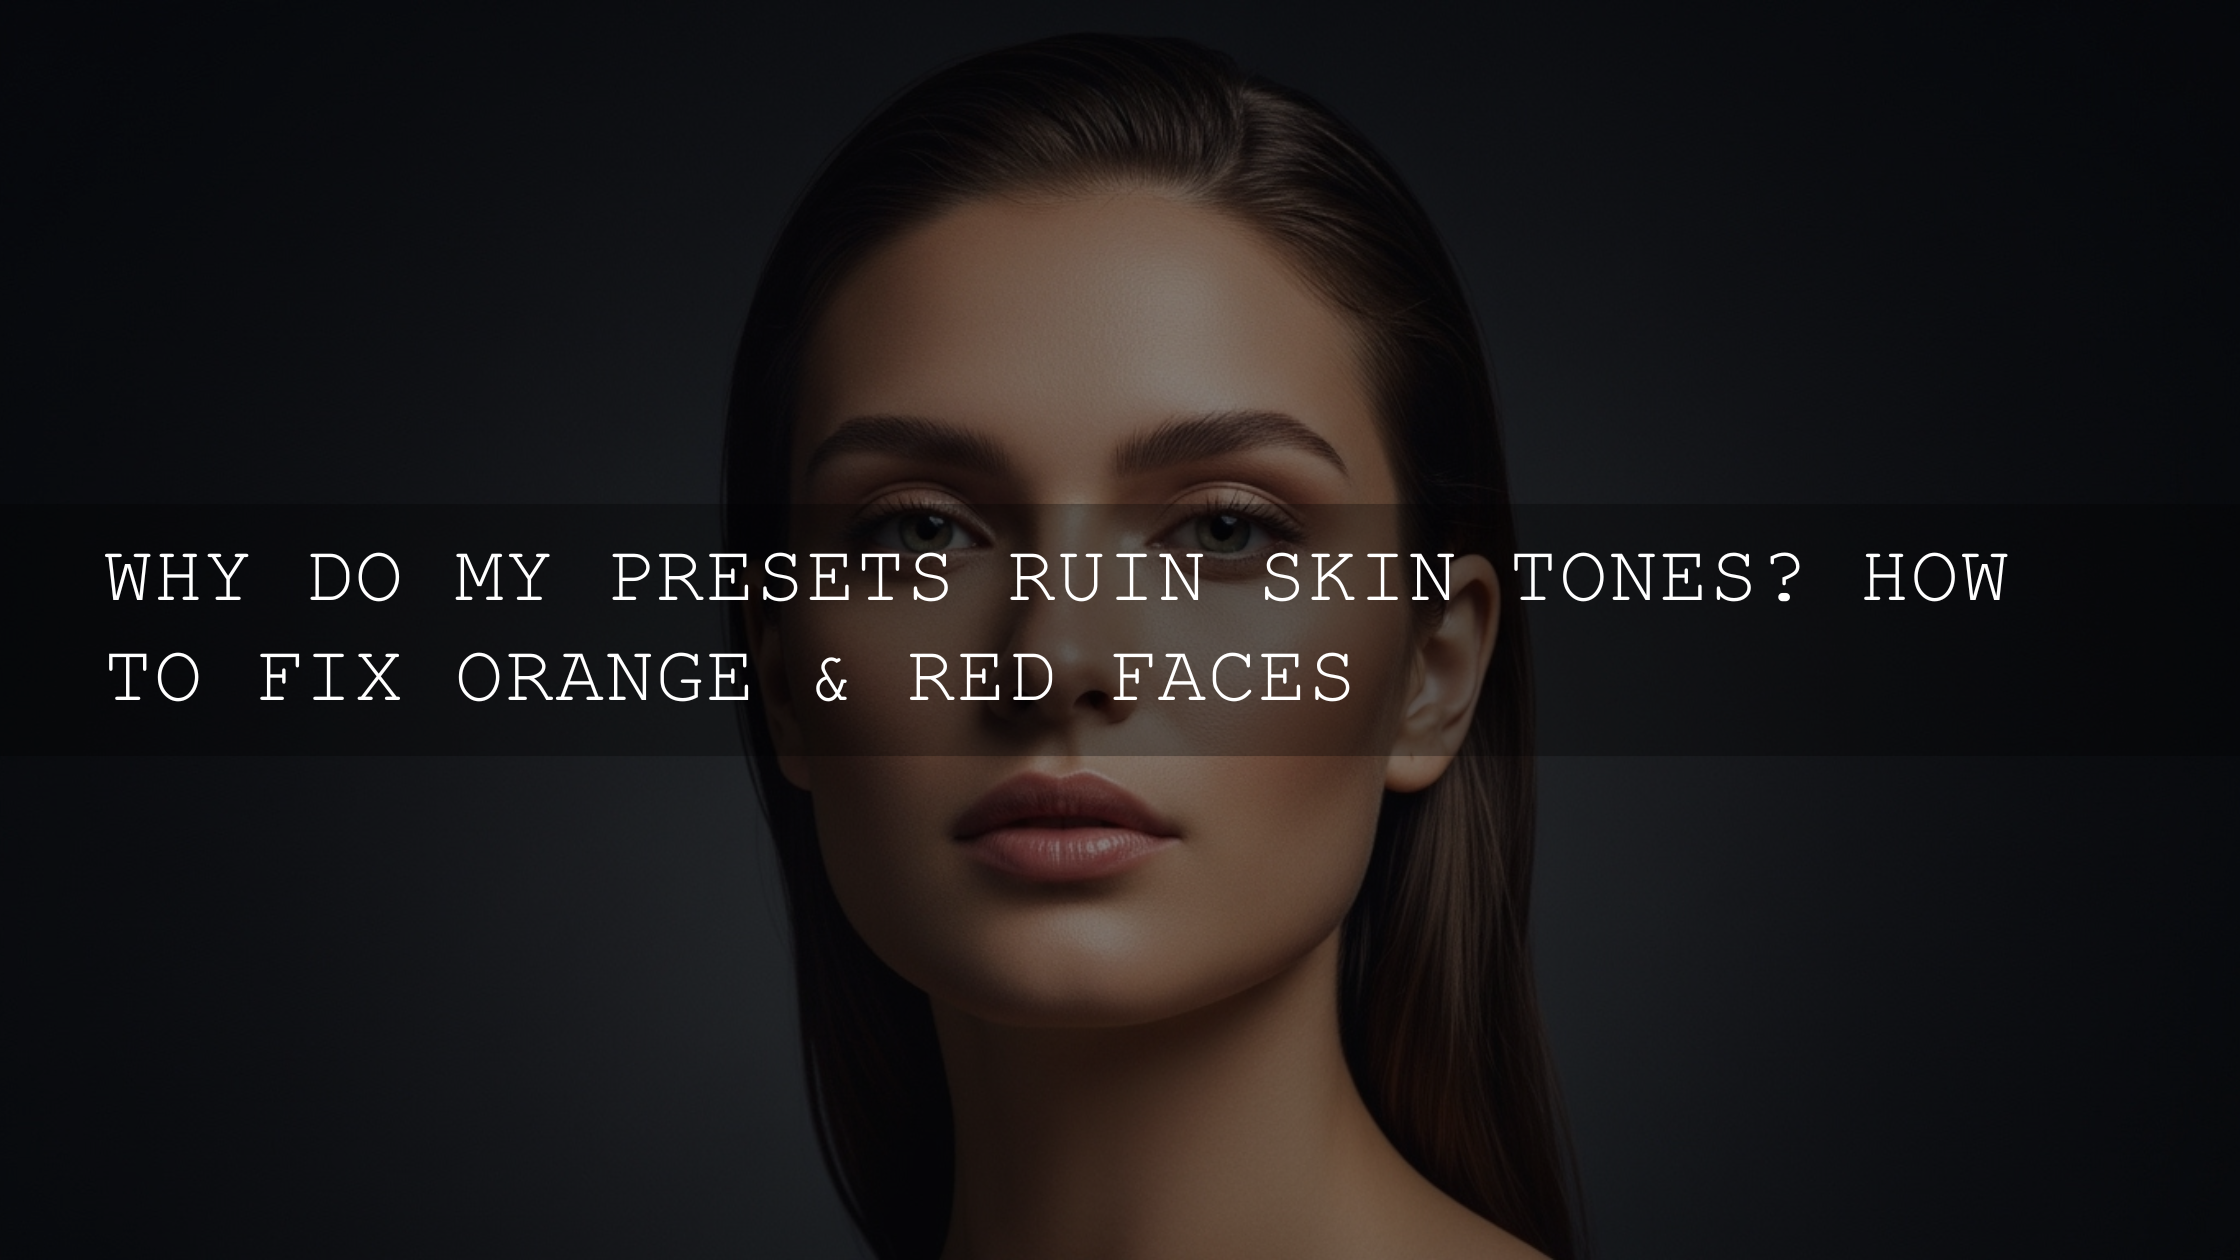
Fix oversaturated skin (Orange/Red) without making the whole photo gray
- Reduce Orange Saturation slightly first (skin lives here).
- If lips or cheeks look too hot, reduce Red Saturation a little.
- If skin looks “too orange,” try raising Orange Luminance slightly (it can look more natural without losing color).
- Only touch Hue if the color is actually shifting wrong (example: orange skin drifting toward red).
Quick checkpoint: skin should look like skin under that lighting—not like a filter. If the preset vibe is cinematic, keep the mood, just remove the “fake” color intensity.
Fix neon greens (foliage) without killing all color
- Reduce Green Saturation first.
- If the greens still look electric, reduce Yellow Saturation too (many greens are mixed with yellow).
- Lower Green Luminance slightly to make foliage feel deeper and less “plastic.”
Pro tip: if you lower saturation and it looks dead, try restoring life with texture/contrast locally (masking) instead of pushing color globally.
Fix “electric” skies (Aqua/Blue)
- Reduce Aqua Saturation (this is often the “cyan glow” problem).
- Reduce Blue Saturation next if needed.
- If the sky looks unnatural, try a small Blue Luminance adjustment (sometimes the brightness makes it feel fake, not the saturation alone).
White balance comes before “style” (Temperature & Tint)
Here’s why this matters: if the base photo is too warm or too cool, a preset’s color work can amplify the mistake. Fixing white balance early makes presets look consistent and saves you from fighting saturation sliders later.
For an official reference on Temperature and Tint adjustments in Lightroom, see Adobe’s guide to adjusting photo lighting and color in Lightroom.
- Too warm? Reds/yellows feel aggressive. Cool Temperature slightly and re-check skin.
- Too cool? Blues/cyans feel harsh. Warm Temperature gently, then target Blues in HSL.
- Green/magenta weirdness? Adjust Tint. Indoor LEDs often push strange casts that presets exaggerate.
First-hand note: When I pushed a moody preset on an indoor portrait under mixed LED lighting, lowering saturation made everything dull—but fixing Tint first made the preset look “expensive” again with minimal color changes.
Local fixes: when only the background is too saturated
Sometimes the subject looks fine, but the background is nuclear (green grass, neon signs, bright clothes). That’s a sign you need local adjustments, not global color punishment.
If you want the official reference for local corrections, here’s Adobe’s guide to local adjustments in Lightroom Classic.
- Mask the background and reduce saturation just there.
- Mask the subject and protect skin (or add a gentle warmth) without affecting the whole frame.
- Color Range masking (when available) is perfect for targeting one problem color like neon green or bright red.
Pro tip: when you fix background saturation locally, you can keep the preset’s “style” while making the photo feel believable.
Advanced: Tone Curve without color chaos
Curves can make an image feel premium fast—but curves can also make saturation look worse if you push too hard. If your preset already adds contrast, adding a heavy S-curve can “thicken” colors and make them feel overcooked.
- Use micro-curves: tiny contrast moves beat dramatic curves.
- Set black/white points carefully: crushing shadows can make colors look dense and unnatural.
- If highlights get harsh: reduce highlight contrast rather than pulling saturation down globally.
Presets vs manual editing: the balanced workflow (comparison)
A lot of creators think it’s either “presets” or “manual editing.” Pros do both.
- Presets give you speed, consistency, and a strong aesthetic direction.
- Manual editing gives you precision—especially for white balance, skin tones, and tricky colors.
The practical order that works: correct the photo (WB/exposure) → apply preset → fix oversaturation with HSL/masks → polish contrast and details. If you want presets designed to be flexible across many scenes, explore AI-Optimized Lightroom presets for Mobile & Desktop.
A real-world example you can copy (two common scenarios)
Scenario A: Portrait looks orange/red after a preset
- Fix Temperature & Tint until whites look neutral and skin looks human.
- Reduce Orange Saturation slightly; adjust Orange Luminance if skin looks heavy.
- If lips/cheeks are too intense, reduce Red Saturation a touch.
- Mask the face if needed and make a tiny local correction instead of changing global color.
If you shoot people often and want a clean starting point that’s easy to refine, try AI-Optimized Skin Retouch Portrait Lightroom Presets.
Scenario B: Street photo looks neon (signs + greens + cyan sky)
- Lower Vibrance slightly (don’t nuke saturation first).
- In HSL, reduce Aqua/Blue Saturation for the sky.
- Reduce Green/Yellow Saturation for foliage.
- If neon signs still scream, use a mask and lower saturation only on those areas.
For an urban/cinematic look that you can still control, check Street Cinematic Dark Moody Photography Lightroom Presets.
Common mistakes that cause oversaturation (and how to avoid them)
- Over-correcting globally: If only greens are bad, don’t destroy all color—use HSL.
- Ignoring white balance: Fix Temp/Tint early. It changes everything downstream.
- Stacking contrast tools: Strong curve + dehaze + deep blacks can make colors look heavy and unnatural.
- Chasing “more color” to make it pop: Often what you want is better tonal separation, not more saturation.
- Never checking on different screens: A phone can make saturation look stronger than a calibrated monitor.
Related reading from AAAPresets
- Why Lightroom presets look different on every photo (and how to fix it)
- Indoor preset fixes for artificial light
- Fix overly cold or blue presets (Temp/Tint + HSL workflow)
- Rescue photos ruined by overly orange or yellow presets
- How to install Lightroom presets (quick guide)
If you need help choosing the right preset pack for your camera and editing style, you can reach out via AAAPresets contact support.
To recap: if you want consistent results, start with a strong base and refine calmly. For a massive variety of styles you can tweak quickly, explore the 1000+ Master Lightroom Presets Bundle and browse Mobile & Desktop Lightroom presets. If you’re building a full toolkit, remember you can Buy 3, Get 9 FREE when you add 12 items to your cart.
Why do presets make my photos look oversaturated?
Presets apply the same color pushes to every image, so if your lighting, white balance, or subject colors are already strong, the preset can exaggerate them. Start by fixing Temperature/Tint, then reduce Vibrance or target the problem color in HSL.
Should I lower Saturation or Vibrance first?
Lower Vibrance first for a more natural correction, then use Saturation only if the whole image is still too intense. If just one color is the issue, use HSL/Color Mixer instead of global sliders.
How do I fix oversaturated skin tones after applying a preset?
Reduce Orange saturation slightly in HSL, then adjust Orange luminance if skin still looks heavy. If only the face is affected, use a mask so you don’t change the entire photo.
My greens look neon after a preset—what’s the fastest fix?
In HSL, lower Green saturation, then Yellow saturation if needed (many greens contain yellow). If it still looks artificial, lower Green luminance slightly for a deeper, more natural look.
How can I fix oversaturation without making the photo dull?
Target the specific problem colors in HSL and use local masks for background-only issues. Keep global saturation moves small and rely on tonal contrast and clean white balance to keep the image lively.
Image alt text suggestions
- Lightroom workflow showing how to fix oversaturated colors after applying a preset using Vibrance vs Saturation
- HSL/Color Mixer adjustments in Lightroom to reduce neon greens and oversaturated blues after presets
- Before and after example correcting white balance Temperature and Tint to prevent oversaturated preset colors
- Local masking in Lightroom to reduce background saturation while keeping natural skin tones with presets
- Step-by-step Lightroom presets correction: targeted HSL saturation and luminance for natural color grading
Written by Asanka — creator of AAAPresets (10,000+ customers).
::contentReference[oaicite:0]{index=0}
Leave a comment
This site is protected by hCaptcha and the hCaptcha Privacy Policy and Terms of Service apply.