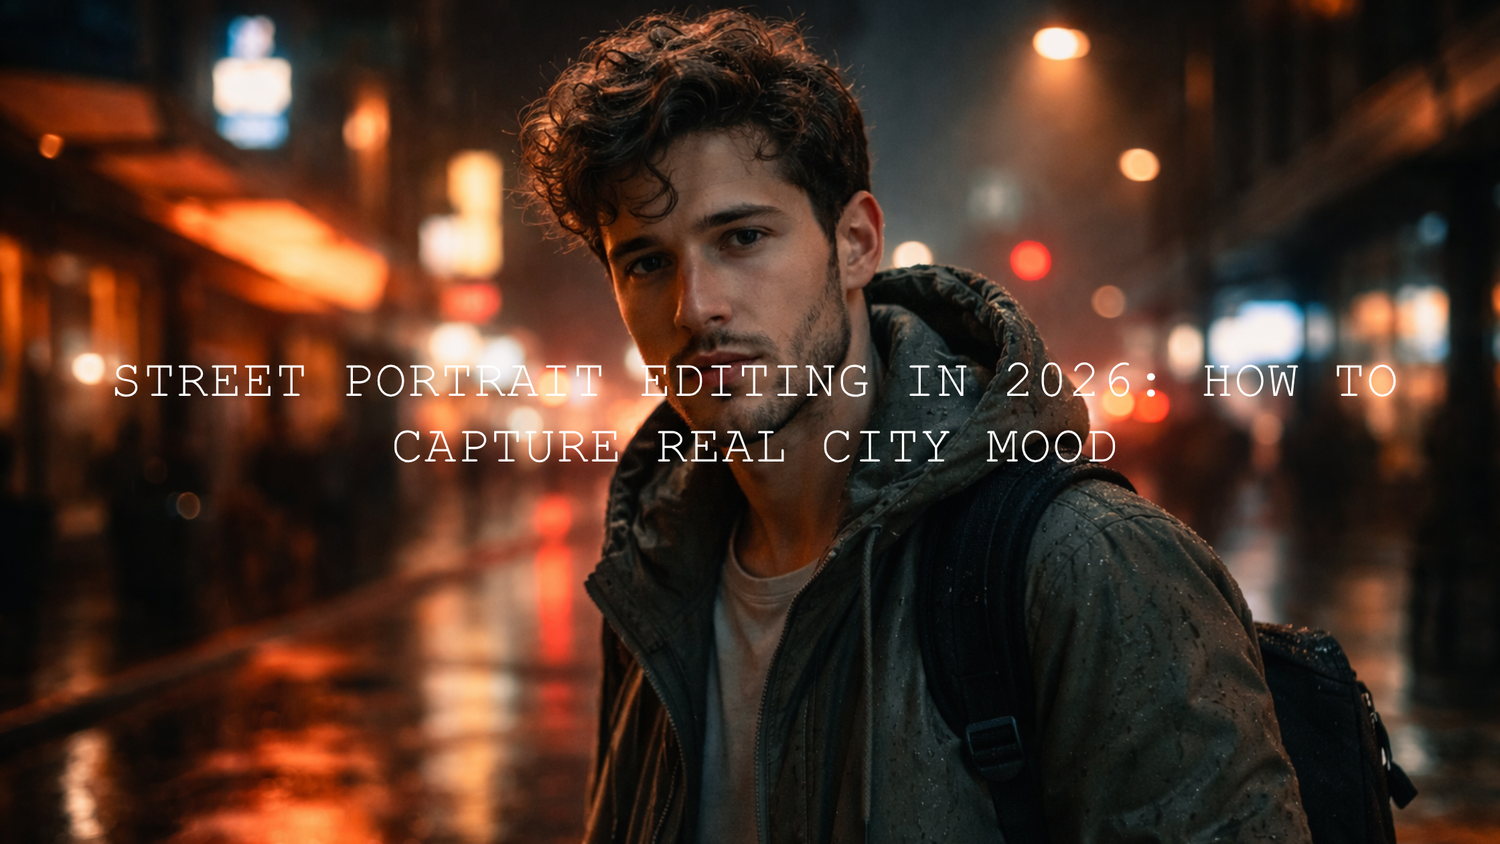
Street Portrait Editing in 2026: How to Capture Real City Mood
Street portrait editing works best when it keeps the energy of the street alive instead of polishing everything until the scene feels fake. If you want strong street portrait editing with real atmosphere, focus on mood first, then shape color, contrast, and light around the person in the frame. The goal is not just a cleaner file. It is a portrait that still feels like the city: raw, layered, imperfect, and full of story.
For a faster starting point, try the AI-Optimized Cinematic Street Movie Lightroom Presets and browse the Street Photography Lightroom Presets collection. They give you a strong base for cinematic street photography, urban portrait editing, and story-driven city mood shots, and you can still fine-tune every frame around your own style with Buy 3, Get 9 FREE.
Here is why this matters: city portraits are rarely about a face alone. The reflections, signs, passing light, traffic glow, wet pavement, window shadows, and small background details all help shape emotion. A strong edit keeps the subject clear, but it also lets the environment do its job.
Why City Mood Comes Before Preset Choice
Before you touch exposure or color, ask one simple question: what did this place feel like when I took the photo? That answer should guide every editing move after that.
A rainy side street at night should not be edited like a bright afternoon market portrait. A quiet alley with soft side light should not be pushed to look like a neon cyberpunk frame if the original moment was calm and reflective. Good street portrait editing starts by respecting the truth of the scene, then enhancing it.
I have tested street portrait presets on mixed light scenes with tungsten lamps, LED signs, and dark sidewalks, and the edits that hold up best are usually the ones that preserve the original atmosphere. The strongest results are not always the loudest ones. They are the ones that feel believable.
The best city portraits do not fight the street. They let the street breathe while guiding the eye back to the person.
Choose the Right Preset for the Scene
Presets save time, but they work best when the preset matches the scene’s emotional direction.
For dark, low-light portraits with deep shadows and a dramatic urban feel, the AI-Optimized Cinematic Dark Street Lightroom Presets are a strong starting point. They suit late-night portraits, rainy pavements, underpass scenes, and moody city corners where shadow depth matters more than bright color.

For travel-style city portraits with balanced contrast, layered streets, and more natural skin tones, go with the AI-Optimized Cinematic Travel Street Lightroom Presets. These work especially well when you want the city to feel rich and cinematic without making the portrait too heavy.

For portraits built around neon, electric blues, glowing signage, and fast nightlife energy, the AI-Optimized Tokyo City Lightroom Presets or Night City Neon Light Presets make more sense. These are better when the city light itself is part of the portrait’s identity.

If your goal is a cleaner story-driven edit that feels like a still from a movie, start with the AI-Optimized Cinematic Street Movie Lightroom Presets. That pack is especially useful when you want more narrative weight rather than just stronger contrast.
Presets vs Manual Editing for Street Portraits
Both matter. The best workflow usually combines them.
- Presets are best for speed, consistency, and building a visual direction quickly.
- Manual editing is where you protect skin tones, fix mixed lighting, refine background distraction, and shape the final mood for one specific frame.
- Presets plus manual refinement is usually the sweet spot for cinematic street photography and urban portrait editing.
A preset can get you 70 percent of the way there. The last 30 percent is where your style shows up. That is also where a good portrait becomes a memorable one.
I have also found that a preset that looks slightly restrained at first often finishes better than an edit that looks dramatic too early. Once you add selective masks, small HSL corrections, and a controlled tone curve, the image feels deeper without looking overprocessed.
A Step-by-Step Street Portrait Editing Workflow
1. Start with exposure and white balance
Before applying any creative look, make the file usable. Fix major exposure problems, recover highlights if signs or skin are clipping, and choose a white balance that fits the mood. Do not force everything neutral. A little warmth from street lamps or coolness from dusk can be part of the story.
2. Apply a preset that matches the scene
Use the preset as your base, not your final export. If the portrait is rainy and shadow-heavy, start darker. If it is a bright but layered city frame, start with a more balanced cinematic preset. This step should give you direction, not a finished image.
3. Rebuild the face as the hero
Once the overall look is set, bring attention back to the person. This is where local adjustments matter. A small lift on the face, controlled texture, and subtle eye-area clarity can do more than pushing global sliders. Adobe explains selective local adjustments well in Adobe’s guide to masking in Lightroom Classic.
4. Shape contrast with purpose
Street scenes often have naturally dramatic light, but too much contrast can bury important detail. Use the tone curve to deepen mood while keeping the face readable. If you want a cleaner understanding of how tonal controls work together, Adobe’s breakdown of tone and color controls in Lightroom Classic is worth revisiting.
5. Correct skin tones after the mood is built
This is one of the most common mistakes in city portraits. Many editors try to perfect skin before deciding what the whole frame should feel like. Do the opposite. Build the mood first, then gently correct skin so it still looks natural inside that world. In neon or mixed-light scenes, this may mean reducing green or magenta shifts without fully removing the color cast around the subject.
6. Refine the palette
If the scene includes several competing colors, simplify them. Street portraits usually feel stronger when one or two color relationships lead the frame. For example, cool shadows and warm skin often work beautifully. Teal and amber can feel cinematic. Neon blues with controlled reds can feel more modern and electric. Adobe’s Color harmony rules and color wheel can help when you want a more intentional palette.
7. Add texture, grain, and detail carefully
A little grain can make an urban portrait feel more tactile and less sterile. A little sharpening can help the eyes, hair, and jacket texture read better. Too much of either will make the file feel crunchy. Street portraits usually benefit from subtle texture, not aggressive clarity.
8. Check the edges before exporting
The center of the frame gets all the attention, but weak edits often fall apart at the edges. Look for bright distractions, strong color patches, cropped signs, or random reflections pulling the eye away from the subject. Clean edges make the portrait feel more intentional even when the scene itself is chaotic.
How to Edit Different Types of City Portraits
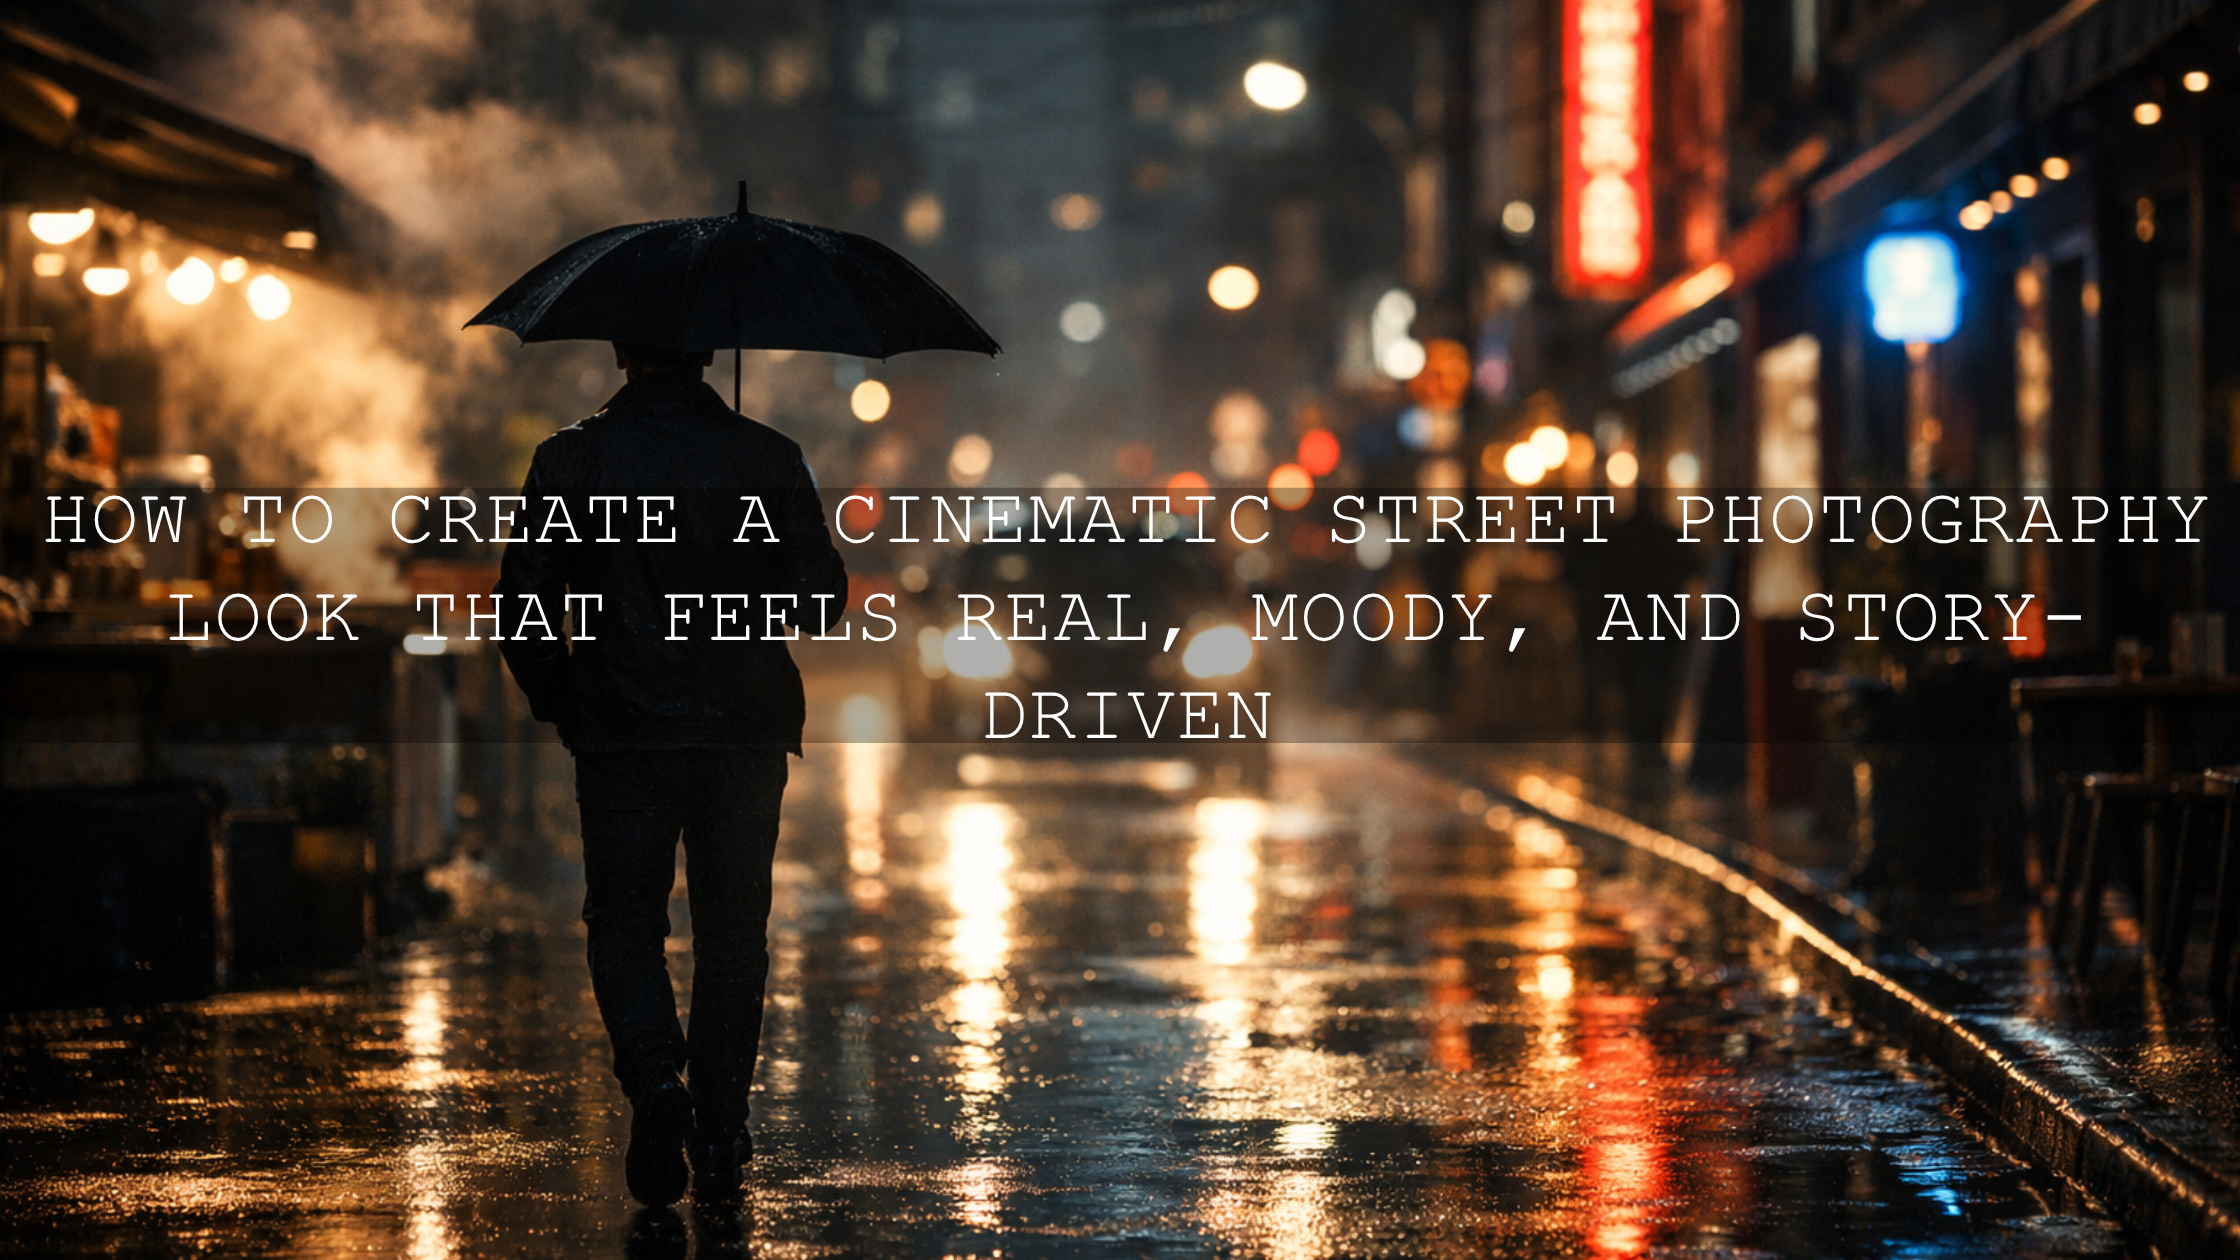
Rainy night portraits
Keep the wet reflections. Do not brighten them away. Lower highlights enough to preserve detail in the road, deepen blacks slightly, and let the reflected light shape the mood. Dark Street or Night City presets work well here.
Daytime market or street portraits
Do not crush the shadows just to look cinematic. These scenes often need more color discipline than more darkness. Use contrast carefully, soften noisy background colors, and keep skin tones believable.
Neon portraits
Choose one light source to dominate the frame. If every neon sign becomes equally strong, the portrait loses hierarchy. Keep one dominant color, control highlight clipping, and use masks so the subject still feels present inside the glow.
Quiet alleys and minimal city scenes
These portraits usually benefit from restraint. Slight desaturation, cleaner midtones, and thoughtful negative space often work better than dramatic grading. The emotion should come from gesture, light direction, and atmosphere.
Common Street Portrait Editing Mistakes
- Over-smoothing skin so the face no longer matches the gritty environment.
- Crushing blacks too hard and losing clothing texture, hair detail, or background depth.
- Overusing orange and teal until every city looks the same.
- Making every light source equally bright instead of choosing a visual hierarchy.
- Ignoring the background even though the background is half the story in street portrait photography.
Real Editing Examples That Usually Work
A portrait under a bus stop at dusk may look flat at first. Start with a balanced cinematic preset, cool the shadows slightly, warm the skin just a touch, lift the face with a mask, and darken the outer frame. Suddenly the image feels intentional without losing realism.
A rainy crosswalk portrait at night often looks messy because the reflections compete with the face. In that case, keep the pavement glow but reduce the brightest patches, then use a subject mask to lift exposure and soften the skin color cast. The result feels moody instead of muddy.
A portrait in a neon alley usually improves when you stop trying to neutralize everything. Let the sign color live in the frame, but control how much of that color reaches the face. That balance is what keeps the image cinematic rather than chaotic.
If you want more ideas for refining urban edits, take a look at Street Photography: Editing for Real Life & Raw Moments and this guide to adding grit, mood, and storytelling without losing realism. Both are useful if you want your edits to feel stronger without becoming artificial.
Build a Faster Workflow Without Losing Your Style
The reason presets help so much is not because they replace taste. It is because they remove repetitive starting steps. That gives you more time to focus on what actually makes a street portrait memorable: expression, timing, light direction, edge control, and emotional consistency across the set.
If you want a strong everyday workflow, start with the AI-Optimized Cinematic Travel Street Lightroom Presets for balanced city edits, the AI-Optimized Cinematic Dark Street Lightroom Presets for low-light mood, and browse the AI-Optimized Lightroom Presets collection if you want more scene-specific options. Buy 3, Get 9 FREE makes it easier to test different looks and build a street portrait toolkit that actually fits the way you shoot.
Related Reading
- Elevate Your Street Photography with These Cinematic Lightroom Presets
- Mastering the Glow: Editing Night City Photos with Neon Lights
- Mastering Urban Street Fashion Photography: Achieve Cinematic Vibes in 2026
- Cinematic Lightroom Mobile Presets: Bringing Movie Magic to Photos
If you are ready to turn ordinary city portraits into stronger, mood-driven images, start with the AI-Optimized Cinematic Street Movie Lightroom Presets, add the Night City Neon Light Presets for nightlife and neon work, and keep exploring the Street Photography Lightroom Presets collection for more city-ready looks. The best street portrait edits are the ones that feel like the moment, only clearer, deeper, and more unforgettable.
FAQ
What is the best preset style for street portraits?
The best preset depends on the scene. Dark cinematic presets work well for night portraits, while balanced travel-style presets are better for daytime streets and mixed urban locations.
Should street portraits keep some noise and grain?
Yes, in many cases a little texture helps the image feel more natural and urban. The key is to keep it subtle so the portrait still looks clean.
How do I keep skin tones natural in neon light?
Build the overall mood first, then use selective color and masking adjustments to reduce unwanted green, magenta, or oversaturated red on the face without removing the scene’s light character.
Are presets enough on their own?
Usually no. Presets are excellent starting points, but the final result often depends on small manual adjustments to masks, tone curve, HSL, and edge distractions.
What collection should I browse for more urban editing options?
The Street Photography Lightroom Presets collection is the best place to start if you want more looks for city scenes, portraits, neon shots, and cinematic urban edits.
Written by Asanka — creator of AAAPresets (10,000+ customers).

Leave a comment
This site is protected by hCaptcha and the hCaptcha Privacy Policy and Terms of Service apply.