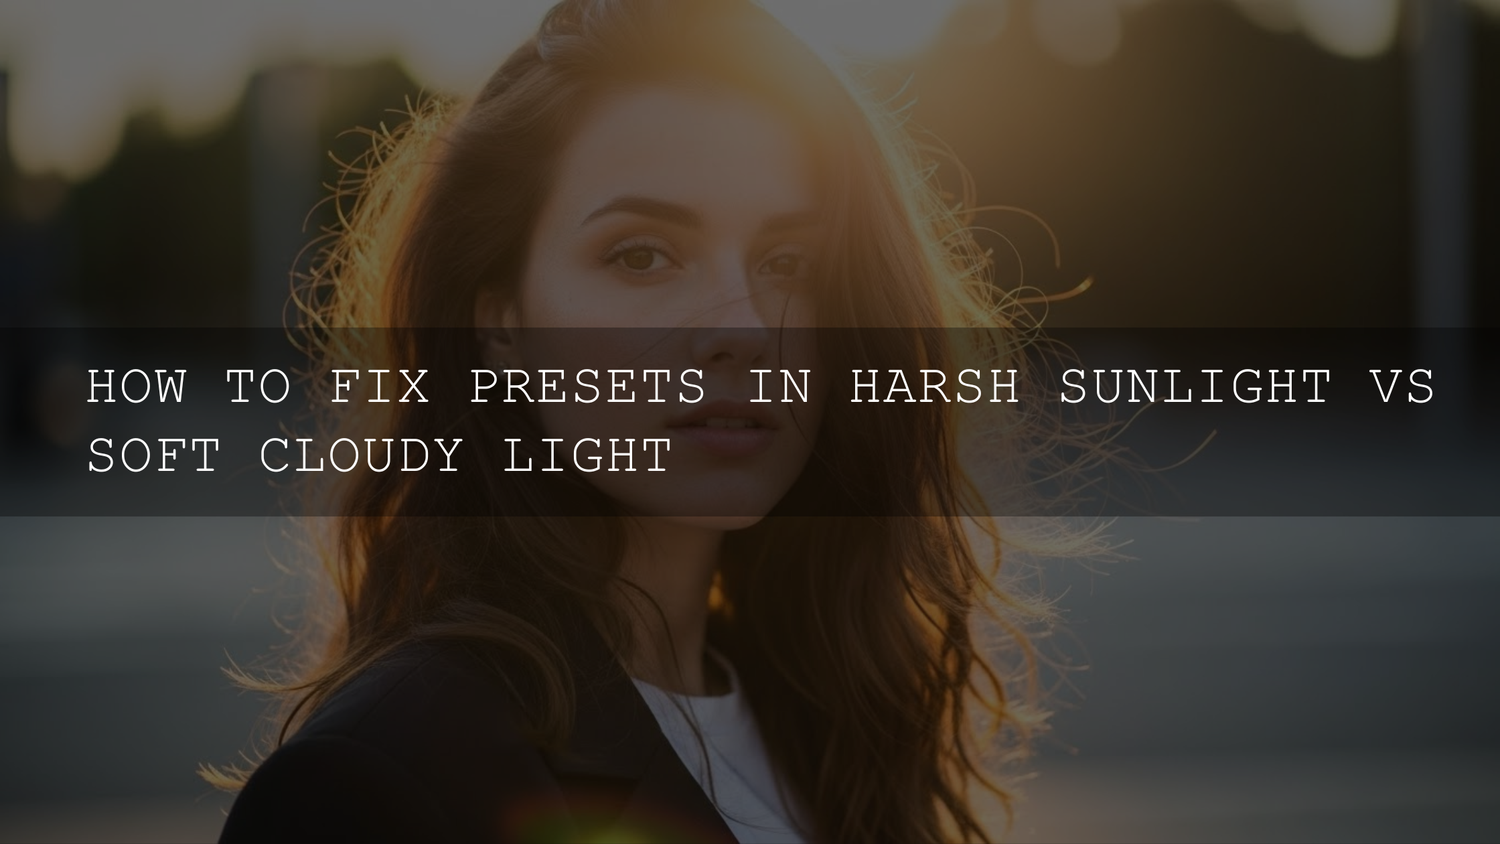
Presets in Different Lighting Conditions: How to Keep Your Look Consistent in Harsh Sunlight and Overcast Light
If you’ve ever applied a preset and thought, “Wait… why does this look amazing on one photo and terrible on the next?”, you’re not alone. The core issue is presets in different lighting conditions: harsh sunlight creates intense contrast and clipped highlights, while overcast light is soft, flat, and often cooler. The good news? You don’t need to abandon your favorite look—you just need a repeatable tweak workflow for exposure, white balance, highlights, shadows, and the tone curve.
If you want a reliable starting point for outdoor edits, try the AI-Optimized Sunlit Meadow Vibrant Presets Pack and browse the AI-Optimized Lightroom Presets For Mobile and Desktop collection. And if you’re building your library, you can Buy 3, Get 9 FREE when you add 12 items to your cart.
Why Presets “Go Rogue” When Light Changes
A preset is basically a saved set of slider moves—exposure, contrast, highlights, shadows, HSL color shifts, curves, and sometimes calibration. The catch is simple: those slider moves are applied to a totally different starting point every time. If your base exposure is brighter, your highlights are already near clipping, or your white balance is cooler, the exact same preset can feel wildly stronger or weaker.
Here’s the practical way to think about it:
- Harsh sunlight (hard light) = strong contrast, bright highlights, deep shadows, shiny reflections. Presets that add contrast or warmth can push the image into “too crunchy” or “too orange” fast.
- Overcast light (soft light) = low contrast, gentle shadows, muted separation. Presets made for dramatic light can feel “flat,” “muddy,” or underwhelming unless you add back definition.
Real example: A preset that lifts shadows for an airy look can blow out a midday sky. A preset that crushes blacks for a cinematic mood can turn a cloudy portrait into a silhouette. The fix isn’t “find a perfect preset”—it’s “use a preset as the base, then correct for the light.”
Quick Check: Identify the Light Before You Edit
Before you touch sliders, take 10 seconds and answer these three questions:
- Are highlights at risk? (Bright sky, white shirt, reflective skin—sunny days scream “highlight recovery.”)
- Do shadows look harsh or flat? (Hard light = harsh shadows. Overcast = shadows exist, but the whole photo may feel low-contrast.)
- Is there a color cast? (Overcast often looks cool/blue. Late afternoon sun can look warm/yellow.)
This tiny habit prevents random slider chaos and keeps your workflow fast.
Taming Harsh Sunlight: Make Presets Work in Bright, High-Contrast Scenes
Direct sun can be dramatic—but it’s also where presets break most often. Your goal is to protect highlights, soften extreme contrast, and keep skin tones natural.
Step-by-step sunlight fix (do this in order)
-
Lower exposure slightly (if needed)
Start by bringing the overall brightness into a safe range. If the preset makes the photo feel “over-baked,” pull exposure down a bit first. -
Pull highlights down hard
This is the #1 sunlight rescue move. Recover sky texture, white clothing detail, and forehead shine. -
Lift shadows carefully
Open shadows just enough to avoid “raccoon eyes” or blocked detail—especially on faces. Too much = gray, noisy shadows. -
Reduce contrast (or reshape it with the curve)
Sun already adds contrast. If your preset adds more, reduce contrast or use a gentle curve to roll off harshness. -
Correct white balance last
If skin looks too yellow/orange, cool temperature slightly and adjust tint until skin looks alive (not gray, not neon).
Fast pro tips for sunny portraits
- Use masking for faces: Bright sun often needs a local fix (lift face shadows without flattening the whole photo). Learn the basics of precise local control with Adobe’s Lightroom Classic masking tool guide.
- Watch clipping: If the sky is pure white, no preset can “invent” detail. Use the histogram and clipping indicators while editing (especially highlights). See Adobe’s official guide to tone, color, and histogram clipping.
- Fix “too orange” without killing the vibe: Reduce orange saturation slightly and/or lower orange luminance a touch for skin. If the preset is very warm, nudge temperature cooler instead of nuking saturation globally.
- Graduated sky control: Darken the sky with a gradient mask and reduce highlights in that mask only—your foreground stays clean.
Mini “before/after” slider recipe (typical harsh sun save)
Use this as a starting point after applying your preset:
- Exposure: -0.10 to -0.40
- Highlights: -40 to -80
- Shadows: +10 to +35
- Contrast: -5 to -20 (or a gentler curve)
- Temp: -100 to -600 (if skin is too yellow/orange; adjust carefully)
The point isn’t perfect numbers—it’s a consistent direction: protect highlights first, then soften contrast, then color-correct.
Overcast and Cloudy Light: Add Depth Without Destroying the Soft Mood
Cloudy light is flattering, especially for faces. The problem is it can look “flat” or “gray” after a preset—especially if that preset was built for golden hour or high-contrast scenes. Your goal here is to add definition, rebuild gentle contrast, and warm up color naturally.
Step-by-step overcast fix (do this in order)
-
Set exposure for a bright-but-real base
Overcast photos often need a small exposure lift. Avoid pushing so far that skin loses texture. -
Add contrast with finesse
Use a mild “S” curve or a small contrast boost. You want separation, not harshness. -
Open shadows slightly, then set blacks
Overcast can look washed. Lift shadows if needed, then bring blacks down a bit so the image doesn’t look foggy. -
Warm white balance just enough for healthy skin
Many overcast scenes lean cool. Add warmth until skin looks natural, then stop. -
Use texture/clarity sparingly
A tiny amount adds crispness. Too much = crunchy skin and ugly micro-contrast.
Two quick preset picks for cloudy looks
If you want a moody overcast vibe that still holds skin tone, try the AI-Optimized Moody Rainy Day Lightroom Presets. For soft indoor/near-window cloudy-day vibes, the AI-Optimized Soft Window Light Lightroom Presets can be a clean base to build from.
Mini “before/after” slider recipe (typical overcast pop)
- Exposure: +0.10 to +0.35
- Contrast: +5 to +20 (or a gentle S-curve)
- Blacks: -5 to -20 (to avoid gray haze)
- Temp: +100 to +800 (if the photo feels too blue; adjust slowly)
- Texture/Clarity: +5 to +12 (very light touch)
The “Flexible Preset” Workflow You Can Use Every Time
This is the workflow I recommend when you want consistent results fast (and it works on both Lightroom Desktop and Mobile Lightroom presets).
-
Apply the preset.
Don’t judge it yet—just apply and observe what broke. -
Fix exposure + clipping first.
If highlights are gone, recover them now. If the image is too dark, lift exposure now. -
Balance contrast second.
Sunlight: usually reduce. Overcast: usually add (gently). -
Correct white balance third.
Get skin and neutrals looking believable before you do creative color tweaks. -
Do one local mask for the “problem zone.”
Face too dark? Mask it. Sky too bright? Gradient it. This is where your edits start looking “pro.” -
Save a lighting-specific variant.
If you keep making the same fixes, save two versions: “Preset Name – Sun” and “Preset Name – Overcast.”
First-hand note: I tested this exact “Sun vs Overcast” preset workflow on a travel shoot where half the set was midday sun and the other half was cloudy coastal light—saving two preset variants cut my edit time almost in half while keeping the feed consistent.
Presets vs Manual Editing: What’s Faster (and What Looks Better)?
Both have a place. The trick is knowing when to lean on each.
- Presets (best for speed + consistency): Great when you’re editing a set (weddings, travel days, content batches). You get a cohesive look quickly, then fine-tune per photo.
- Manual editing (best for tricky one-offs): Better when lighting is extreme (backlit sun, mixed color casts, harsh overhead shadows). You can build the edit around the photo, not the other way around.
A strong hybrid is: manual correction first (exposure/WB), preset second (style), local masking last (polish). That order keeps the preset from amplifying problems.
Common Problems (and the Fast Fix)
Problem: The preset makes sunny photos look blown out
- Lower exposure a touch
- Highlights down aggressively
- Mask the sky and reduce highlights inside the mask
Problem: The preset makes cloudy photos look muddy
- Add contrast with a gentle curve
- Bring blacks down slightly
- Add a tiny bit of texture/clarity
Problem: Skin turns too orange/yellow
- Cool temperature slightly (small move)
- Reduce orange saturation a little
- Adjust orange luminance for natural skin brightness
Problem: The preset looks different on mobile vs desktop
Make sure you’re importing the right preset format and applying it in a consistent workflow. If you need help importing presets correctly, use Adobe’s official guide to installing presets and profiles in Lightroom.
Related Reading
- Why Lightroom presets look different on every photo (and how to fix it)
- How to fix presets that look washed out or low contrast
- Mastering white balance for natural colors
- Matching LUTs with lighting styles (daylight, indoor, blue hour)
- Mastering Lightroom Mobile presets for any lighting
- How to install Lightroom presets (quick and easy)
Build a “Lighting-Proof” Preset Toolkit (Sunny + Overcast)
If you want the easiest path to consistent edits, build a small toolkit instead of one “do everything” preset:
- 1–2 sunny-day looks (highlight-safe, not overly warm)
- 1–2 overcast looks (adds depth without harshness)
- 1 neutral base preset (minimal color shift—great for tricky scenes)
First-hand note: When I pushed a warm cinematic preset on an overcast street set, it went muddy fast—saving a dedicated “Overcast” variant fixed it immediately and kept the vibe consistent across the whole gallery.
If you want an “all genres” foundation, the 1000+ Master Lightroom Presets Bundle gives you a wide range of looks so you can pick the right base for the light, not force one preset on everything. For sunny outdoor glow, try AI-Optimized Golden Hour Lightroom Presets or the classic Golden Hour Lightroom Presets.
Closing Thoughts (and a Simple Next Step)
The secret to consistent results is not a “perfect preset.” It’s a repeatable preset workflow: apply, protect highlights, set contrast, correct white balance, then do one local mask. Once you save two variants (Sun + Overcast), your edits become faster and your style stays consistent no matter what the sky is doing.
If you’re ready to build a fast, consistent editing library, start with the AI-Optimized Sunlit Meadow Vibrant Presets Pack, add a moody cloudy option like the AI-Optimized Moody Rainy Day Lightroom Presets, and browse the Mobile Lightroom Presets collection. Remember: you can Buy 3, Get 9 FREE when you add 12 items to your cart.
FAQ
Why do my presets look different in sunlight vs overcast?
Because sunlight creates higher contrast and clipped highlights, while overcast light is softer and often cooler. The same preset applies identical slider values to different starting exposures and white balance, so the result shifts.
What’s the fastest fix when a preset blows out the sky?
Lower highlights first, then use a gradient mask on the sky to reduce exposure/highlights locally. This protects the sky without flattening the subject.
How do I stop presets from making skin too orange?
Cool white balance slightly, then adjust oranges in HSL (reduce saturation a bit and tweak luminance). Avoid heavy global saturation changes that can ruin other colors.
Should I make separate presets for different lighting conditions?
Yes—saving a “Sun” variant and an “Overcast” variant is one of the biggest workflow upgrades you can make. It keeps your look consistent and saves time on every edit.
Do I need to shoot RAW for presets to work well?
RAW gives you far more flexibility for highlight recovery, shadow detail, and white balance correction. Presets can work on JPEG, but RAW makes results cleaner and more consistent.
Written by Asanka — creator of AAAPresets (10,000+ customers).

Leave a comment
This site is protected by hCaptcha and the hCaptcha Privacy Policy and Terms of Service apply.