
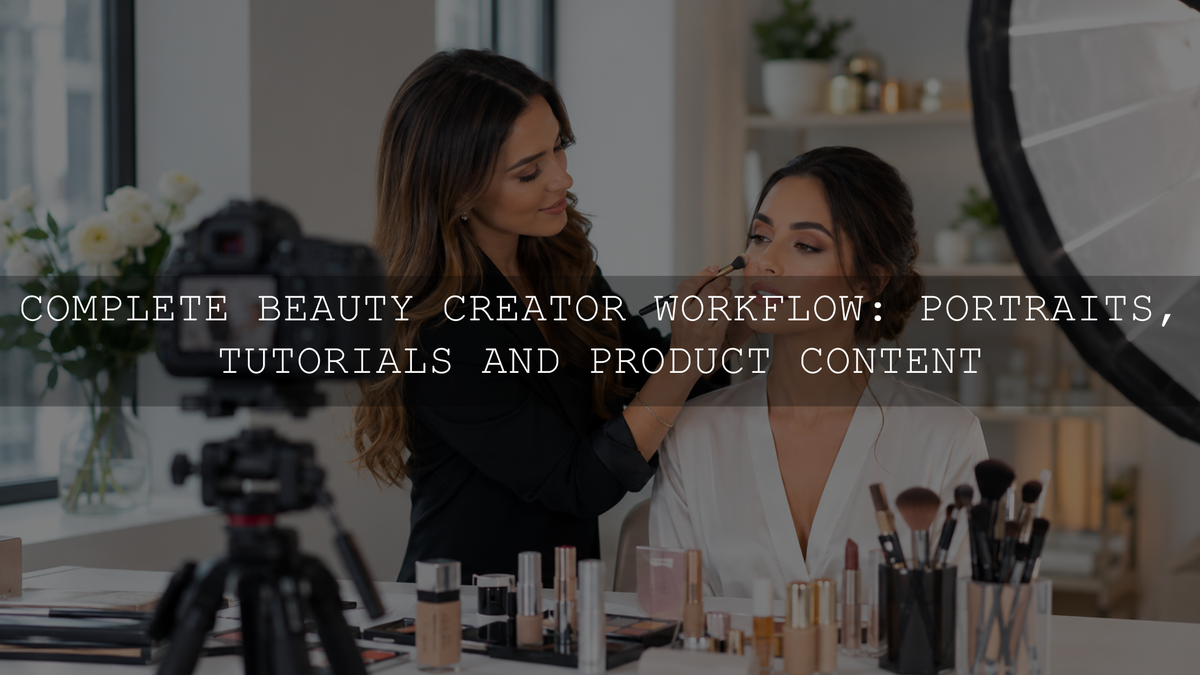
A reliable beauty content creation workflow turns one planned production session into portraits, makeup tutorials, product photographs, texture demonstrations, reviews and short-form videos. The strongest system begins by defining the required content, prepares the products and set, captures each look in a repeatable sequence, creates an accurate technical edit and then exports separate versions for every platform.
This guide is designed for makeup artists, skincare creators, beauty photographers, influencers, salon owners and cosmetic brands that need polished content without rebuilding the entire process for every post.
Beauty Content Creation Workflow at a Glance
- Define the audience, purpose and required format for each piece of content.
- Create a shot matrix covering portraits, tutorials, products, textures, reviews and behind-the-scenes material.
- Prepare the products, tools, model, background, lighting and recording space.
- Test exposure, focus, white balance, audio and product-color accuracy.
- Capture each beauty look in an order that protects makeup continuity.
- Organize and back up the original photographs, video and audio.
- Correct technical problems before applying a creative editing style.
- Export separate files for Reels, TikTok, YouTube Shorts, photographs and other placements.
- Review performance and use what you learn to improve the next production session.
Start With Deliverables, Not Equipment
A vague plan such as “film beauty content” usually produces attractive clips that do not form a complete tutorial, review or campaign. Before setting up a camera or ring light, decide what the production session must deliver.
Create a short brief for every idea:
- Audience: Who needs this content and what do they want to understand?
- Purpose: Is the content intended to educate, demonstrate, review, entertain or support a product launch?
- Main message: What should the viewer remember after watching?
- Evidence: What result, texture, application process or wear test needs to be visible?
- Format: Does the idea require a portrait, carousel, vertical tutorial, longer video or several versions?
- Next action: Should the viewer save the tutorial, comment, compare a shade or visit a product page?
Batch related ideas when they share the same model, location, products or lighting. Planning several posts together can reduce setup work, but each finished post should still have one clear purpose.
Build a Beauty Content Shot Matrix
A shot matrix connects every planned post with the photographs and clips needed to complete it. For each product or makeup look, consider capturing:
- A clean final-look portrait
- A tighter crop showing eyes, lips, complexion or hair detail
- A vertical opening clip showing the finished result
- Each important application step
- Product packaging and label details
- Brush, applicator or tool movement
- Texture, swatch and blendability close-ups
- A before-and-after view when it can be shown honestly
- A spoken review or voiceover-ready sequence
- Behind-the-scenes material
- A thumbnail or cover image
- Extra neutral footage that can support future edits
Include orientation in the matrix. Capture vertical material for short-form video, but also record selected horizontal and square-friendly frames when the content may be used on a website, in a campaign or inside a blog article.
Prepare the Products, Model and Set
Beauty content shows small details clearly. Fingerprints, damaged packaging, dirty brushes, uneven labels and distracting backgrounds can become more noticeable in close-up photographs and high-resolution video.
Before filming:
- Clean product packaging, mirrors, palettes, applicators and working surfaces.
- Arrange products in application order.
- Check that labels face the camera when the product must be identified.
- Prepare tissues, cotton swabs, cleaning cloths and other safe correction tools.
- Remove unrelated products and visual distractions from the frame.
- Check clothing, jewelry and hair for elements that may interfere with close beauty crops.
- Record which products, shades and tools are used in each step.
Take a reference photograph of the finished lighting and camera setup. Record the camera height, light position, background, lens or phone camera, exposure, white balance and crop. This makes the setup easier to reproduce for pickups or future campaigns.
Create Soft, Controlled Beauty Lighting
A large diffused light source is a practical starting point for beauty portraits and tutorials. A window with indirect light, a softbox or a diffused LED source can create smoother transitions than a small undiffused light placed close to the face.
Place the main light where it reveals facial structure, makeup texture and product finish without creating distracting hotspots. A white reflector can lift the shadow side of the face, while a black card can add controlled edge definition when the image looks too flat.
Avoid mixing unrelated light sources when possible. Daylight, warm ceiling lights and cool LEDs can create different color casts across the face, neck, background and product. Turn off unnecessary room lights or balance the sources before recording.
Check Different Skin Tones Individually
Do not rely on one brightness setting for every person. Review highlight detail, shadow detail and color separately for each subject. The goal is not to make every complexion equally bright. It is to preserve recognizable skin tone, shape and texture without clipping highlights or losing important detail in shadows.
Choose Camera Settings for the Actual Shot
A phone can produce useful beauty content when the lighting, focus and framing are controlled. An interchangeable-lens camera offers more control over focal length, depth of field and RAW photographs, but it does not replace careful preparation.
For portraits, focus on the nearest eye. When the subject holds a product beside the face, use enough depth of field to keep both the important facial features and the product readable. An extremely wide aperture may make one eye, a lipstick or a product label noticeably soft.
Do not treat one aperture as mandatory. The required setting changes with the sensor size, focal length, camera distance, pose and number of subjects. Capture a test frame and inspect the eyes, lashes, lip detail and product at full size before continuing.
For tutorials, lock or carefully monitor focus so the camera does not repeatedly shift between the face, hands and background. If the creator moves products toward the lens, test the autofocus transition before filming the complete sequence.
Capture the Beauty Look in a Logical Sequence
The order of capture matters because makeup, skin finish, hair and product packaging change during the session. A practical sequence is:
- Clean product shots: Photograph unopened or freshly cleaned packaging before fingerprints, powder or cream appear on it.
- Starting condition: Capture the face or area before application when a truthful comparison is relevant.
- Application steps: Film each meaningful stage in order, including the tools and amount used.
- Texture details: Capture swatches, blending, powder pickup, cream texture and finish.
- Opening result: After the look is complete, record a short finished-result clip that can be placed at the beginning of the tutorial.
- Final portraits: Photograph several expressions, angles and crops while the makeup is fresh.
- Review evidence: Record the finish in relevant lighting and, when appropriate, later wear observations.
- Supporting footage: Capture product handling, brush movement, workspace details and behind-the-scenes clips.
Record continuity notes when the production contains several looks. Note the lipstick shade, eye combination, hairstyle, jewelry, clothing and product placement. A quick reference photograph can prevent visible mismatches when a missing shot is recorded later.
Film Tutorials That Are Easy to Follow
Open with a clear reason to continue watching. This may be the finished makeup look, a visible problem, a shade comparison or a direct explanation of what the tutorial will teach. Avoid exaggerated hooks that promise a result the video cannot demonstrate.
During the tutorial:
- Show the product and shade before application.
- Keep the hand, applicator and relevant facial area inside the frame.
- Use close-ups when a wide shot cannot show the technique clearly.
- Remove repetition with careful cuts rather than removing an essential step.
- Use time-lapse selectively for repetitive blending while preserving the steps viewers need to understand.
- Record room tone and clean voice audio when spoken instructions matter.
- Add readable captions for viewers watching without sound.
- End with the finished result and a relevant next action.
A top-down angle can be useful for palettes, flat lays, product mixing and hand demonstrations. Eye-level or slightly elevated framing is usually more suitable when facial expression, application pressure and final makeup are central to the lesson.
Create Product Content That Shows More Than Packaging
A complete beauty product set should explain appearance, texture, scale, application and finish. Depending on the product, capture:
- A clean hero photograph
- The front, back and important label information
- The applicator, pump, brush or opening mechanism
- A texture close-up
- An unblended swatch
- A partially blended swatch
- The final appearance on skin, hair or nails
- The product held in a hand for scale
- Packaging and included items
Protect product-color accuracy. A foundation, blush or lipstick should not be pushed so far by the edit that the visible shade becomes misleading. Correct white balance first, compare the result with the physical product under neutral light and review the image on more than one screen when color is important.
Use a Clear Framework for Honest Reviews
A useful review separates observation from promotion. Explain the conditions under which the product was used rather than presenting a personal result as universal.
A practical review structure includes:
- What the product is and what it claims to do
- The shade, variant or formula tested
- The application method and amount used
- The initial texture, finish and appearance
- How it behaved under relevant lighting or activity
- Any visible limitations, transfer, creasing, dryness or fading
- Who may find the product suitable based on the observed result
- The creator’s relationship with the brand
Do not make medical, therapeutic or safety claims that the available evidence does not support. Cosmetic claims and advertising rules vary by country. Creators reaching United States consumers can review the FDA guidance on cosmetic labeling claims.
When a creator receives payment, a free product, a discount or another benefit from a brand, the relationship should be disclosed clearly. The FTC disclosure guide for social media influencers explains that disclosures should be difficult to miss and placed with the endorsement itself.
Organize Files Before Editing
Create one folder for each production project and use predictable subfolders:
- Original photos
- Original video
- Audio and voiceovers
- Product information and scripts
- Project files
- Photo masters
- Video masters
- Platform exports
- Thumbnails and covers
Use filenames that identify the campaign, look, product, format and version. A name such as rose-lip-tutorial-reel-v03.mp4 is easier to manage than final-new-2.mp4.
Keep the original files and maintain at least one verified backup after publishing. A compressed social export should not become the only surviving master.
Correct the Image Before Applying a Creative Style
Separate technical correction from creative styling. This makes it easier to maintain accurate skin tones and product colors while still creating a recognizable brand look.
Pass One: Create an Accurate Base
- Choose the strongest photographs and clips.
- Correct exposure and white balance.
- Protect bright skin highlights and reflective packaging.
- Lift important shadow detail without flattening the face.
- Apply appropriate lens and noise corrections.
- Remove temporary distractions such as dust or fingerprints.
- Establish the final crop and horizon.
Pass Two: Apply the Brand Finish
- Apply a preset, saved treatment or color-grade starting point.
- Refine contrast and highlight softness.
- Check reds, oranges and yellows carefully around skin.
- Use local masks when only the skin, lips, eyes, hair, product or background needs adjustment.
- Reduce any texture or clarity adjustment that makes skin look brittle or artificial.
- Compare the full image set together before export.
Adobe Lightroom can detect people and allows local adjustments to features including facial skin, hair, clothing and teeth. Review Adobe’s current Lightroom masking workflow before copying masks across a large beauty set.
For a wider editing process, use the step-by-step Lightroom workflow and the AAAPresets video editing guides.
Why the Same Preset Looks Different on Beauty Photos
A preset reacts to the starting photograph. Two images can produce different results because of changes in exposure, white balance, camera profile, lighting, background color, skin tone and file format.
RAW photographs usually provide more flexibility for correcting white balance, highlights and shadows. JPEG files already contain processing from the phone or camera and may show artifacts sooner when pushed aggressively. Both can be edited, but they should not always receive identical slider values.
After applying a preset, check:
- Whether skin has become too orange, pink, gray or yellow
- Whether highlights still contain texture
- Whether dark complexions retain facial detail
- Whether lipstick, blush and foundation remain believable
- Whether whites and neutral packaging have a color cast
- Whether texture and sharpening look natural at full size
The AI-Optimized Skin Tone Safe Pro Portrait Lightroom Presets include eight XMP preset looks for Lightroom Desktop and Adobe Camera Raw and eight DNG preset looks for Lightroom Mobile. They are designed for portraits, beauty, fashion and social content. Use them as adjustable starting points, then refine exposure, white balance, highlights, shadows and individual colors for the actual subject and lighting.
Creators who need several portrait styles can also browse the Portrait Photography Lightroom Presets collection. Eligible individual products can be combined through the Buy 3, Get 9 FREE offer by adding 12 items to the cart and paying for 3.
Keep Photo and Video Color Connected
Beauty photographs and videos do not need to be mathematically identical, but they should share a recognizable visual direction. Compare highlight warmth, shadow color, contrast, saturation and the treatment of skin and product shades.
A Lightroom preset and a video LUT do not control all the same properties. A photo preset may include masking, texture, sharpening, profiles and other settings that a standard LUT cannot reproduce. Match the visible mood rather than attempting to copy every adjustment directly.
Approve one reference portrait and one reference video frame for each lighting setup. Use them while editing the rest of the project so the skin, background and products do not drift between files.
Export Separate Versions for Each Destination
Keep high-quality photo and video masters, then create separate exports for each platform. Do not repeatedly resize or recompress an existing social-media export.
Instagram currently accepts Reels between 1.91:1 and 9:16 and lists a minimum frame rate of 30 frames per second and a minimum resolution of 720 pixels. For a full-screen vertical beauty tutorial, 9:16 is generally the most practical choice. Review Instagram’s current Reel size and aspect-ratio guidance before creating permanent export presets.
YouTube categorizes eligible square or vertical videos up to three minutes as Shorts. Review YouTube’s current three-minute Shorts guidance before creating permanent export presets. Keep important facial details, product labels and captions away from interface-heavy edges, and check every final upload on a phone before publishing.
Create separate crops when the same content is needed for:
- Vertical short-form video
- Square or portrait feed photographs
- Website banners
- Blog images
- YouTube thumbnails
- Pinterest graphics
- Paid advertising placements
Common Beauty Content Workflow Mistakes
- Filming without a complete shot list: Important application steps or product details are discovered missing during editing.
- Mixing several light colors: Skin, neck, background and product develop different color casts.
- Using an aperture that is too wide: One eye or a product held near the face becomes soft.
- Recording clean packaging too late: Fingerprints, cream and powder are already visible.
- Changing the look before capturing details: Pickups no longer match the original makeup.
- Over-smoothing skin: Texture disappears and the result becomes less believable.
- Applying one preset without refinement: Exposure, white balance and complexion differences are ignored.
- Using one export everywhere: Faces, products or captions are cropped by different platforms.
- Making unsupported product claims: A personal impression is presented as a guaranteed or medical result.
- Hiding a brand relationship: Sponsorship or free-product information is difficult for viewers to notice.
Beauty Content Workflow FAQ
What is the best lighting for beauty content?
A large, diffused and controllable light source is a dependable starting point. The best placement depends on the subject, complexion, makeup finish and creative direction. Test the setup at full size and check highlights, shadows, texture and color before filming the complete session.
Can I create professional beauty content with a phone?
Yes. A phone can produce strong portraits, tutorials and product footage when the lighting, focus, exposure, audio and framing are controlled. Use the rear camera when practical, stabilize the phone and avoid relying on heavy beauty filters that hide the product or skin result.
Should I use the same preset on every beauty photograph?
Use a consistent family of looks rather than forcing identical settings onto every photograph. Apply the selected preset as a starting point, then adjust exposure, white balance, highlights, shadows and individual colors for the subject and lighting.
How can I make one beauty shoot produce more content?
Plan several deliverables before production and capture portraits, application steps, close details, product footage, voiceover-ready clips, review observations and behind-the-scenes material during the same session. Repurpose the approved masters rather than reposting one unchanged file everywhere.
Build a Beauty Workflow You Can Repeat
A strong beauty content creation workflow does not depend on one camera, ring light, editing app or viral format. It comes from planning the required assets, preparing the products and set, controlling the light, capturing the look in a logical sequence, editing from an accurate base and exporting a suitable version for every destination.
Start with one repeatable production session. Document the setup, review the finished content as a complete collection and improve the process before adding more products, formats or platforms.
Written by Asanka — creator of AAAPresets, serving more than 10,000 customers.


Leave a comment
This site is protected by hCaptcha and the hCaptcha Privacy Policy and Terms of Service apply.