
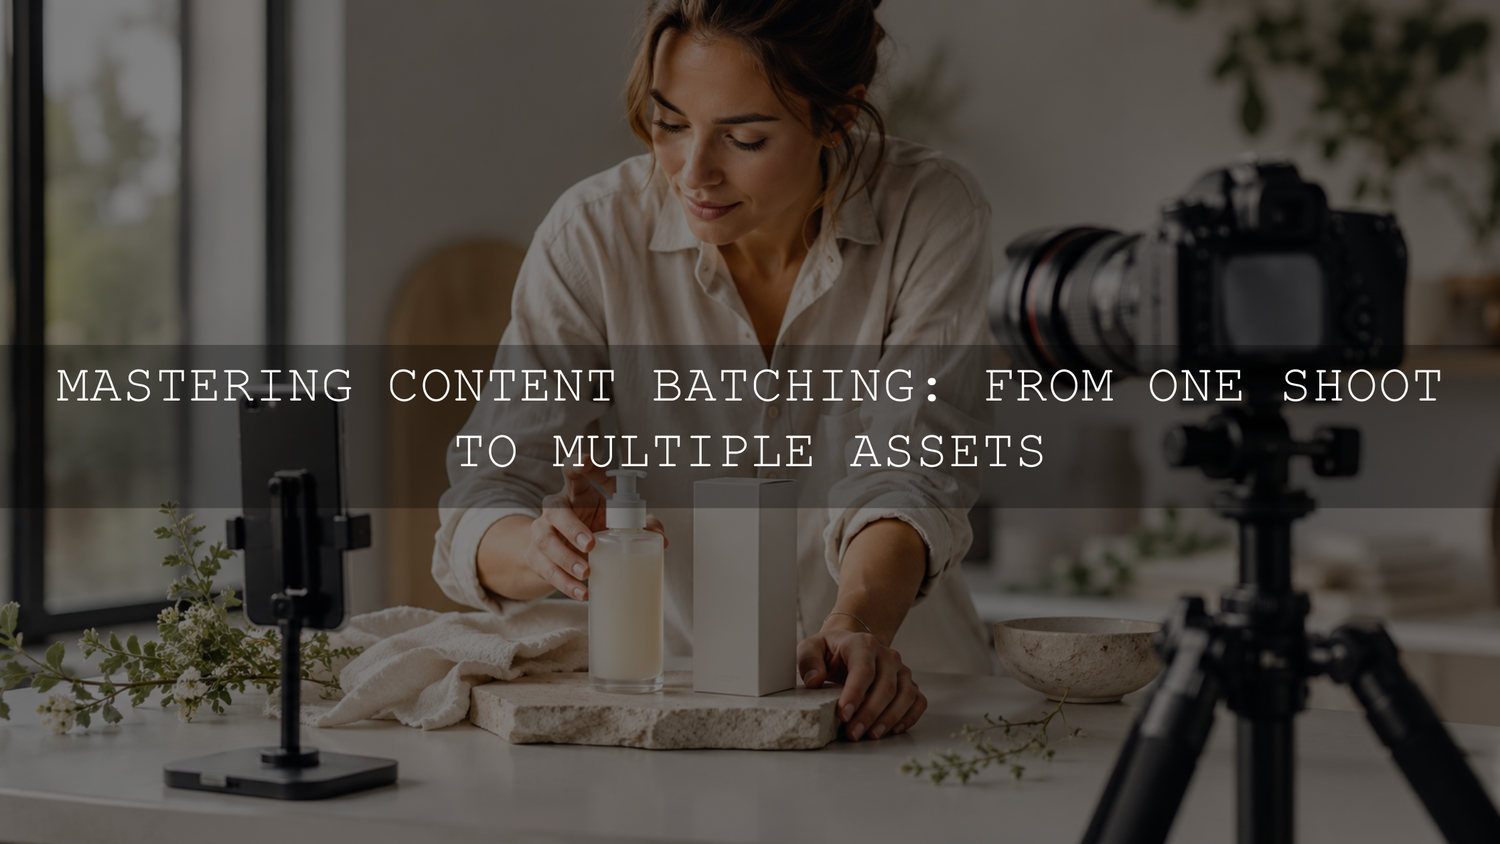
To repurpose product photos effectively, plan every frame for a destination before the camera comes out. Start with the Shopify gallery, then capture crop-safe versions for an Instagram carousel and short vertical clips for Reels while the lighting, props and product are already in place. The goal is not to publish the same image everywhere. It is to build a coordinated library with separate assets for selling, explaining and attracting attention.
This workflow is designed for Shopify store owners, small teams and creators who need consistent product content without arranging a new shoot for every post.
Plan the deliverables before you style the set
Begin with a shot matrix rather than a loose mood board. For every product or scene, record five decisions:
- Subject: The product, variant, accessory or packaging that must appear.
- Job: The customer question or marketing message the asset must address.
- Composition: Hero, alternate angle, detail, scale, lifestyle, demonstration or text-safe frame.
- Orientation: The horizontal, square or vertical version required by the destination.
- Motion: The simple action that can be recorded before the set changes.
Mark each item as essential or optional. Complete the product-page essentials first, then capture social variations and experimental ideas. This protects the commercially important images if the session runs short.
Capture the Shopify buying set first
A Shopify gallery should help a shopper identify the product, inspect important details and understand how it fits into real use. Capture a deliberate sequence instead of several nearly identical beauty shots.
- Featured hero image: Show the product clearly with a background that creates separation without changing its apparent color. Shopify uses the first media item as the featured or main media item across several store surfaces, so choose it deliberately and review the current Shopify product-media guidance before exporting.
- Alternate angles: Photograph the front, back, side, top, open, closed or assembled views that matter for the product.
- Detail images: Show material, stitching, controls, labels, ingredients, finish, hardware or other purchase-relevant details.
- Scale or fit image: Show the product being held, worn or placed beside a familiar reference. This supports the written dimensions; it does not replace them.
- Product-in-use image: Demonstrate how the item is opened, applied, installed, carried or used in a believable setting.
- Packaging and included items: Photograph the actual box, inserts, accessories and contents only if that is how the order will arrive.
- Variant image: Capture each color, finish or size presentation that could affect the buying decision.
Keep the main images for related products at a consistent aspect ratio so collection pages feel orderly. Lifestyle images can be more atmospheric, but the essential product views should prioritize clarity and accurate color.
Add carousel-ready frames before moving the product
Once the Shopify set is complete, keep the lighting and styling in place and capture social versions. Leave more space around the subject than the final crop appears to need, protect hands and labels from the frame edge and choose one canvas orientation for the complete carousel.
A focused five-slide carousel can be built from the same scene:
- Slide 1 — Promise or problem: Use a strong lifestyle or text-safe image that makes the post’s subject immediately clear.
- Slide 2 — Product in context: Show when, where or why the product is used.
- Slide 3 — Evidence: Use a detail, scale or demonstration frame that supports a specific feature or benefit.
- Slide 4 — Trust: Answer a common question, show what is included or use a genuine, approved review or customer image.
- Slide 5 — Next step: Close with the product, packaging or finished result and one clear action, such as viewing the product page, saving the guide or comparing variants.
No carousel formula guarantees reach. Choose the post’s purpose before publishing, then use account-level insights to compare the metric that matches that purpose, such as saves for a reference guide, shares for a useful explanation or product-page visits for a commercial post.
Record short vertical clips while the set is intact
Still photographs can support a Reel, but a few original clips give the edit texture and movement. Record each action with a steady beginning and ending so the editor has clean trim points.
- Establishing clip: A clean view of the complete setup.
- Hand interaction: Pick up, open, apply, fasten, pour, rotate or place the product.
- Detail move: A slow movement across a texture, label or finish.
- Demonstration: Show one useful step rather than trying to explain the entire product.
- Packaging clip: Reveal the contents only when the packaging shown is accurate.
- Behind-the-scenes clip: Show a meaningful part of styling, lighting or preparation.
Record a full-screen 9:16 version when the footage may be used as a Reel or promoted later. Keep important labels, hands and product actions away from the extreme edges because platform interface elements can cover parts of the frame. Begin recording before the action starts, continue briefly after it ends and avoid covering the feature with a hand.
Keep a clean master without platform music so the clip can be re-edited or adapted for another approved use. Trending audio can support a suitable concept, but it cannot compensate for an unclear opening or an unhelpful demonstration. Confirm that the music licence covers the account type, platform and commercial use involved.
Create one accurate master edit, then make channel versions
Consistency begins with technical correction, not with applying one heavy filter to every file. Select a representative image from each lighting setup and build the master edit in this order:
- Correct white balance and unwanted color casts.
- Set exposure while protecting important highlight and shadow detail.
- Compare product color with the physical item or an approved reference.
- Correct lens distortion and perspective when they misrepresent shape.
- Add the intended contrast and color style.
- Synchronize only photographs made under matching light.
- Review every synchronized image individually before export.
Adobe describes Lightroom presets as predefined adjustments that can affect exposure, contrast, saturation and color grading. Lightroom can also batch-apply a preset to selected photographs. Use that ability as a starting point, not as a substitute for checking each file. The current Adobe Lightroom preset guide also documents the Amount control for refining preset strength. For a wider culling-to-export process, use the step-by-step Lightroom workflow.
For bright indoor product scenes, AI-Optimized Aesthetic Home Studio Clean Lightroom Presets can be used as an adjustable starting point. The pack includes 8 DNG presets for Lightroom Mobile and 8 XMP presets for Lightroom Classic, Lightroom Desktop and Adobe Camera Raw, and it supports RAW and JPEG files. Adjust exposure, contrast and white balance for the individual setup rather than expecting the same result from every photograph. The Lightroom preset installation guide covers setup.
Export a separate file for each destination
Do not flatten every channel into one universal export. Preserve an uncropped, text-free master and create a separate derivative for each use.
- Shopify: Export a high-quality product image with a consistent gallery ratio, accurate color and brief alt text describing what is visible.
- Instagram carousel: Use one shared orientation, readable text size and enough breathing room to prevent labels, hands or key details from being cropped.
- Reel: Export the vertical edit, a separate cover image and a clean version with original or appropriately licensed audio.
- Future campaigns: Keep an uncropped version without prices, dates, discount codes or platform-specific stickers.
Preview the product page and social designs on a phone before publishing. A file can look balanced on a large monitor while important details become too small or are hidden by interface elements on mobile.
Organize the library so it can be reused
A reusable shoot is only useful when the correct asset can be found quickly. A simple folder structure is enough:
- 01 Originals
- 02 Selects
- 03 Master Edits
- 04 Shopify
- 05 Instagram Carousels
- 06 Reels
- 07 Archive
Name files by meaning rather than leaving only the camera number. A useful pattern is product or SKU, scene, angle, destination and version. For example: canvas-bag-cb02-detail-shopify-v01.jpg.
Keep a small content tracker with the asset name, product, channel, message, approval status, publication date and result. This makes it easier to see which customer questions have already been covered and which assets remain unused.
Example: one tabletop setup, three channel outputs
Consider a hypothetical skincare product photographed beside a window. Without changing the main setup, the team could create:
- A centered bottle image for the Shopify featured media.
- Front, back and label close-ups for the product gallery.
- A hand-held frame that communicates scale and becomes carousel slide three.
- A wider composition with negative space for the carousel cover.
- A texture application image for the gallery and an educational slide.
- A short cap-opening clip, a texture clip and a final hero movement for the Reel.
- An accurate packaging image for the end of the gallery and the final carousel slide.
The visual system remains consistent because the lighting and styling are shared, while every export still has a distinct job.
Quality-control checklist before publishing
- The product color, finish, label and proportions match the real item.
- The photographed package and included accessories match what the customer receives.
- The featured Shopify image is clear at thumbnail size.
- Related product images use a consistent main-image ratio.
- Carousel slides share one orientation and remain readable on a phone.
- Reel clips have clean opening and closing frames.
- Reviews and customer images are genuine and approved for use.
- Music, models, locations and third-party artwork have the required permissions.
- Alt text describes the visible image rather than repeating a keyword list.
- Text-free masters are stored separately from promotional versions.
Common product-content batching mistakes
- Shooting one orientation only: A tight horizontal frame may not survive a vertical crop.
- Using the same crop everywhere: A Shopify hero, carousel cover and Reel require different visual priorities.
- Styling before correcting: Strong color grading can make a product look materially different from the item delivered.
- Capturing no movement: A few short clips are easier to record during the shoot than after the set is dismantled.
- Forcing social proof: Do not invent a review or use a customer image without approval merely to fill a slide.
- Adding campaign text to the only master: Prices, dates and offers shorten an asset’s useful life.
- Publishing every usable frame immediately: Save flexible assets for product questions, restocks and future campaigns.
Turn the shoot into a repeatable content system
The most efficient product shoot is not the one that produces the largest number of files. It is the one that produces the right evidence, compositions and movements for the channels the business actually uses. Plan the deliverables, capture the Shopify essentials first, add crop-safe social versions, record simple vertical actions and protect product accuracy throughout the edit.
For additional visual directions suited to feed posts and lifestyle content, browse the Instagram Lightroom Presets collection. Eligible individual products can be combined through the Buy 3, Get 9 FREE offer by adding 12 qualifying items to the cart and paying for three.
Written by Asanka — creator of AAAPresets, serving more than 10,000 customers.



Leave a comment
This site is protected by hCaptcha and the hCaptcha Privacy Policy and Terms of Service apply.