
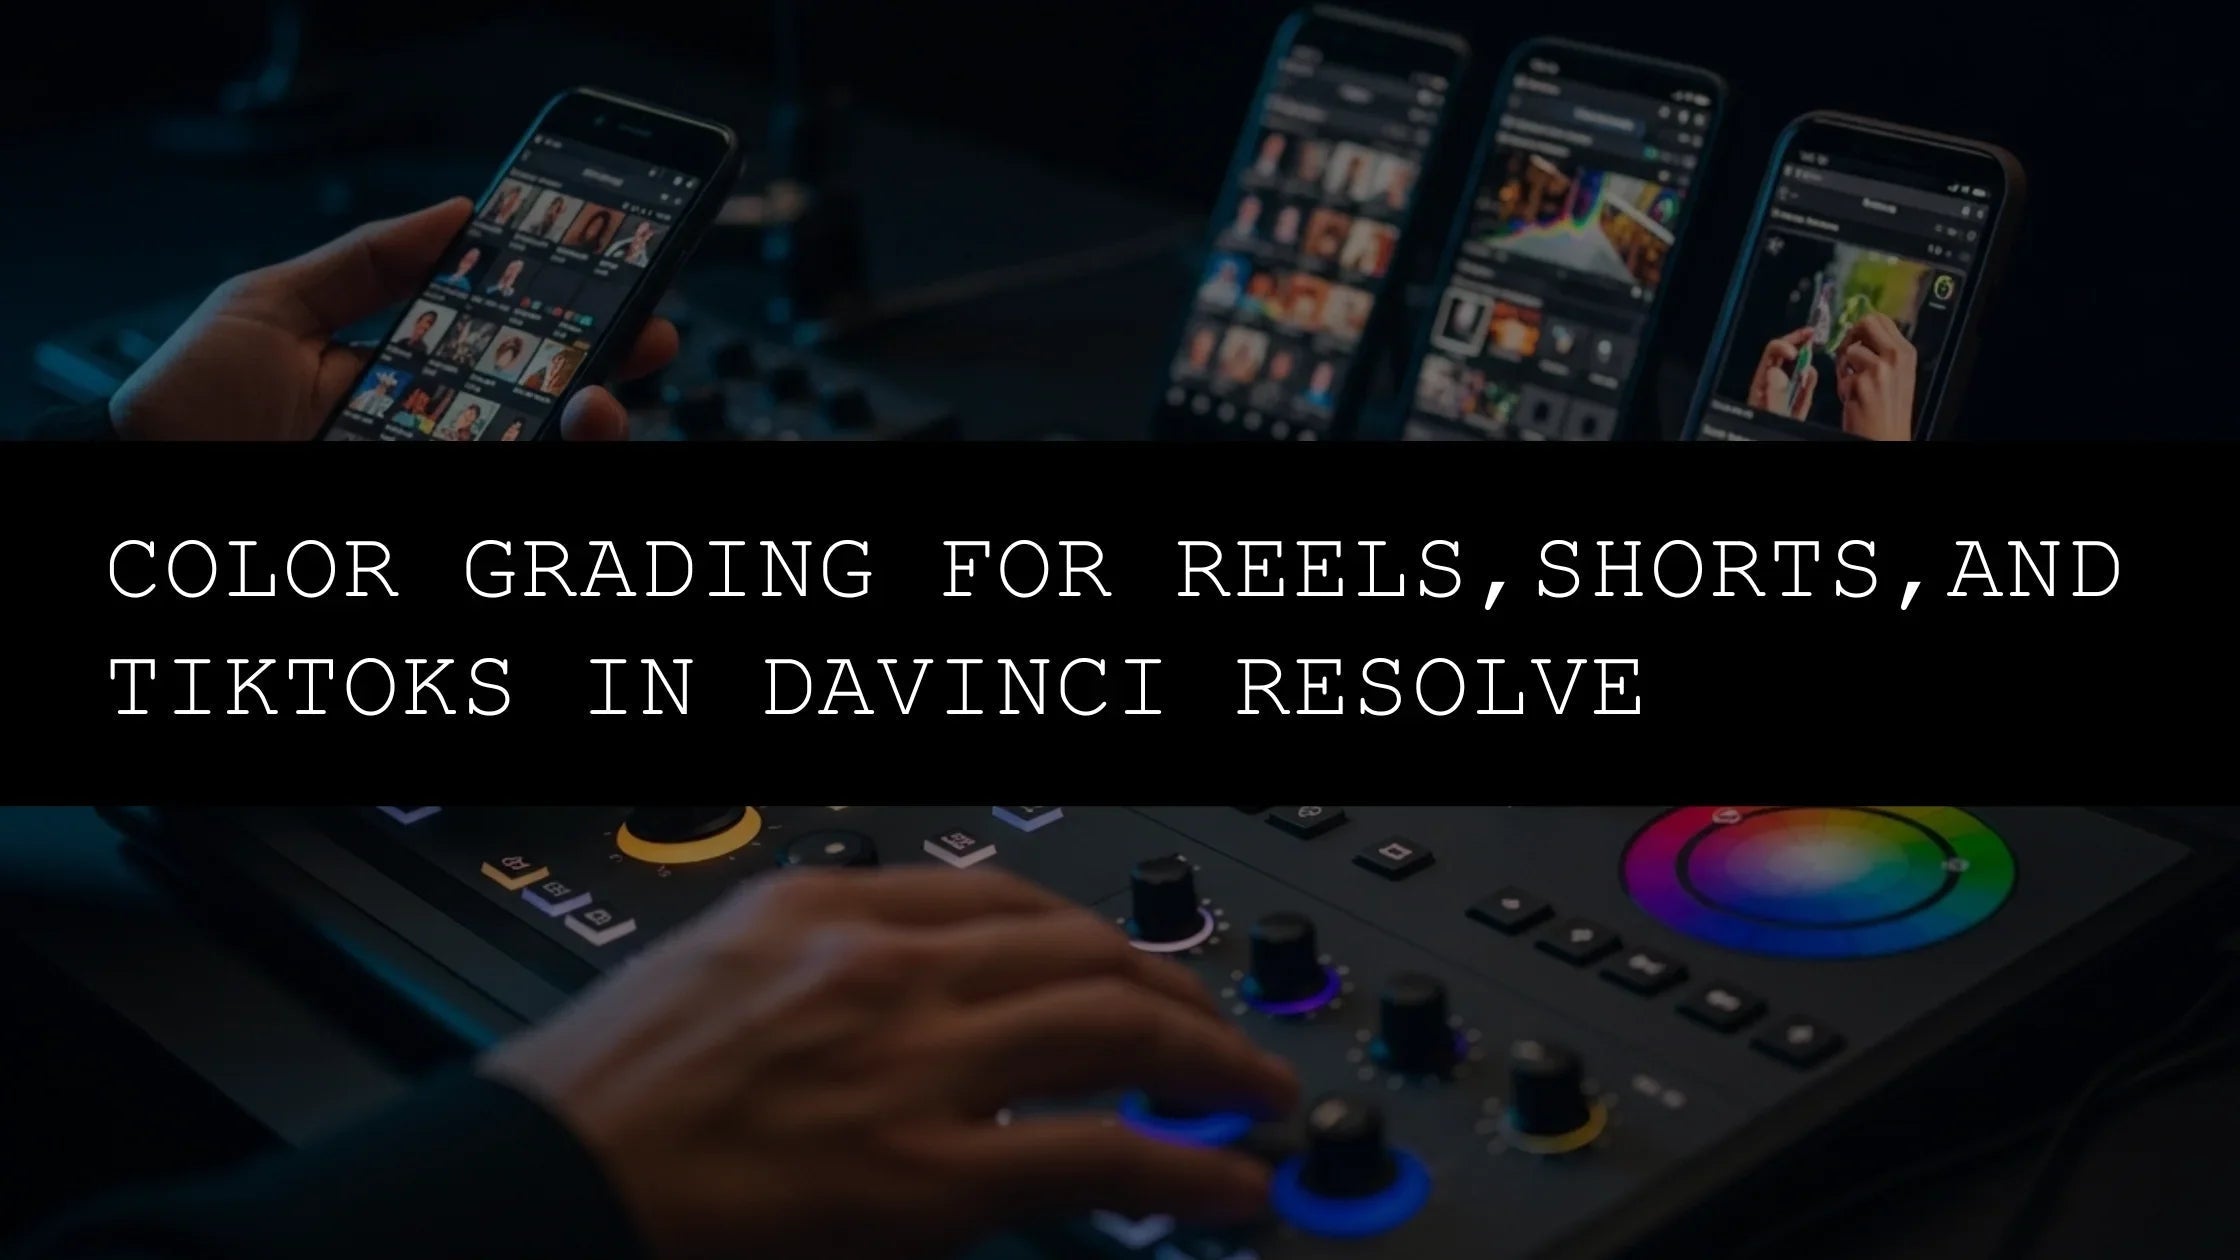
Unlocking the Spectrum: Achieving Pristine Color Exports in DaVinci Resolve
Greetings, video wizards and color crafters! If you've poured your heart and soul into grading a project in DaVinci Resolve, meticulously sculpting every hue and tone, only to witness your masterpiece appear lackluster or distorted upon export, you're likely wrestling with the often-perplexing world of color space management during rendering. Fear not, for today we embark on a comprehensive journey through the DaVinci Resolve export settings, demystifying the process to ensure your exported videos sing with the vibrant, accurate colors you painstakingly created. This isn't just about slapping on some presets; it's about understanding the 'why' behind the settings to guarantee an accurate color export every time. We'll dive deep into the nuances that separate a good export from a truly breathtaking one, ensuring your creative vision translates flawlessly to the screen.
The Bedrock of Brilliance: Your Project's Color Space and Management Strategy
Before we even venture into the Deliver page, a solid foundation in your project’s color space is paramount. DaVinci Resolve is a powerhouse of color science, and how it interprets and transforms color is central to your final output. For the vast majority of us delivering for the web and standard displays, the Rec.709 color space is our destination. However, if your creative vision extends to the dynamic range of HDR, you might find yourself working within Rec.2020 or leveraging the ACES color management system.
Regardless of your chosen path, ensuring your project settings align perfectly with your intended output color space is the non-negotiable first step. This foundational decision impacts everything that follows, from how your scopes read to how your final file is interpreted by playback devices.
Navigate to File > Project Settings. Under the Color Science tab, it's highly recommended to select DaVinci YRGB Color Managed. This empowers Resolve to intelligently manage color space transformations, leading to greater consistency and fewer surprises.
Within the Color Management section that appears, pay meticulous attention to the Output Color Space:
- Rec.709 Gamma 2.4 – professional standard, calibrated for darkened grading suites.
- Rec.709 Gamma 2.2 – better for general web compatibility, as consumer displays vary.
Navigating the Gauntlet: Essential Export Settings in DaVinci Resolve
The Deliver page is where your creative vision solidifies into a tangible file. Let’s dissect the key elements that influence your color outcome, transforming your meticulously graded timeline into a pixel-perfect representation of your artistry.
Render Settings: Choosing Your Container and Codec Wisely
Your render settings dictate the file format and compression method:
-
Format –
.mov(QuickTime, common for macOS and ProRes) or.mp4(universal web standard). -
Codecs:
- H.264 (AVC) – balance of size and quality; best for web.
- H.265 (HEVC) – smaller files, better for 4K/HDR, but needs more processing power.
- ProRes / DNxHD/HR – master/intermediate formats, larger but preserve more color info.
The Devil is in the Details: Advanced Settings for Color Fidelity
Click Advanced Settings and carefully configure:
- Color Space Tag – match your output (e.g., Rec.709, Rec.2020 PQ, Rec.2020 HLG).
- Gamma Tag – match project gamma (e.g., Gamma 2.4 or Gamma 2.2).
- Metadata – enable “Include video metadata” to preserve correct color info.
- Color Levels – usually Limited (16-235) for web delivery; Full (0-255) for specific pipelines.
- Bit Depth – choose 10-bit when possible for smoother gradients and fewer banding issues.
Tailoring for the Digital Arena: YouTube, Vimeo, and Beyond
When exporting for online platforms:
- Platform Presets – Resolve provides presets (YouTube, Vimeo). Use them but always double-check tags.
- Bitrate – 15–30 Mbps for 1080p, 50–100 Mbps for 4K.
- Profile – H.264 “High” is best for quality; ensure the correct Level for resolution and frame rate.
The Golden Rule: Test, Iterate, and Perfect
- Export a Snippet – 30–60 seconds with varied tones.
- Cross-Platform Verification – test on multiple devices and platforms.
- Analyze and Refine – adjust tags, gamma, or bitrate if colors shift or artifacts appear.
By applying these principles, you’ll consistently achieve accurate color exports in DaVinci Resolve. The key is mastering both the grading and the export process so that your vision looks flawless wherever it’s viewed.
Leave a comment
This site is protected by hCaptcha and the hCaptcha Privacy Policy and Terms of Service apply.