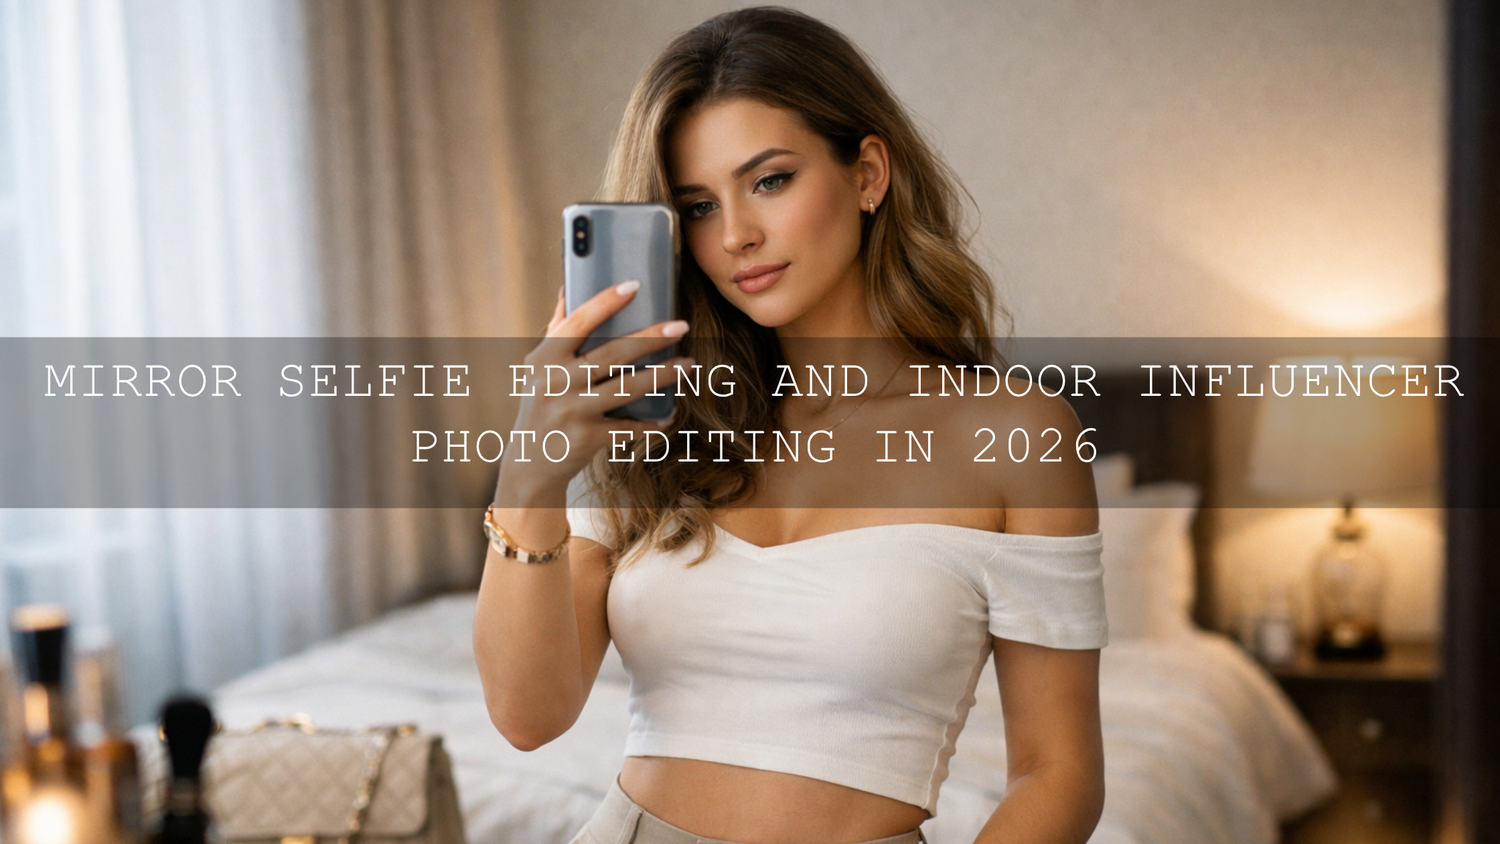
Mirror Selfie Editing and Indoor Influencer Photo Editing in 2026
Mirror selfie editing in 2026 is not about making every indoor photo darker, sharper, or more dramatic. The real goal is to create clean skin, believable color, flattering contrast, and a polished finish that still feels like you. For indoor influencer photo editing, that usually means correcting mixed light first, then building a look that feels consistent across selfies, outfit photos, beauty content, and short-form video covers.
That matters because indoor content is where many creators actually live. Bedrooms, dressing areas, studios, cafés, hotel rooms, and home offices are where the photos happen. A strong edit can make a simple mirror selfie look intentional instead of accidental. If you want a fast starting point, try the AI-Optimized Soft Cinematic Contrast Beauty Lightroom Presets for soft, editorial skin and smooth contrast, then continue your workflow with Portrait Photography Lightroom Presets Collection. You can also build your toolkit with Buy 3, Get 9 FREE.
Here’s why this matters: indoor photos often fail in subtle ways. Skin can go yellow under warm bulbs, shadows can turn muddy in corners, mirrors can exaggerate contrast, and mixed lighting can make white clothes, walls, and skin all fight each other. A good workflow fixes those problems without making the frame feel fake.
Why Mirror Selfies and Indoor Photos Are Harder Than They Look
Indoor creator content usually deals with four problems at once: color cast, uneven exposure, clutter, and loss of skin detail. A photo can look fine at first glance, but once you start editing, you notice that highlights on the forehead are too bright, the lamp has turned the whole image orange, and the background has gone dull gray.
- Window light changes fast. A soft indoor portrait can become high-contrast in minutes if the sun shifts.
- Artificial light changes skin tone. Warm bulbs can push skin yellow, while cooler LEDs can make it look flat or slightly green.
- Mirrors add extra distractions. Small tilts, edge distortions, bright reflections, and background clutter become more obvious.
- Phones often add too much processing. Many selfies already have sharpening and contrast baked in, so heavy editing can quickly look harsh.
I’ve tested this type of workflow on indoor portrait sets where one side of the face was lit by window light and the other side was hit by a warm lamp. The files looked messy at first, but correcting exposure and white balance before applying the preset consistently gave the cleanest result. I’ve also found that mirror selfies usually need less contrast than creators expect because the capture device has already added some punch.
The Best Preset Direction for Indoor Creator Content
The best Lightroom presets for selfies are usually the ones that improve skin and tone before they chase style. You want a preset that gives you a clean base, not one that forces every photo into the same extreme look. For most mirror selfie editing and indoor influencer photo editing, soft contrast beats aggressive contrast.
Soft cinematic contrast for beauty-led indoor portraits
The AI-Optimized Soft Cinematic Contrast Beauty Lightroom Presets are the strongest fit when your priority is refined skin, controlled highlights, and an editorial finish. They work especially well for beauty portraits, close-up mirror selfies, skincare content, and personal branding photos where you want a premium look without losing natural texture.

What makes this style useful indoors is restraint. Instead of crushing blacks and over-brightening highlights, it creates smoother tonal separation. That helps with bathroom mirrors, bedroom window portraits, vanity shots, and studio-style indoor sessions where skin needs to look balanced.
Clean portrait balance for mixed lighting
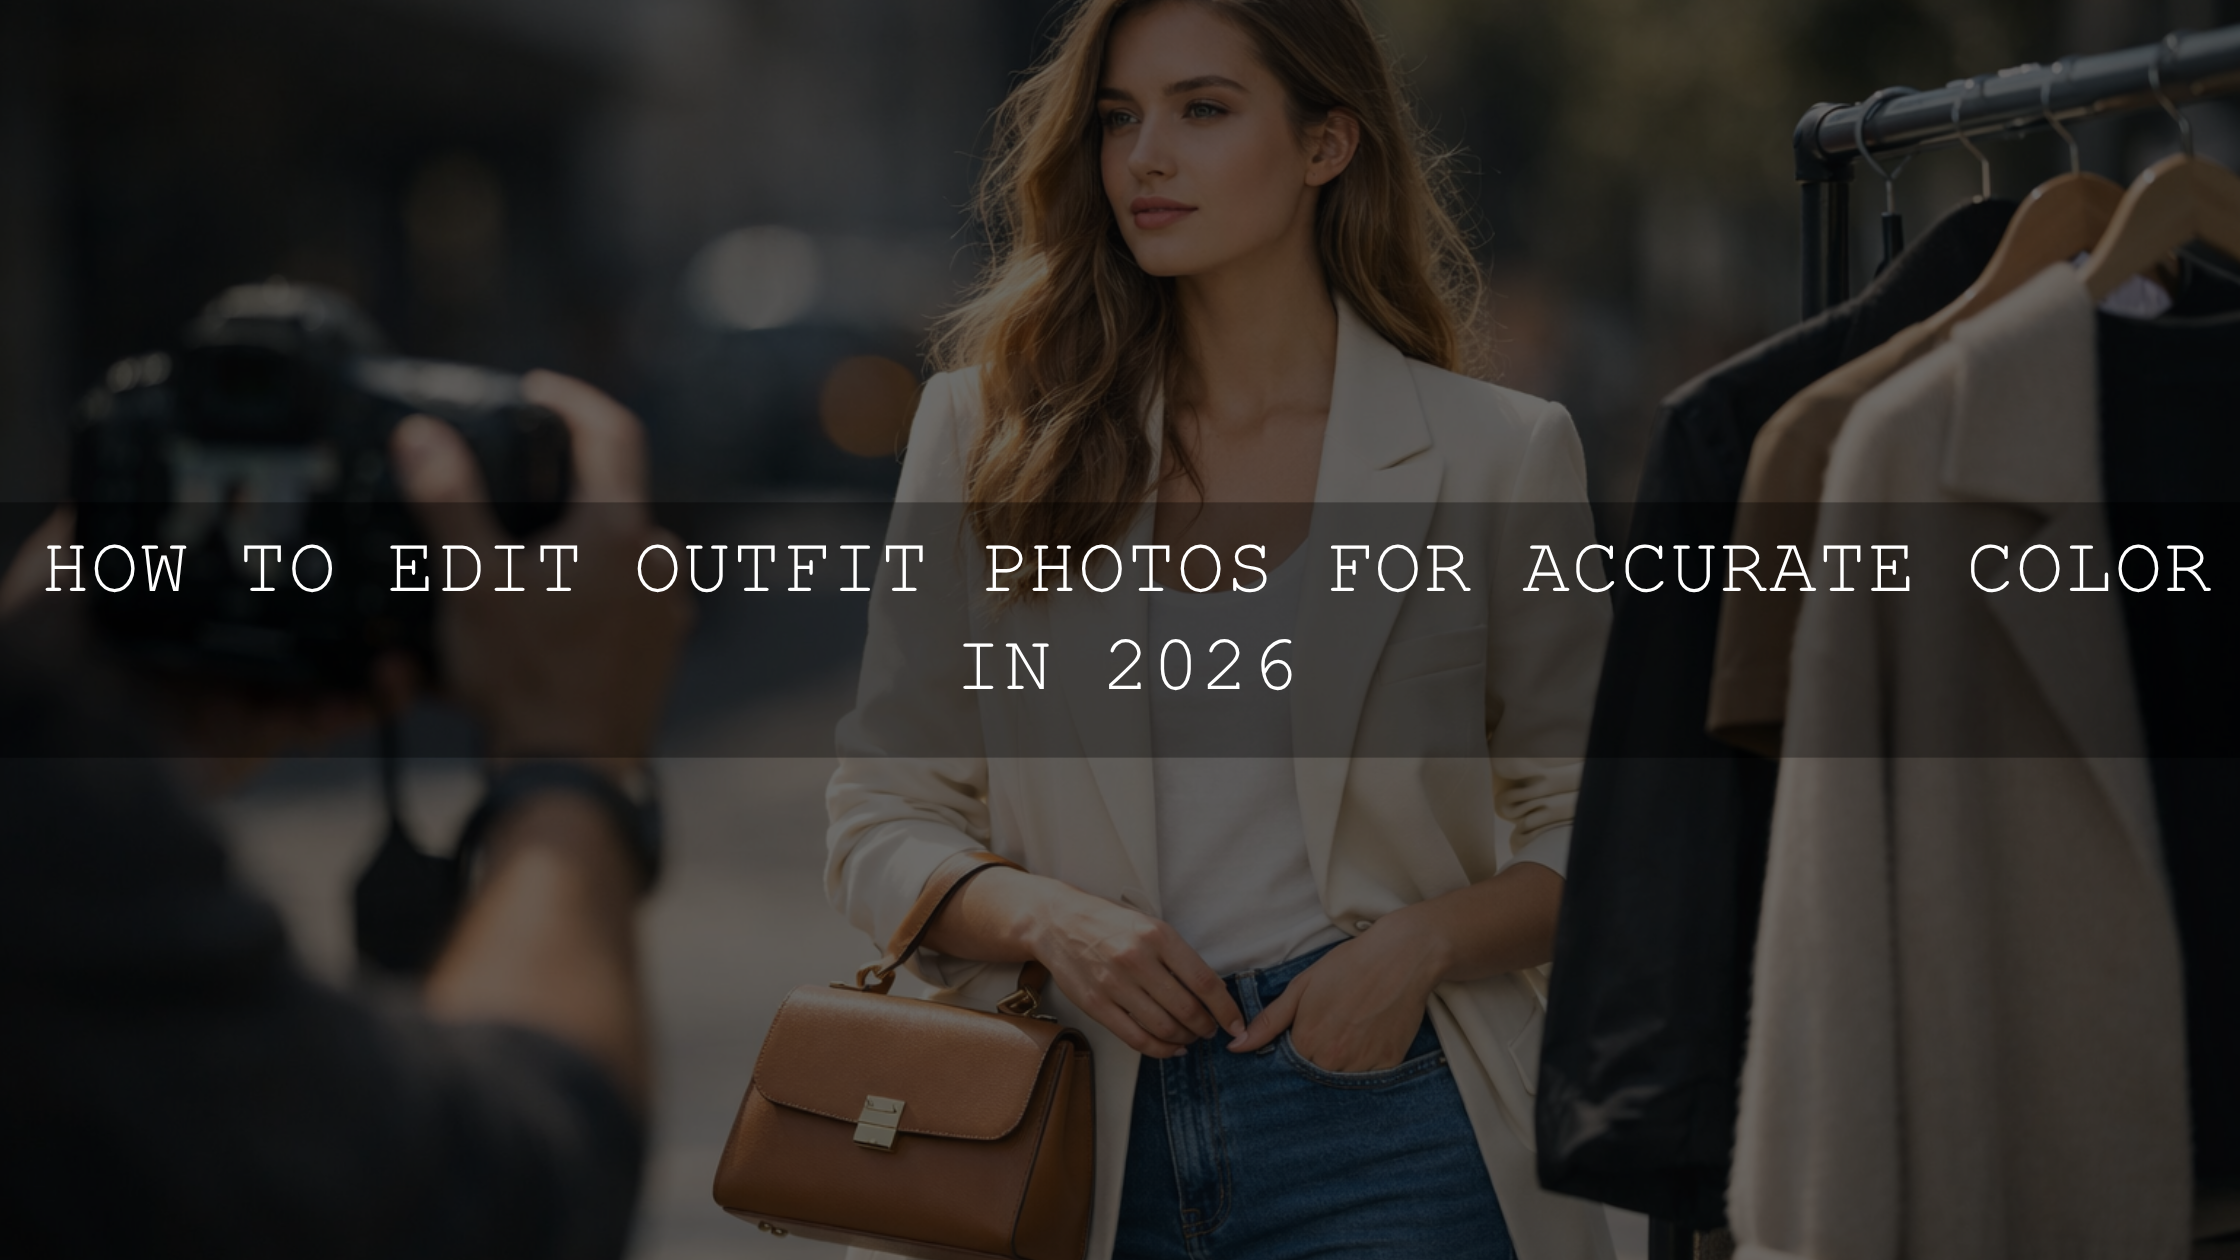
If your content includes more outfit photos, half-body portraits, and lifestyle images, the FASHION Portrait Lightroom Presets are a strong option. They are helpful when the lighting changes from room to room but you still want a consistent feed. This is useful for creators who shoot a mirror selfie in one location, then move to a hallway, café, or hotel room and want everything to still look connected.
For a deeper workflow on portrait consistency, use this article alongside Fashion Portrait Color Grading Tips for Lightroom.
Influencer-ready pop without losing control
For creators who want a more social-ready finish, the Insta Fashion Blogger Lightroom Presets can help create that bright, polished, on-brand feed look. They are useful when your indoor influencer photos need a little more energy for fashion, accessories, mirror outfits, or daily content updates.
The key is to use them with moderation. Lower the preset intensity if needed, then fine-tune white balance and highlights. That keeps the image clean instead of overly processed.
For creators who also shoot video indoors
If your workflow includes reels, tutorials, or talking-head clips, the Soft Contrast Beauty LUTs bring the same smooth, flattering direction into video. They are especially helpful for beauty creators, vloggers, and personal-brand content filmed under indoor lighting.

If you are color grading video, Adobe’s guide to adding LUTs in Premiere Pro is a good official reference for keeping your workflow clean.
Presets vs Manual Editing for Indoor Photos
Creators often ask whether they should use presets or edit everything by hand. The truth is that the best results usually come from both.
- Presets are faster. They give you a consistent starting point and help maintain a recognizable look across your content.
- Manual editing is more precise. It helps you fix the small issues each room creates, especially mixed light, reflective surfaces, and uneven shadows.
- The best workflow is preset first, refine second. Apply the preset, then adjust exposure, white balance, masking, and color mix based on that specific file.
A preset should save you time, not replace your judgment. The strongest indoor edits usually come from a smart preset plus two or three careful manual corrections.
Step-by-Step Workflow for Better Mirror Selfie Editing
Let’s break it down into a simple process you can repeat.
1. Fix exposure before you chase style
Start with the overall brightness. If skin highlights are blown out, no preset will fully save the photo. Lower highlights first, then adjust exposure until the face, outfit, and mirror reflections feel balanced. For most indoor creator shots, slightly brighter midtones work better than deep, moody underexposure.
2. Correct white balance for realistic skin
This is one of the biggest parts of indoor photo editing. Warm indoor bulbs, cool window light, and colored walls can all affect skin. Use the temperature and tint sliders until the image feels believable. Adobe’s guide to tone and color in Lightroom is useful here because white balance is usually the first correction that makes indoor photos start to feel professional.
3. Apply the preset that matches the content goal
Use a beauty-focused preset for close-up selfies, a portrait preset for balanced indoor lifestyle images, and a stronger social-style preset when the goal is a polished influencer feed. This is where the Soft Cinematic Contrast Beauty, FASHION Portrait, and Insta Fashion Blogger presets each make sense for different moods.
4. Use masking to guide the eye
Indoor photos almost always benefit from local adjustments. Brighten the face slightly, soften a harsh highlight on the shoulder, reduce glare on the mirror, or lift the outfit without affecting the whole frame. Adobe’s official guide to masking in Lightroom is a great reference if you want better control over faces, backgrounds, and reflections.
5. Tidy skin tones with HSL or Color Mix
If skin still looks too yellow, orange, or red, make small HSL adjustments instead of pulling global saturation down too far. Lower orange saturation slightly, adjust orange luminance for softness, and only shift hue if the skin truly needs it. Small changes are usually enough.
6. Crop for cleaner composition
Mirror selfies look more premium when distractions are reduced. Straighten lines, crop out clutter, and leave only the details that help the story: the outfit, the pose, the light, and the mood. The cleaner the frame, the more intentional the edit feels.
Common Mistakes That Make Indoor Edits Look Cheap
- Too much clarity on skin. This can make pores, makeup texture, and dry areas look rough.
- Over-sharpening phone images. Many phone files already have edge sharpening applied.
- Ignoring mixed light. A beautiful preset cannot fully hide a bad white balance problem.
- Crushing blacks for drama. This often removes detail from outfits, hair, and backgrounds.
- Pushing saturation instead of fixing color. Strong color is not the same as accurate color.
One simple test I use is this: zoom out and ask whether the photo still looks like a believable premium image or like a heavily edited app filter. If the edit calls attention to itself before it supports the subject, it usually needs to be pulled back.
How to Build a Consistent Feed From Different Indoor Locations
Consistency matters more than perfection. Your audience is less interested in whether every frame was shot under ideal light and more interested in whether your feed feels cohesive. That comes from repeating the same editing logic:
- Keep skin tone direction similar from post to post.
- Choose one contrast style and stay close to it.
- Avoid drastic shifts between warm and cool edits unless the concept really changes.
- Use similar crops, especially for mirror selfies and portrait posts.
- Save your refined settings as a reusable base after each strong edit.
That is why preset-based workflows are so useful for creators. They make it easier to keep your brand recognizable even when the lighting is inconsistent.
Related Reading
- How to Fix Yellow Indoor Lighting in Selfies
- Beauty Portrait Editing in Lightroom for Clean Skin Tones
- Fashion Portrait Color Grading Tips for Lightroom
- How to Edit Influencer Portraits for a Consistent Feed
Bring More Polish to Your Indoor Creator Workflow
If you want your mirror selfies and indoor influencer photos to look cleaner, more flattering, and more professional without spending forever on every file, start with the AI-Optimized Soft Cinematic Contrast Beauty Lightroom Presets. They are an excellent match for soft skin, balanced highlights, and premium indoor portraits. You can pair that with Lightroom Presets Collection to keep exploring more styles that fit your content direction.
And if your workflow includes both photo and video, combine your Lightroom setup with the Soft Contrast Beauty LUTs so your reels, tutorials, and indoor clips feel consistent with your still images. That is one of the fastest ways to create a stronger personal brand look while taking advantage of Buy 3, Get 9 FREE.
What is the best preset style for mirror selfie editing?
Soft, skin-friendly presets usually work best. They keep contrast controlled, protect highlights, and help indoor skin tones stay natural instead of overly orange or gray.
How do I fix yellow indoor lighting in Lightroom?
Start with white balance, then adjust tint if needed. After that, use small HSL changes in orange and yellow channels rather than dropping saturation across the whole photo.
Are presets enough for indoor influencer photo editing?
Presets are the best starting point, but most indoor photos still need small manual refinements like exposure, masking, white balance, and crop cleanup.
Should mirror selfies be high contrast?
Usually not. Mirror selfies often look better with softer contrast because phone files already have some sharpening and contrast added during capture.
Can I use the same editing style for photo and video?
Yes. Using Lightroom presets for stills and matching LUTs for video is one of the easiest ways to keep your creator brand looking consistent across platforms.
Written by Asanka — creator of AAAPresets (10,000+ customers).
Leave a comment
This site is protected by hCaptcha and the hCaptcha Privacy Policy and Terms of Service apply.