Elevate Your Wildlife Photography with Lightroom Presets
Capturing stunning wildlife photos requires more than just a good camera and lens. The editing process plays a crucial role in bringing out the beauty and drama in your images. Lightroom presets are a powerful tool for simplifying and enhancing your wildlife photography workflow. In this guide, we'll explore how to use Lightroom presets to take your wildlife photos to the next level.
Why Use Lightroom Presets for Wildlife Photography?
Lightroom presets are pre-designed settings that apply specific adjustments to your photos with a single click. They can save you countless hours of manual editing, allowing you to focus on capturing more images in the field. Here are some key benefits of using Lightroom presets for wildlife photography:
- Time-Saving: Presets streamline your editing process, enabling you to quickly apply consistent edits to multiple images. Imagine the time you can save by applying a single click to transform a series of images with a consistent look. For instance, if you've captured a sequence of shots of a bird in flight against a stunning sunset backdrop, you can instantly apply a preset that enhances the colors of the sky and highlights the bird's plumage, creating a cohesive and visually striking series.
- Consistent Look: Create a cohesive style for your wildlife portfolio by applying the same presets across different photos. This is particularly beneficial if you want to maintain a uniform style throughout your work, especially if you're showcasing your images on your website or social media. Imagine a portfolio of your wildlife photography that flows seamlessly, with a consistent color palette, tone, and overall aesthetic. Presets help you achieve that consistent look effortlessly.
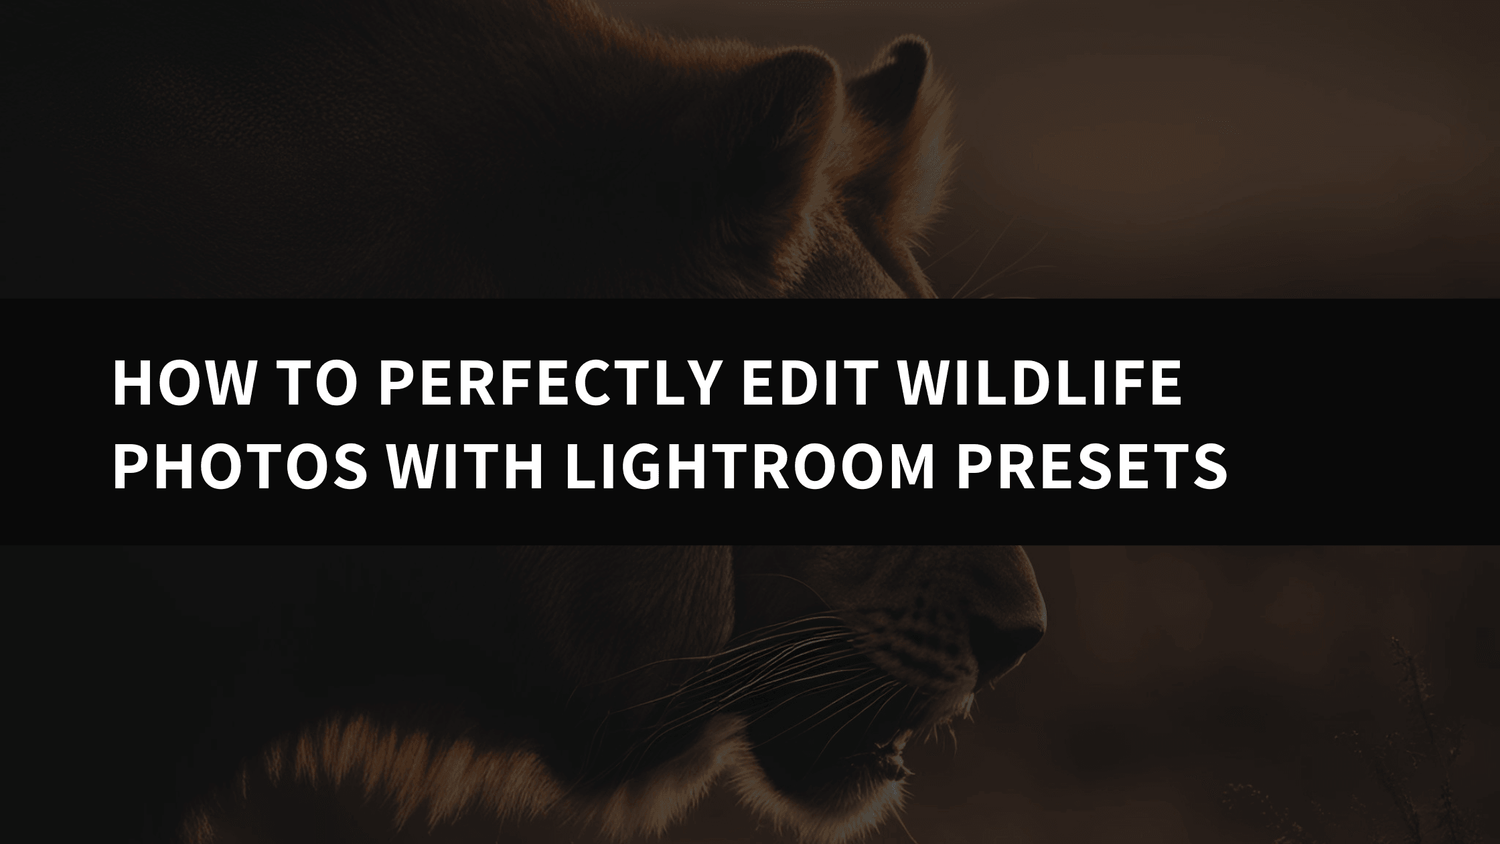
- Creative Inspiration: Explore different presets to experiment with various editing styles and find the perfect look for your images. You might be surprised by the new creative directions that presets can unlock, helping you to discover new ways to enhance your wildlife photography. Perhaps you've captured a majestic lion in its natural habitat. By applying different presets, you can explore various moods and atmospheres for the image, from a warm and inviting sunset glow to a dramatic and moody twilight scene.
- Professional Results: Many presets are designed by experienced photographers, offering a professional touch to your wildlife photos. This is especially helpful for photographers who are still developing their editing skills, as presets provide a solid foundation for achieving high-quality results. It's like having a seasoned photographer guide your editing decisions, helping you achieve a polished and professional look for your wildlife photos.
Choosing the Right Lightroom Presets
With a wide range of Lightroom presets available, it's essential to select those that cater to your specific wildlife photography style and needs. Here are some excellent options to consider:
Bird Photography Wildlife Cinematic Lightroom Presets
These presets are perfect for enhancing the beauty of bird photography. With a cinematic touch, they bring out vivid colors, intricate details, and dynamic contrasts, giving your images a stunning professional quality. Imagine your bird photos with a rich, cinematic feel, drawing viewers into the intricate details of feathers and the captivating expressions of these feathered creatures.

Wildlife Cinematic Lightroom Presets Pack
This comprehensive pack provides a range of presets specifically designed for wildlife photography. They offer a cinematic look, enhancing the drama and beauty of your images. This pack is a versatile tool for any wildlife photographer, as it caters to a broad spectrum of wildlife subjects and environments. Whether you're capturing a majestic lion in the African savanna, a playful monkey in a lush rainforest, or a delicate hummingbird in a vibrant garden, this pack provides the tools to elevate your images.

Landscape and Nature Photography Lightroom Presets
While not exclusively for wildlife, these presets can also be valuable for editing wildlife photos, especially those taken in scenic landscapes. They enhance colors, contrasts, and overall visual impact, giving your images a cinematic feel. These presets are ideal for wildlife photographers who often capture their subjects within stunning natural environments, as they can harmonize the backdrop with the animal subject, creating a more unified and captivating composition. Imagine a photograph of a majestic eagle perched atop a rocky mountain peak, with the preset enhancing the colors of the sky and the rugged textures of the mountain, creating a more immersive and awe-inspiring scene.

Step-by-Step Guide: Editing Wildlife Photos with Lightroom Presets
Follow these steps to edit your wildlife photos using Lightroom presets:
1. Import Your Images into Lightroom
Start by importing your wildlife photos into Adobe Lightroom. If you're using Lightroom Classic, navigate to the "Library" module. If you're using Lightroom CC, the import process is similar, but the interface might be slightly different. Choose the images you want to edit, and click "Import." Make sure your Lightroom version is compatible with the format of your presets.
2. Apply the Preset
Once your images are imported, navigate to the "Develop" module. In the Develop module, click on the "Presets" panel on the left side of the screen. This panel will display all the presets that you have installed in Lightroom. Find the preset that you want to use and click on it to apply it to your image. Observe how the preset instantly transforms your image, applying the color grading, contrast adjustments, and other effects built into the preset.
3. Adjust Settings (Optional)
While presets offer a great starting point, you can make further adjustments to fine-tune the look of your images. Use the Lightroom sliders and tools to modify settings like:
- Exposure: Adjust overall brightness. This is particularly useful if your image is too dark or too bright, allowing you to bring the overall exposure into a more balanced range. For instance, if your image of a tiger in the jungle is too dark, you can use the exposure slider to brighten it, revealing the tiger's stripes and the surrounding foliage in greater detail.
- Contrast: Enhance the difference between light and dark areas. Adjusting contrast can help define details in both the shadows and highlights, creating a more dramatic and visually impactful image. By increasing contrast in a photo of a wolf howling at the moon, you can make the wolf stand out against the dark, star-filled sky, emphasizing its silhouette and its powerful presence.
- Highlights: Control the brightness of the lightest areas. You can use this slider to prevent blown-out highlights, ensuring that details in the brightest parts of your image are preserved. If your image of a white-tailed deer in a snowy field has overexposed areas, the highlights slider can help you recover some of the detail in the white fur, preventing it from becoming completely blown out.
- Shadows: Adjust the brightness of the darkest areas. By bringing up the shadows, you can reveal details that might have been hidden in the darker portions of your image. In a photograph of a leopard camouflaged in dense undergrowth, the shadows slider can help bring out details in the leopard's markings, making it more visible and distinct.
- Whites: Define the pure white point. This slider helps you control the white balance of your image, ensuring that the whites are true and accurate. If your image of a snowy owl in a winter landscape has a color cast, the whites slider can help you adjust the white balance, ensuring that the owl's white plumage appears accurate and natural.
- Blacks: Define the pure black point. Similar to whites, this slider allows you to fine-tune the black point, ensuring that the blacks are deep and rich. When editing an image of a black bear in a forest, the blacks slider can help you deepen the blacks, enhancing the bear's dark fur and the shadows in the surrounding foliage.
- Clarity: Increase or decrease the sharpness and detail. This slider can enhance the micro-contrast of your image, adding definition and depth to textures and details. If your image of a cheetah running across a savanna appears slightly soft, the clarity slider can help you sharpen the details of its fur, making it appear more crisp and dynamic.
- Vibrance: Adjust color saturation selectively, protecting skin tones. Vibrance is a more subtle way to enhance colors compared to saturation, as it prioritizes skin tones and prevents them from becoming overly saturated. This can be particularly helpful when editing images with animals that have complex fur patterns or unique coloration, like a peacock with its vibrant iridescent feathers. Vibrance can help you bring out the richness of these colors without making them appear artificial or overblown.
- Saturation: Modify the overall color intensity. If you want to make the colors in your image more vibrant, you can use the saturation slider. Be careful not to over-saturate, as this can make your image look artificial. For instance, if your image of a vibrant coral reef is lacking in color intensity, you can use saturation to enhance the colors of the coral, fish, and other marine life, making the scene more lively and visually appealing.
4. Sharpen and Noise Reduction
Depending on your image and the chosen preset, you may need to adjust sharpness and noise reduction settings. In the Develop module, find the "Detail" panel, where you can control sharpening and noise reduction levels. Use the "Sharpening" slider to sharpen edges and details. This is especially important for wildlife photos, as you want to ensure that the fine details of feathers, fur, and scales are crisp and defined. Imagine a close-up photograph of a hummingbird's beak. By sharpening the image, you can bring out the intricate details of the beak, making it appear even more delicate and intricate. Use the "Noise Reduction" sliders to minimize noise, especially in darker areas. Noise reduction is essential for minimizing the graininess that can appear in low-light or high-ISO images. If you've captured a nighttime image of an owl perched on a branch, noise reduction can help you minimize the graininess, creating a cleaner and more visually pleasing image.
5. Crop and Straighten (If Needed)
If you want to remove distractions, improve composition, or straighten the horizon, utilize the "Crop" tool in the Develop module. Click on the "Crop" icon, and then drag the corners or edges of the image to adjust the crop area. You can also straighten the horizon by using the "Straighten" tool, which is located in the "Crop Overlay" menu. Cropping and straightening can significantly enhance the visual impact of your images, leading to stronger compositions and a more pleasing aesthetic. For example, if your image of a giraffe grazing in a savanna has an uneven horizon or distracting elements in the background, cropping and straightening can help you focus on the giraffe and create a more balanced and visually appealing composition.
6. Export Your Edited Photos
Once you've finished editing, it's time to export your photos for sharing or printing. Go to the "File" menu and select "Export." In the export window, you can choose various settings, including:
- File Format: Choose between JPEG, TIFF, or other formats. JPEG is a popular choice for web use, while TIFF offers higher quality and is better suited for printing. For sharing your wildlife photos on social media or your website, JPEG is usually sufficient, while TIFF might be better for printing high-quality images for exhibitions or portfolios.
- Quality: Select the image quality level (e.g., high, medium, low). Higher quality settings result in larger file sizes but preserve more detail. For web use, you can typically choose a lower quality setting to reduce file sizes. If you're uploading photos to a website or social media, you can often use a lower quality setting without significantly affecting the image quality. However, if you're printing images, especially larger prints, choose a higher quality setting to ensure the best possible detail and resolution.
- Resolution: Define the resolution for printing or web use. Higher resolutions are needed for printing, while web images typically require lower resolutions. For example, if you're printing a 12x18-inch photo, you'll need a higher resolution than if you're sharing the image on Instagram.
- Resize: Adjust the image size if needed. You can resize images to fit specific requirements, such as for social media or web galleries. If you're posting photos on social media platforms that have specific size requirements, you can resize the image during export to ensure that it fits within the platform's guidelines.
Conclusion: Empowering Your Wildlife Photography
Lightroom presets are a valuable asset for wildlife photographers of all levels. They simplify the editing process, allowing you to create professional-looking images quickly and efficiently. By experimenting with different presets and making subtle adjustments, you can enhance your wildlife photos, capturing the beauty and emotion of your subjects.
Remember, practice is key. The more you use Lightroom presets, the better you'll understand how they work and how to achieve the desired results for your wildlife photography. As you become more comfortable with presets, you'll discover creative ways to blend them with your own unique editing style, taking your wildlife photography to new heights.


Leave a comment
This site is protected by hCaptcha and the hCaptcha Privacy Policy and Terms of Service apply.