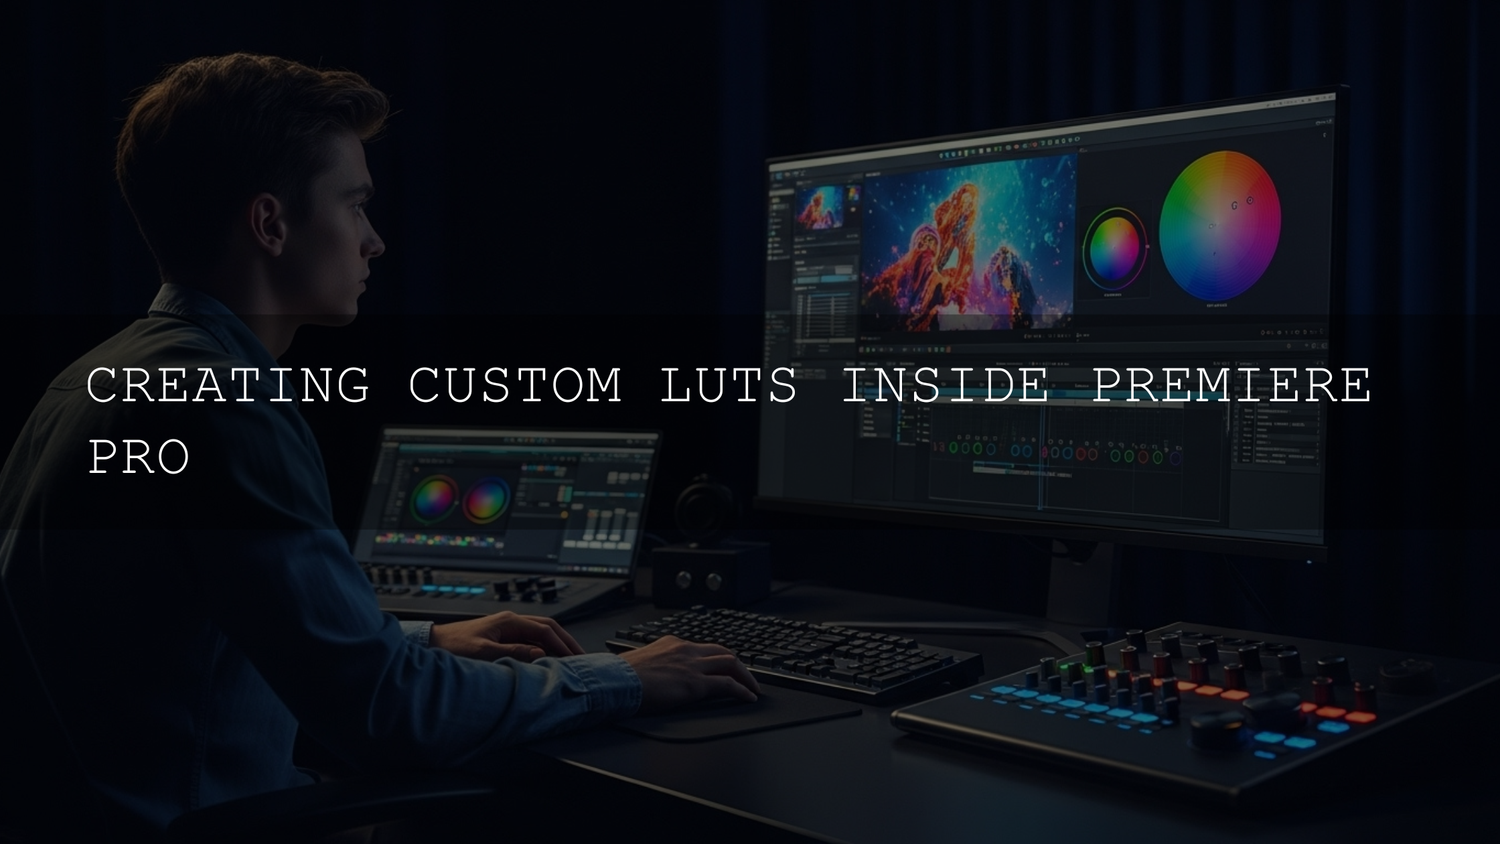
Create Custom LUTs in Premiere Pro: Build a Signature Look
If you’ve ever watched a film or YouTube video and thought, “How do they get that same look every time?”, you’re already thinking in terms of custom LUTs in Premiere Pro. A LUT (Look-Up Table) lets you turn a carefully crafted grade into a reusable, one-click look. In 2025, with more creators than ever publishing daily, having your own Premiere Pro LUT workflow is one of the best ways to build a recognizable visual style and speed up your edits.
In this guide we’ll walk through, step-by-step, how to prepare your footage, craft a beautiful grade in the Lumetri Color panel, export it as a LUT, and use it across projects. Along the way, you’ll see real-world examples, common mistakes to avoid, and practical pro tips you can test on your very next timeline.
If you want to combine your own custom LUTs with ready-made cinematic looks, you can pair this workflow with packs like our 700+ Cinematic Video LUTs for filmmakers and the full Video LUTs collection. With our Buy 3, Get 9 FREE offer, adding any 12 preset or LUT packs to your cart means you only pay for three.
What Exactly Is a LUT in Premiere Pro?
A LUT is simply a table of numbers that tells Premiere Pro how to remap the colors and tones in your footage. Instead of manually re-building your grade every time, a LUT “remembers” your color decisions and applies them consistently.
In practice, custom LUTs help you:
- Build a visual brand – Every video, from client work to reels, can share the same cinematic character.
- Save time – Apply a polished base grade to entire timelines with one click, then tweak per shot.
- Normalize different cameras – Use a LUT to bring Sony, Canon, drones, and phones into the same color family.
- Extend your color science – Emulate film stocks, push stylized looks, or design subtle, natural grades.
For a deeper technical overview of how the Lumetri Color system is structured, you can explore Adobe’s overview of the Lumetri Color panel.
Custom LUTs vs Manual Color Correction
You could color grade manually on every project without saving a LUT. So why bother?
- Speed – Manual grading from scratch can take hours. A custom LUT gives you a finished base grade in seconds.
- Consistency – Without LUTs, your “warm cinematic look” might drift from project to project. A LUT locks it in.
- Scalability – When you edit a series, a client’s brand videos, or multiple episodes, a LUT keeps everything unified.
That said, LUTs aren’t magic. You’ll still refine exposure, contrast, and skin tones per shot using Lumetri—think of the LUT as your starting point, not the final stop.
Step 1: Choose the Right Reference Clip
Creating custom LUTs in Premiere Pro starts with choosing one strong, representative clip. This becomes your “test canvas.”
- Pick a clip that represents your typical footage – Ideally something with faces, a good range from shadows to highlights, and colors you care about (skin, foliage, sky, clothing).
- Use a neutral profile where possible – Log or flat profiles (S-Log, C-Log, V-Log, etc.) capture maximum detail and are perfect for building LUTs.
- Avoid heavily processed footage – Don’t create a LUT from clips that already have filters or baked-in looks.
When I tested one of my teal-and-orange LUTs on a wedding shoot in low light, using a single, carefully chosen reference clip with both skin tones and specular highlights made it much easier to build a look that also worked on the reception, ceremony, and dance floor footage.
Technical Prep: Make the Footage “Neutral” First
Before you get creative, you need a balanced starting point. In the Basic Correction section of Lumetri Color:
- Exposure – Adjust so highlights aren’t clipping and shadows aren’t completely crushed. Check your waveform and histogram.
- White Balance – Use the WB eyedropper or manually adjust Temperature/Tint so whites look neutral.
- Contrast & Blacks/Whites – Add enough contrast to give the image life, but keep plenty of detail.
Adobe’s documentation on Basic Correction options in the Lumetri Color panel is a great reference if you’re still learning how these sliders interact.
Pro Tip: Work With Scopes, Not Just Your Eyes
Even a good monitor can lie. Use the Lumetri Scopes (Waveform, Vectorscope, Parade) to keep brightness and saturation in check. A quick glance at skin tones on the Vectorscope (near the skin-tone line) is often enough to catch a grade that’s drifting too magenta or green.
If you want a deeper dive into building a full end-to-end workflow around this neutral starting point, you can explore guides like our own article on turning flat footage into a filmmaking-ready grade via a filmmaker-quality color grading workflow.
Step 2: Build Your Creative Grade in Lumetri
Once your clip is technically sound, it’s time to design the actual look your LUT will capture. Most of this happens across three areas of Lumetri: Creative, Curves, and Color Wheels & Match.
Creative Tab: Establish the Overall Mood
- Faded Film – Lifts shadows and lowers contrast for a softer, more nostalgic feel.
- Sharpen – Add a touch of crispness, but avoid going too far (over-sharpening looks harsh and noisy).
- Vibrance vs Saturation – Vibrance is usually safer for people; it boosts muted colors more than already bright ones.
You can stack a subtle built-in Look with your own adjustments, but keep in mind: the final grade you’re seeing is exactly what your LUT will try to reproduce.
Curves: Sculpt Contrast and Color
- RGB Curve – A gentle S-curve is a classic way to add contrast and pop.
- Color Curves (R/G/B) – Nudge shadows slightly toward teal and highlights toward warm orange for a modern cinematic feel.
- Hue vs Saturation Curve – Perfect for dialing back oversaturated greens or dialing up sky blues without affecting the whole image.
On one drone sunset shot I tested, I used curves to slightly deepen the blues in the sky and add warmth to the highlights, then saved that as a LUT. Later, that same LUT gave a beautiful base look to an entire aerial travel sequence shot across different days.
Color Wheels & Match: Fine-Tune Tonal Ranges
- Shadows – Often pushed a bit toward blue/cyan to feel more cinematic.
- Midtones – Where skin lives; keep this area natural and pleasant.
- Highlights – A slight warm push (yellow/orange) can feel like soft sunlight.
This is also where you can adjust luminance of each range to protect faces from going too dark or too bright. If you want to mix Premiere Pro with other apps, it’s worth reading about broader color workflows like the official ACES color management standard, which many high-end productions use.
HSL Secondary & Vignette: Precise Refinements
- HSL Secondary – Isolate skin tones, skies, foliage, or a brand color and tweak hue, saturation, and lightness without touching the rest of the image.
- Vignette – A subtle vignette helps guide the viewer’s eye toward your subject; keep it gentle.
If you want to go deeper into plugin-based workflows and advanced tools on top of Lumetri, you can pair your LUTs with techniques explained in articles like our guide to the best color grading plugins for Premiere Pro.
Step 3: Export Your Premiere Pro Grade as a Custom LUT
Once your grade feels right, it’s time to turn it into a LUT (.cube file) you can reuse anywhere.
- Select the graded clip – In the timeline, click the clip with your Lumetri adjustments.
- Open the Lumetri Color panel – Make sure it’s active and showing your current adjustments.
- Use the Lumetri menu – Click the three-line “hamburger” menu on the Lumetri effect and choose Export .cube.
- Name your LUT clearly – For example: Cinematic_Teal_Orange_Daylight.cube or SoftFilm_WarmSkin.cube.
- Save it to a LUTs folder – Keep a dedicated folder for your custom LUTs so you can easily back them up and re-use them.
Adobe’s article on saving and exporting LUTs from Premiere Pro walks through this process and explains the supported formats in more detail.
Pro Tip: Keep a “Work in Progress” Folder
Not every LUT you export will become a long-term favorite. Create a “WIP LUTs” folder and move the ones you actually use on multiple projects into a “Master LUT Library” later. That way, only your best looks survive.
Step 4: Apply Your Custom LUTs With a Smart Workflow
Exporting is only half the story. The way you apply LUTs in Premiere Pro determines how flexible your grade stays.
Method 1: Adjustment Layer (Highly Recommended)
- Create an Adjustment Layer in the Project panel and place it on a track above your clips.
- With the adjustment layer selected, open Lumetri Color > Basic Correction or Creative and choose your custom LUT from the Input LUT or Look dropdown (using the Browse option if needed).
- Use the Intensity slider to dial back the LUT if it feels too strong (for example, 60–80% instead of 100%).
This method lets you globally change the LUT for an entire scene or timeline without touching individual clips. You can stack multiple adjustment layers if you want different looks per section.
Method 2: Directly on Clips
Sometimes you need a unique look on a specific clip—like a flashback, dream sequence, or stylized B-roll.
- Select the clip, open Lumetri, and select your LUT.
- Lower Intensity, tweak contrast, and refine skin tones so the LUT complements the shot instead of fighting it.
For more complex corrections—especially when mixing log footage from multiple cameras—it’s worth pairing this approach with techniques from guides like our article on matching Sony and Canon color in Premiere Pro.
Advanced Use Cases for Custom LUTs
As you get comfortable, your LUTs can become the backbone of a more advanced color pipeline.
- Log Conversion + Look in One – Build LUTs that both convert log footage to Rec.709 and add your creative look, so you can normalize and stylize in a single step.
- Scenario-Specific Palettes – Create separate LUTs for daylight exteriors, tungsten interiors, moody nightlife scenes, and soft pastel romance looks.
- Client or Channel Presets – Give each client or YouTube channel a dedicated “brand LUT” so you can maintain their identity across completely different shoots.
When I pushed one of my LUTs on a drone sunset sequence, I noticed that a slightly softer contrast and restrained saturation played much better on phone screens. That LUT later became my go-to for aerial shots and is now part of our broader log-footage color grading workflow.
Common Mistakes When Creating LUTs
- Over-cooking the grade – Extreme contrast and saturation can lead to banding, clipped highlights, and unnatural skin. Aim for a look that still has room for per-shot adjustments.
- Ignoring skin tones – If skin looks sickly, your LUT isn’t ready. Always test on a clip with people and watch the Vectorscope.
- Basing LUTs on already graded footage – Creating a LUT from footage that already has filters or heavy processing will create unpredictable results later.
- Uncalibrated monitors – A LUT built on an inaccurate monitor can look wrong everywhere else. Consider basic calibration hardware or at least compare on multiple displays.
For plug-in driven workflows, especially if you like combining LUTs with third-party tools, check out how those choices tie into your base workflow via articles like our breakdown of the best Premiere Pro color grading plugins.
How Custom LUTs Fit Into a Bigger Color Strategy
Custom LUTs are most powerful when they’re part of a complete strategy instead of random one-off files on your hard drive.
- Organize your library – Separate “technical” LUTs (log to Rec.709, camera matching) from “creative” LUTs (stylized looks).
- Document your intent – Keep a simple text file describing what each LUT is for: “Wedding Soft Pastel,” “Music Video High Contrast Neon,” etc.
- Pair video LUTs with photo presets – If you share stills on Instagram or use thumbnails heavily, pairing your LUTs with matching Lightroom looks (for example the 1000+ Master Lightroom Presets Bundle) helps your entire brand feel cohesive.
To explore Lightroom options that visually match your video grades, you can browse our Lightroom Presets collection alongside your favorite video LUTs.
Real-World Example Workflows
YouTube Cinematic Vlog
- Shoot in log on your mirrorless camera.
- Apply a “Log to Rec.709 + Cinematic” LUT on an adjustment layer.
- Fine-tune exposure and skin tones per clip.
- Use a second adjustment layer with a subtle vignette or film-grain LUT if desired.
Music Video With Stylized Colors
- Create a bold, contrasty reference grade with stylized hues (e.g., neon magenta and cyan).
- Export as a LUT and test it on performance shots, B-roll, and close-ups.
- Use HSL Secondary to protect skin while letting backgrounds go wild.
- Pair this with a specialized pack like 300+ Music Video Color Grading LUTs when you want quick variations on the same vibe.
Where LUTs Fit With Presets and Other Tools
Inside Premiere Pro, LUTs sit alongside built-in Lumetri presets, third-party plug-ins, and manual grading. LUTs are especially powerful when you want:
- Cross-app consistency – Use the same LUT in Premiere Pro, After Effects, DaVinci Resolve, or even in-camera if supported.
- Repeatable “looks” vs one-off grades – Anything you want to repeat often should probably become a LUT.
- A fast foundation – Start with a LUT, then refine with curves, wheels, and masks.
If you’re ready to expand your toolkit, you can combine your own LUTs with curated packs from our store—start with a base like 700+ Cinematic Video LUTs or explore every option in the Video LUTs collection. Remember, with the Buy 3, Get 9 FREE offer, loading up 12 compatible packs in your cart means you only pay for three, making it easy to build a deep LUT and preset library in one go.
Frequently Asked Questions
Do I need to shoot in log to benefit from custom LUTs in Premiere Pro?
No, but log or flat profiles give you the most flexibility. You can still create and use LUTs with standard Rec.709 footage; just make sure your reference clip is well exposed and color balanced before you build the grade.
Should I apply my LUT before or after basic corrections?
For most workflows, it’s best to fix exposure, white balance, and basic contrast first, then apply your creative LUT. That way, the LUT behaves predictably instead of trying to compensate for technical problems.
Can I use the same .cube LUT in other software?
Yes. That’s one of the biggest advantages of exporting .cube files—they’re widely supported in other NLEs and grading tools, so you can share the same look across Premiere Pro, After Effects, DaVinci Resolve, and more.
How many LUTs should I create?
Start small. A tight set of 5–10 reliable LUTs—covering your main lighting scenarios and styles—is more useful than dozens of experimental looks you never touch. You can always grow the library over time.
What’s the difference between a LUT and a Lumetri preset?
A Lumetri preset is specific to Premiere Pro and can include a wider range of settings, while a LUT focuses on color and tone mapping and can travel between apps. Many editors use both: a LUT for the overall look and a preset for additional adjustments.
Written by Asanka — creator of AAAPresets (10,000+ customers).
Leave a comment
This site is protected by hCaptcha and the hCaptcha Privacy Policy and Terms of Service apply.