
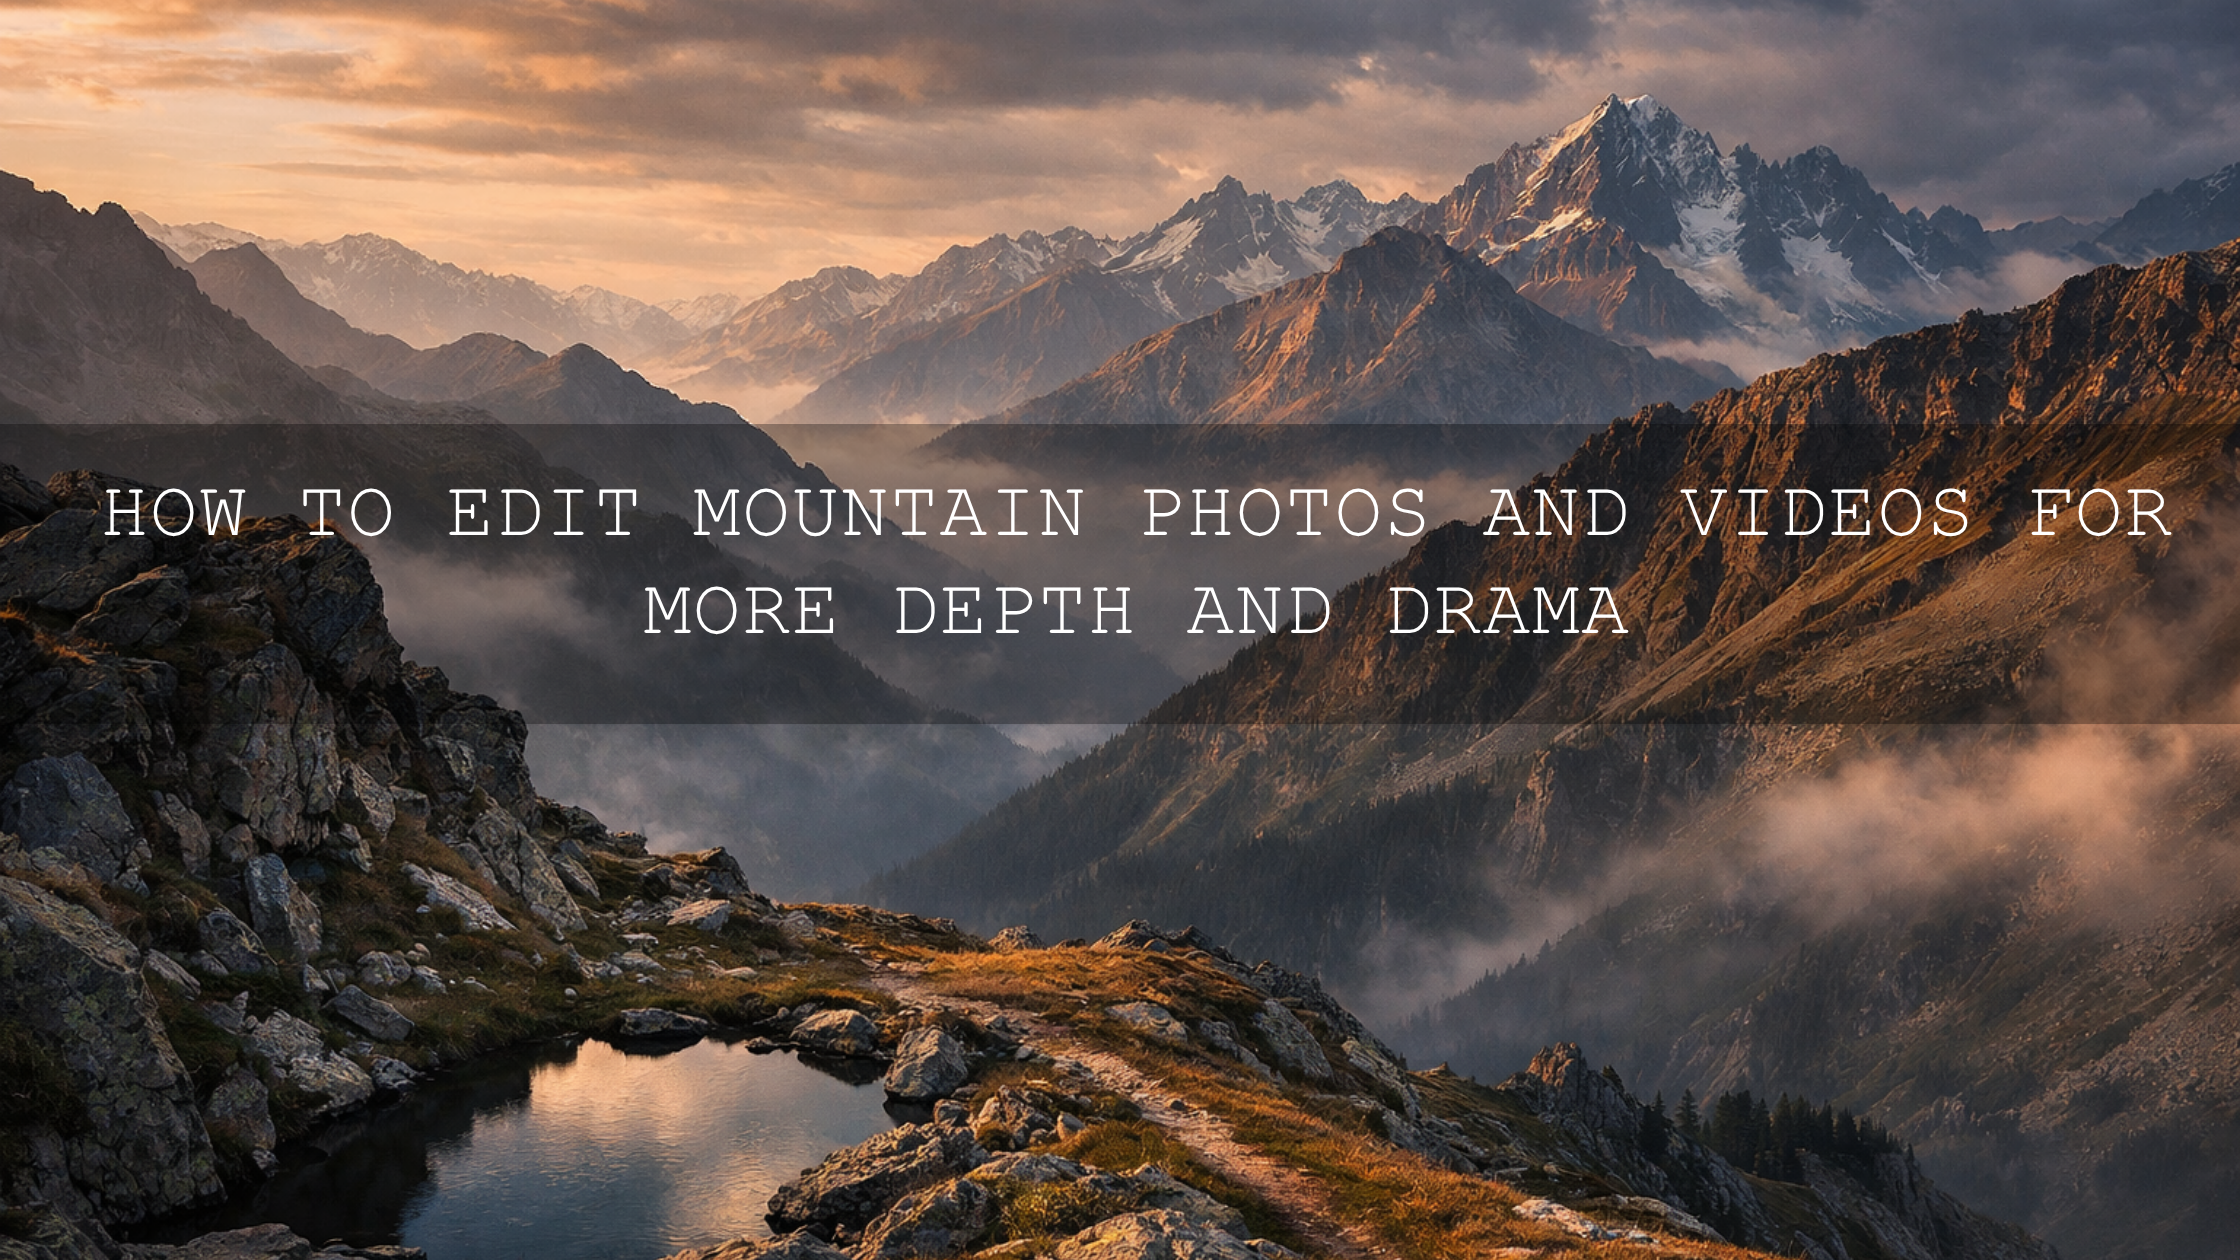
How to Edit Sunrise and Sunset Landscape Photos for Richer Color, Better Depth, and a More Cinematic Look
Sunrise and sunset landscape photo editing works best when you protect what made the scene beautiful in the first place: soft directional light, subtle color transitions, and the feeling of being there when the sky changed in front of you. Great golden hour photo editing is not about forcing more orange into every frame. It is about shaping light, controlling contrast, and guiding the eye so your sunrise landscape editing still feels natural while your final image looks polished and memorable.
I have tested this kind of workflow on quiet coastlines, hill-country viewpoints, and travel landscapes where the sky looked incredible in real life but the raw file felt flat at first. The biggest mistake was never “not enough color.” It was usually poor balance between the bright sky and the darker land. Once I started editing the light first and the color second, the results became much stronger.
If you want a fast starting point, try the AI-Optimized Sunset Glow Lightroom Presets and explore the wider Lightroom Presets for Lightroom Mobile & Desktop collection for more golden-hour-friendly looks. It is an easy way to speed up your workflow while keeping your sunrise and sunset edits consistent, and it fits naturally with Buy 3, Get 9 FREE.
Here’s why this matters: sunrise and sunset scenes often contain the exact problems that make landscape editing difficult. You are dealing with bright highlights, darker foregrounds, delicate color transitions, haze, and fast-changing light. A good edit keeps the mood while improving readability. A bad edit makes the image look fake, muddy, or overly processed.
Why Golden Hour Landscape Photos Often Look Better in Real Life Than in the Raw File
The camera does not always record a sunrise or sunset the way your eyes remember it. Your eyes adapt quickly to bright skies and darker foregrounds, but the file usually shows either a washed-out sky or a foreground that is too dark. On top of that, warm light can easily become too yellow, too orange, or too red during editing.
- Highlights can clip fast when the sun is near the horizon.
- Foreground detail disappears if you lift shadows too aggressively.
- Color gets messy quickly when saturation is pushed instead of targeted.
- Atmosphere gets lost if contrast or dehaze is overused.
This is why sunrise and sunset landscape photo editing needs restraint. You want drama, but you also want believable transitions in the sky, readable texture in the land, and a color grade that still looks like real light.
Pro tip: When a golden hour image already has a beautiful sky, protect the highlights first. It is usually easier to rebuild the land carefully than to fix a blown-out sunset.
A Step-by-Step Workflow for Sunrise and Sunset Landscape Photo Editing
Let’s break it down into a simple process you can repeat every time.
- Start with exposure and highlight recovery. Bring the brightest part of the sky under control first. Lower highlights, check whites, and avoid turning the brightest clouds gray. The goal is detail, not dullness.
- Set a believable white balance. Keep the warmth, but do not let neutral elements drift too yellow or magenta. Adobe’s guide to masking in Lightroom is especially useful once you want different treatment for sky and foreground instead of one global correction.
- Separate the sky from the land. Use masks for the sky, mountains, water, or foreground so you can shape each area with more control. This is where a sunset edit starts feeling professional instead of generic.
- Refine the warm tones selectively. Instead of boosting all saturation, use Adobe’s Color Mixer workflow in Lightroom to adjust oranges, reds, and yellows more precisely. This helps you keep depth in the clouds without making everything look heavy.
- Build depth with local contrast. A little texture, clarity, or dehaze in the right places can help mountains, trees, cliffs, or city edges stand out. Apply it carefully. Too much makes golden hour softness disappear.
- Lift the foreground gradually. Shadows should open enough to show structure, but not so much that the whole scene loses the time-of-day feeling.
- Finish with sharpening and noise control. Dawn and dusk edits often reveal noise in the darker parts of the frame. Sharpen the key detail areas, then use just enough noise reduction to keep the file clean.
If you also shoot the cooler transition after the sun drops, take a look at the best presets for golden hour and blue hour shots. That shift from warm light to cooler evening tones needs a slightly different balance.

What to Adjust First in a Sunrise Edit vs a Sunset Edit
Sunrise and sunset do not always need the same treatment, even though people often edit them the same way.
Sunrise landscape editing
Sunrise usually feels cleaner, softer, and a little cooler before the warm tones build. Mist, low fog, and soft pastels often matter more than dramatic contrast. In these frames, I usually keep contrast gentler, protect the pastel tones, and avoid crushing blacks. If the scene includes water, grass, or distant mountains, subtle color separation matters more than heavy saturation.
Sunset landscape editing
Sunset often carries deeper oranges, richer reds, and stronger contrast between land and sky. The temptation is to push the warmth too far. I get better results by controlling the sky first, then deciding which warm tones deserve emphasis. In many before-and-after edits, the strongest improvement comes from slightly lowering global warmth and then selectively brightening the best cloud color instead.
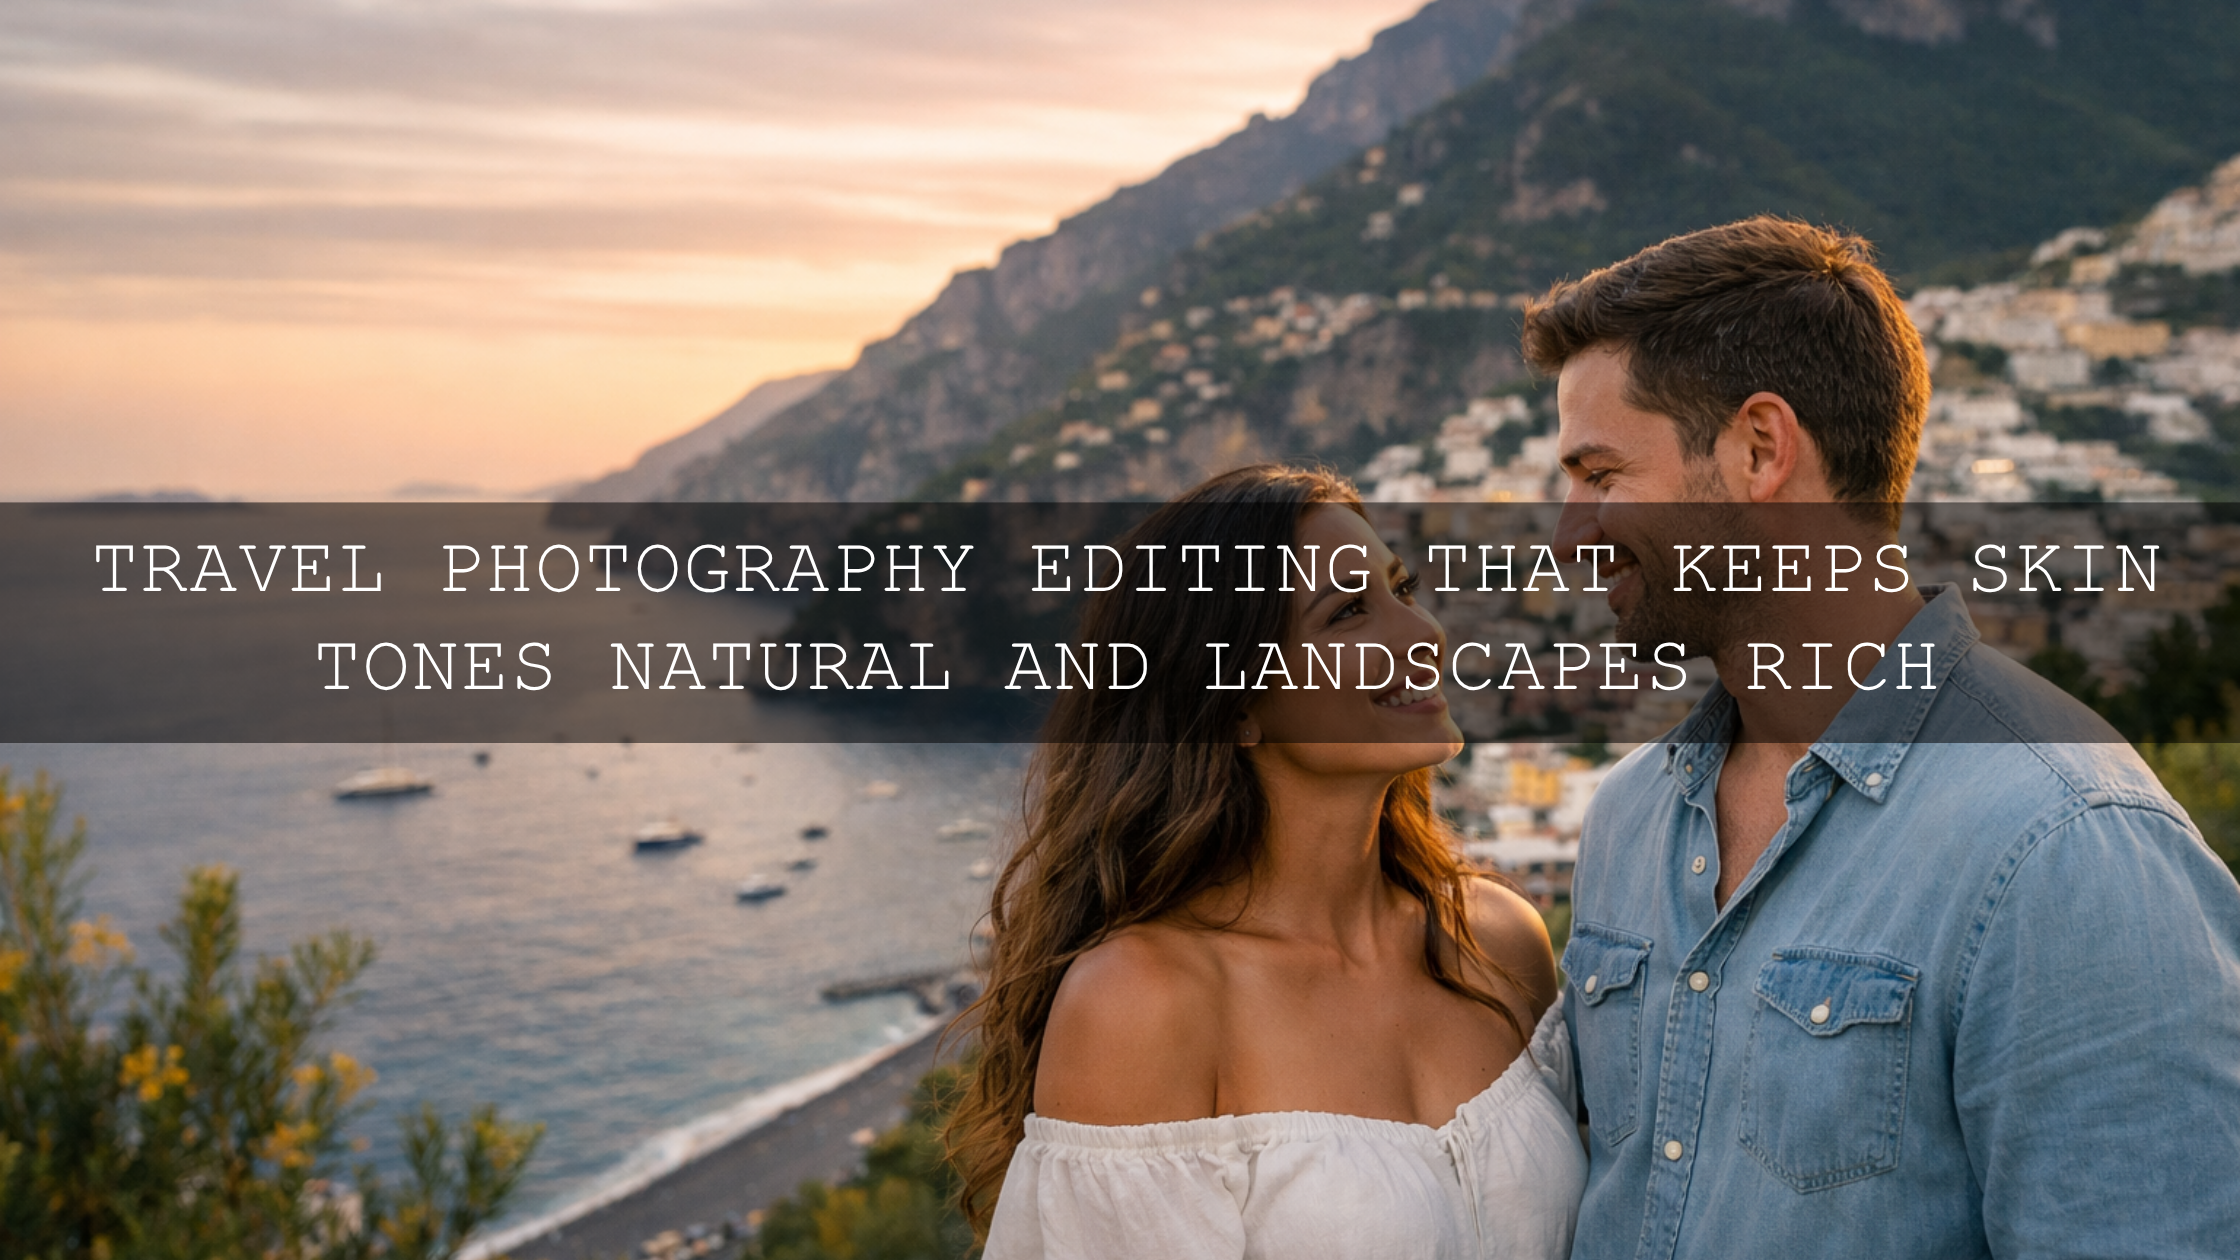
For beach and coastal scenes, the balance is even more important because warm skies can make sand and water look strange fast. This is where coastal and beach travel preset ideas can help you keep your edit warm without losing realism in the environment.
Presets vs Manual Editing for Golden Hour Landscapes
Both matter. The smartest workflow is usually a combination of the two.
When presets help most
- Speed: You can get to a strong starting point quickly.
- Consistency: A sunrise gallery or travel series feels connected.
- Direction: You avoid wasting time deciding what style to build from scratch.
When manual editing matters most
- Mixed light: The foreground and sky rarely need the same treatment.
- Difficult color balance: Sunset warmth often needs selective correction.
- Fine detail control: Haze, sharpening, glow, and shadow recovery still need judgment.
That is why I like using a preset as a base and then doing a few deliberate refinements. For many creators, the AI-Optimized Sunset Glow Lightroom Presets are a practical way to build that base without flattening the natural mood of the frame.
If your sunrise or sunset gallery is part of a wider trip story, these travel Lightroom preset ideas can help you keep landscapes, street scenes, and people feeling like they belong to the same journey.
Best Product Fits for Sunrise, Sunset, and Golden Hour Storytelling
For still photos in Lightroom
The AI-Optimized Sunset Glow Lightroom Presets are the most direct fit when your goal is radiant skies, warm highlights, and a cinematic golden-hour finish without a long editing session. They work especially well for landscapes, travel scenes, lifestyle frames, and portraits shot near sunrise or sunset.
If your golden-hour landscapes include birds or wildlife, the AI-Optimized Cinematic Bird Wildlife Lightroom Presets can help bring structure back into feather detail and natural tones while still keeping the warmth of the environment. I have found this especially useful when the sky looks beautiful but the subject needs extra separation from the background.

For sunset video and cinematic sequences
If you are grading motion footage, the Cinematic Sunset Glow LUTs Pack is a natural fit for travel films, lifestyle edits, reels, and short-form video where you want glowing skies and warmer, richer tone without starting from zero each time.
When your footage leans more toward wildlife, travel documentary, or earthy outdoor storytelling, the Cinematic Safari Wildlife Premium LUTs Pack is useful for maintaining golden warmth while preserving believable ground tones, fur detail, and environmental realism. If you grade in Premiere Pro, Adobe’s tutorial on HSL Secondary controls in Lumetri is worth reviewing when you want to refine only specific colors after the LUT is applied.


Common Editing Mistakes That Make Sunsets Look Fake
- Pushing global saturation too far. The sky gets louder, but the image loses depth.
- Lifting shadows until the scene no longer feels like sunrise or sunset. Mood matters.
- Ignoring color contamination. Rocks, sand, skin, clouds, and water all react differently to warm edits.
- Adding too much dehaze. Atmospheric distance can disappear and clouds become harsh.
- Over-sharpening dark areas. This often creates ugly texture and visible noise.
One of the easiest ways to improve your editing is to stop asking, “How can I make this more colorful?” and start asking, “What part of this scene should feel brightest, warmest, and most important?” That question leads to better decisions almost every time.
How to Keep the Edit Natural While Still Making It Feel Dramatic
The best golden hour landscape photography edits usually feel intentional rather than extreme. Here are a few practical ways to keep that balance:
- Use warmth selectively. Let the sky hold the strongest color while keeping the land slightly more restrained.
- Watch your whites. Clouds, foam, reflections, and pale stone should not all turn orange.
- Let some shadows stay dark. That contrast is part of the mood.
- Keep the brightest area meaningful. Usually that is where you want the viewer’s eye to land first.
For broader landscape browsing, the Professional Lightroom Presets for Landscape Photography collection is a useful next step when you want more options beyond one golden-hour look. And if you need help getting files installed or applied correctly, the FAQ page is a practical reference.
Related Reading
- Golden Hour in Autumn: a preset guide for warm seasonal light
- How to install Lightroom presets in a quick and easy way
- Why a large preset bundle helps when you shoot many different conditions
If you want a faster route to better sunrise and sunset landscape photo editing, start with the AI-Optimized Sunset Glow Lightroom Presets for stills and the Cinematic Sunset Glow LUTs Pack for video, then browse the wider Lightroom Presets for Lightroom Mobile & Desktop collection for more looks that fit travel, wildlife, and landscape work. It is a simple way to keep your editing faster, cleaner, and more consistent while taking advantage of Buy 3, Get 9 FREE.
FAQ
What is the best white balance for sunrise and sunset landscape photos?
There is no single number that fits every image. Start from a believable neutral point, then warm the photo gradually so the sky feels rich without making clouds, rocks, or water look unnaturally yellow.
Should I increase saturation to make a sunset look stronger?
Usually not globally. A better approach is to refine specific warm colors and use local masks so the best tones stand out without making the full image look oversaturated.
Are Lightroom presets enough for sunrise landscape editing?
They are an excellent starting point, especially for speed and consistency, but the strongest edits still benefit from manual adjustment to sky brightness, foreground shadows, and color balance.
Can I use LUTs for sunset video footage?
Yes. Sunset LUTs are useful for creating a consistent cinematic base grade, especially for travel films and reels, but you usually get the best result when you fine-tune exposure and color after applying the LUT.
How do I avoid noisy foregrounds in dawn and dusk photos?
Lift shadows carefully, avoid over-sharpening dark areas, and apply just enough noise reduction to clean the file without erasing the natural texture of the scene.
Written by Asanka — creator of AAAPresets (10,000+ customers).
Leave a comment
This site is protected by hCaptcha and the hCaptcha Privacy Policy and Terms of Service apply.