
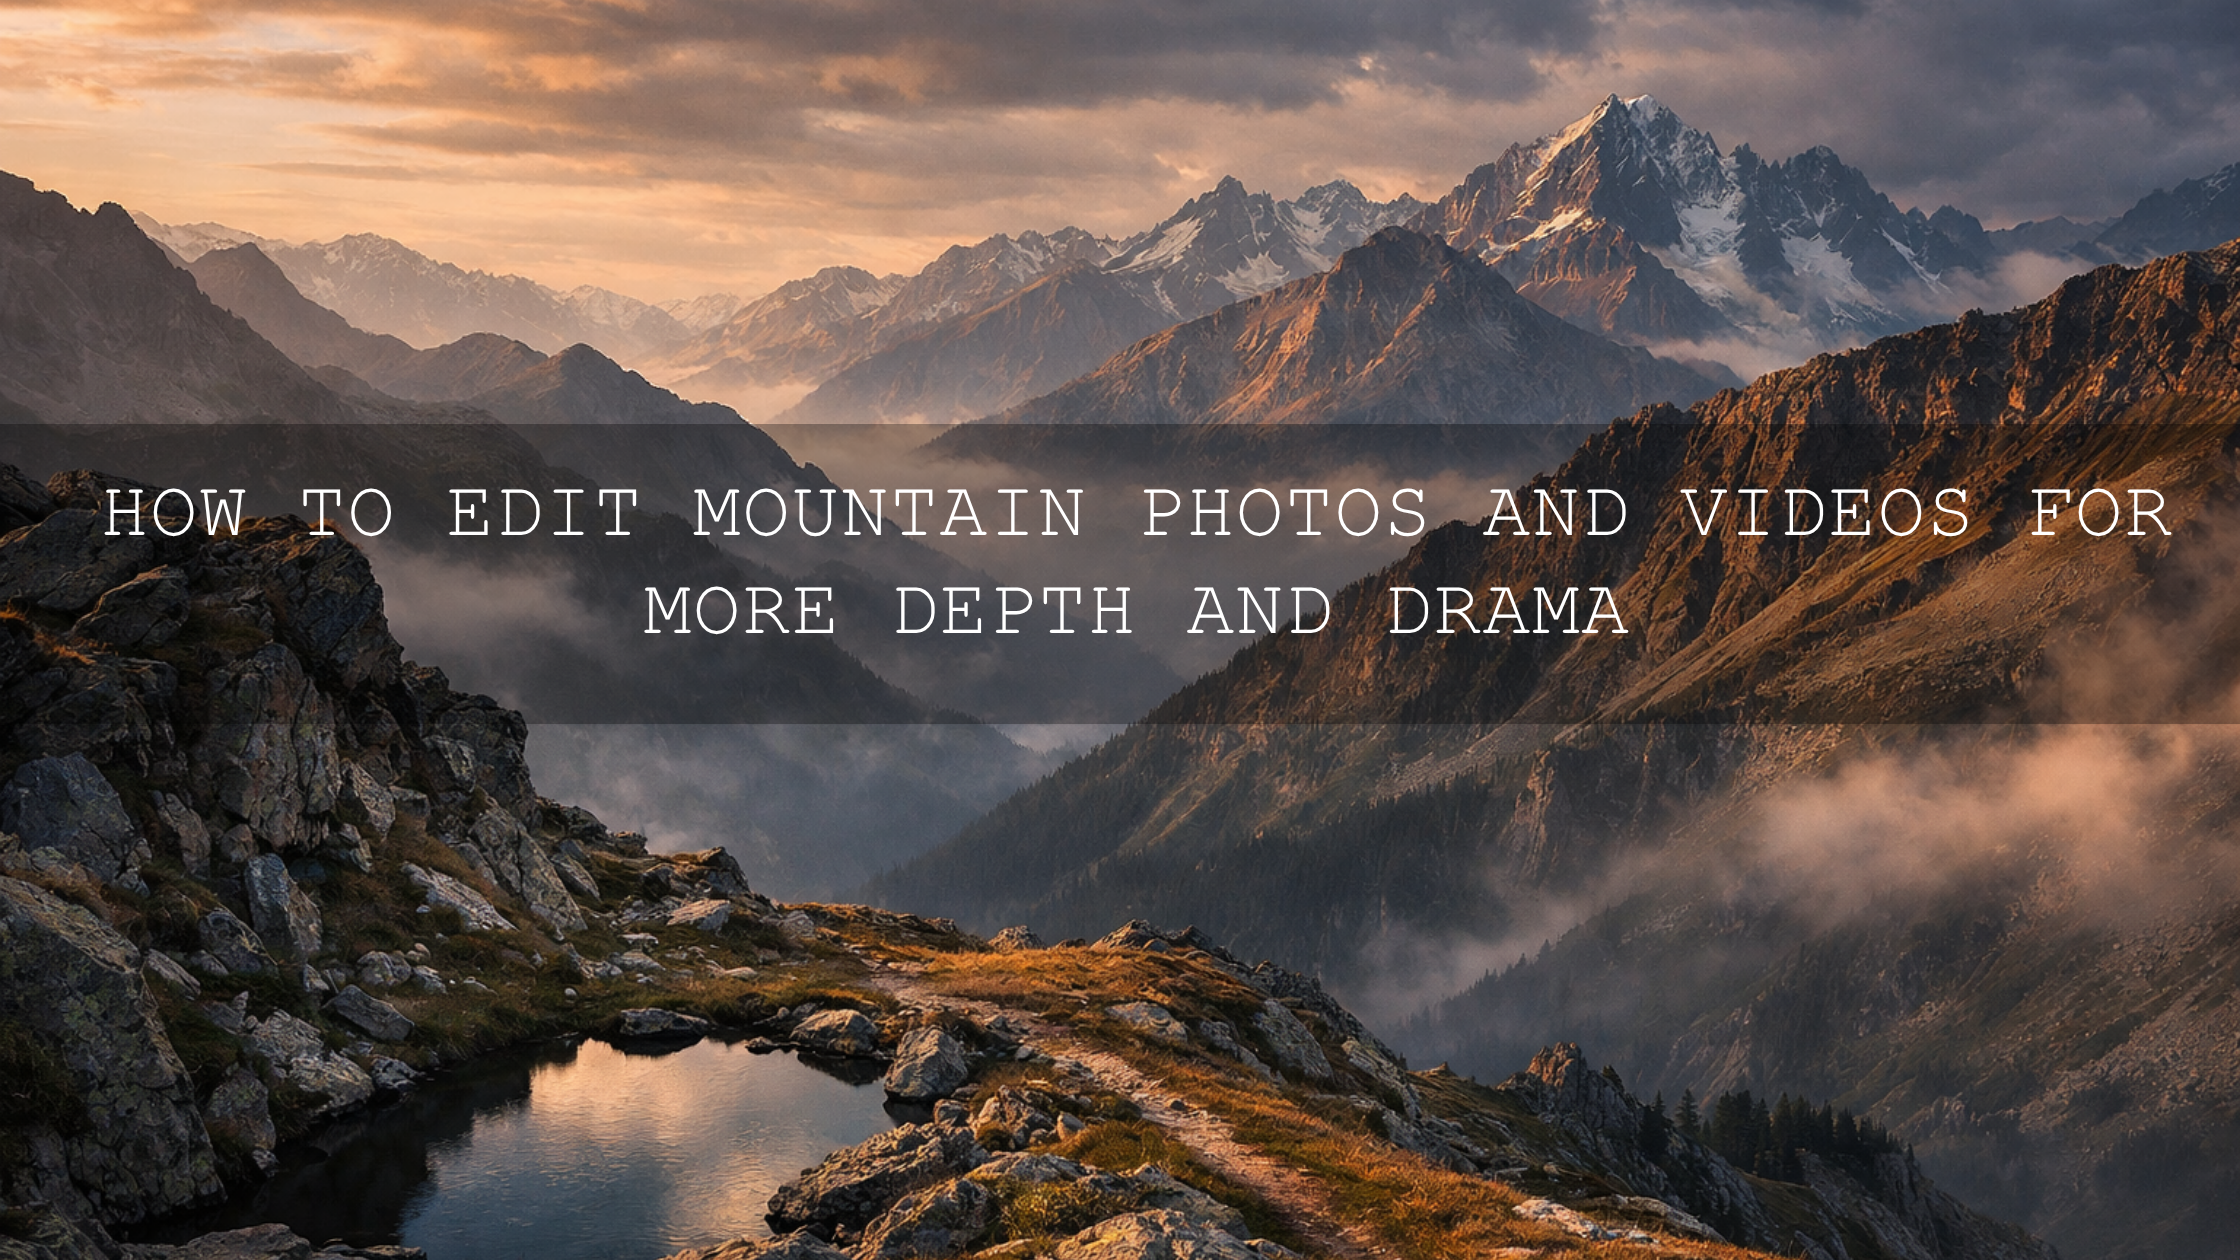
How to Make Foggy Travel Photo Editing Feel Cinematic, Not Flat
Foggy travel photo editing works best when you stop treating fog as a problem and start treating it as part of the story. The strongest misty landscape editing keeps the softness, mystery, and distance that made the scene special in the first place. Good cinematic travel photo editing is not about stripping all the haze away. It is about shaping contrast, protecting highlight detail, guiding the eye, and using the right Lightroom presets for foggy photos without making the image look forced or crunchy.
That balance is exactly why foggy scenes can be so rewarding. A castle half-hidden in morning mist, a coastal trail disappearing into low cloud, or a forest path wrapped in haze already carries emotion before you even open Lightroom. Your job in post is to make that feeling clearer, not louder.
If you want a faster starting point, the AI-Optimized Fogbound Cinematic Travel Lightroom Presets are a strong fit for soft contrast, moody depth, and atmospheric travel edits. You can also browse the Professional Lightroom Presets for Landscape Photography collection for more location-based looks. It fits naturally with Buy 3, Get 9 FREE when you want a few different fog, landscape, and moody styles ready to go.
Why Fog and Mist Change the Way You Edit
Fog lowers contrast, softens edges, and compresses depth. That is what makes it beautiful, but it is also why many edits fall apart. A normal landscape workflow often pushes too much clarity, too much dehaze, and too much global contrast. The result is a file that feels harsh instead of atmospheric.
Here’s why this matters: fog already acts like a natural diffuser. It spreads light, reduces local separation, and hides detail in a pleasing way. If you over-correct everything, the frame loses mood. If you under-correct everything, the frame stays dull. The sweet spot sits in the middle.
I have tested fog edits on coastal mornings, hill-country overlooks, and tree-lined travel scenes where the RAW file looked beautiful in person but lifeless on screen. The images improved most when I restored shape only where it mattered: the foreground path, the midground subject, and selected highlights. Once I stopped trying to “fix” the entire frame, the atmosphere stayed believable.
A Strong Starting Point for Atmospheric Edits
When you want speed without losing control, specialized presets make a difference. The AI-Optimized Fogbound Cinematic Travel Lightroom Presets are designed for scenes that need soft cinematic contrast, calmer colors, and a more story-driven finish. They work especially well on mountain viewpoints, forest roads, foggy villages, coastal mornings, and moody city travel shots.

If your scene needs a slightly cleaner, lighter interpretation, the AI-Optimized Foggy Morning Lightroom Presets are another useful option. They are great when you want fog to feel airy and elegant rather than heavy and dramatic.
For deeper shadows and a more emotional finish, the Dramatic & Cinematic Moody Look Lightroom Presets can push the frame toward a richer, film-inspired style. This is especially helpful when your original capture has great composition but weak atmosphere.
Step-by-Step Fog and Mist Lightroom Workflow
Let’s break it down into a workflow you can repeat on almost any foggy travel image.
1. Fix exposure before style
Start by balancing the file. Lower blown highlights, lift shadows only as much as needed, and set white balance before you apply any heavy look. Fog often fools the camera into over-brightening the frame, so check the histogram and judge the brightest mist carefully.
2. Add depth with selective contrast
Instead of pushing overall contrast too hard, build separation between foreground, midground, and background. A path, person, tree line, or railing in the foreground often needs more definition than the distant haze. This is where Adobe’s guide to masking in Lightroom becomes genuinely useful. Mask the important area, then add contrast or texture only there.
3. Use Dehaze with restraint
Dehaze is powerful, but it is easy to overuse. A small positive adjustment can recover shape and color in foggy landscapes. Too much, and the scene starts looking artificial. Adobe’s own walkthrough on using Clarity and Dehaze in Lightroom is a good reminder that these tools should support the scene, not dominate it.
4. Shape color temperature around the mood
Cooler tones usually suit dawn, mountain air, and blue-grey mist. Slight warmth can work beautifully in sunrise fog, golden-hour travel scenes, or village street shots. If you want cleaner color decisions, use Adobe Color’s harmony tools to think through cool-versus-warm relationships before you push grading too far.
5. Guide the eye with local light
Foggy scenes often look best when one area feels quietly brighter than the rest. That can be a road, window, subject, cliff edge, or patch of light in the trees. A subtle dodge on the subject and a gentle burn around the frame can make the story clearer without looking edited.
6. Finish with texture, not crunch
Texture and clarity should be subtle. In fog, a small increase often works better than a dramatic one. You want to recover form in rocks, coats, branches, or architecture while keeping the air soft.
Presets vs Manual Editing for Foggy Travel Scenes
Both approaches work. The right one depends on your time, consistency needs, and editing confidence.
- Presets are best when: you want a fast starting point, you need visual consistency across a full travel set, or you already know the mood you want.
- Manual editing is best when: the light is unusual, the fog density changes across the frame, or you need precise control for a hero image.
- The strongest workflow for most creators: apply a preset first, then finish manually with masking, exposure, and small color adjustments.
That hybrid approach is what I keep coming back to. On real shoots, it saves time without locking you into a look that does not fit the frame. A good preset gives direction. Manual finishing gives accuracy.
How to Keep Fog Looking Natural
The biggest mistake in misty landscape editing is trying to make the image look “clear” everywhere. Fog is supposed to hide information. Let it.
- Keep the background softer than the foreground. That is what sells distance.
- Protect highlight roll-off. Bright fog should glow, not clip harshly.
- Do not oversaturate muted scenes. Fog often looks better with restrained color.
- Use masks to refine only key areas. Trees, roads, subjects, and architecture usually need more help than the sky or distant haze.
- Watch the blacks. Crushed shadows can feel heavy and fake in naturally diffused weather.
When to Use a Moody Look Instead of a Clean Look
Some foggy scenes want elegance. Others want drama. A soft coastal sunrise, a pastel morning field, or a quiet mountain overlook often responds well to lighter grading and cleaner highlights. A forest road, rainy alley, abandoned building, or overcast cliff path usually benefits from stronger tonal depth.
That is where the Dramatic & Cinematic Moody Look Lightroom Presets become useful. They can give a flat file more emotional weight without you having to rebuild the whole grade from scratch.

If you edit mostly on your phone, it also helps to study how other moody workflows behave in mobile. The article on mastering the moody look in Lightroom Mobile is a useful companion read. And if your edits constantly shift with changing weather, this guide to adapting presets to different lighting is worth saving.
Editing Foggy Travel Video the Same Way
The same principles apply to video. Foggy footage usually needs gentle contrast, cleaner subject separation, and more intentional color than the straight-out-of-camera clip provides. If your travel work includes reels, cinematic clips, or YouTube b-roll, a LUT pack built for atmospheric footage can make grading much faster.
The Fogbound Cinematic Travel LUTs Pack is a strong match for misty travel footage, and the Cinematics Landscape Dramatic Film Look LUTs Pack works well when you want stronger mood and deeper cinematic contrast across landscape scenes.

If you want a broader video workflow after still-image editing, the guide to installing and using LUTs in Premiere Pro, DaVinci Resolve, and Final Cut Pro is a practical next step.
Real-World Editing Scenarios That Usually Work
Foggy forest road
Cool the white balance slightly, deepen the greens carefully, add selective contrast to the road, and keep the distant trees soft. This is where moody presets often outperform bright cinematic ones.
Mountain overlook at sunrise
Recover highlights in the mist, warm the sunlit areas gently, and avoid too much dehaze in the far distance. A clean cinematic preset plus a local foreground mask often works best.
Misty city street
Let practical lights glow. Do not erase all the haze around lamps and headlights. Use local masks on the subject or street texture while preserving the diffusion around the light sources.
Coastal fog scene
Watch your whites and blues. Fog near water can drift into a flat grey mess fast. Lift midtones slightly, keep the palette restrained, and add only enough clarity to separate shoreline details.
Related Reading
- Editing fog and mist in autumn landscapes
- Top Lightroom presets for travel photography
- AI-optimized presets in Lightroom Mobile
- How cinematic Lightroom Mobile presets shape mood
- Why a Lightroom presets bundle can speed up your workflow
Make the Mood Easier to Keep Across a Full Travel Set
If you are editing one hero image, manual control is enough. If you are editing a full travel story, consistency matters just as much as the individual frame. That is where a focused preset pack becomes more than a shortcut. It becomes a workflow tool. Start with the AI-Optimized Fogbound Cinematic Travel Lightroom Presets, add the Dramatic & Cinematic Moody Look Lightroom Presets when you need extra depth, and browse the Lightroom Presets for Moody Photography collection for more atmospheric options. Try these presets today and build a travel editing toolkit around the scenes you actually shoot. Buy 3, Get 9 FREE makes that much easier.
How much Dehaze should I use on foggy photos?
Usually less than you think. Start small, then decide whether the image needs more structure only in the foreground or subject area. Too much Dehaze can destroy the natural softness that makes fog appealing.
Are presets enough for foggy travel photo editing?
They are an excellent starting point, but the best results usually come from combining a preset with small manual refinements like masking, highlight control, and local contrast adjustments.
What colors work best for misty landscape editing?
Muted blues, cool greys, soft greens, and restrained warm highlights tend to work well. Foggy scenes usually feel stronger when the palette stays controlled instead of overly saturated.
Can I use the same look for both photos and video?
Yes, as long as you adapt the tool. Use presets for stills and LUTs for video, then fine-tune exposure and color separately so both formats feel consistent without looking identical.
What is the biggest mistake when editing fog and mist?
Trying to make everything clear. Fog creates mood by hiding detail. The goal is to restore shape selectively while keeping the atmosphere intact.
Written by Asanka — creator of AAAPresets (10,000+ customers). Need help choosing the right pack for your workflow? Visit the contact page.
Leave a comment
This site is protected by hCaptcha and the hCaptcha Privacy Policy and Terms of Service apply.