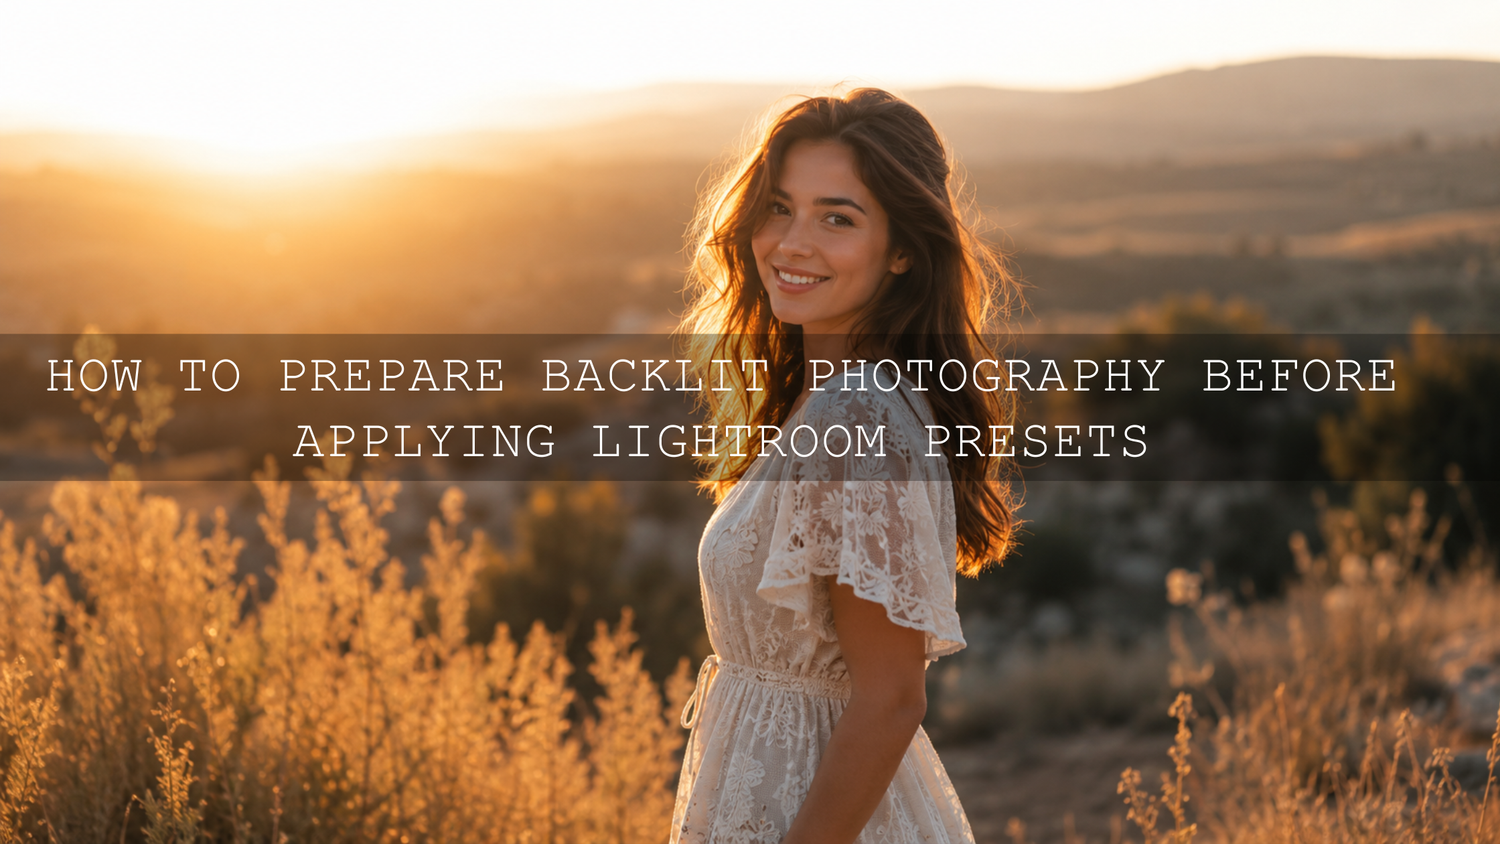
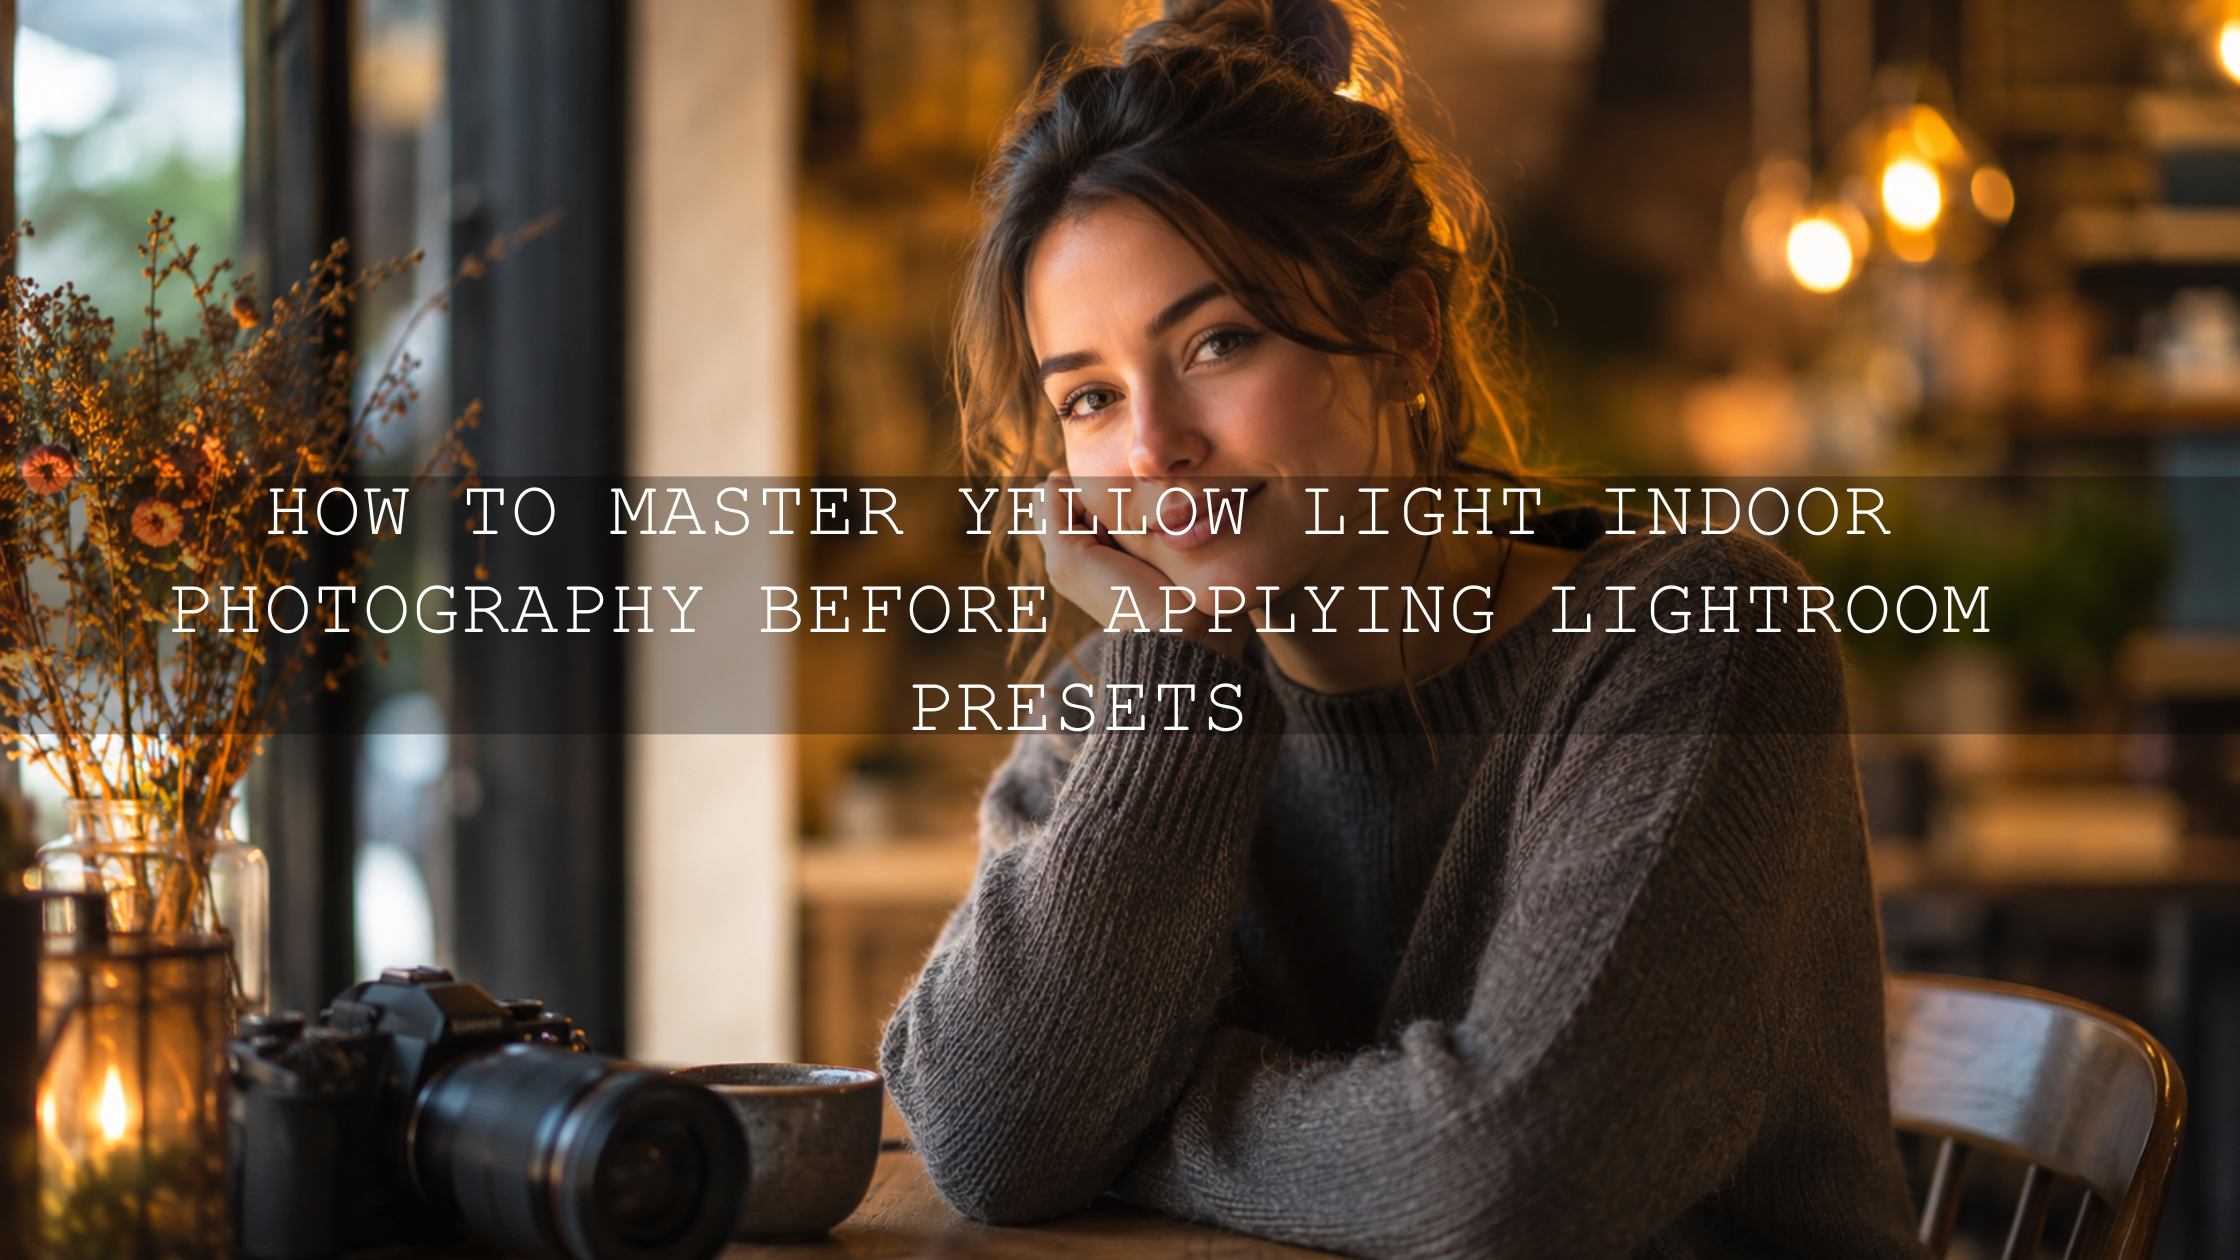
How to Prepare Backlit Photography Before Applying Lightroom Presets
Backlit photography can create some of the most emotional images: glowing hair, golden edges, dreamy window light, soft sunset haze, and dramatic silhouettes. But before applying Lightroom presets, a backlit photo needs a clean exposure foundation. If the subject is too dark, the sky is blown out, or the color temperature is too warm, even a beautiful preset can make the problem stronger instead of fixing it.
Here’s why this matters: Lightroom presets are creative styling tools, not rescue buttons. They work best when your original image already has usable highlight detail, balanced shadows, natural skin tone, and enough RAW data to edit. Once the photo is prepared correctly, presets can enhance the mood instead of fighting the file.
For a flexible editing workflow, start with the 1000+ Master Lightroom Presets Bundle and browse more creative styles in the Lightroom Presets for Lightroom Mobile & Desktop collection. Prepare the backlight first, apply your preset second, then fine-tune the final glow. Try these presets today — Buy 3, Get 9 FREE.
Why Backlit Photos Often Look Bad After Presets
A backlit photo has one main challenge: the brightest light source is behind the subject. Your camera sees a huge difference between the bright background and the darker subject. If the camera protects the sky, the person may become too dark. If the camera exposes for the face, the sky may turn pure white.
When you apply a preset to that kind of file without correction, three things often happen:
- The subject becomes muddy: shadows get deeper, skin tones lose life, and the face may look dull.
- The highlights become harsh: skies, windows, dresses, or sunlit edges can lose detail.
- The color shifts too strongly: golden hour light may become too orange, while window backlight may turn cool or flat.
I have tested golden hour presets on backlit portraits where the original photo looked beautiful on the camera screen, but once edited, the face became too dark and the background became too bright. The fix was not changing the preset. The fix was preparing the file first with exposure, highlights, shadows, white balance, and masking.
Step 1: Expose for the Important Part of the Photo
Before editing, decide what matters most in the image. Is it the subject’s face? The glowing dress? The sunset sky? The silhouette shape? Backlit photography becomes easier when you choose your exposure priority.
For portraits, expose for the face or skin tone. For landscapes, expose to protect the sky. For silhouettes, expose for the bright background and let the subject go dark intentionally. This decision affects how much work you will need in Lightroom later.
Use Spot Metering or Exposure Compensation
If your camera allows it, use spot metering on your subject’s face or a mid-tone area. This tells the camera to read exposure from the most important part of the frame instead of averaging the bright background. If you are using aperture priority or a mobile camera, use exposure compensation to brighten or darken the image before taking the shot.
A good starting point is to avoid extreme clipping. Keep the subject bright enough to recover naturally, but do not push exposure so far that the background loses all highlight detail. You can learn more about editing selected areas later using Adobe’s guide to masking in Lightroom, especially when the subject and background need separate adjustments.
Step 2: Check the Histogram Before You Trust the Screen
Your camera screen can lie to you. In bright sunlight, a photo may look darker than it really is. Indoors, it may look brighter than it is. The histogram gives you a more honest view of the tonal range.
For backlit photos, the right side of the histogram usually carries a lot of information because the background is bright. That is normal. The danger is when the graph is pushed hard against the right edge, which usually means highlight clipping. If the graph is pushed hard against the left edge, your subject may be too dark to recover cleanly.
Think of the histogram as your safety check before using presets. A clean histogram gives your preset more room to create contrast, color, and mood without destroying detail.
Step 3: Shoot RAW Whenever Possible
RAW is one of the best safety nets for backlit photography. A RAW file keeps more image information than a compressed JPEG, which gives you more flexibility when recovering highlights, lifting shadows, adjusting white balance, and correcting color. Adobe explains that a RAW file contains unprocessed image data from the camera sensor, which is exactly what you want when the light is difficult.
Here is a simple example. If you shoot a backlit wedding portrait in JPEG and the bride’s dress is too bright, the lost detail may be hard to bring back. If you shoot the same scene in RAW, you usually have more room to reduce highlights, soften whites, and recover texture before applying a wedding or golden hour preset.
RAW does not save every mistake, but it gives you a much better editing foundation.
Step 4: Add Fill Light Before Editing
Backlighting often creates a bright edge around the subject but leaves the front side too dark. Fill light helps balance that difference before the photo reaches Lightroom.
You do not always need expensive lighting. Start with simple options:
- White reflector: gives soft, natural-looking fill on the face.
- Silver reflector: adds stronger fill when the subject is very dark.
- Gold reflector: creates a warm glow, but use it carefully because skin can become too orange.
- Light wall or pavement: can bounce natural light back into the subject.
- Low-power flash: works well when used gently, especially for portraits and events.
The goal is not to remove the backlit mood. The goal is to keep enough detail in the subject so your Lightroom preset can enhance the image beautifully.
Step 5: Control Lens Flare and Contrast
Lens flare can look cinematic, but too much flare reduces contrast and makes the photo look washed out. Before applying presets, ask yourself: is the flare adding emotion, or is it ruining detail?
Use a lens hood, slightly change your angle, or block direct sunlight with your hand just outside the frame. Even a small movement can turn a flat, hazy photo into a clean backlit image with beautiful rim light.
If you love soft glowing edits, you can still keep some flare. Just make sure the subject remains clear enough. A preset such as AI-Optimized Golden Hour Film Glow Lightroom Presets works best when the glow is controlled, not when the entire frame is washed out.
Step 6: Prepare the Photo in Lightroom Before Applying a Preset
Once your backlit photo is imported, do not apply the preset immediately. First, make a clean base edit. This should only take a minute, but it can completely change the final result.
- Lower Highlights: recover bright skies, windows, dresses, or sunlit edges.
- Adjust Whites: set the brightest point without making the image look harsh.
- Lift Shadows carefully: bring detail back into the subject without making the photo look flat.
- Check Exposure: brighten the overall image only after highlights and shadows are under control.
- Fix White Balance: reduce overly orange golden light or correct cool window backlight.
- Add gentle Contrast: restore depth after lifting shadows.
For heavy shadow noise, Adobe’s Lightroom Denoise and Enhance Details guidance is useful when working with supported RAW files. This is especially helpful if you had to brighten a dark subject in a backlit scene.
Step 7: Use Masks for Subject and Background Separately
Backlit photos often need local edits, not only global edits. If you brighten the whole image, the background may become too bright. If you darken the whole image, the subject may become too dark. Masks solve that problem.
Use a subject mask to brighten the face, increase exposure slightly, soften shadows, or improve skin tone. Then use a sky or background mask to reduce highlights, deepen color, or bring back drama. Lightroom’s masking tools can select subjects, skies, backgrounds, and landscape elements, making it easier to balance backlit photos without over-editing the entire frame.
For portraits, I usually lift the subject first, then apply the preset, then return to the subject mask for a final skin-tone check. This keeps the creative style strong while protecting the person in the photo.
Presets vs Manual Editing for Backlit Photography
Presets and manual editing are not enemies. They do different jobs.
- Manual editing fixes the foundation: exposure, highlights, shadows, white balance, noise, and masks.
- Presets create the style: cinematic tone, film color, contrast, mood, warmth, softness, and consistency.
If you apply a preset first to a difficult backlit image, you may spend more time fighting the edit. If you prepare the image first, the preset usually looks smoother and more intentional.
For example, a golden hour portrait may need highlight recovery and a subject mask before applying AI-Optimized Cinematic Golden Hour Lightroom Presets. A soft lifestyle photo may need shadow lifting and white balance correction before browsing the Cinematic Film Lightroom Presets collection.
Best Lightroom Workflow for Backlit Photos
Here is a simple workflow you can use every time:
- Import the RAW photo.
- Check clipping in highlights and shadows.
- Recover highlights before increasing contrast.
- Lift shadows only enough to reveal the subject.
- Correct white balance before applying a strong preset.
- Use masks for the subject, sky, or background.
- Apply your Lightroom preset.
- Fine-tune exposure, skin tone, and color strength.
This workflow also helps when presets look different from photo to photo. For a deeper troubleshooting guide, read why Lightroom presets look different on every photo and how to fix the most common causes.
Pro Tips for Better Backlit Photography Before Editing
- Place the sun slightly off-frame: this keeps the glow but reduces flare and washed-out contrast.
- Expose for skin, not the background: for portraits, natural skin tone usually matters more than a perfect sky.
- Use your hand as a temporary flag: block direct sun from hitting the lens while keeping it outside the frame.
- Watch warm color casts: golden light is beautiful, but too much orange can make skin look unnatural.
- Do not over-lift shadows: if the subject becomes noisy or gray, use a softer mask instead of pushing global sliders.
For more preparation tips, explore how to pick photos that play nicely with presets. If you edit portraits often, the guide on soft dreamy portrait editing with presets is also useful for backlit window light, golden hour portraits, and lifestyle photos.
Common Backlit Photo Problems and Quick Fixes
The subject is too dark
Lift Shadows slightly, use a subject mask, and add a small exposure boost only to the subject. Avoid brightening the whole image too much because the background may become overexposed.
The sky is too bright
Lower Highlights first, then reduce Whites if needed. Use a sky mask if the global edit makes the subject too dark.
The image looks too orange
Adjust White Balance before applying your preset. Reduce Temperature slightly and check the orange/yellow tones in skin.
The photo looks flat after shadow recovery
Add a little Contrast, Clarity, or Tone Curve adjustment after lifting shadows. Keep it subtle so the backlit softness remains natural.
The preset looks too strong
Reduce the intensity if your app supports it, or manually lower contrast, saturation, clarity, and highlights after applying the preset. You can also read how to build a stable base edit for difficult lighting.
Related Reading
- How to adapt Lightroom Mobile presets to different lighting
- Bright and airy preset tips for lifestyle and wedding photography
- Why Lightroom presets look different and how to fix them
- How to choose photos that work better with presets
Best Presets for Backlit and Golden Hour Photos
Backlit images usually look best with presets that support glow, warmth, soft contrast, and controlled highlights. For a complete editing library, use the 1000+ Master Lightroom Presets Bundle. For warm sunset portraits, try Honey Golden Hour Lightroom Presets. For stronger cinematic warmth, use AI-Optimized Cinematic Golden Hour Lightroom Presets.
Once your exposure and color are balanced, browse the Lightroom Presets for Lightroom Mobile & Desktop collection to find styles for portraits, travel, weddings, lifestyle, outdoor shoots, and cinematic edits. Correct the backlit photo first, apply your favorite preset second, and fine-tune the glow until the image feels natural. Buy 3, Get 9 FREE when you add 12 presets to your cart.
FAQ
Should I apply Lightroom presets before fixing a backlit photo?
It is better to fix the basic exposure first. Recover highlights, lift shadows carefully, correct white balance, and then apply the preset for the creative look.
Why do my backlit photos look muddy after presets?
This usually happens when the subject is underexposed. The preset adds contrast or color on top of dark shadow areas, which can make the face or main subject look dull.
Is RAW necessary for backlit photography?
RAW is highly recommended because it gives you more flexibility to recover highlights, brighten shadows, and correct white balance before applying a preset.
How do I keep the golden glow without making skin too orange?
Correct white balance first, then apply the preset. If skin still looks too warm, reduce orange saturation slightly or use a subject mask to adjust skin separately.
What is the best Lightroom tool for backlit portraits?
Masking is one of the most useful tools because it lets you brighten the subject without overexposing the background.
Written by Asanka — creator of AAAPresets (10,000+ customers).

Leave a comment
This site is protected by hCaptcha and the hCaptcha Privacy Policy and Terms of Service apply.