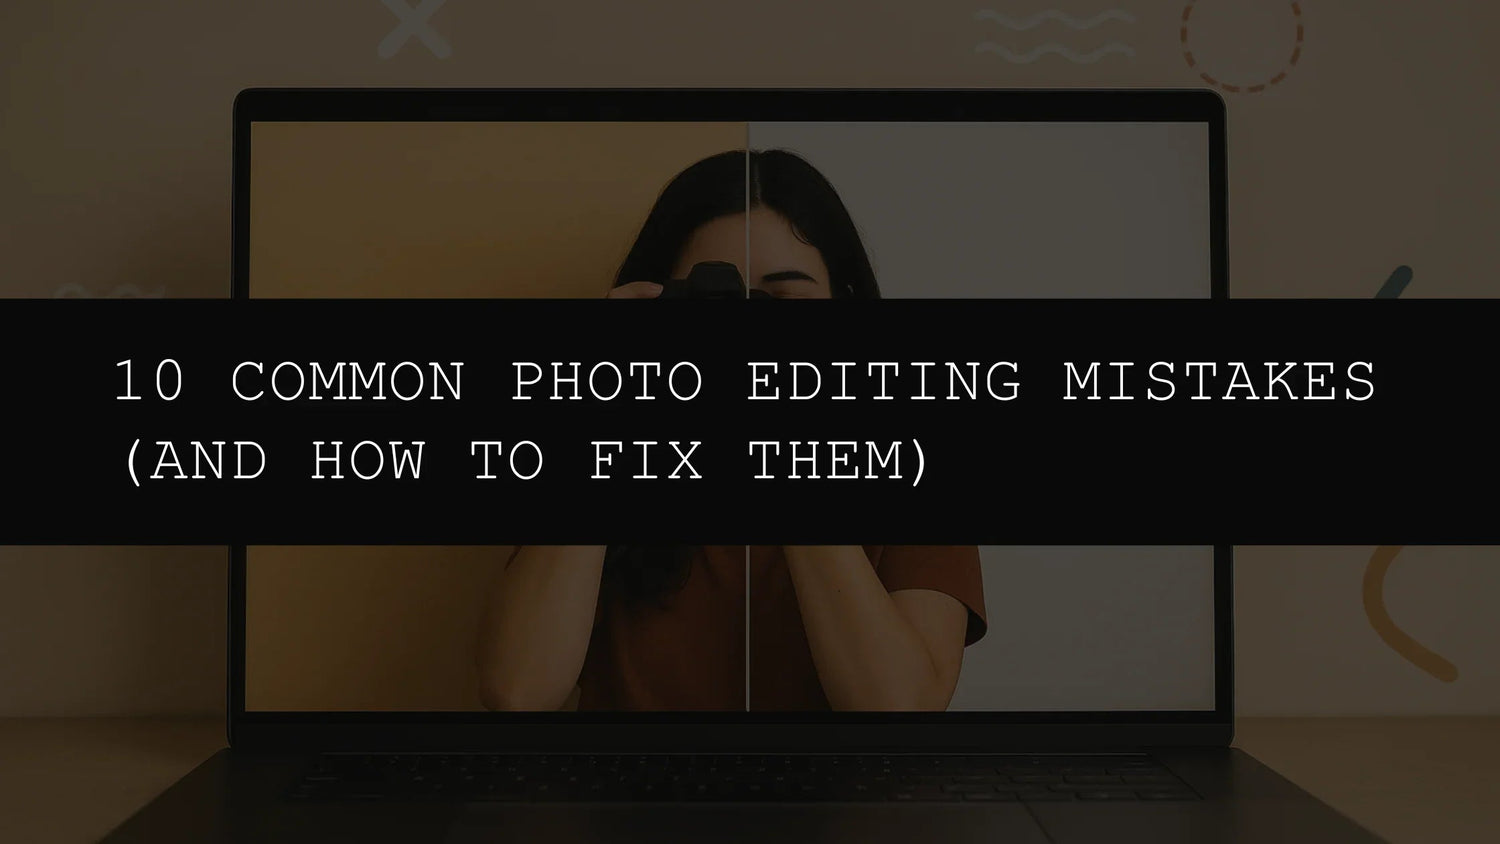
10 Common Photo Editing Mistakes and How to Fix Them with Presets
In today's digital age, photo editing is an essential skill for both amateur and professional photographers. However, even experienced editors can fall into common traps that detract from the overall quality of their images. This article will highlight 10 frequent photo editing mistakes and demonstrate how to avoid them, utilizing the power of Lightroom presets. We'll explore how these powerful tools can help you achieve professional-looking results, saving you time and effort in the process. Mastering photo editing techniques is key to transforming your snapshots into captivating visuals, and understanding these common pitfalls is the first step towards achieving consistent excellence.
Mistake #1: Over-Saturation
Over-saturated images appear unnatural and jarring. The colors are too intense, losing detail and vibrancy. The image becomes cartoonish and lacks realism. Instead of a pleasing visual experience, the viewer's eye is overwhelmed by the excessive color intensity, making the photo less appealing. Think of it like over-spicing a delicious dish – too much of a good thing can ruin the overall taste. To counteract this, use presets that offer subtle color adjustments. Instead of manually pushing the saturation slider, experiment with presets designed for delicate color enhancements. The AI-Optimized Golden Hour Lightroom Presets are an excellent example. These presets delicately balance saturation, maintaining a realistic feel while enhancing the warmth and vibrancy of your photos, particularly those taken during golden hour. They are perfect for adding a touch of magic to landscape and portrait photography without making your images look artificial. Imagine the soft, golden light of sunset gently illuminating a landscape, the colors are rich and warm but not overly saturated. This is precisely the effect that these presets provide. They enhance the colors naturally, creating a more harmonious and pleasing image.
Mistake #2: Ignoring White Balance
Incorrect white balance results in photos with a color cast that makes them appear too warm or too cool, often affecting the overall mood and accuracy of the image's colors. A photo with an incorrect white balance can look dull, lifeless, and far from the intended aesthetic. Imagine a beautiful portrait bathed in a harsh, unnatural yellow or blue tint – this is what incorrect white balance can cause. The colors will appear off, and the overall image will lack the vibrancy and realism it deserves. Presets can easily correct this. For example, if your image needs a cooler tone, or you are aiming for a more classic, timeless aesthetic, try the AI-Optimized Black and White Lightroom Presets. These presets automatically adjust white balance, eliminating the need for manual corrections and providing a consistent, professional look. These presets are particularly useful for achieving the dramatic, high-contrast look of classic Hollywood cinema, and easily convert your colored images to black and white without losing detail or depth. The subtle nuances in tone and texture are preserved, creating a sophisticated and timeless aesthetic.
Mistake #3: Overuse of Sharpness
Over-sharpening introduces harsh artifacts and unnatural halos around objects, particularly noticeable in areas of high contrast. This can detract from the image's overall quality, making it appear grainy and less refined. Think of it like over-brushing a painting – you can lose the subtlety and delicate details in the process. Subtlety is key. To avoid this, use presets with carefully balanced sharpness adjustments. The AI-Optimized Moody Cinematic Roads Lightroom Presets offer a refined approach to sharpness, enhancing details without creating unwanted noise or harsh lines. These presets are particularly useful for landscape and travel photography, as they enhance the textures of roads, skies, and landscapes while maintaining a natural and cinematic look. They bring a sense of depth and atmosphere to your images, enhancing the textures without making the image look artificial.
Mistake #4: Neglecting Shadows and Highlights
Ignoring the balance between shadows and highlights results in images that are either too dark or too bright, losing important details in either the bright or dark areas of the photo. This leads to a loss of dynamic range and an overall less appealing image. A poorly exposed image can lack depth and impact, resulting in a flat, uninteresting photograph. Well-crafted presets address this by intelligently adjusting these areas. The AI-Optimized Dark Green Lightroom Presets excel at preserving detail in both highlights and shadows, creating well-exposed and dynamic images. They add depth and atmosphere to your images, ideal for landscape, nature, or any type of photo where maintaining detail in both bright and dark areas is important. They give your images a cinematic, moody feel that adds depth to the images. They create a balanced exposure, bringing out the subtle details in both the bright and dark areas, resulting in a richer and more dynamic image.
Mistake #5: Lack of Contrast
Insufficient contrast can lead to dull and lifeless images. A lack of contrast often results in a flat and uninteresting picture, lacking the visual punch to catch the viewer's eye. The image may appear washed out and lacking in depth. Enhance contrast with presets that offer a balanced approach. The AI-Optimized Anime Dreamy Lightroom Presets cleverly boost contrast without overdoing it, resulting in vibrant and visually appealing photos. These presets are especially useful for creating dreamy and ethereal effects, often seen in anime and fantasy art styles. They add a soft glow and pastel hues to your images, creating a magical feel. They intelligently increase contrast, enhancing the vibrancy of colors without making the image look harsh or artificial. The result is a more captivating and visually stimulating image.
Mistake #6: Over-Editing
Excessive editing makes photos appear artificial and unnatural. Over-edited photos often lack authenticity and appear overly processed, losing the charm of the original capture. Over-editing can create a sense of artificiality that detracts from the natural beauty of the image. The photo can lose its inherent character and appear overly manipulated. Less is often more. Use presets sparingly and selectively. Start with a basic preset and then make minor adjustments based on your image's specific needs. Avoid the temptation to overdo it; a subtle touch is usually more effective. Remember, the goal is to enhance the image, not to completely transform it.
Mistake #7: Ignoring Composition
Composition is crucial, even in post-processing. Ensure your subject is well-placed and the overall image is visually balanced. A strong composition is the foundation of a compelling photograph. A poorly composed image can be difficult to save, even with the best photo editing techniques. The elements within the image need to work together to create a harmonious and visually appealing composition. While presets can't fix poor composition, they can enhance a well-composed image. Pay attention to the rule of thirds, leading lines, and other compositional principles before even beginning to edit. Consider the placement of your subject, the use of negative space, and the overall balance of the elements within the frame.
Mistake #8: Not Cropping Effectively
Cropping can dramatically improve an image's composition, focus, and impact. Use cropping tools strategically to remove distracting elements and enhance the overall visual appeal. A well-placed crop can significantly improve a photo, focusing the viewer's attention on the most important aspects of the image. It can also help to improve the composition, creating a more balanced and visually appealing result. Cropping allows you to remove distracting elements and focus the viewer's eye on the key subject or point of interest. It's a simple yet powerful tool for enhancing your photos.
Mistake #9: Ignoring Noise Reduction
High ISO shooting introduces noise. Use noise reduction tools appropriately to minimize this without losing detail. Noise can significantly detract from the overall quality of an image, making it appear grainy and less defined. It's particularly noticeable in low-light conditions or when shooting with high ISO settings. Some presets include noise reduction features; however, using these in conjunction with dedicated noise reduction tools often yields the best results. Noise reduction is especially crucial for photos taken in low-light conditions or with high ISO settings. Finding the right balance between noise reduction and preserving detail is key to achieving a clean and crisp image.
Mistake #10: Inconsistent Editing Style
Maintaining a consistent editing style across your photo collection is crucial for building a cohesive portfolio or social media feed. Inconsistent editing makes your work appear unprofessional and disjointed. An inconsistent editing style can make your work appear amateurish and lacking in a unified vision. It can be jarring for viewers to see a mix of styles and editing techniques. Using a curated set of presets helps achieve a uniform look. Choose presets that align with your overall aesthetic and use them consistently to maintain a unified style across your work. This will create a professional and cohesive body of work that showcases your unique vision and style.
Conclusion
By avoiding these common photo editing mistakes and using presets effectively, you can greatly improve the quality and consistency of your images. Remember, practice makes perfect. Experiment with different presets and techniques to discover what works best for your style and photography. With the right tools and techniques, and by understanding and avoiding these common pitfalls, you can elevate your photography to a new level, transforming your snapshots into compelling and memorable images. The use of presets can significantly streamline your workflow and allow you to focus on the creative aspects of your photography, resulting in more polished and professional-looking images. Mastering these techniques will not only improve your photos but also your overall efficiency and creative output.

Leave a comment
This site is protected by hCaptcha and the hCaptcha Privacy Policy and Terms of Service apply.