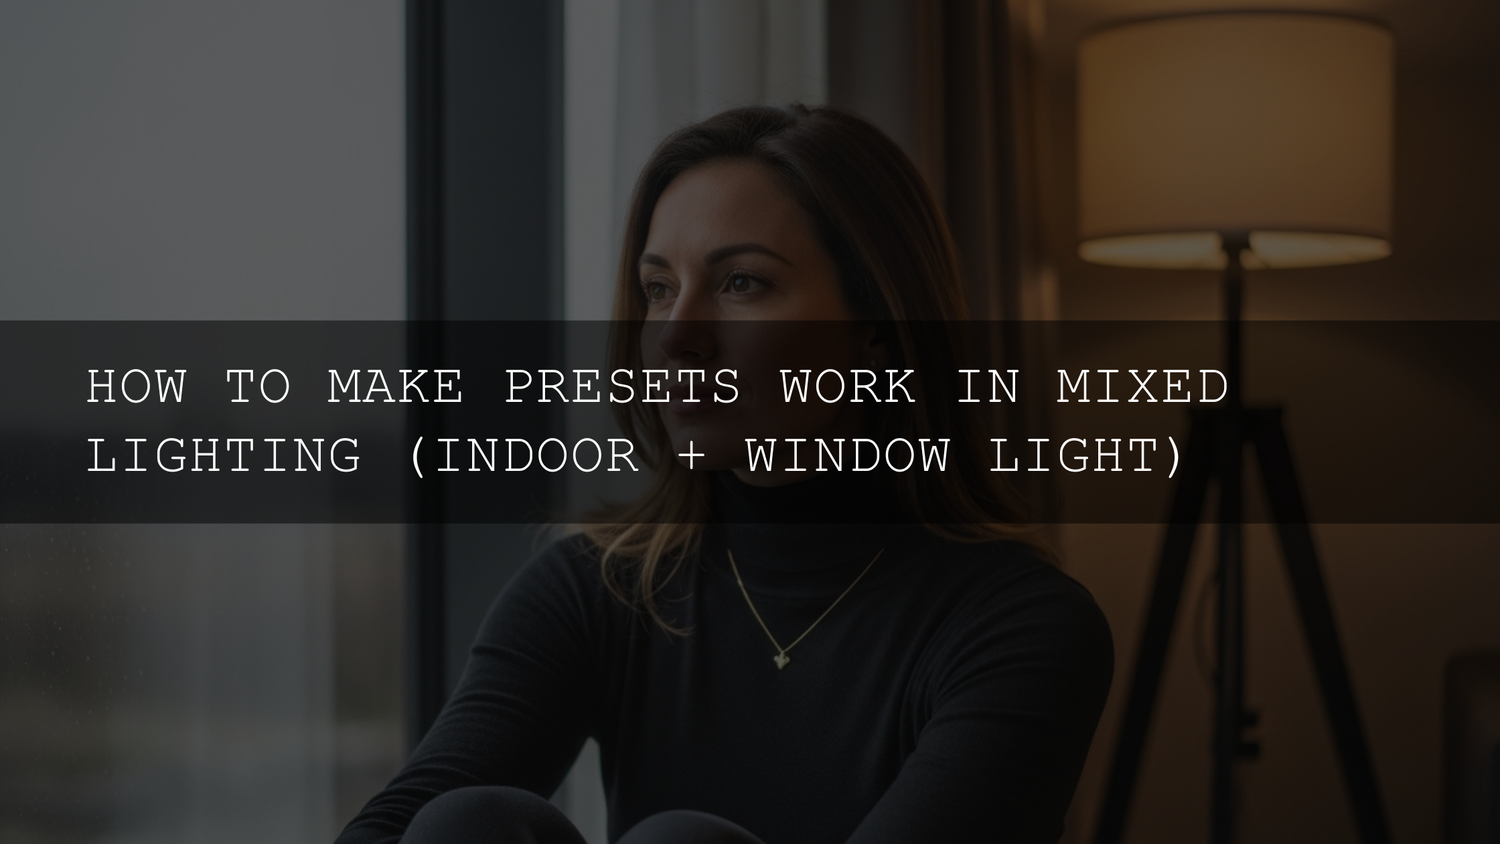
Mixed Lighting Lightroom Presets: How to Make Presets Work When Window Light and Indoor Bulbs Clash (2026 Workflow)
If you’ve ever applied a preset and thought, “Why does this look amazing on one side of the face and terrible on the other?”—welcome to the world of mixed lighting Lightroom presets. Mixed lighting happens when cool daylight (window light) and warm indoor bulbs (tungsten/LED) show up in the same frame, and your preset has to “choose a side.” The result is usually split skin tones, weird color patches, or an overall cast that kills the mood.
Here’s the good news: you don’t need to abandon presets. You just need a smarter workflow—neutralize first, stylize second. I’ll walk you through a repeatable process (with real examples, quick pro tips, and the exact order of operations) so your presets behave consistently—even in the most chaotic indoor scenes.
If you want a fast starting point for indoor scenes (window light + lamps), try AI-Optimized Interior Design & Real Estate Lightroom Presets and browse the full Lightroom Presets for Lightroom Mobile & Desktop collection. And if you’re building your toolkit, you can Buy 3, Get 9 FREE when you add 12 items to your cart.
Why Mixed Lighting Breaks Presets (And Why It’s Not Your Fault)
Presets are usually built and tested under one “clean” lighting condition—daylight, shade, studio, or a controlled indoor setup. Mixed lighting is the opposite: it’s two (or more) different color temperatures fighting in the same photo.
- Daylight (window light) often reads cooler (blue).
- Tungsten/incandescent bulbs skew warm (yellow/orange).
- Some LEDs and fluorescents can add a green tint—especially in shadows.
Your eyes auto-correct these shifts in real time. Your camera doesn’t. And your preset? It applies a fixed set of edits that may amplify the clash—turning “cozy” into “orange face + blue shadows,” or “clean” into “greenish skin + weird magenta corners.”
Key idea: Mixed lighting isn’t a single white balance problem. It’s a multiple white balance problem. That’s why one global Temp/Tint slider can’t magically fix everything.
The Non-Negotiable Foundation: Shoot RAW (Even If You Love One-Click Presets)
If you shoot mixed lighting in JPEG, you’re basically locking in the camera’s best guess—then trying to rescue it later. RAW keeps the full color and tonal data so you can:
- Correct white balance without destroying skin tones
- Recover highlights near windows
- Lift shadows without ugly banding
- Do local fixes (masks) cleanly
If you want a quick guide for consistent results indoors, this pairs well with these indoor preset fixes for artificial light.
Step 1: Be a Light Detective (Spot the Problem Before You Edit)
Before touching sliders, identify the light sources and where they land. This takes 10 seconds and saves 10 minutes.
- Where is the cool light? (Usually near windows, balconies, open doors.)
- Where is the warm light? (Lamps, ceiling fixtures, practical lights.)
- Is there green? (Fluorescents, some LEDs, reflected walls.)
- Which area matters most? (Usually skin tones.)
Pro tip: If you’re shooting an event, try to keep your subject facing one dominant source (turn them toward the window or away from it). The less “split lighting” across the face, the easier presets will behave.
Step 2: Set a “Neutral Base” White Balance (Don’t Try to Perfect Everything Yet)
In mixed lighting, your goal is not perfection everywhere. Your goal is believable skin tones and a scene that feels cohesive. Start here:
- Pick the priority zone: skin, product, or the room ambiance.
- Use the WB eyedropper on something neutral if you have it (white shirt, gray wall, paper).
- Fine-tune Temp/Tint by watching skin: remove “too orange,” “too blue,” and “too green.”
If you want the official reference for removing color casts and balancing Temp/Tint, Adobe’s guide is solid: Adobe’s guide to removing color casts in Lightroom.
Quick reality check: If the window side looks perfect but the lamp side goes too orange, that’s normal. You’ll fix the “other half” with masks in a later step.
For a deeper breakdown (and examples of why “Auto” sometimes fails), see Mastering White Balance: Achieving Natural Colors.
Step 3: Fix Exposure and Dynamic Range Before You Touch “Style”
Mixed lighting often creates extreme highlights near windows and deep shadows on the opposite side. If you apply a strong preset on top of that, it usually gets worse. Do a quick base correction:
- Exposure: set overall brightness so the subject looks “normal.”
- Highlights: pull down to recover window detail and forehead hotspots.
- Shadows: lift just enough to see detail (don’t flatten the image).
- Whites/Blacks: set clean endpoints so the photo has depth.
Pro tip: If lifting shadows makes the photo look noisy or green, stop and plan to lift shadows locally (mask the subject) instead of globally.
If your preset often makes images feel “flat” after you correct exposure, this internal guide helps: Fix flat presets and bring back depth.
Step 4: Apply the Preset… Then Immediately Re-Balance (The Correct Order)
Now apply your preset. Expect it to look slightly “off.” That’s not failure—it’s a starting point.
- Apply the preset (treat it as a look, not a finished edit).
- Re-check White Balance (Temp/Tint may need a small correction).
- Re-check Exposure (many presets push contrast or brightness).
- Lower preset intensity if it’s too aggressive (especially on skin).
When I tested this workflow on a window-lit cafe portrait (cool daylight on one side, tungsten pendant lights on the other), the biggest improvement came from doing a neutral base first, then applying the preset at a lower intensity, then using masking to fix the warm side of the face—rather than trying to “win” with global sliders.
The “Two-Zone” Fix: Use Masks to Correct Each Light Source Separately
This is the skill that turns mixed lighting from “impossible” into “controlled.” In 2026, masking is the superpower—because it lets you correct two different color temperatures in one photo.
If you want the official reference on how masks work (Subject, Brush, Linear Gradient, etc.), here it is: Adobe’s Lightroom Classic Masking tool guide.
Mask A: The Window Light Side (Cool Zone)
- Use Brush or Subject mask, then refine edges.
- Warm slightly (Temp +) if skin looks too blue.
- Reduce Blue saturation locally if the window cast is heavy.
Mask B: The Lamp/Indoor Light Side (Warm Zone)
- Brush the warm patch (cheek, forehead, neck, wall hotspots).
- Cool slightly (Temp −) to remove orange “overheat.”
- If the warm light looks dirty, nudge Tint away from green.
Mask C (Optional): Background Cohesion
If the room background shifts weirdly (blue corners, orange ceilings), use a gradient mask and gently align the mood. Keep it subtle—your subject matters more than perfect walls.
Pro tip: If your photo has a green fluorescent cast in shadows, don’t fight it globally. Paint a mask only where the green is visible and push Tint slightly toward magenta. This preserves natural skin tones in the rest of the frame.
Step 5: Use HSL (Color Mixer) to Stop Presets from Ruining Skin
After you’ve done the two-zone mask fix, use HSL for cleanup—not for “creative chaos.” Mixed lighting usually breaks these channels first:
- Orange: skin saturation and luminance live here (go easy).
- Yellow: indoor warmth, highlights, some skin shifts.
- Blue/Aqua: window casts and shadow contamination.
- Green: fluorescents, reflections, mixed LED issues.
Fast skin rescue recipe:
- If skin is too orange: reduce Orange Saturation slightly, then raise Orange Luminance a touch for a cleaner look.
- If skin looks gray/dead: raise Orange Saturation slightly, but only after you’ve fixed white balance.
- If shadows look teal/blue: reduce Blue Saturation or raise Blue Luminance slightly.
If you’re building a consistent “cool mood” without wrecking faces, this is a useful reference point: Using cool presets intentionally (without killing skin tones).
Real Example: A Simple Before/After Walkthrough (Window + Tungsten)
Let’s break down a common scene: a portrait sitting near a window with a warm lamp behind them.
Before (Typical Problems)
- Window side skin looks pale/blue
- Lamp side skin looks orange
- Background goes green or muddy
- Preset makes contrast harsh, highlights blow out
After (What We’re Aiming For)
- Skin tone looks consistent across the face
- Warm lamp feels cozy, not “overcooked”
- Window light feels clean, not icy
- Preset style stays intact (film mood, contrast, tones)
My Exact Order of Operations
- RAW base: set WB for skin (not walls).
- Fix highlights/shadows for a balanced base.
- Apply preset at 60–90% intensity.
- Mask warm side: cool it slightly, remove green if needed.
- Mask cool side: warm slightly, reduce blue contamination.
- HSL cleanup: fix oranges/yellows/blues gently.
- Final polish: tiny curve or clarity/texture on subject only.
Customer use case: A lot of creators run into this in wedding receptions (DJ lights + warm bulbs + window spill). The fastest “win” is always the same: don’t chase global perfection—split the scene into zones with masks, then let the preset do its job.
Presets vs Manual Editing in Mixed Light (When One-Click Works and When It Doesn’t)
Here’s the honest comparison—because mixed lighting is where “preset-only” editing gets exposed.
Presets (Best For)
- Speed and consistency across a shoot
- Giving you a strong starting look
- Maintaining a signature style (film tones, contrast, mood)
Manual Editing (Best For)
- Correcting split skin tones and color patches
- Fixing green casts in shadows or corners
- Matching multiple light sources realistically
The winning strategy: Use presets for the look, and manual edits (especially masks) for the light correction. That’s how pros stay fast and accurate.
Lightroom vs DaVinci Resolve for Mixed Lighting (Photo vs Video)
If you’re grading video, mixed lighting problems look similar—orange practicals + blue daylight + green ambient. The difference is workflow:
- Lightroom: perfect for photo workflows and fast local corrections with masking.
- DaVinci Resolve: ideal for video, where node-based correction lets you separate “technical” fixes from “creative” LUT styling.
If you’re learning the video side, Blackmagic’s official resources are a great baseline: Blackmagic’s DaVinci Resolve training. And if you want an internal guide that matches looks to lighting styles, read how to match LUTs with daylight, indoor, and blue hour.
Advanced Move: Build Your Own “Mixed Light” Preset (So You Edit Faster Next Time)
If you shoot the same mixed lighting often (cafes, homes, studios, receptions), create a custom preset designed for it.
- Edit a “typical” mixed-light photo until it looks perfect.
- Keep your preset focused on tone curve, contrast, and color mood (not heavy WB shifts).
- Save it as “Mixed Light Base – Warm Indoor” or “Mixed Light Base – Window + Tungsten.”
- On new photos, apply it, then do the two-zone mask fix.
Pro tip: Avoid baking extreme Temp/Tint into your preset. Mixed lighting ratios change shot-to-shot, so WB should stay flexible.
Preset Recommendations for Mixed Lighting Scenes
Different mixed-light scenarios need different “starting looks.” Here are solid options depending on what you shoot:
- Interior Design & Real Estate Lightroom Presets for bright indoor rooms and clean color balance
- 1000+ Master Lightroom Presets Bundle if you want a broad toolkit for every lighting situation
- Cinematic Dark Street Lightroom Presets for low-light indoor + city night mood
- Warm Pastel Street Film Lightroom Presets when you want warm, soft tones without harsh contrast
To explore more looks quickly, browse AI-Optimized Lightroom Presets for Mobile and Desktop and the broader Lightroom Presets for Lightroom Mobile & Desktop collection.
Related Reading (If You Want Faster Wins)
- Why presets look bad indoors (and how to fix them)
- Mastering white balance for natural color
- Adapting Lightroom Mobile presets to any lighting
- Presets for real estate photography (clean indoor color)
- Matching LUTs to lighting styles (daylight vs indoor)
Closing Thoughts: Mixed Lighting Isn’t a Problem—It’s a Style Opportunity
Mixed lighting is “real life” lighting. Homes, cafes, weddings, studios—almost none of it is perfectly clean. The photographers who stand out in 2026 aren’t the ones who avoid mixed light; they’re the ones who can shape it.
The recipe is simple: RAW + neutral base + preset for style + masks for zones. Once you build that habit, your mixed lighting Lightroom presets stop feeling random—and start feeling reliable.
If you’re ready to speed this up, explore the 1000+ Master Lightroom Presets Bundle and browse Lightroom Presets for Lightroom Mobile & Desktop. You can also take advantage of our offer: Buy 3, Get 9 FREE when you add 12 items to your cart.
If you ever need help choosing the right preset pack for your shooting style, reach out here: Contact AAAPresets support.
FAQ
Should I fix white balance before or after applying a preset in mixed lighting?
Start with a neutral white balance first, apply the preset, then fine-tune white balance again. Mixed lighting often needs a “two-pass” approach because presets can shift color and contrast.
How do I fix orange skin on one side of the face and blue on the other?
Use masks to split the scene into zones. Cool the warm side slightly (Temp −) and warm the cool side slightly (Temp +), then do a small HSL adjustment to keep skin tones natural.
What’s the fastest way to remove a green cast from indoor lighting?
Don’t push Tint globally unless the whole photo is green. Mask the green area and move Tint slightly toward magenta, then reduce Green saturation if needed.
Do mixed lighting Lightroom presets work on Lightroom Mobile?
Yes, but you’ll rely even more on selective edits (masking) for best results. Start with a preset, then correct the warm/cool zones with local adjustments.
When should I stop fighting the light and embrace the mood?
If the mixed lighting supports the story (cozy lamp warmth + cool window mood), keep it and just fix skin tones. The goal is believable color, not sterile perfection.
Written by Asanka — creator of AAAPresets (10,000+ customers).


Leave a comment
This site is protected by hCaptcha and the hCaptcha Privacy Policy and Terms of Service apply.