
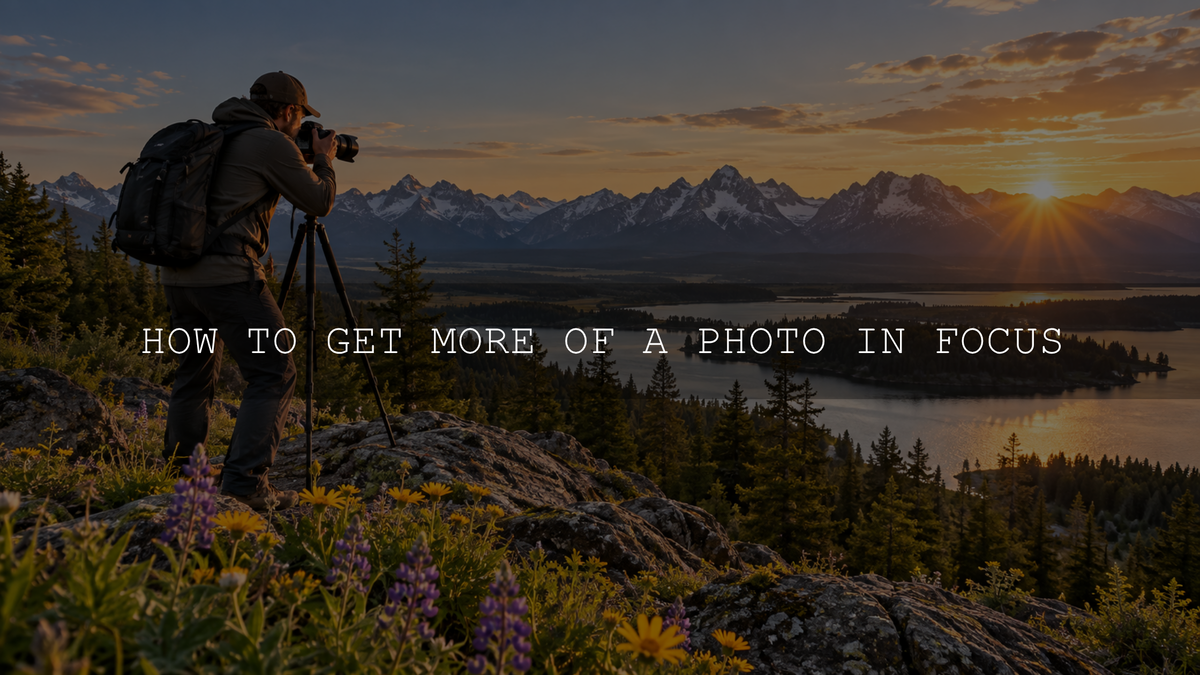
If you want more of your photo to look sharp from foreground to background, start by increasing depth of field, but do not treat aperture as the only control. Depth of field is influenced by aperture, focal length, and focusing distance, while a photograph can also look soft because focus landed in the wrong place, the camera moved during the exposure, or the subject moved.
A reliable workflow is to decide which parts of the scene need to appear sharp, choose enough depth of field for them, place focus deliberately, protect your shutter speed, and then inspect the nearest and farthest important details before you leave the scene.
What Does “More of the Photo in Focus” Actually Mean?
A lens focuses most precisely at a particular distance. Depth of field describes the range in front of and behind that distance that appears acceptably sharp. It is therefore more accurate to think about an acceptable zone of sharpness than to imagine that every object at every distance becomes perfectly focused at the same time.
How sharp something appears also depends on enlargement and viewing conditions. A photograph that looks completely sharp on a phone may reveal softer foreground or background detail when viewed at 100% or printed very large.
Aperture is one of the main controls over that zone. A wider aperture such as f/1.8 or f/2.8 usually creates shallower depth of field, while a narrower aperture such as f/8 or f/11 generally increases it. For a fuller explanation, see our guide to how aperture changes depth of field.
First, Identify Why the Photo Looks Soft
Before changing your aperture, determine what kind of blur you are actually seeing. Different problems require different fixes.
- Shallow depth of field: One distance is sharp, but subjects closer to or farther from that distance gradually become soft.
- Missed focus: Something in the frame is sharp, but the camera focused on the wrong object or distance.
- Camera shake: Fine detail across much of the frame can look smeared because the camera moved while the shutter was open.
- Subject motion: The background may be sharp while a person, animal, leaf, or other moving subject is blurred.
- Optical limitations: Very small apertures can introduce more diffraction, while some lenses are softer at particular aperture, focal-length, or focus-distance combinations.
If the problem is camera shake or subject movement, simply increasing depth of field will not solve it. In fact, stopping the aperture down can make the problem worse if it forces the camera to use a shutter speed that is too slow.
1. Use a Narrower Aperture, but Only as Much as You Need
Stopping down from a wide aperture such as f/2.8 to f/5.6, f/8, or f/11 can increase the range that appears sharp. This is often the first adjustment to make when a landscape, group, product, or other three-dimensional subject needs more front-to-back detail.
For many daylight landscapes, f/8 or f/11 is a sensible starting range, not a guarantee. The correct setting still depends on the nearest important object, focal length, focusing distance, camera format, final viewing conditions, and how much depth of field the composition actually requires.
Do not automatically select the smallest aperture your lens offers. As the aperture becomes very small, diffraction increasingly spreads fine detail. That does not make f/16 or f/22 unusable; it means there is a trade-off between gaining depth of field and retaining the greatest possible fine-detail resolution.
If you primarily photograph landscapes, our landscape aperture guide goes deeper into f/8, f/11, f/16, diffraction, focus placement, and situations where stacking may be preferable.
2. Increase Your Focusing Distance When the Composition Allows It
Depth of field becomes shallower as you focus closer. This is one reason close-up and macro photographs can have an extremely thin zone of sharpness even at moderate or relatively narrow apertures.
If you are too close to a subject to keep its important details within the depth of field, moving the camera farther away can help. You can then recompose or crop when appropriate.
This is especially useful for groups. Instead of relying only on a smaller aperture, reduce unnecessary front-to-back separation between people. Keeping faces at more similar distances from the camera can make it substantially easier to keep everyone acceptably sharp.
Be aware that changing focal length while changing camera position also changes framing and perspective. Do not treat “just use a wider lens” as a universal solution. The goal is to arrange the scene and camera distance so the required depth is manageable without damaging the composition.
3. Put the Focus Point Where the Scene Needs It
A narrow aperture cannot compensate for badly placed focus. Where you should focus depends on the subject.
For a Single Person or Subject
Focus on the feature that matters most. For a portrait, that is normally an eye or the nearest critical facial detail. If the subject itself has substantial depth, check whether the chosen aperture keeps the required near and far areas acceptably sharp.
For Groups
Do not automatically focus on the person closest to the camera. With several rows, placing the focus within the group’s front-to-back depth can make better use of the available depth of field. The exact point depends on the arrangement, focal length, distance, and aperture.
Our group-photo aperture guide includes starting points for single-row, multi-row, and deeper groups.
For Landscapes
Focusing on infinity can waste useful depth of field when the composition includes an important foreground. Hyperfocal distance can help when you specifically need to maximize near-to-far acceptable sharpness while retaining infinity within the depth of field.
Do not assume that focusing exactly one-third of the way into every landscape is a universal rule. Scene geometry varies too much. For important photographs, make a test exposure and magnify both the nearest critical detail and the distant detail. Adjust the focus position or aperture if either falls outside the acceptable range.
4. Protect Your Shutter Speed When You Stop Down
A narrower aperture admits less light. Depending on your exposure mode, the camera may compensate with a slower shutter speed. This can create a photograph with theoretically greater depth of field but visibly worse sharpness because of camera movement or subject motion.
If the shutter becomes too slow, choose the solution that suits the scene:
- Raise ISO when necessary.
- Use a stable tripod for a stationary scene.
- Open the aperture slightly if shutter speed matters more than additional depth of field.
- Add light when you control the scene.
- Use image stabilization when appropriate for your camera or lens and shooting situation.
A tripod reduces camera movement, but it cannot freeze a moving person, animal, plant, or wave. Moving subjects still require an appropriate shutter speed.
For slow tripod exposures, a self-timer or remote release can also be useful if physically pressing the shutter causes visible movement in the camera setup. The need for this depends on the camera, support system, shutter mode, and exposure length.
5. Use Autofocus When It Works and Manual Focus When It Helps
Manual focus is not automatically sharper than autofocus. Modern autofocus can be extremely accurate, especially when the subject has clear detail and the camera has an appropriate focus target.
Instead of immediately switching to manual focus whenever something goes wrong, first check where the camera is focusing. A smaller selectable focus area can help prevent the camera from choosing a foreground obstruction or an unwanted background.
Manual focus becomes particularly useful when autofocus repeatedly hunts or selects the wrong plane, such as when photographing through a fence or glass, working with very low-contrast details, or making a carefully controlled landscape or macro composition.
If your camera provides focus magnification or focus peaking, those tools can help with manual focusing. Their behavior and menu names vary by camera, so use your camera manufacturer’s instructions rather than assuming every model works identically.
6. Check Sharpness Before Leaving the Scene
A full-screen preview can hide small errors. After taking an important photograph, magnify the areas that actually need to be sharp.
For a landscape, inspect an important foreground detail and the distant background. For a group, inspect representative faces from the nearest and farthest rows. For a product or close-up, examine the front and rear details that must remain readable.
If the foreground is sharp but the background is too soft, you may need to focus farther away, increase depth of field, or stack multiple focus distances. If the background is sharp but the foreground is soft, the focus may be too distant. If both ends are soft while the middle is sharp, a single exposure may simply not provide enough depth of field for the composition.
7. Use Focus Stacking When One Exposure Is Not Enough
Sometimes the nearest and farthest required details are too far apart in depth for a single photograph to keep both acceptably sharp without an undesirable compromise. This commonly occurs in macro photography and landscapes with a foreground object extremely close to the lens.
Focus stacking solves this by combining photographs made at different focus distances.
- Keep the framing as consistent as possible. A tripod is particularly useful for controlled landscape, product, and macro stacks.
- Choose an aperture that provides useful image quality and enough overlap between focus zones rather than automatically using the smallest aperture available.
- Focus on the nearest important detail and take the first photograph.
- Move the focus progressively farther through the scene, making additional exposures with overlapping areas of sharp detail.
- Continue until the farthest important area has been covered.
- Blend the sharp regions during post-processing.
Adobe’s current Photoshop workflow is to load the photographs as layers, select the layers, use Edit > Auto-Align Layers, and then choose Edit > Auto-Blend Layers with Stack Images as the blend method. Adobe documents the current process in its extended depth-of-field Photoshop guide.
Focus stacking works most cleanly when the scene remains consistent between exposures. Wind-blown leaves, waves, walking people, changing light, or other movement can create blending artifacts and may require manual masking. In a changing scene, accepting slightly less front-to-back detail in one well-timed exposure can be the better choice.
Useful Starting Points for Different Subjects
Landscape With Foreground and Distant Background
Try f/8 or f/11 as a starting point, place focus deliberately rather than automatically choosing infinity, and check both near and distant details. If the foreground is extremely close and one exposure cannot cover the required depth, consider focus stacking.
Group Photograph
Keep people at similar camera distances where possible. For two or three rows, f/5.6 to f/8 can be a practical starting range in many situations, while deeper groups may require something around f/8 to f/11. Treat these values as starting points and inspect the actual front and rear rows.
Macro or Close-Up Photograph
Expect very shallow depth of field at close focusing distances. Stopping down can help, but stacking is often more effective when the subject requires substantial front-to-back detail and remains still enough for multiple frames.
Handheld Photograph in Low Light
Do not chase maximum depth of field at the expense of a usable shutter speed. A slightly wider aperture and higher ISO can produce a more useful photograph than a narrow aperture combined with camera shake or subject blur.
Can Editing Fix a Photo That Was Out of Focus?
Editing can increase perceived crispness by adjusting sharpening, texture, contrast, and related controls, but it cannot reliably recreate original scene detail that was never recorded because the important subject was substantially outside the focus zone.
The same distinction applies to presets. Presets can provide a color and tone starting point, but they do not replace good focusing, aperture, or shutter-speed decisions during capture.
If your photograph is already properly focused and you want a starting point for outdoor color and tone, the Landscapes & Travel Lightroom Presets include eight preset items in XMP format for desktop workflows and eight DNG mobile versions, with support listed for Lightroom Mobile, Lightroom, Lightroom Classic, and Adobe Camera Raw. You can also browse the broader landscape Lightroom preset collection. Apply the look after capture, then refine exposure, white balance, highlights, shadows, and color for the individual photograph.
The Simple Workflow to Remember
Getting more of a photograph in focus is not about finding one magical aperture. First decide what needs to be sharp. Use enough depth of field for that range, move farther away or simplify the subject arrangement when useful, place focus deliberately, and protect the shutter speed required to prevent unwanted movement.
Then check the photograph at meaningful magnification. If one exposure cannot cover the required near-to-far range, use focus stacking when the scene is suitable. This approach gives you control over sharpness without assuming that the smallest aperture, manual focus, or a tripod automatically solves every problem.
Written by Asanka Dilshan — founder of AAAPresets, serving 10,000+ customers.



Leave a comment
This site is protected by hCaptcha and the hCaptcha Privacy Policy and Terms of Service apply.