Cinematic LUTs: A 3-Step Case Study to Transform Flat Footage
Primary keywords: cinematic LUTs, video LUTs, color grading LUTs. Secondary: Premiere Pro LUTs, DaVinci Resolve LUTs, Final Cut Pro LUTs, .CUBE LUTs, cinematic color grading.
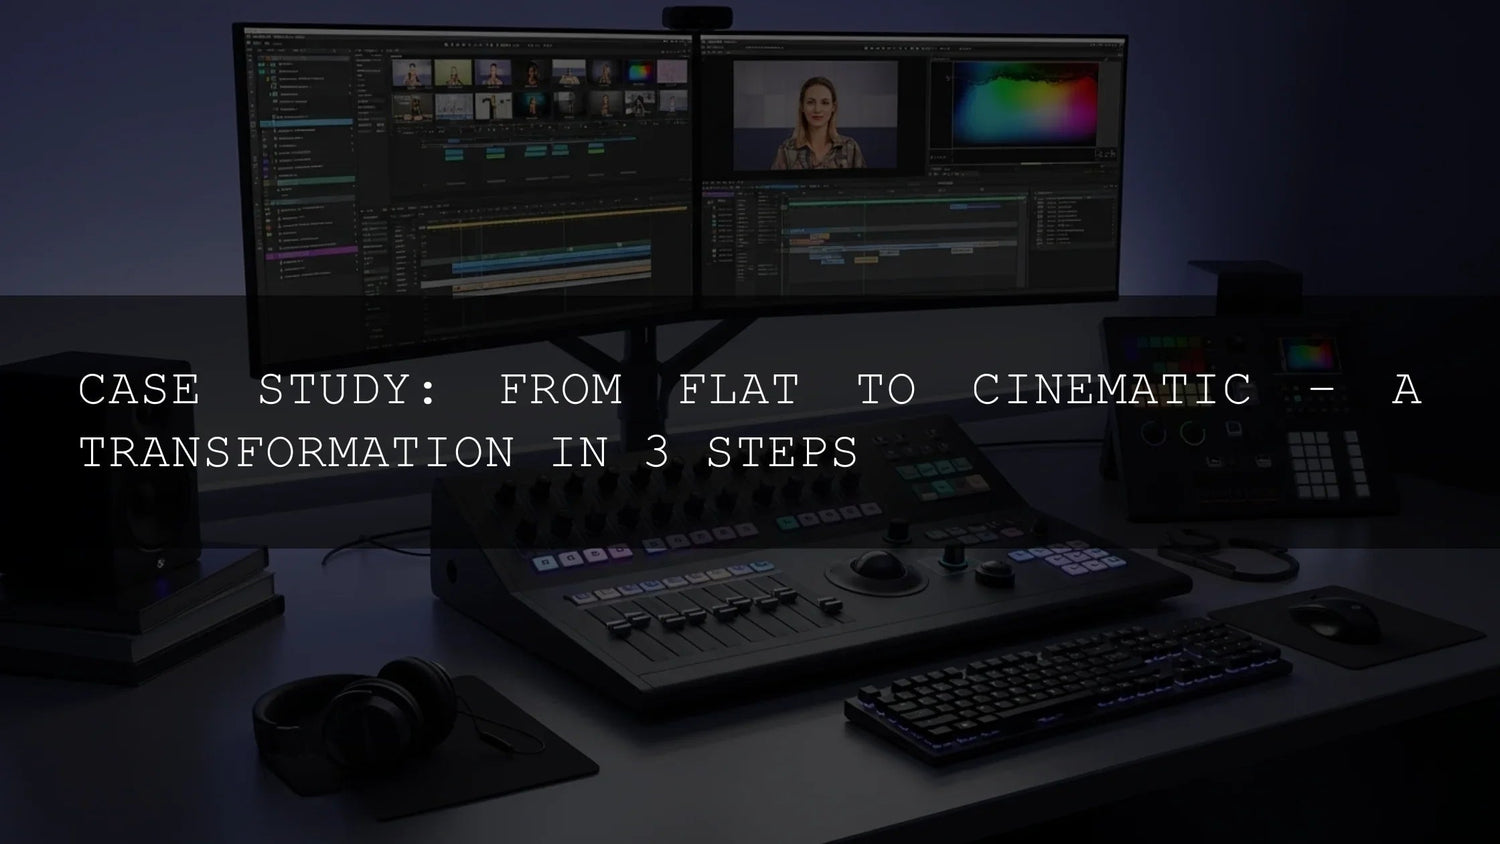
When I first started editing, I had technically correct shots that still felt flat. The turning point came on a rainy travel film: I applied a single LUT, nudged a few sliders, and suddenly the footage had mood, depth, and that “why does this look like a movie?” feeling. Below is the exact 3-step process I use today to get from ordinary to cinematic—repeatable, fast, and client-ready.
Creators often ask how to get a cinematic look without weeks of node trees. The answer—done right—is LUTs (Look-Up Tables). Think of them as smart, professional color transforms that instantly set mood and tone across your footage. In Premiere Pro, DaVinci Resolve, or Final Cut Pro, .CUBE LUTs can give you 80% of the look in one click—then you fine-tune. Here’s how I do it on real projects.
Step 1: Strategic Selection — Building Your Cinematic Foundation
Before touching the timeline, lock your creative direction. Your LUT choice is the palette for your film. For this case study, I wanted a timeless, versatile cinematic aesthetic that could flex across travel, lifestyle, and commercial b-roll.

My anchor choice: the expansive 700+ Cinematic Video LUTs For Your Next Project. It’s a large, curated library that gives you options for nearly every light condition and genre. If you aim for that unmistakable “big-screen” vibe, the 120+ Cinematic Blockbuster Movie Look LUTs Pack delivers bolder contrast curves and color separation that feel theatrical. For a refined, film-like polish, I also reach for Aesthetic Cinematic Look Film LUTs—subtle but classy.
Flying drones? Don’t fight white skies and muted greens. The 70+ Cinematic Drone Video LUTs Pack is tuned for DJI/Autel/Parrot profiles to recover depth, add richness, and reduce that “consumer drone” feel.
Step 2: Effortless Application — Harnessing the Power of .CUBE Files

All major NLEs support .CUBE. The fastest route is an Adjustment Layer above your edit. In Premiere Pro: open Lumetri Color → Creative → Look and load the LUT. In Resolve: add a node and change LUT in the LUTs panel. In FCP: use the built-in Custom LUT effect.
For this case study I started with the 20 Essential Cinematic LUTs bundle—clean, modern baselines that respond well to small corrections. One click brought richer mids, restrained saturation, and a tasteful roll-off in highlights. Because this is non-destructive, you can dial the LUT intensity or swap looks without harming the original footage.
Step 3: Meticulous Refinement — The Art of the Final Polish
LUTs get you close. The magic happens in the last 10–20%: gentle exposure moves, targeted color work, and shadow detail recovery.

- Restrain saturation: If colors feel “TV bright,” pull global saturation back 5–10% and re-add color to skin only.
- Lift crushed blacks: If the LUT buries shadow detail, raise “Shadows” or “Lift” slightly, then add a soft S-curve to keep contrast.
- Tame clipped highlights: Lower “Highlights” and “Whites”; if still harsh, try a LUT from the Blockbuster pack that rolls off highs more gracefully.
- Skin protection: Use HSL qualifiers (Resolve) or HSL Secondary (Premiere) to keep skin natural while the look stays cinematic.
- Unify shots: Match exposure/white balance first, then apply the same LUT. Consistency > intensity.
Result: the footage goes from clean but flat to dimensional, moody, and intentional. The workflow is quick enough for fast client turnarounds and robust enough for passion projects.
LUTs vs Manual Grading (and the Hybrid Method)
When to lean on LUTs
- Tight deadlines and multi-camera shoots that need consistency.
- Social content and brand kits where you need a repeatable “house look.”
- Starting points for creative exploration—audition styles in minutes.
When to go manual
- Highly stylized commercials with strict brand colors.
- Problem footage (mixed light, extreme ISO) that needs deep corrective work.
- Complex scene-referred pipelines (ACES, log workflows) with custom transforms.
The hybrid that wins most projects
Do quick technical correction (exposure, WB, tint) → apply the LUT for mood → do targeted refinements (skin, shadows, highlights). This gives you speed and control. If you need range, grab the 700+ Cinematic LUTs for coverage; if you need punch, reach for Blockbuster; for gentle film vibes, use Aesthetic Film LUTs.
Pro Tips, Common Mistakes & Quick Fixes
Pro Tips
- Shoot to protect highlights: Slight underexposure in bright scenes keeps detail for later.
- Use lens hoods/flags: Reduce veiling glare so your LUT reads cleanly.
- Work scene-referred for log: Convert log → working space → then LUT, to avoid weird color shifts.
- Keep a “skin reference” clip: A well-lit face you trust; if it looks right, your grade is close.
Common Mistakes & Fixes
- Everything is too saturated: Lower saturation globally 5–15%, then re-add color to key ranges.
- Shadows muddy: Lift blacks slightly and add mid-tone contrast; check for color cast in shadows.
- Skies blown: Recover highlights first, try a LUT with softer roll-off, or blend two looks at 60/40.
- Faces look waxy: Ease off global noise reduction; sharpen edges, not skin tones.
Related Guides & Packs
- 700+ Cinematic Video LUTs — best all-rounder library.
- 120+ Blockbuster Movie Look LUTs — bold, dramatic looks.
- Aesthetic Cinematic Look Film LUTs — refined film feel.
- 70+ Cinematic Drone LUTs — tuned for aerial footage.
- 20 Essential Cinematic LUTs — quick, modern baselines.
Learn more about LUT workflows in your NLE: Premiere Pro Color Workflows and DaVinci Resolve Color Page.
FAQs: Cinematic LUTs & Workflow
What is a LUT and why use it?
A LUT (Look-Up Table) is a color transform that quickly sets mood and tone. It’s the fastest way to give flat footage a cinematic baseline you can refine.
Should I grade before or after applying a LUT?
Do basic correction first (exposure/WB), then apply the LUT on an Adjustment Layer, then refine skin/shadows/highlights. This order keeps results clean and controllable.
Do LUTs work with log footage?
Yes—convert log to a working space (or use log-specific LUTs), then apply your creative LUT. This avoids odd color shifts.
How do I keep skin tones natural?
Protect skin with HSL qualifiers (Resolve) or HSL Secondary (Premiere). Reduce global saturation a touch, then re-add color to skin only.
Which pack should I start with?
For range, start with 700+ Cinematic LUTs; for bold drama, go Blockbuster; for understated film, try Aesthetic Film LUTs.
Leave a comment
This site is protected by hCaptcha and the hCaptcha Privacy Policy and Terms of Service apply.