
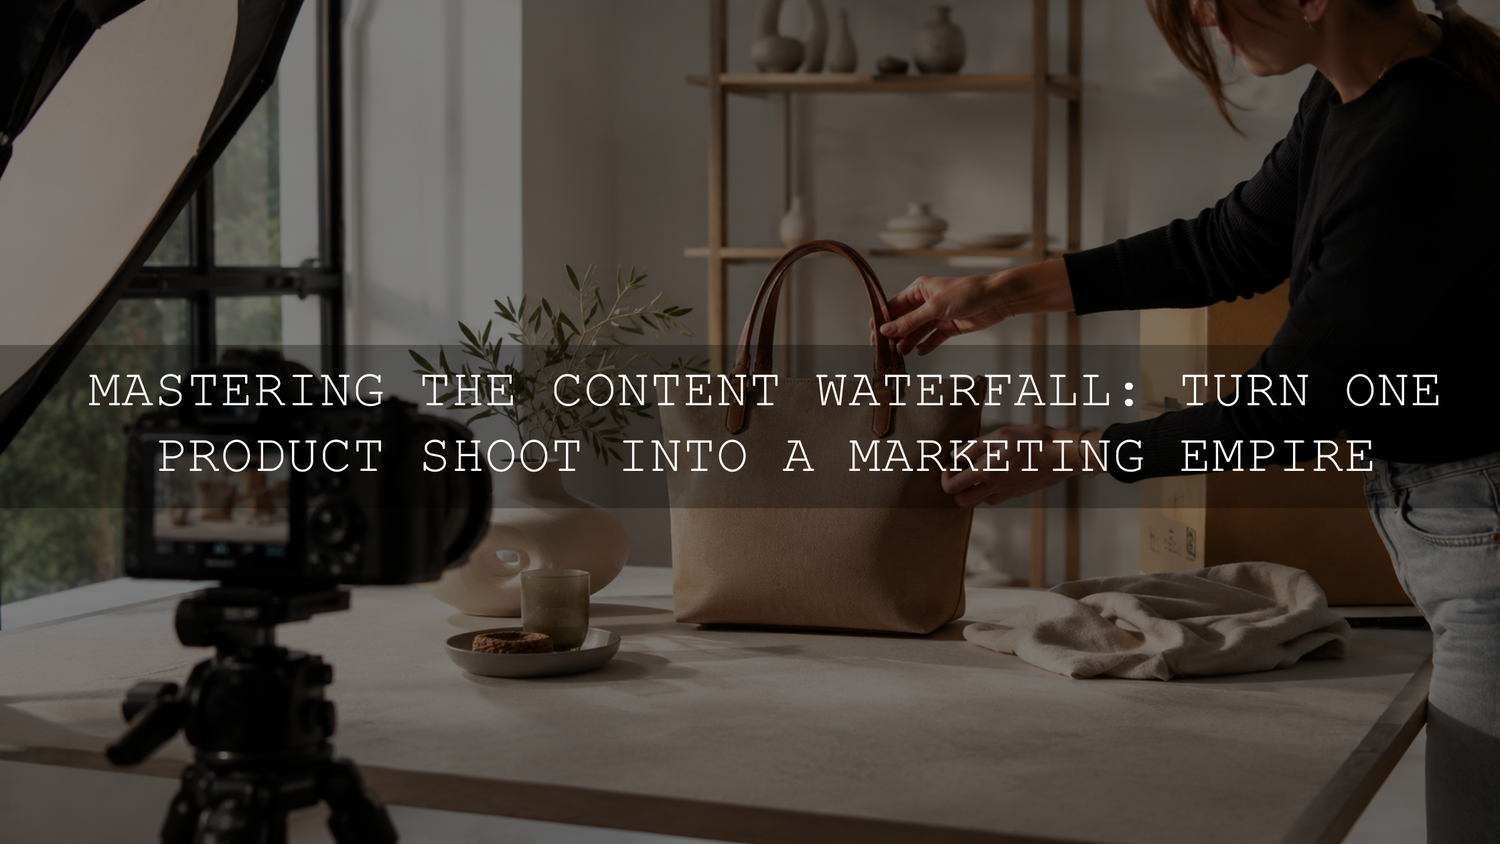
To repurpose one product shoot effectively, plan the final content before the camera comes out. Capture each product in several useful roles, create one color-accurate master edit, and then produce separate crops and variations for Shopify, Instagram, short-form video, email, advertising and future campaigns.
The goal is not to publish the exact same image everywhere. It is to build a coordinated library in which every asset shares the same product color, lighting quality and brand style while still fitting the purpose of its destination.
Start with the Content You Need to Produce
A product shoot becomes much more valuable when it begins with a deliverables list instead of a collection of vague visual ideas. Before selecting props, backgrounds or camera angles, write down where the assets will appear.
A typical e-commerce shoot may need content for:
- Shopify product galleries
- Collection pages and website banners
- Instagram feed posts and carousels
- Reels, Stories and other vertical video
- Email campaigns
- Paid social advertisements
- Pinterest pins and blog images
- Seasonal promotions and product launches
Shopify product media can include images, videos and 3D models. Videos and 3D models also require a compatible theme, so review Shopify’s official explanation of product media when deciding which formats your store can present effectively.
Give Every Shot a Specific Job
A strong content library needs more than several attractive photographs from slightly different angles. Capture a deliberate mixture of images that answer customer questions, communicate the brand mood and provide enough flexibility for different layouts.
- Clean hero image: A clear, uncluttered view that immediately identifies the product.
- Alternate angles: Front, back, side, top and open or closed views where relevant.
- Detail photographs: Close-ups of texture, stitching, controls, materials, clasps, labels or finishes.
- Scale image: The product beside a familiar object or being held, worn or used.
- Lifestyle image: The product shown in a realistic environment or routine.
- Problem-and-solution image: A visual demonstration of what the product helps the customer do.
- Packaging image: The box, wrapping, inserts and everything included with the order.
- Negative-space image: A composition with clean background space for future headlines or promotional information.
- Movement clip: A short video of the product opening, turning, pouring, fastening, folding or being used.
Do not rely on one orientation. Capture selected compositions horizontally, vertically and with enough surrounding space to create square or portrait crops later. Reframing becomes difficult when the original photograph is already tightly composed around the product.
Create One Accurate Master Edit Before Making Variations
A reliable way to keep a campaign consistent is to complete one master edit before creating social, website and advertising versions. The master should represent the real product accurately and retain enough image information for additional crops.
For a deeper explanation of color correction, retouching and web delivery, use the product photography editing workflow for e-commerce as the technical companion to this content-planning process.
- Cull by purpose. Do not select only the most dramatic photographs. Choose the strongest hero, detail, scale, lifestyle and instructional images. The Lightroom culling workflow explains how to reduce duplicates and organize a large shoot.
- Correct a reference image. Adjust white balance, exposure, highlights, shadows and lens corrections on one representative photograph from each lighting setup.
- Protect product color. Compare the edit with the physical product or an approved color reference. This is especially important for clothing, cosmetics, jewelry, home décor and packaging.
- Apply the base look. Add the brand’s preferred contrast and color treatment only after the image has a reliable technical foundation.
- Synchronize matched photographs. Copy the approved settings to images captured under the same lighting, then review each frame individually. Adobe documents how to copy and paste edit settings in Lightroom Classic.
- Retouch truthfully. Remove dust, fingerprints, loose threads and temporary distractions without changing the actual product’s shape, color, material or included features.
- Preserve the uncropped master. Create channel-specific virtual copies or exported versions instead of permanently limiting the original to one aspect ratio.
For bright product scenes, flat lays, interiors and clean lifestyle content, the Bright and Minimal Lightroom Presets provide eight adjustable preset looks supplied in XMP and DNG formats. They are compatible with Lightroom Mobile, Lightroom desktop, Lightroom Classic and Adobe Camera Raw, but exposure and white balance should still be refined for each lighting setup.
Build the Shopify Gallery as a Buying Journey
Your Shopify gallery should help the shopper identify, inspect and understand the product. Arrange the media in a useful sequence rather than uploading files according to their camera filenames.
- First: A clean hero image that clearly identifies the product.
- Next: Alternate angles showing its construction and shape.
- Then: Detail images showing material, texture and finish.
- After that: A scale or fit image that reduces uncertainty about size.
- Next: A lifestyle image explaining how the product fits into a routine or environment.
- Finally: Packaging, included accessories or a short demonstration video.
The Shopify version should normally prioritize clarity and accuracy over dramatic color grading. Lifestyle images can carry more atmosphere, but the main product views should make important colors, labels and materials easy to examine.
Keep the visual treatment consistent while allowing different compositions to perform different jobs. The hero image may need a centered crop, while a lifestyle photograph may work better with the product placed off-center and surrounded by environmental context.
Turn the Shoot into an Instagram Carousel
An Instagram carousel can include up to 20 photos and videos in one feed post, according to Instagram’s carousel-post guidance. That capacity does not mean every carousel needs 20 slides. Use only the frames required to communicate one clear idea.
A product carousel could follow this sequence:
- Hook: Lead with the clearest or most visually interesting product image.
- Customer problem: Show the situation the product is designed to improve.
- Main benefit: Demonstrate the most relevant use or feature.
- Detail: Use a macro photograph to show material or construction.
- Scale: Show the product being held, worn or placed beside a familiar object.
- Lifestyle: Show the product in a believable setting.
- Question or objection: Visually answer a common size, fit, care or usage question.
- Final action: Direct the reader to view the product, save the post or visit the store.
Use customer reviews or testimonials only when they are genuine and approved for marketing use. Do not invent social proof to complete a carousel layout.
Keep the slides visually connected through consistent color, typography and spacing, but avoid covering every photograph with large amounts of text. Product details should remain visible, especially on smaller phone screens.
Build Short Vertical Videos from Stills and Simple Clips
A useful product Reel does not require a complicated commercial production. Still photographs can be combined with short movement clips, gentle pan-and-zoom animation, stop-motion sequences or close-up transitions.
A simple short-video structure could be:
- Opening: The hero image or the strongest product action.
- Middle: Two or three close-ups highlighting features, texture or construction.
- Demonstration: A clip showing the product being opened, worn, used or handled.
- Scale: A shot that helps the viewer understand dimensions or fit.
- Closing: Packaging, the completed result or a restrained call to action.
Capture movement clips with a steady beginning and ending so editors have clean points for cutting. Record several seconds longer than the expected final clip, and avoid placing hands over the feature being demonstrated.
Create the vertical composition during the shoot whenever possible. Cropping a wide photograph into a narrow frame can remove a second product, a hand, an important label or the environmental detail that explains how the item is used.
When adding music, confirm that the licence permits the account type, platform and promotional use involved. Music available for an organic post might not be licensed for paid advertising or external reuse.
Extend the Assets Beyond Shopify and Instagram
Once the core product gallery, carousel and vertical video are finished, the same shoot can support additional campaign formats.
- Email: Use the hero image for the main campaign, detail photographs for feature sections and a lifestyle image near the final call to action.
- Paid advertising: Test clean product images, benefit-led lifestyle photographs and short demonstration clips as separate creative variations.
- Pinterest: Use vertical images that clearly show the product and its use without relying on tiny text.
- Blog content: Use detail and process photographs to support gift guides, tutorials, comparisons or care instructions.
- Collection pages: Use wider lifestyle assets that communicate the shared mood of a product range.
- Stories: Repurpose vertical details, behind-the-scenes clips, polls and frequently asked questions.
When a campaign needs a larger editorial presentation, the lookbook image editing guide explains how to maintain a consistent visual story across a catalog or online collection.
Before uploading the final files, review the Shopify and Pinterest image export guide for practical delivery and image-quality considerations.
Organize the Content Library for Future Campaigns
Repurposing becomes much easier when the team can find the correct files without opening dozens of exports. Organize the shoot by product, scene and intended use instead of storing everything inside one final folder.
Use a Clear Folder Structure
- 01 Originals
- 02 Selects
- 03 Master Edits
- 04 Shopify
- 05 Instagram Carousels
- 06 Vertical Video
- 07 Email
- 08 Advertising
- 09 Archive
Name Files by Meaning
A descriptive structure such as product-sku-scene-angle-format-version is more useful than a camera filename. For example, a file could be named canvas-bag-cb02-lifestyle-front-instagram-v1.jpg.
Keep text-free master images separate from designs containing prices, discount codes or campaign dates. The clean version can be reused after a promotion ends, while a flattened graphic containing expired information has a much shorter useful life.
Example Content Waterfall from One Product Shoot
The following is a hypothetical example rather than a required publishing schedule. The actual output will depend on the number of products, scenes, models and usable photographs captured.
- One complete Shopify product gallery
- One collection-page or homepage banner
- Two educational or benefit-led carousel posts
- Two short vertical product videos
- Several Story frames and behind-the-scenes clips
- Two email campaign sections
- Several advertising variations
- Supporting images for one blog article or buying guide
- A reusable archive for seasonal promotions
The advantage is not a guaranteed number of posts. It is the ability to select the right asset for each message without arranging another shoot every time the marketing calendar changes.
Common Product-Shoot Repurposing Mistakes
- Shooting only one orientation: A tightly framed horizontal hero may not survive a vertical crop.
- Using one crop everywhere: Shopify, email banners, feed posts and vertical video have different composition needs.
- Applying creative color before correcting the product: Strong grading can make product shades inaccurate.
- Forgetting scale: Attractive photographs may still leave customers uncertain about dimensions.
- Capturing no movement: A few simple clips can make short-form video production much easier.
- Adding promotional text to every master file: This limits future reuse.
- Synchronizing unrelated lighting setups: Batch settings should be used only on visually matched images.
- Publishing every photograph: Repetition can weaken a gallery or carousel instead of strengthening it.
- Ignoring usage rights: Confirm permissions for models, locations, music, props and third-party artwork.
Final Product-Shoot Checklist
- List the channels and campaigns the shoot must support.
- Capture hero, alternate-angle, detail, scale, lifestyle and packaging images.
- Record several clean vertical movement clips.
- Leave additional framing space in selected compositions.
- Create one color-accurate master edit for each lighting setup.
- Synchronize only the settings that should remain consistent.
- Make separate crops and exports for each destination.
- Keep text-free masters for future campaigns.
- Name and organize every file by product and purpose.
- Review product color, dimensions, labels and included items before publishing.
A product shoot becomes more useful when it is treated as the beginning of a content system rather than a one-time photography task. Plan the required assets, protect product accuracy during editing, create channel-specific versions and preserve a well-organized master library that can support future campaigns.
For additional visual styles suited to feed posts, lifestyle photographs and creator content, browse the Instagram Lightroom Presets collection. Qualifying preset and LUT packs can also be combined through the Buy 3, Get 9 FREE offer by adding 12 qualifying items to the cart and paying for three.
Written by Asanka — creator of AAAPresets, serving more than 10,000 customers.

Leave a comment
This site is protected by hCaptcha and the hCaptcha Privacy Policy and Terms of Service apply.