
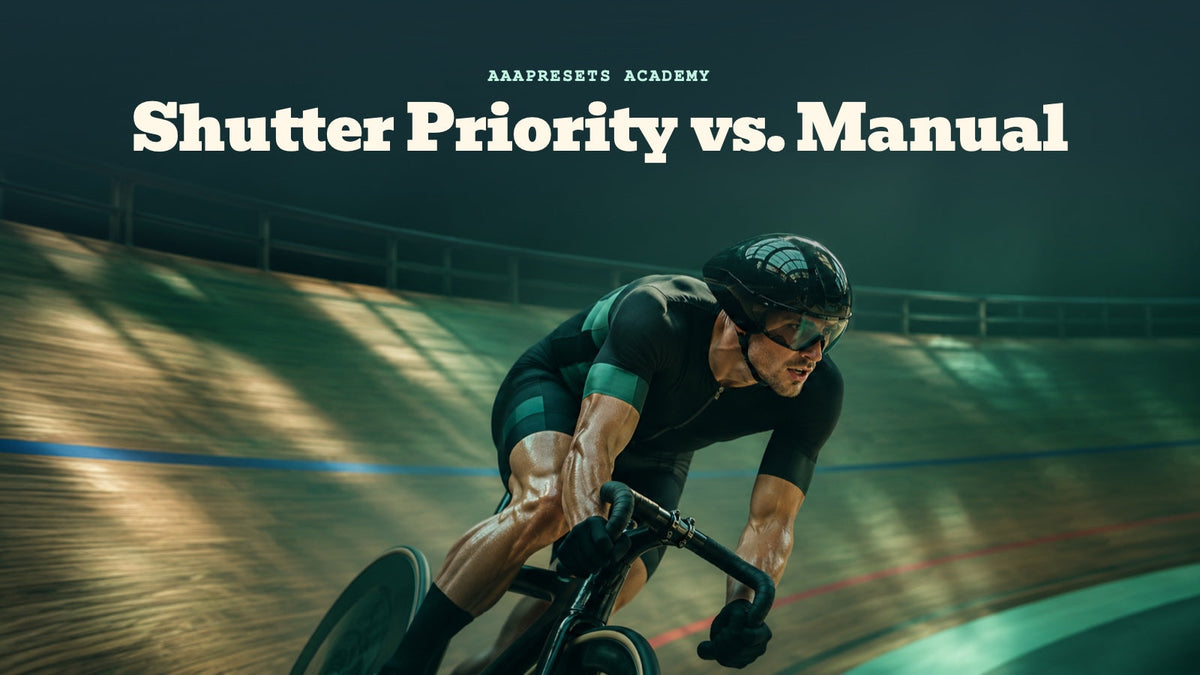
Shutter Priority vs Manual mode: which should you choose? Use Shutter Priority (S or Tv) when the way movement looks matters most and you want the camera to adjust to changing light. Use Manual (M) when you need to control both shutter speed and aperture, or keep exposure consistent across several frames. Neither is automatically better: the right choice depends on what must stay fixed in your photograph.
One important detail often gets overlooked: Manual mode does not always mean setting every exposure value yourself. On many cameras, you can select a shutter speed and aperture in M mode while Auto ISO responds to changing light. Understanding that option makes the choice between these modes much easier.
Shutter Priority vs Manual Mode at a Glance
- Shutter Priority (S or Tv): You choose shutter speed. The camera adjusts aperture within the lens's available range. ISO can stay at the value you select or change automatically if Auto ISO is enabled and supported.
- Manual (M), fixed ISO: You set shutter speed, aperture and ISO. Exposure does not automatically change just because the scene becomes brighter or darker.
- Manual (M), Auto ISO: You set shutter speed and aperture while the camera adjusts ISO within its configured limits, if supported.
- Best reason to choose S/Tv: You want to freeze or deliberately blur motion and do not need to lock a specific depth of field.
- Best reason to choose M: You need a specific shutter speed and depth of field, or you want consistent exposure between frames.
Both modes give you direct control over shutter speed. The key difference is whether the camera or the photographer determines the aperture.
How Shutter Priority Mode Works
Shutter Priority is marked S on many Sony and Nikon mode dials, and Tv (Time Value) on many Canon cameras. Some Fujifilm cameras have an S position on a mode dial; on models with separate aperture and shutter-speed dials, set aperture to A (automatic) and choose a shutter speed to enter Shutter Priority. You select the exposure time, such as 1/1000 second, and the camera meters the scene to choose an aperture that aims for its target brightness. If Auto ISO is enabled, ISO may also change depending on the camera's settings.
This gives you direct control over motion without constantly changing the other exposure controls. A faster shutter speed records a shorter slice of time, helping to freeze moving subjects. A slower speed records movement over a longer interval and can produce streaks, flowing water or a sense of speed.
Shutter-speed starting points
- Sports, running pets or fast wildlife: Try 1/1000 second, then increase the speed if the important parts are still blurred.
- Walking people or casual street scenes: Start around 1/250 to 1/500 second and adjust for movement, focal length and camera shake.
- Panning a moving cyclist or car: Try 1/125 second first, then experiment with 1/60 or 1/30 second as your tracking improves.
- Soft, flowing water: Experiment with exposures around 1/4 second to several seconds using a tripod. An ND filter may be needed in bright daylight.
These are practice starting points, not guaranteed settings. Subject speed, direction of travel, focal length, available light and your technique all influence the result. For more examples, see how shutter speed affects a photo.
How to shoot in S or Tv mode
- Enter S or Tv mode using your camera's mode dial or the appropriate aperture and shutter-speed controls.
- Choose a shutter speed based on whether you want to freeze or show movement.
- Set ISO or enable Auto ISO, if available, and check any ISO range limit.
- Half-press the shutter or activate metering, then inspect the aperture the camera selected.
- Take a photograph and check sharpness, important highlights and overall exposure. Adjust your shutter speed or exposure compensation as needed.
Know the limit: The camera cannot open your lens wider than its maximum aperture or stop it down beyond its minimum aperture. If it runs out of adjustment, your photo can still be too dark or too bright. Some cameras warn you by flashing an aperture value. See Sony's Shutter Priority help guide for a camera-specific example.
How Manual Mode Works
Manual mode is marked M. You choose the shutter speed to control movement and the aperture to control light and depth of field. A wide aperture such as f/2.8 lets in more light and can produce a shallow depth of field; a narrower aperture such as f/8 lets in less light and can keep more of the scene acceptably sharp. Actual depth of field also depends on focal length, focusing distance and sensor format.
Manual mode with fixed ISO
Set all three exposure values yourself. For example, if you are making a series of studio portraits under steady lighting, keeping 1/160 second, f/8 and ISO 100 unchanged can help prevent the camera from changing the exposure whenever your subject's clothing or background becomes lighter or darker. These values are only a hypothetical example; flash synchronization and the appropriate settings depend on your equipment.
Fixed settings are also useful for panoramas and other sequences where you want the frames to match. The drawback is that when the light actually changes, you must adjust a setting yourself or accept a brighter or darker photograph.
Manual mode with Auto ISO
On supported cameras, you can lock both shutter speed and aperture while allowing ISO to change. This is especially useful for an athlete moving between sunshine and shade: you can keep the exposure time needed to freeze movement and the aperture needed for your preferred depth of field.
Auto ISO does not create extra light. Raising ISO changes the camera's handling of the recorded signal and resulting image brightness; limited available light can still produce visible noise or insufficient image quality. Auto ISO also has minimum and maximum limits. If the scene falls outside those limits, the desired brightness may not be possible. For more background, read how aperture, shutter speed and ISO work together.
Sony's Manual Exposure documentation confirms that Auto ISO can operate in M mode on a supported camera. Check your own model's instructions, because the available controls differ.
When to Choose Shutter Priority or Manual Mode
1. Outdoor sports or wildlife in changing light
Start with Shutter Priority. If motion is the main challenge, choose a fast enough shutter speed to capture the subject. The camera can alter aperture as light changes, leaving you to concentrate on timing, composition and autofocus. Watch the selected aperture: a wide-open lens may not provide enough depth of field for multiple people or an unpredictable moving subject.
2. Indoor action when depth of field also matters
Consider Manual with Auto ISO. If your camera supports it, you might choose 1/800 second and f/2.8, then let ISO vary as the subject moves through different lighting. This prevents the camera from unexpectedly choosing a narrower aperture in a brighter part of the venue. It does not remove the trade-off between noise, motion blur and depth of field.
3. Creative panning or silky waterfalls
Shutter Priority is an easy place to begin. Select a slower speed to control how much movement appears in the frame. For panning, keep following your subject smoothly through the exposure. For long-exposure water photographs, stabilize the camera on a tripod. In bright conditions, even the narrowest available aperture and lowest suitable ISO may not prevent overexposure; an ND filter can reduce incoming light.
4. Studio flash photography
Manual with fixed ISO is often a practical choice. It lets you control the ambient exposure and maintain repeatable settings while you adjust flash output separately. Use a shutter speed compatible with your camera and flash synchronization method. Some flash systems can still automate flash power through TTL metering; choosing M on the camera does not necessarily disable every other automatic function.
5. Panoramas, product sets and controlled lighting
Choose Manual with fixed ISO when consistency is important. A camera's automatic meter may produce different exposures as you point toward a bright window, dark wall or differently colored product. Holding exposure settings steady prevents those changes when the illumination itself remains consistent. Recheck the exposure when the actual light changes.
6. Night scenes and astrophotography
Manual is generally more flexible. It allows deliberate long exposures, selected apertures and fixed ISO values without the camera continually changing its exposure target. A tripod and careful focusing are often essential. Suitable star-exposure times depend on focal length, the scene and the type of celestial movement you want to record.
Same Action, Three Different Exposure Choices
Imagine photographing a runner who alternates between sunlight and tree shade. You want sharp movement, but you also care about how blurred the background looks. Here is a hypothetical comparison:
- S mode at 1/1000 second with Auto ISO: You protect motion sharpness. The camera can vary aperture and ISO, so depth of field may change between photographs.
- M mode at 1/1000 second, f/4 and Auto ISO: You protect both movement and depth of field. ISO can change with the light, until it reaches its configured limits.
- M mode at 1/1000 second, f/4 and fixed ISO: The capture settings remain consistent, but photographs taken in shade may become darker than those taken in sunlight.
The decision rule: If only shutter speed must stay fixed, S/Tv may be simplest. If shutter speed and aperture must stay fixed but light changes, M with Auto ISO is often useful. If you want exposure settings to stop reacting to the meter, choose M with a fixed ISO and monitor real changes in illumination.
Try This Five-Minute Shutter Priority to Manual Exercise
- Find a moving subject in fairly steady daylight, such as someone walking or a cyclist passing at a safe distance.
- Set S/Tv mode to 1/500 second, take a picture and note the aperture and ISO the camera used.
- Switch to M, enter the same shutter speed and aperture, then choose an ISO that gives a similar exposure in the same light.
- Take a second picture. Compare the movement, depth of field and overall brightness.
- Enable Auto ISO in M if your camera supports it. Try the same shot in slightly different lighting and observe how ISO changes while aperture and shutter speed remain fixed.
- Finally, return to fixed ISO in M. Notice how the brightness changes when the light changes, even though your settings do not.
The goal is not to make one mode win. It is to understand which setting the camera changes automatically, so that its behavior stops surprising you.
Common Mistakes and How to Fix Them
- Photos are dark in Shutter Priority: Your selected shutter may be too fast for the available light and aperture range. Check for a blinking aperture warning, raise ISO if appropriate, use a wider-aperture lens or slow the shutter if motion permits.
- Background blur changes between S-mode shots: The camera is choosing different apertures. Use M with Auto ISO if you need to hold a specific f-number while the light changes.
- Manual exposures change unexpectedly: Check whether Auto ISO is enabled. M does not necessarily mean that ISO is fixed.
- The subject is blurry despite a bright photo: Exposure brightness and motion sharpness are different problems. Check shutter speed, autofocus accuracy, subject movement and camera shake separately.
- Every frame looks too bright or dark despite automatic metering: The camera's meter aims for a calculated exposure, not necessarily your intended mood. In S/Tv, try exposure compensation. On some cameras, compensation also works in M when Auto ISO is enabled. Refer to Sony's exposure-compensation guide for one documented implementation.
- A slow-water exposure is overexposed in daylight: The camera may have reached the aperture and ISO limits. Use an ND filter or photograph in lower light instead of expecting S/Tv to solve every brightness problem automatically.
What Photo Editing Can and Cannot Fix
Once you have a useful exposure, Lightroom or another RAW editor can help adjust white balance, contrast, highlights, shadows and color. A preset can provide a creative starting point, but it may need adjustment for the image's original exposure, lighting and camera profile.
Editing cannot reliably recreate important detail that was never recorded because of severe motion blur, missed focus or completely clipped highlights. When photographing movement, choosing the correct shutter speed at capture is more valuable than relying on sharpening afterward.
Which Camera Mode Is Better?
Use Shutter Priority when motion is the main creative decision and quick exposure adjustments are helpful. Use Manual when both shutter speed and aperture matter, or when repeatable exposure is the priority. If you want those two settings fixed while ambient light changes, M with Auto ISO can be an effective middle ground on a compatible camera.
Try both modes on the same subject and compare what the camera changes. Learning to recognize that difference is more useful than shooting in Manual simply because it sounds more professional.
Written by Asanka — creator of AAAPresets.


Leave a comment
This site is protected by hCaptcha and the hCaptcha Privacy Policy and Terms of Service apply.