
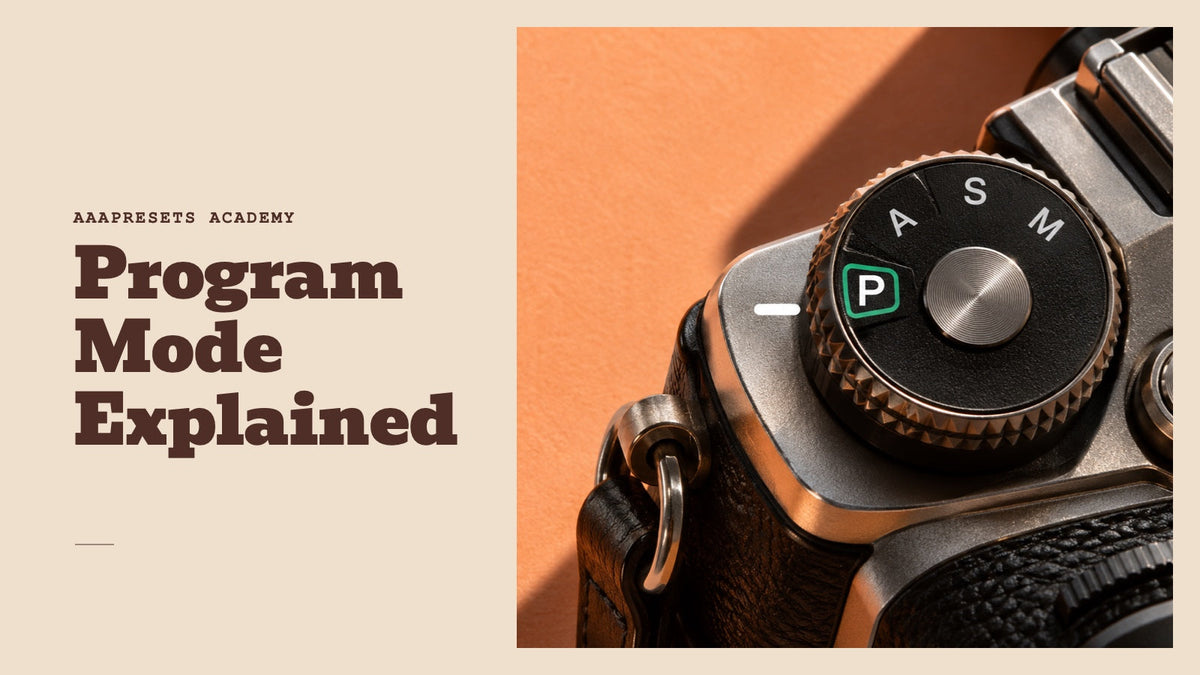
Program Mode (P) is a camera exposure mode that automatically selects shutter speed and aperture while giving you control over many other shooting settings. It is a useful step beyond full Auto when you want to respond quickly to changing light without setting every exposure value yourself. Depending on your camera, you can choose ISO, focus settings, white balance, exposure compensation, and RAW recording.
Program Mode is not a shortcut to perfect pictures. The camera's exposure meter can misread difficult lighting, and an automatically selected shutter speed can still blur a moving subject. This guide explains how P mode works, how to use Program Shift, and when a different mode makes more sense.
What Is Program Mode on a Camera?
The letter P stands for Program, often called Program Auto or Program AE (auto exposure). Your camera meters the scene and selects a combination of shutter speed and aperture intended to produce a suitable exposure. You can normally leave ISO on Auto or select a fixed ISO yourself, depending on the camera's capabilities and configuration.
Shutter speed determines how movement is recorded. Aperture affects both light transmission and depth of field, including how much of the background appears in focus. ISO affects the brightness and noise characteristics of the recorded image. If these controls are new to you, see our guide to how aperture, shutter speed and ISO work together.
Unlike many full Auto modes, P mode generally leaves more shooting functions available. Exactly which settings remain adjustable varies by camera brand and model. P mode does not automatically give you every control, and it does not guarantee that your photo will be correctly exposed or sharp.
How to Use Program Mode: A Beginner's Setup
- Select P for still photography. Turn the mode dial to P or select Program Auto in the shooting menu if your camera uses an on-screen mode selector.
- Choose an ISO strategy. Auto ISO is a practical starting point for changing light. A low fixed ISO can work well in bright conditions, but it may force a slow shutter speed indoors. If your camera provides a minimum shutter-speed option for Auto ISO, consider configuring it for your subject.
- Choose your autofocus area. Use an appropriate AF mode and focus area for the subject. For portraits, eye or subject-detection autofocus may help when your camera supports it. P mode does not choose the correct focus point for you in every situation.
- Check the displayed shutter speed. Before pressing the shutter, look at the speed your camera selected. Around 1/125 second can be a starting point for some handheld still subjects; moving people may need around 1/250 second or faster. Fast action can require 1/500 second or more. These are examples, not guaranteed settings: focal length, stabilization, subject movement, and technique matter.
- Adjust brightness when needed. Use exposure compensation when the metered photo is brighter or darker than you intend. For example, try -0.3 EV for a slightly overbright scene, then review the result. Reset compensation to 0 when the special lighting condition has passed.
- Choose your file format. Select RAW, JPEG, or RAW+JPEG if supported and appropriate for your workflow. P mode itself does not determine the image format. RAW is useful when you expect to adjust white balance and tonal values later.
- Review the photograph. Check important details at a larger zoom level, particularly eyes and moving subjects. Use the histogram or highlight warnings where available to inspect tones, rather than assuming an automatic exposure must be right.
If your photo remains too bright or dark, our guide to using exposure compensation to darken a photo explains how a small adjustment changes the camera's exposure target.
How Does Program Shift Work?
Program Shift lets you cycle through different aperture and shutter-speed pairs while keeping the camera's metered exposure approximately the same, within the available settings. That gives you some influence over motion blur and depth of field without taking full responsibility for both values.
Program Shift Example: Two Ways to Expose the Same Scene
Imagine a fixed ISO of 400 and steady lighting. The camera first chooses 1/125 second at f/8. A shifted combination might be 1/500 second at f/4. The wider aperture lets in two stops more light, while the faster shutter lets in two stops less. Exposure remains equivalent, but the faster shutter may reduce motion blur and the wider aperture may soften the background.
This is a hypothetical example, not a guarantee that your camera will offer these exact values. Available combinations depend on the lens, camera, lighting, and ISO setting. Program Shift is unavailable with flash on the Sony α7 V and Canon EOS R6 V. How a shift is canceled also varies: Sony specifies changing shooting modes or switching off, while Canon notes that its shift ends when the metering timer expires.
Controls also differ. On the Sony α7 V, turn the front dial or rear dial L in still-image Program Auto to select a shifted combination; the display changes from P to P*. On the Canon EOS R6 V, half-press the shutter button and turn the main dial. Check Sony's Program Auto help guide or Canon's Program AE explanation for manufacturer-specific instructions.
When Should You Use P Mode?
Program Mode is useful when your priority is noticing and capturing a moment rather than selecting a particular aperture or shutter speed for every frame:
- Travel and street photography: useful when you move between sun, shade, and indoor spaces and want the camera to recalculate exposure quickly.
- Casual family gatherings: helpful for candid moments, provided the shutter speed stays fast enough to handle movement.
- Everyday documentary photos: a convenient choice when you do not require one specific depth of field or motion effect.
- Learning exposure: a way to observe the aperture and shutter-speed combinations your camera chooses as the light changes.
P mode is less useful when one exposure setting is non-negotiable. For a shallow-depth-of-field portrait, Aperture Priority gives you direct aperture control. For sports or a running pet, Shutter Priority lets you select a speed suitable for the action. For repeatable studio lighting, Manual mode can prevent exposure from changing as you reframe.
Program Mode vs Auto, Aperture Priority, Shutter Priority and Manual
- Auto mode: the camera handles exposure and may restrict other adjustments, depending on the model. Use it when simplicity matters more than customized settings.
- Program Mode (P): the camera chooses aperture and shutter speed, while you can generally adjust more of the remaining settings. Choose it for quick shooting with some control.
- Aperture Priority (A or Av): you select aperture; the camera typically adjusts shutter speed. Choose it when background blur or depth of field matters most.
- Shutter Priority (S or Tv): you select shutter speed; the camera typically adjusts aperture. Choose it when freezing or intentionally blurring movement matters most.
- Manual (M): you select shutter speed and aperture. ISO can remain fixed or be automatic on many cameras. Choose it when you need direct control or consistent exposures.
None of these modes makes someone a better photographer by itself. The useful question is which exposure variable you need to control. Our article on which camera setting to change first explores that choice in more detail.
Common P Mode Problems and How to Fix Them
My Photos Are Bright but Blurry
The camera may have selected a slow shutter speed to meet its exposure target in limited light. Look at the displayed speed and raise ISO or use Auto ISO if appropriate. You can try Program Shift, add light, or switch to Shutter Priority when a particular speed is essential. Image stabilization can help with some camera shake, but it cannot freeze a moving subject. A clean-looking ISO 100 file is not useful if the important subject is blurred.
The Background Is Not Blurry Enough
Your camera may have selected a smaller aperture than you wanted. Try Program Shift toward a wider aperture if supported, or use Aperture Priority for predictable depth-of-field control. Subject-to-background distance and focal length also affect the result.
The Scene Is Too Bright or Too Dark
Exposure metering is an estimate. Bright snow, dark interiors, and strong backlighting can require exposure compensation. Start with a small positive or negative adjustment, inspect the histogram and important highlights, and make changes based on the subject rather than insisting that the meter read zero.
Program Shift Does Not Work
Check whether flash is enabled, whether the lens has room to change aperture, and whether the camera permits shifting under the current lighting conditions. Confirm the correct dial operation in the model's manual. Program Shift is not the same as directly setting any shutter speed or aperture you want.
A Simple P Mode Practice Exercise
- Find a stationary subject with an interesting background in steady daylight.
- Set P mode and a fixed ISO that suits the light, then record the shutter speed and aperture shown on screen.
- Take one photo at the camera's starting values.
- Use Program Shift, if available, to choose a wider aperture and faster shutter-speed combination. Take a second photo without changing your position.
- Compare the background appearance, sharpness, and camera settings. Then try exposure compensation at +0.7 EV and -0.7 EV to see how the meter's target changes.
This short exercise shows that exposure brightness, background appearance, and motion rendering are related but different decisions. Reset exposure compensation afterward so it does not affect the next session.
Editing Photos Taken in Program Mode
A photograph taken in P mode can be edited in Lightroom just like one captured in Aperture Priority or Manual mode. Start by correcting exposure and white balance, then refine highlights, shadows, and color. RAW files usually allow more latitude for some adjustments than heavily processed JPEGs, although neither format can reliably restore detail that was never captured.
For example, a travel photo taken while moving between sunshine and shade may need a white-balance adjustment before applying a creative look. If you use a preset, check skin tones and highlights afterward instead of assuming the same settings will suit every camera file. Adobe's Lightroom editing guide covers these tonal and color controls.
If you want to explore creative styles after getting your exposure right, browse the AAAPresets Lightroom presets for mobile and desktop. Think of presets as an editable starting point rather than a replacement for careful capture and individual adjustments.
Final Takeaway
Program Mode is a practical middle ground: let the camera select aperture and shutter speed, then take charge of the settings that matter to your subject. Watch shutter speed, use exposure compensation deliberately, and experiment with Program Shift where available. When you need to lock in background blur, motion rendering, or consistent exposure, switch to the mode that gives you that control.
Written by Asanka — creator of AAAPresets, serving more than 10,000 customers.


Leave a comment
This site is protected by hCaptcha and the hCaptcha Privacy Policy and Terms of Service apply.