
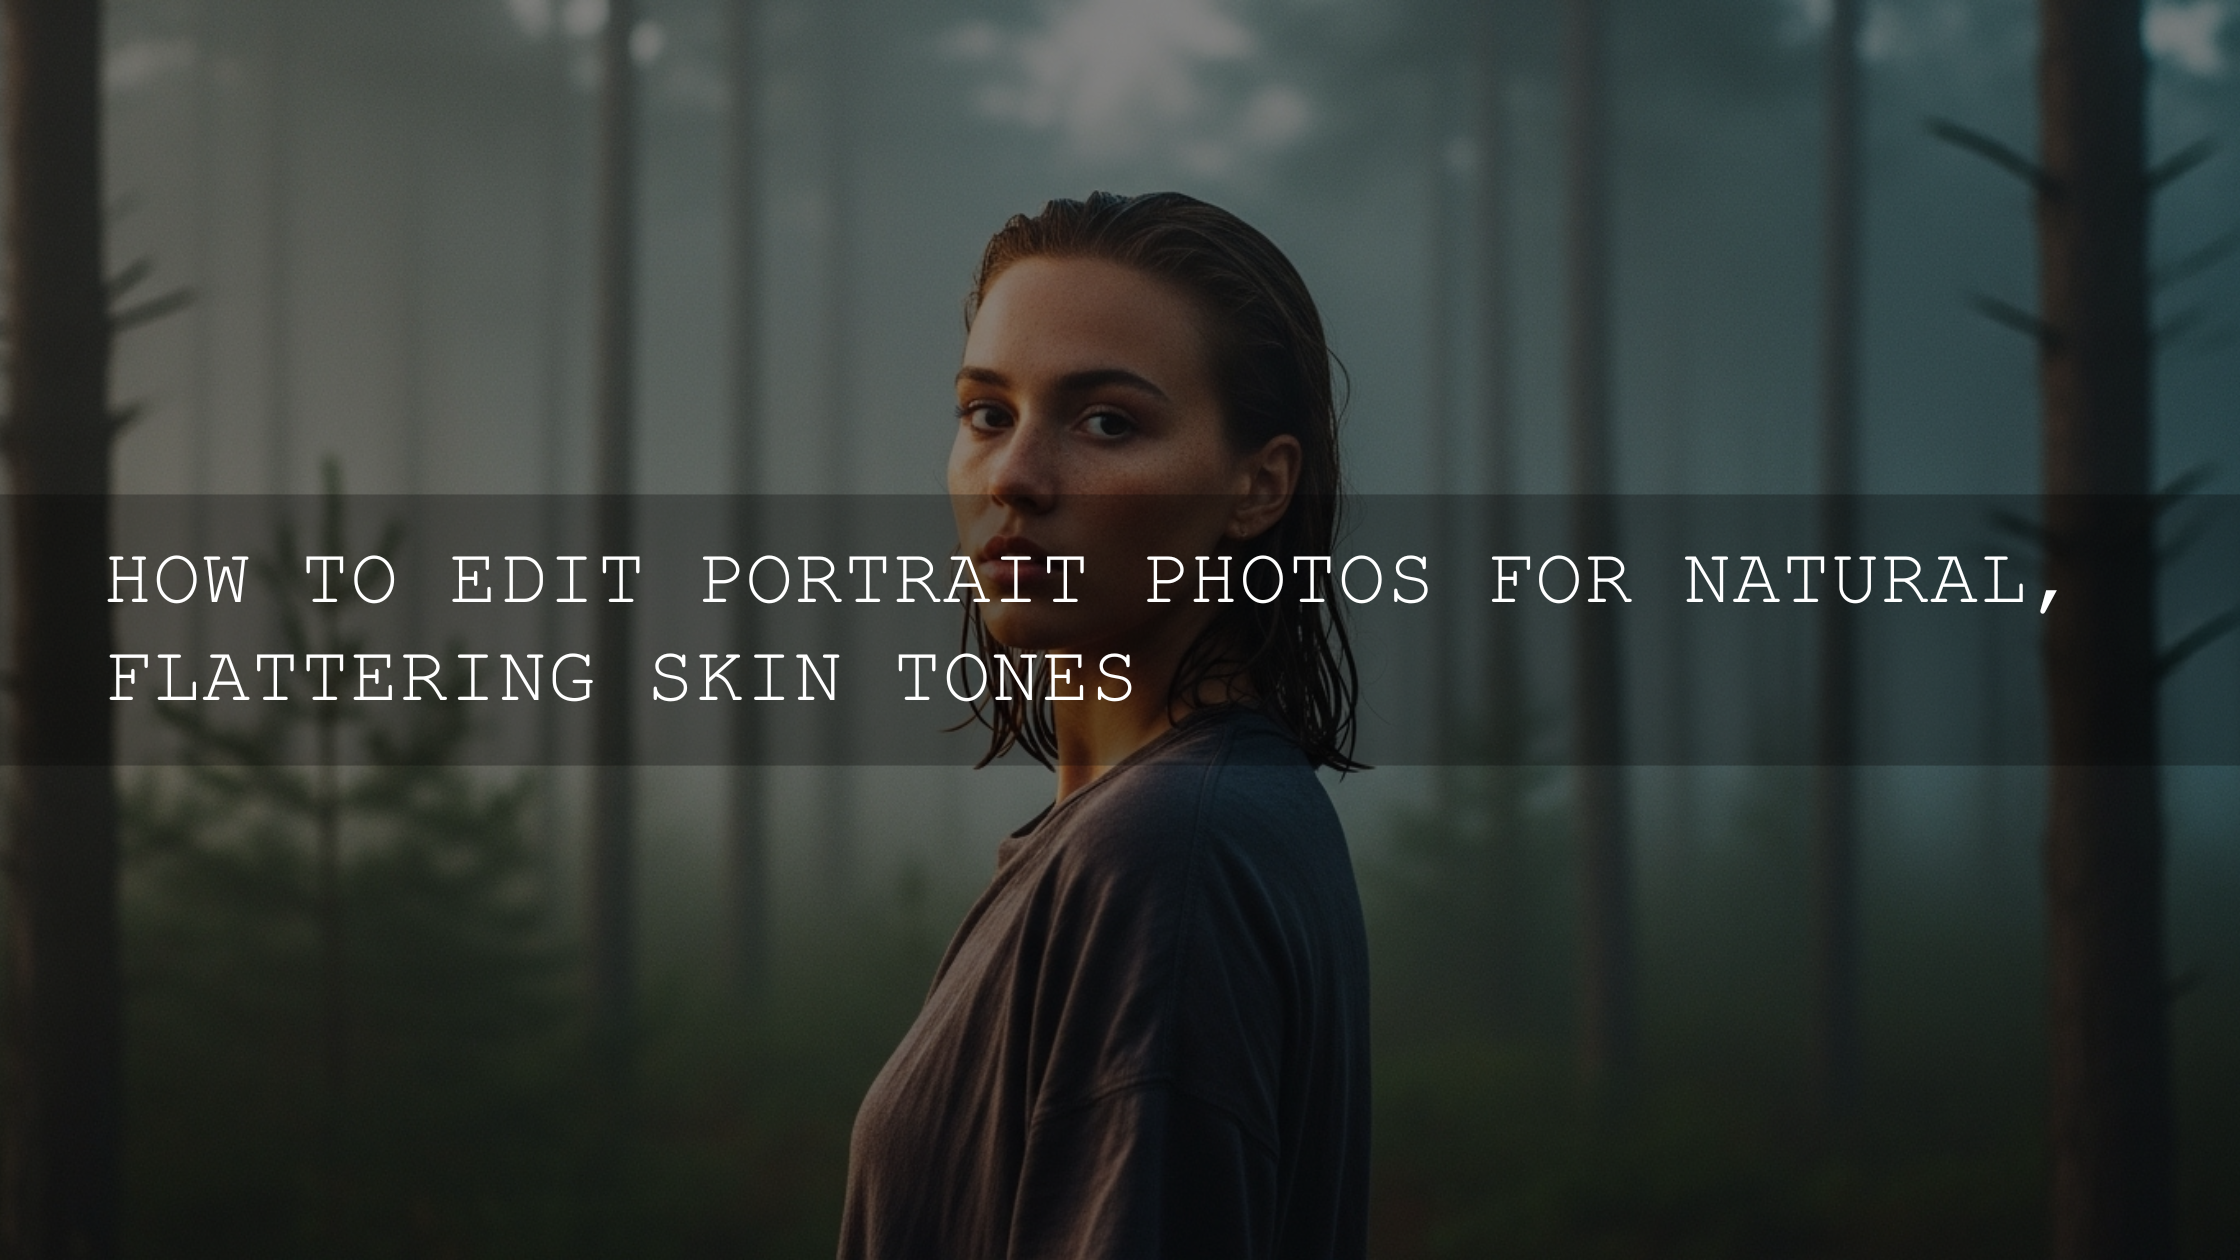
Editing Outdoor Portraits in Harsh Sunlight: A Complete Lightroom Workflow (Plus Pro Retouch Tips)
Editing outdoor portraits in harsh sunlight can feel like damage control: blown highlights on foreheads, deep “raccoon-eye” shadows, squinting subjects, and skin tones that suddenly look too orange or too flat. The good news? With the right Lightroom portrait editing workflow (and a few Photoshop skin retouching tricks when needed), you can recover highlights, lift shadows naturally, and end up with a clean, premium-looking portrait that doesn’t scream “fixed in post.” Let’s break it down in a way you can repeat on every shoot.
If you want a fast starting point for portraits (especially when the light is messy), you can apply a skin-safe base and then refine it with masks. For example, try AI-Optimized Skin Tone Safe Pro Portrait Lightroom Presets, and browse more looks inside Portrait Photography Lightroom Presets. And if you’re building a whole toolkit at once, remember our offer: Buy 3, Get 9 FREE when you add 12 items to your cart.
Why Harsh Sunlight “Breaks” a Portrait (What Your Camera Can’t Hold)
Midday sun is a tiny, intense light source compared to your subject. That creates extreme contrast your sensor struggles to capture in one exposure. You usually get some mix of clipped highlights, crushed shadows, and harsh transitions that make skin look less flattering than it did in real life.
- Highlights clip fast: Foreheads, noses, cheeks, shoulders, white shirts, and bright hair highlights can turn into detail-less white patches.
- Shadows go heavy: Eye sockets, under-chin areas, and nose shadows become deep and sharp-edged.
- Skin tone shifts: Sun can push warmth/yellowness, wash out color, or create uneven tone across the face.
- Texture looks harsher: Strong light emphasizes pores, dryness, and small imperfections more than soft light does.
Your goal in editing isn’t to “flatten” everything—it’s to compress the dynamic range and then re-shape the portrait so it looks natural, soft, and intentional.
Quick Triage: The 60-Second Checklist Before You Touch the Sliders
- Confirm you’re editing RAW if possible: RAW gives you more highlight recovery and cleaner shadow lifting than JPEG.
- Check clipping: Turn on highlight/shadow clipping warnings (or use the histogram) so you know what’s truly lost.
- Pick a sensible profile first: Start neutral-ish (not ultra-contrast) so you don’t fight the file.
- Fix white balance early: Bad WB makes every later step feel “off,” especially skin.
- Decide the final mood: Clean and bright? Warm and cinematic? Soft and pastel? This guides contrast and color moves.
Step-by-Step Lightroom Workflow for Harsh Sun Portraits
Step 1: Set a clean base exposure (don’t chase brightness yet)
In harsh sun, highlights are usually your limiting factor. I often start by slightly lowering exposure until the brightest skin areas stop looking “empty,” then rebuild the midtones with more controlled tools.
- Exposure: Nudge down if highlights are screaming. Keep it subtle.
- Highlights: Pull down until you see skin detail return in hot spots.
- Shadows: Lift just enough to reveal key detail (eyes, hair, clothing). Don’t try to make shadows as bright as highlights.
- Whites/Blacks: Use these to set endpoints without clipping. A tiny blacks lift often helps harsh light feel less aggressive.
Pro tip: If the face is bright but the background is even brighter, don’t “global brighten” the image. Instead, keep the global exposure controlled and use masking to lift the subject.
Step 2: Rebuild contrast the premium way (avoid the “HDR portrait” look)
Harsh sun creates contrast that’s too hard and too sharp. The fix is not to delete contrast—it’s to reshape it so transitions look softer.
- Contrast slider: Often a small decrease helps immediately.
- Tone Curve: Use a gentle curve to keep midtone depth while protecting highlights. Think “soft S-curve,” not “crunchy S-curve.”
- Texture/Clarity: If skin looks harsh, slightly reduce texture/clarity locally on skin instead of globally softening everything.
Step 3: Fix color and skin tone (the part that makes it look real)
Once exposure is stable, dial in color. Skin is the “truth meter” of portrait editing—if skin is right, the whole image feels right.
- White Balance: Cool down overly yellow sun, but don’t go blue. Adjust Tint if skin looks too green/magenta.
- Vibrance over Saturation: Vibrance is safer for skin. Saturation can turn skin orange fast.
- HSL (Color Mixer): If skin is too red/orange, reduce orange saturation slightly and adjust orange luminance gently to smooth unevenness.
Official references if you want the exact tool behavior: Adobe’s guide to white balance.
Step 4: Use Lightroom masking to solve the “raccoon eyes” problem
This is the biggest “harsh sun” win: fix the face without wrecking the whole photo. Use masks like a makeup artist—precise, soft, and layered.
- Mask the face/subject: Lift exposure slightly, raise shadows a bit, and reduce contrast just a touch.
- Under-eye shadow mask: Use a small brush with heavy feather. Lift shadows and reduce clarity/texture a tiny bit.
- Hot-spot highlight control: Brush over forehead/nose/cheeks and pull highlights down (sometimes also lower whites slightly).
- Background control: If the background is too bright, mask it and drop highlights/whites to keep attention on the subject.
If you want Adobe’s official masking references: Lightroom Classic masking tool guide and Camera Raw masking overview.
Pro tip: Feathering matters more than power. A weak mask with smooth edges looks expensive; a strong mask with hard edges looks fake.
Step 5: Eye and smile details (small moves, big impact)
- Whites of the eyes: Don’t “whiten.” Instead, lift exposure slightly and reduce saturation a tiny amount if needed.
- Iris pop: A subtle texture/clarity increase on the iris can add life—keep it minimal.
- Teeth: If needed, slightly reduce yellow saturation, not pure brightness.
Step 6: Clean finishing (noise, sharpening, and consistency)
Shadow lifting can introduce noise. Apply moderate noise reduction, then sharpen carefully so the image stays crisp without turning skin gritty.
- Noise reduction: Enough to smooth the lifted shadows, not enough to make skin plastic.
- Sharpening: Use masking in sharpening (edge-based sharpening) so you don’t sharpen skin texture too aggressively.
Presets vs Manual Editing in Harsh Sunlight (The Smart Hybrid)
Here’s the honest take: harsh sunlight is exactly where presets can save time if you treat them as a starting look—not a final answer. Manual editing is still essential for the problem areas (eyes, hot spots, uneven skin tone).
- Use presets when: you want a fast color direction, consistent mood, and a clean baseline across a set.
- Go manual when: highlights are clipped, under-eyes are too deep, or the face needs local shaping.
A workflow that works almost every time:
- Fix exposure + WB first (even roughly).
- Apply a preset at a realistic strength.
- Immediately correct highlights/shadows again.
- Use masks to perfect the face.
If you want extra depth on making presets behave across different lighting, these are worth reading: Why Lightroom presets look different (and how to fix it), Fix washed-out photos & boost contrast, and Keep natural colors while using strong presets.
If you want a portrait-friendly base that protects skin in tough light, start with Skin Tone Safe Pro Portrait presets. And if your goal is to turn “midday harshness” into a warm, flattering vibe, try AI-Optimized Golden Hour Film Glow Lightroom Presets as your look—then bring it back to reality with highlight control and face masks.
When to Take It Into Photoshop (And When Lightroom Is Enough)
Lightroom can solve 90% of harsh-sun problems—especially with masks. Photoshop is for the last 10%: stubborn blemishes, advanced skin cleanup, and micro control.
- Stay in Lightroom if: your main issue is highlights/shadows, WB, and local face shaping.
- Go to Photoshop if: you need more precise skin retouching, stray hair cleanup, or detailed frequency separation work.
If you edit through Photoshop/Camera Raw often, you can also build a consistent pipeline with Professional Presets for Adobe Camera Raw (ACR) and keep an install guide handy like How to install presets in Adobe Photoshop (Camera Raw).
I tested this exact workflow on a midday outdoor portrait set where the forehead highlights looked completely blown and the eye sockets were heavy. After pulling highlights down globally, lifting shadows lightly, and then masking just the under-eyes and hot spots, the file went from “too harsh to deliver” to a clean, client-ready portrait in minutes.
Mini Case Study: Rescuing a Midday Portrait Without Making It Look Fake
Before: Forehead and cheek highlights are too bright, under-eyes look tired, and the skin tone shifts warm/orange in the sunlit areas while the shadow side looks dull.
After (the moves that matter):
- Lowered highlights globally to recover skin detail.
- Lifted shadows gently (not all the way) to restore facial shape.
- Used a face mask to brighten midtones slightly, then a separate brush mask to soften under-eye shadows.
- Used a hot-spot mask to reduce forehead shine and smooth transitions.
- Fine-tuned orange luminance and saturation for natural skin.
Pro tip: If you ever feel tempted to “fix everything” with one giant global adjustment, pause. Harsh sun portraits almost always need two or three small masks instead.
In-Camera Moves That Make Editing Easier Next Time
You can’t always control the sun, but you can control your starting file. These are the easiest wins:
- Find open shade: The fastest way to soften light without gear.
- Backlight your subject: Put the sun behind them and expose for the face (then control background in post).
- Use a reflector: Even a cheap white reflector can lift eye sockets and reduce harsh shadows.
- Shoot slightly underexposed (for highlights): Protect skin highlights—shadows are easier to lift than blown skin is to rebuild.
Related Reading (If You Want to Go Deeper)
- Adapting presets to any lighting (Lightroom Mobile)
- How to harmonize skin tones across different lighting
- Keeping natural colors while still using powerful presets
- Fixing washed-out, low-contrast edits
- How to install Lightroom presets (quick and easy)
Closing Notes (And a Simple Way to Speed Up Your Workflow)
Editing outdoor portraits in harsh sunlight is less about “saving a bad photo” and more about learning how to reshape light after the fact—recover highlights, lift shadows with restraint, and use Lightroom masking to fix the face without flattening the scene. If you want to speed things up, start with a portrait-safe base like Skin Tone Safe Pro Portrait, then build your full toolkit with the 1000+ Master Lightroom Presets Bundle and browse styles inside Portrait Photography Lightroom Presets. Buy 3, Get 9 FREE applies when you add 12 items—so you can grab a few portrait looks, a golden-hour vibe, and any extra styles you want in one go.
If you ever get stuck on installs, compatibility, or licensing, you can also reach us here: AAAPresets contact page.
How do I recover blown highlights on skin in harsh sunlight?
Start by lowering Highlights (and sometimes Whites) until texture returns, then use a local mask on hot spots (forehead/nose/cheeks) to refine without darkening the whole image. If highlights are truly clipped, you can reduce how noticeable they are, but you can’t fully “recreate” missing detail.
Should I fix exposure before applying a portrait preset?
Yes—get exposure and white balance roughly correct first, then apply the preset as a look. After that, re-check Highlights/Shadows again and finish with masks on the face.
What’s the best Lightroom masking approach for raccoon eyes?
Use a small, heavily feathered brush under the eyes and lift Shadows slightly while reducing Texture/Clarity a little. Keep it subtle—your goal is to soften the shadow, not erase facial shape.
Do presets work on harsh sunlight portraits or should I edit manually?
Presets can be a great starting point, but harsh sun almost always needs manual fixes—especially highlight recovery and local face masks. The best results come from a hybrid workflow: preset for style, manual for problem areas.
When should I move from Lightroom to Photoshop for harsh sunlight portraits?
Move to Photoshop when you need advanced skin cleanup, stray hair control, or very precise retouching. For exposure, color, and most local light shaping, Lightroom (with masks) is usually enough.
Written by Asanka — creator of AAAPresets (10,000+ customers).
Leave a comment
This site is protected by hCaptcha and the hCaptcha Privacy Policy and Terms of Service apply.