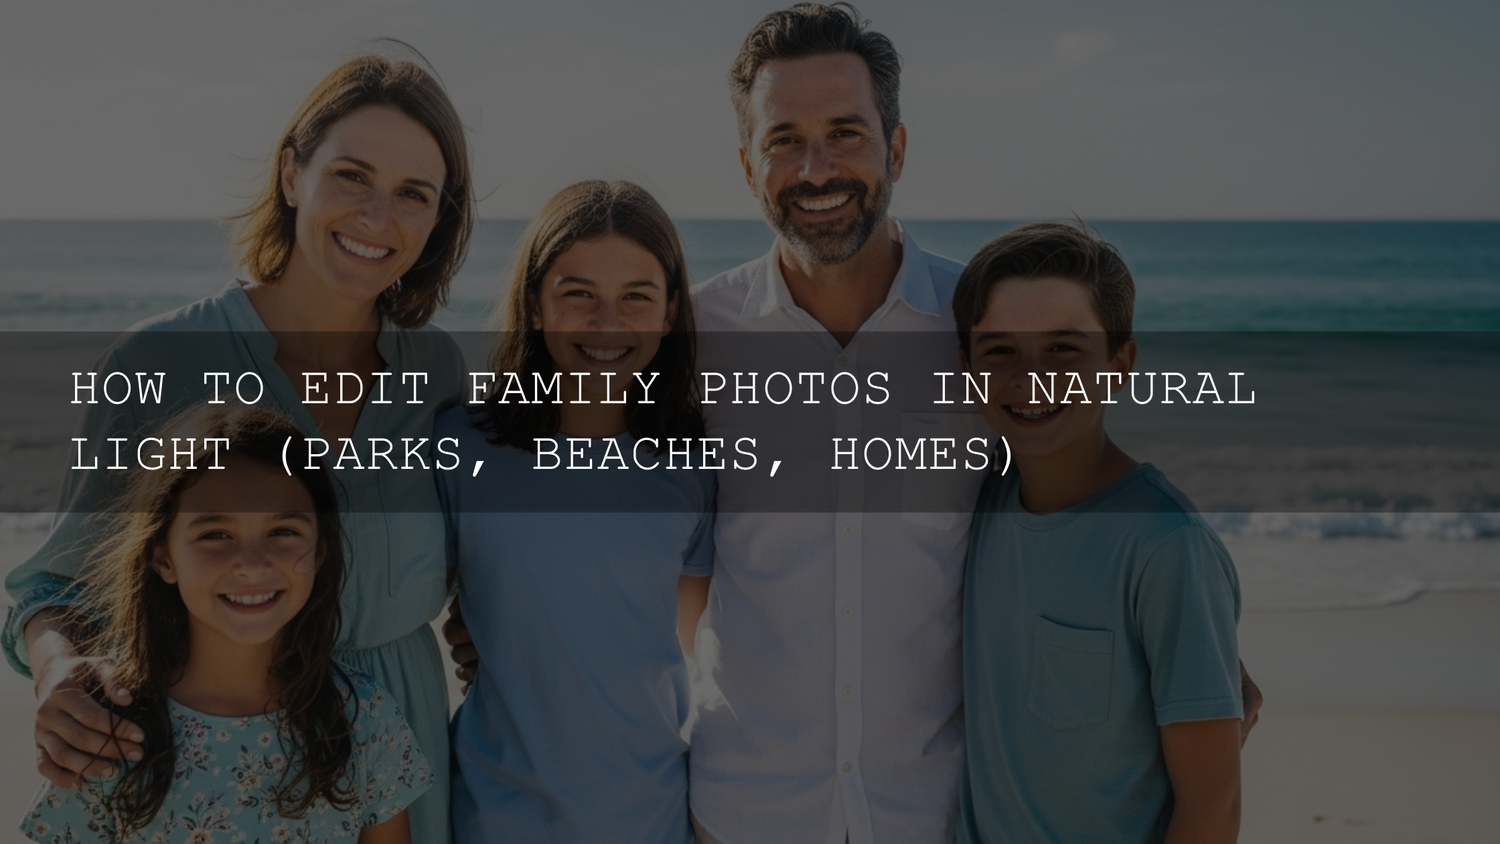
Natural Light Family Photo Editing in 2026: Make Everyday Moments Look Like You Remember Them
Natural light family photo editing is one of the easiest ways to turn “nice” snapshots into photos that feel warm, real, and timeless—without making your family look overly filtered. In 2026, most of us are shooting on smartphones (and sometimes a camera), chasing kids through parks, laughing on windy beaches, or catching quiet window-light moments at home. The light is already doing the hard work—your edit just needs to protect it, shape it, and help the emotion come through.
Here’s the simplest promise of this guide: keep the light believable, keep skin tones natural, and guide the viewer’s eye to the moment.
If you want a fast, consistent “family-friendly” starting point, you can start with a versatile bundle like 1000+ Master Lightroom Presets Bundle and browse looks made for both phone and desktop in Lightroom Presets for Lightroom Mobile & Desktop. If you’re building your toolkit, you can Buy 3, Get 9 FREE when you add 12 items to your cart—so it’s easy to grab a few “natural light” looks plus a couple of backups for tricky lighting.
Why Natural Light Makes Family Photos Feel So Good
Natural light is flattering because it’s usually softer than artificial light, and it keeps colors closer to what your eyes remember. Golden hour feels nostalgic. Open shade in a park feels calm and gentle. Window light at home feels cozy and intimate. Your goal in editing isn’t to “replace” that light—it’s to:
- Protect highlights so skies, white shirts, and bright sand don’t blow out.
- Lift shadows carefully so faces in shade still feel alive (without turning grainy).
- Lock skin tone first so the photo feels human and believable.
- Control attention so the viewer’s eye lands on faces and connection.
Editing rule I follow: If the light looks “too perfect,” I probably pushed it too far.
Your Essential Toolkit (Phone Editors + Lightroom)
You don’t need a complicated setup. You just need a reliable set of sliders and one optional “power tool” (masking) for quick, targeted fixes.
- Built-in phone editors (Apple Photos / Google Photos): great for quick exposure, highlights, warmth, and cropping.
- Lightroom Mobile / Desktop / Classic: best for consistent color, presets, and selective masking.
- Presets (optional): speed + consistency—especially for family albums where you want a cohesive look.
If you’re using Lightroom, these official guides are worth bookmarking: Install custom Presets and Profiles in Lightroom (Adobe) and Lightroom Classic Masking tool guide (Adobe).
The 7-Step Natural Light Edit (Use This Every Time)
This is the repeatable workflow that keeps edits natural and fast—perfect for family photos.
- Crop + straighten (fix horizon first—especially beach shots).
- Set exposure so faces feel right (not the background).
- Pull highlights down until bright areas regain detail.
- Lift shadows slightly to reveal faces and detail (stop before it looks flat).
- White balance (skin tone check: does it look healthy and real?).
- Add gentle contrast (or a soft curve) to restore depth.
- Finish with local tweaks (mask faces, reduce distractions, add subtle warmth).
Pro tip you can test right now: If the photo looks “washed,” don’t crank global contrast first. Try lowering highlights and raising shadows slightly, then add a tiny bit of midtone contrast (or clarity) only if needed.
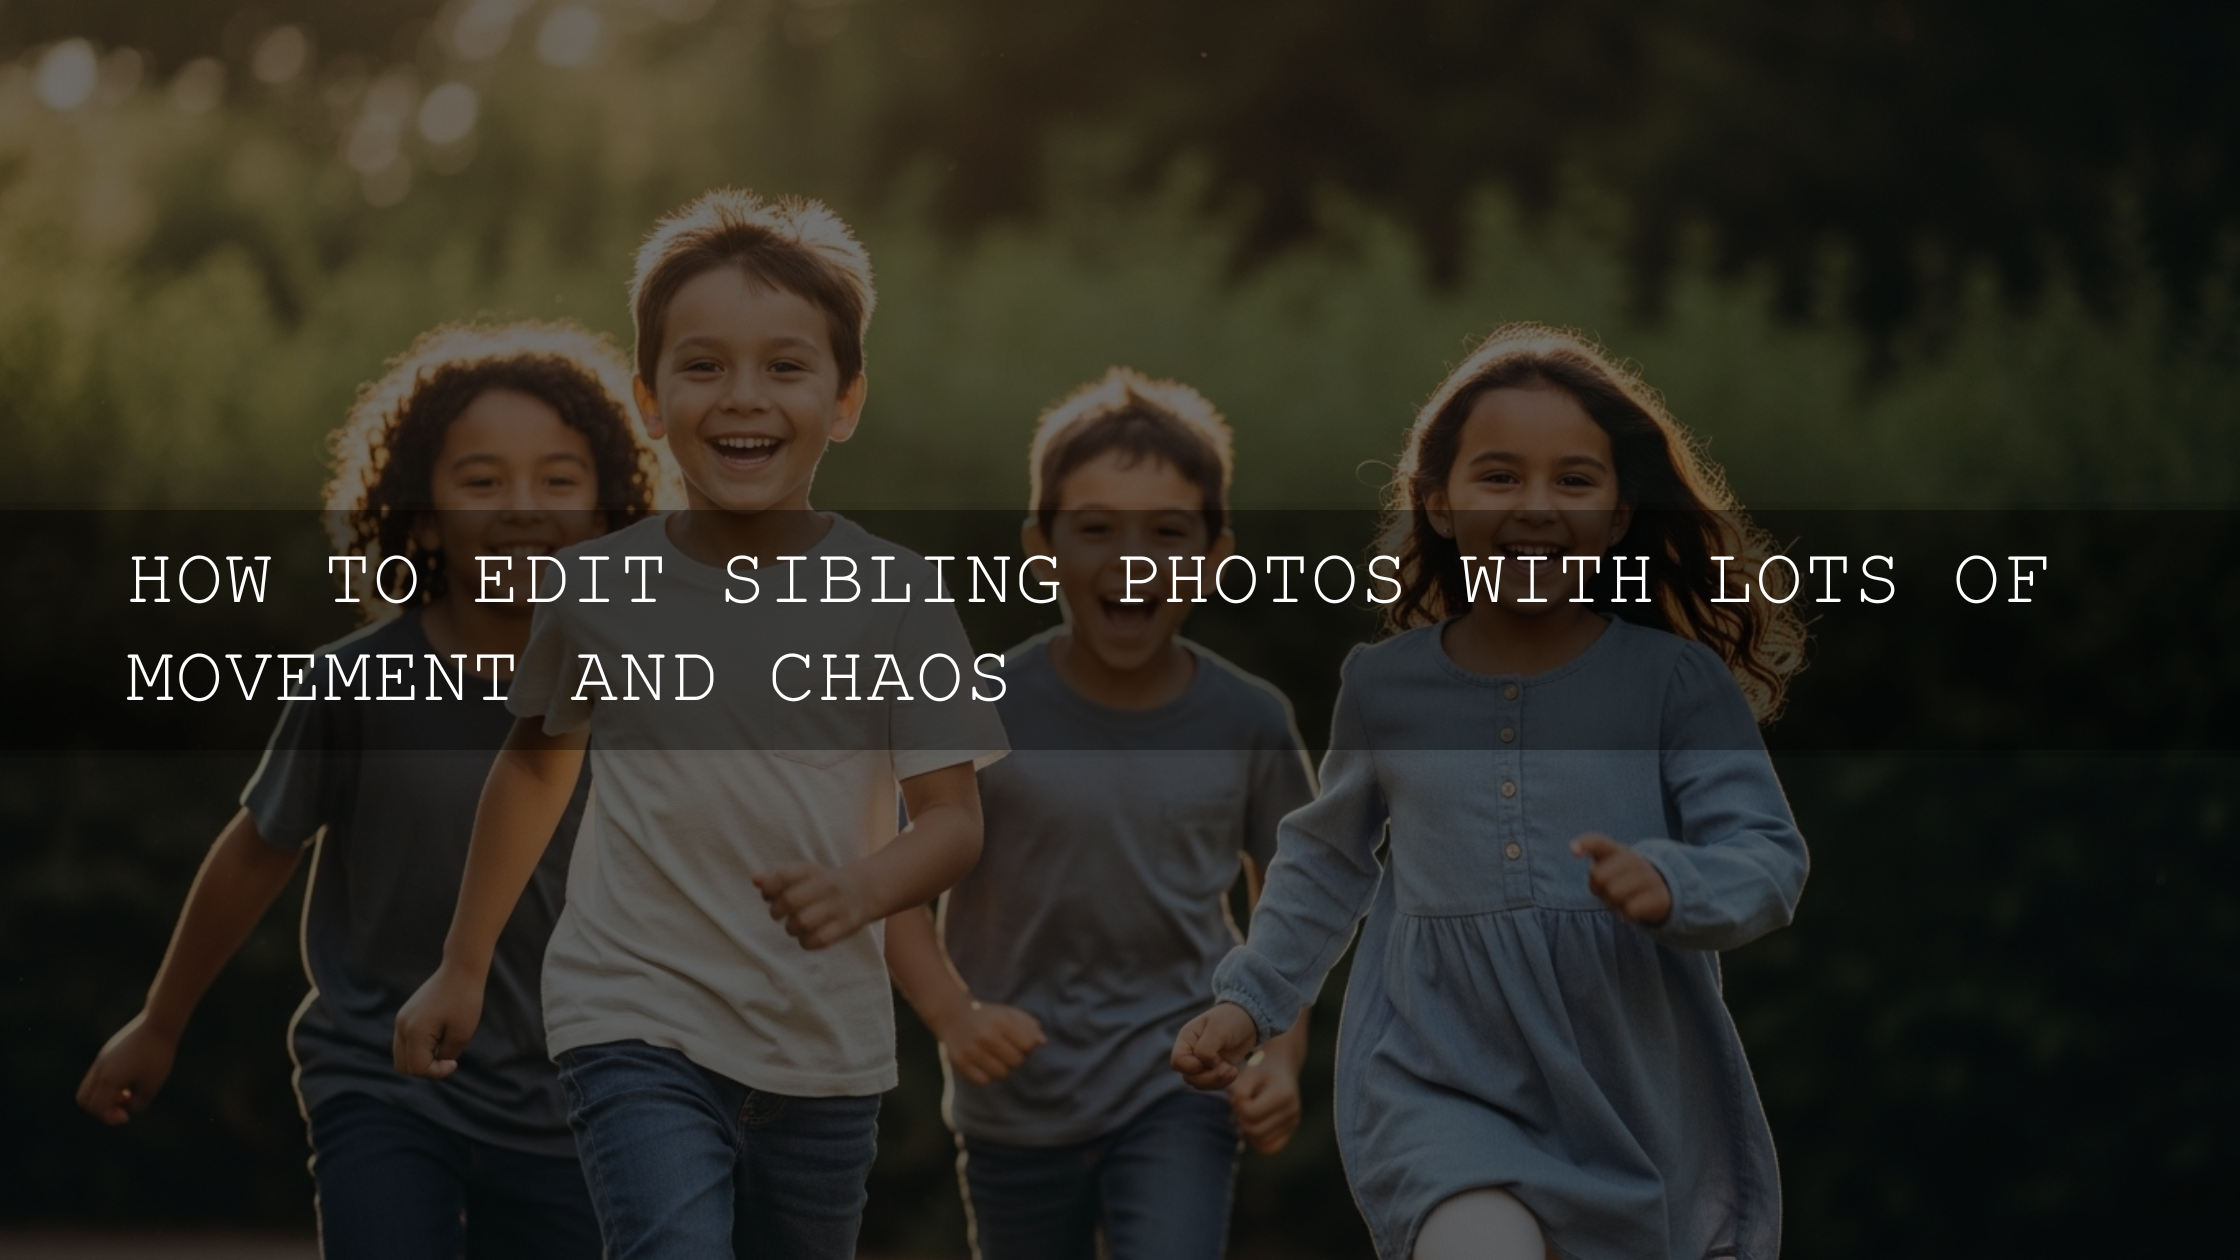
Editing Park Family Photos: Dappled Light Without Harsh Faces
Parks are beautiful… and chaotic. Trees create patchy light, grass reflects green, and faces can fall into shadow. The goal is a clean, vibrant look that still feels natural.
1) Fix the “patchy light” problem
- Lower highlights to calm bright spots on foreheads, cheeks, and shoulders.
- Lift shadows slightly so eyes and smiles don’t disappear under shade.
- Mask the face and add a small exposure lift (this usually looks more natural than lifting shadows globally).
If you’re using Lightroom masking, start with a simple subject/face mask and keep changes small—think “help the light,” not “repaint the photo.”
2) Make greens look healthy (without neon grass)
- Reduce green saturation a touch if the scene looks overly “radioactive.”
- Lift green luminance slightly to keep foliage airy and pleasant.
- Protect skin tones: if faces start looking sickly, warm temperature slightly or nudge tint toward magenta.
3) A realistic before/after you’ll recognize
Before: kids under a tree, faces a bit dark, background bright, grass too strong. After: highlights recovered, faces gently lifted with a mask, greens softened, skin warmed slightly, and the whole image feels like a calm summer memory.
Want a portrait-friendly starting point for outdoor family faces? Try a skin-safe portrait preset and then refine it: AI Optimized Portrait Lightroom Presets.
Editing Beach Family Photos: Keep the Glow, Save the Sky
Beach light is big, bright, and reflective. Sand and water can trick your camera into overexposing faces or blowing out highlights.
1) Tame the brightness (without making it dull)
- Lower highlights first (this usually saves the sky and water instantly).
- Lower whites slightly if sand is clipping to pure white.
- Adjust exposure last after highlights/whites are under control.
2) Get skin tones right in sun + reflection
- Check white balance on skin, not on the sand.
- Watch for “too orange”: if warmth looks heavy, cool temperature slightly and reduce orange saturation a touch.
- Use a face mask to add a tiny shadow lift instead of blasting the whole photo.
3) Quick “coastal vibe” finish
- Vibrance up slightly (more forgiving than saturation).
- Dehaze (tiny) only if the scene is genuinely hazy—stop before skies look crunchy.
Indoor Natural Light Editing: Window Light That Feels Cozy, Not Yellow
Home photos are often the most meaningful—and the hardest to balance—because indoor light can mix window daylight with warm lamps.
1) Window light portraits (the “soft glow” look)
- Expose for the face (a little brighter is usually fine for a soft, clean feel).
- Lift shadows gently to bring back detail in eyes and hair.
- Don’t over-contrast—window light already has beautiful softness.
First-hand note: I tested this exact workflow on a low-light family session near a window, and the biggest “wow” change came from pulling highlights down (to protect the bright window) and then using a small face mask lift instead of raising global exposure.
2) Mixed lighting (daylight + lamp)
- Pick a “skin-first” balance: adjust white balance until skin looks believable, even if the background stays slightly warm or cool.
- Use selective edits (mask the subject and fine-tune temperature/tint locally).
- Go black and white if the colors fight you—mixed lighting often looks stunning in monochrome.
Presets vs Manual Editing: Which Is Better for Natural Light Family Photos?
Here’s the truth: presets aren’t “cheating,” and manual editing isn’t “more professional.” The best workflow is usually a hybrid.
Manual editing wins when…
- Lighting is extreme (harsh noon sun, bright beach reflections, strong mixed indoor light).
- You need precise skin tone control.
- You’re rescuing exposure mistakes (blown highlights or deep shadows).
Presets win when…
- You want consistent color across a whole family album.
- You’re editing quickly on your phone.
- You want a reliable “starting look” that you refine in seconds.
The hybrid workflow I recommend
- Do a clean foundation (exposure + highlights + white balance).
- Apply a preset for style (warm, clean, film, bright, moody).
- Refine with small tweaks (especially skin + highlights).
First-hand note: When I push a preset too hard on a bright beach photo, the giveaway is almost always skin going orange or highlights turning “paper white.” My fix is simple: lower highlights/whites, then reduce orange saturation slightly and lift orange luminance for a healthier look.
If you want an all-purpose preset library that covers outdoor, indoor, lifestyle, and travel looks, start here: 1000+ Master Lightroom Presets Bundle. For quick phone edits, browse: Lightroom Mobile Presets.
Edit a Full Family Album Fast (Without Losing the Natural Look)
- Edit one “hero” photo first (the most important shot from the day).
- Copy/sync settings to the rest (especially preset + tone curve + color).
- Then only adjust exposure + white balance per photo to match changing light.
- Use masks for faces on 3–5 key images (the ones you’ll print or post).
If your presets feel inconsistent from photo to photo, these internal guides can save hours:
- Mastering Lightroom Mobile Presets: Adapting to Any Lighting
- The Ultimate 10-Step Troubleshooting Checklist for Stubborn Preset Problems
Related Reading (Helpful Install + Workflow Links)
- How to Install Lightroom Presets in a Quick and Easy Way
- How to Install DNG Preset Files in the Lightroom Mobile App
- How to Install Presets in Adobe Photoshop (Camera Raw)
A Quick Note on “Photos vs Video” (When LUTs Make Sense)
If you’re editing family moments as short reels or home videos, you’ll hear “presets” and “LUTs” used together. Presets are mainly for photos (Lightroom). LUTs are mainly for video grading (DaVinci Resolve, Premiere Pro). If you want a simple cinematic video starting point, you can explore 700+ Cinematic Video LUTs For Your Next Project, then learn a clean node-based approach in DaVinci Resolve Training (Blackmagic Design).
If you’re ready to edit your next family day in minutes (not hours), start with AI Optimized Portrait Lightroom Presets for clean skin and soft natural light, and browse more looks in Lightroom Presets for Lightroom Mobile & Desktop. You can Buy 3, Get 9 FREE when you add 12 items to your cart—so you can grab a couple of “outdoor,” “beach,” and “window light” looks and always have a backup.
FAQs
Why do my natural light family photos look washed out after editing?
Most of the time it’s too much exposure or too much shadow lift. Pull down highlights first, lower whites slightly, then add a small amount of midtone contrast instead of cranking global contrast.
Should I fix exposure before or after applying a preset?
For natural light family photos, fix exposure and white balance first so the preset lands on a clean foundation. If you already applied a preset, it’s fine—just correct highlights, shadows, and skin tone right after.
How do I keep skin tones natural in beach and park photos?
Balance white balance using skin (not sand/grass), then adjust oranges in the color mixer/HSL if needed. A small face mask is usually more natural than global changes.
What’s the fastest way to edit a whole family album consistently?
Edit one “hero” image until it’s perfect, then sync/copy settings to the rest. After that, only adjust exposure and white balance per photo to match changing light.
When should I convert a family photo to black and white?
When mixed lighting (window + lamp) creates ugly color shifts, or when the moment is stronger than the color. Black and white can instantly make a tricky indoor photo feel timeless.
Written by Asanka — creator of AAAPresets (10,000+ customers).

Leave a comment
This site is protected by hCaptcha and the hCaptcha Privacy Policy and Terms of Service apply.