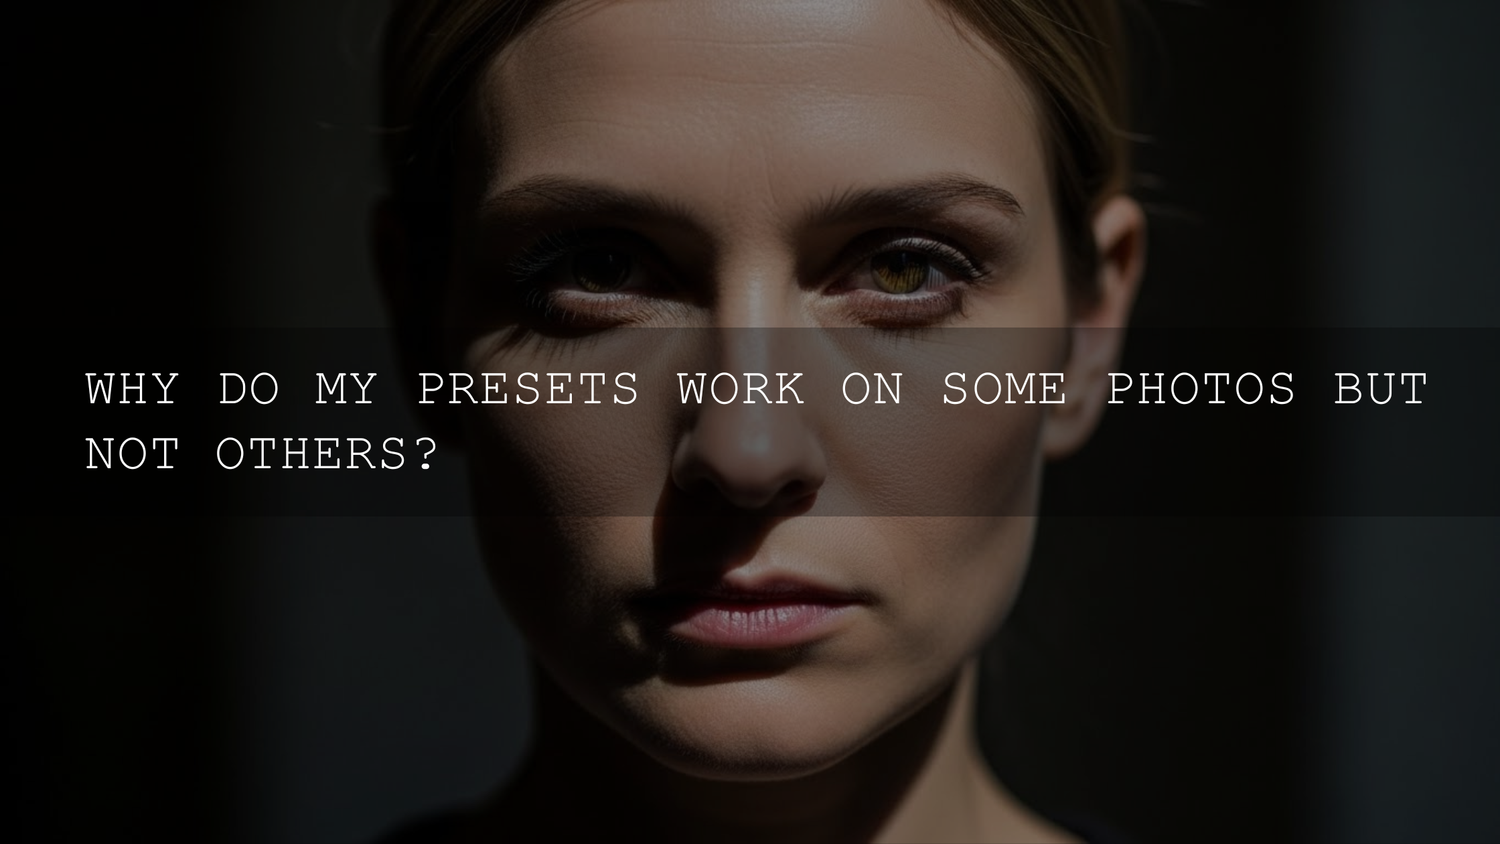
Why Do My Presets Look Different on Different Photos? (And How to Fix It Fast)
If you’ve ever wondered why do my presets look different on different photos, you’re not alone. One image looks perfect—colors pop, the mood is cinematic—and the next image looks muddy, overexposed, or strangely “off.” It feels like your Lightroom presets are being picky… but what’s really happening is much more normal (and fixable).
Think of presets like a recipe. The instructions are the same every time, but the ingredients—your lighting, exposure, white balance, lens, and even file type (RAW vs JPEG)—change from photo to photo. The preset isn’t broken; it’s reacting to a different starting point.
If you want a fast way to get consistent results across mixed lighting, a huge multi-style bundle helps because you can pick a preset that matches the scene instead of forcing one preset to do everything. For example, you can download the 1000+ Master Lightroom Presets Bundle and browse styles that fit daylight, indoor, moody, or travel shots—then fine-tune from a better baseline. If you prefer browsing first, start with Lightroom Presets for Mobile & Desktop (and remember our offer: Buy 3, Get 9 FREE when you add 12 to your cart).
What a Preset Actually Does (No Magic, Just Saved Instructions)
A preset is a saved set of edits: exposure, contrast, highlights, shadows, tone curve, HSL, calibration, sharpening, grain, and more. When you apply it, Lightroom simply “moves the sliders” to those saved values.
Here’s the key: presets are applied relative to your photo’s current state. A preset can’t “know” if your image is already bright, already warm, or already contrasty. So the exact same preset can look stunning on Photo A and chaotic on Photo B.
If you’re installing or importing packs and want to make sure you’re doing it the correct way, use our guide: How to Install Lightroom Presets (Quick & Easy). For Lightroom Mobile DNG workflows, this one helps a lot: How to Install DNG Preset Files in Lightroom Mobile.
The #1 Cause: Exposure Mismatch (Your Preset Isn’t “Wrong,” Your Starting Point Is)
Exposure is the biggest reason presets look inconsistent.
- Bright outdoor photo: a preset that adds +0.40 exposure and lifts highlights might blow out the sky and skin.
- Dark indoor photo: the same preset might keep shadows too deep, or it may add contrast that crushes detail.
Actionable fix: do a 10-second “base correction” before applying your preset:
- Set Exposure so faces/subjects look natural (not perfect—just “normal”).
- Pull Highlights down if anything is clipping.
- Lift Shadows slightly to reveal detail.
- Adjust Whites/Blacks so the image has clean contrast without crushed blacks.
Once your photo is in a healthy range, your preset has a fair chance to shine.
The Color Problem: White Balance and Mixed Lighting
White balance and color casts can completely change how a preset behaves. A preset built on clean daylight can look weird under tungsten bulbs, green fluorescent lighting, or mixed indoor window light.
- Warm indoor tungsten: applying a “cool daylight” look can go overly blue and lifeless.
- Green fluorescent spill: presets can make skin look sickly unless you correct the tint first.
Actionable fix: before (or right after) applying the preset, adjust Temp and Tint until skin tones look believable. Then, if one color is getting ugly (like greens turning neon), open HSL and pull back that specific channel instead of lowering global saturation.
For a deeper explanation of why your photos vary after presets (including white balance and monitor differences), you can also read: Why Do My Photos Look Different After Applying Presets?
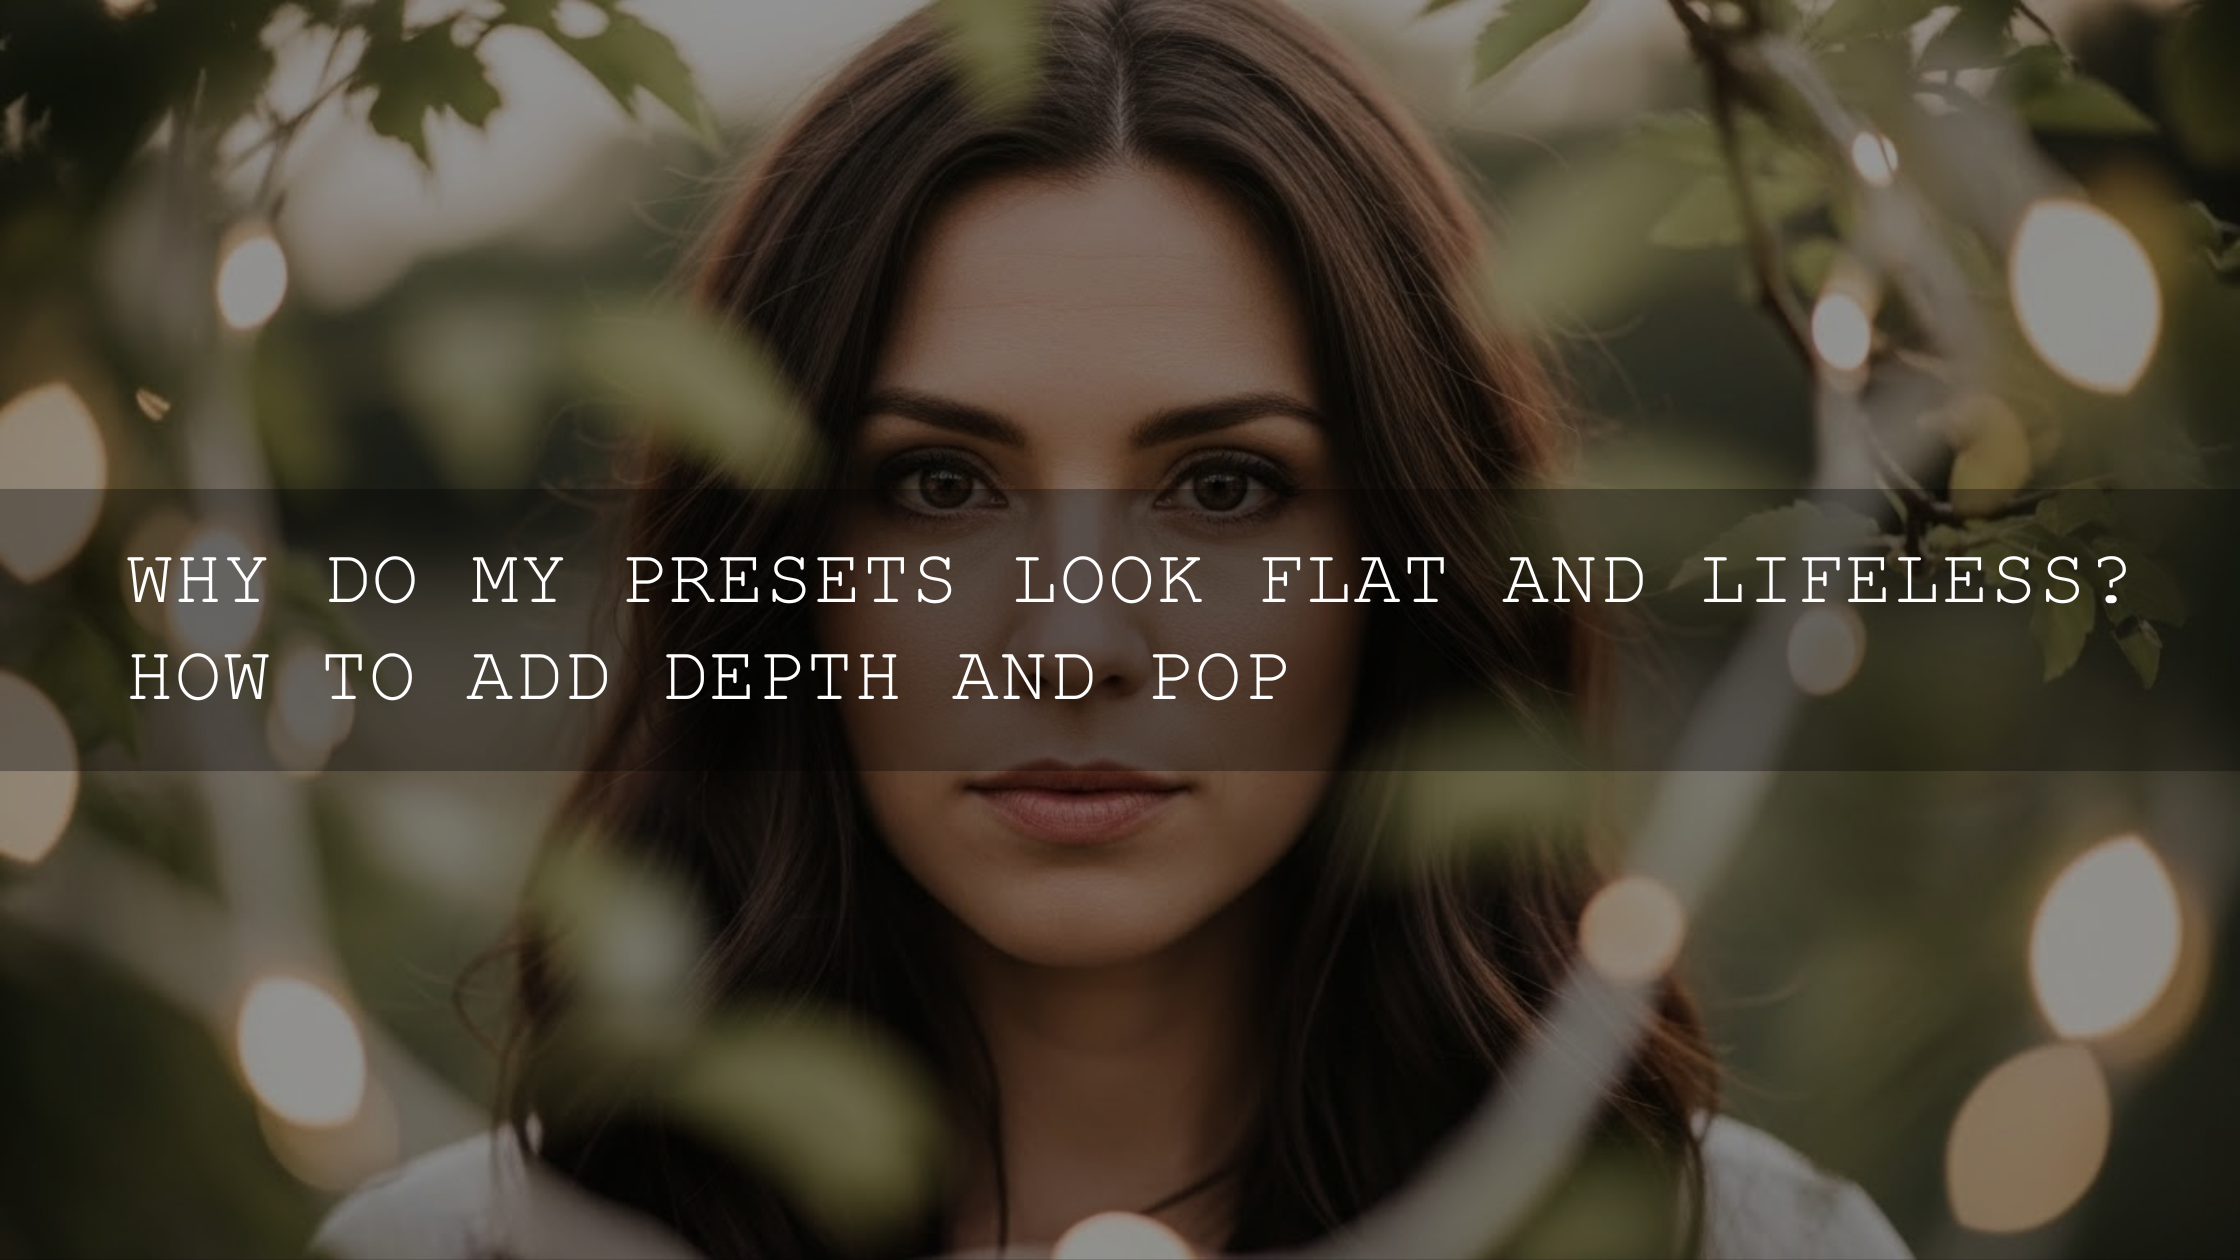
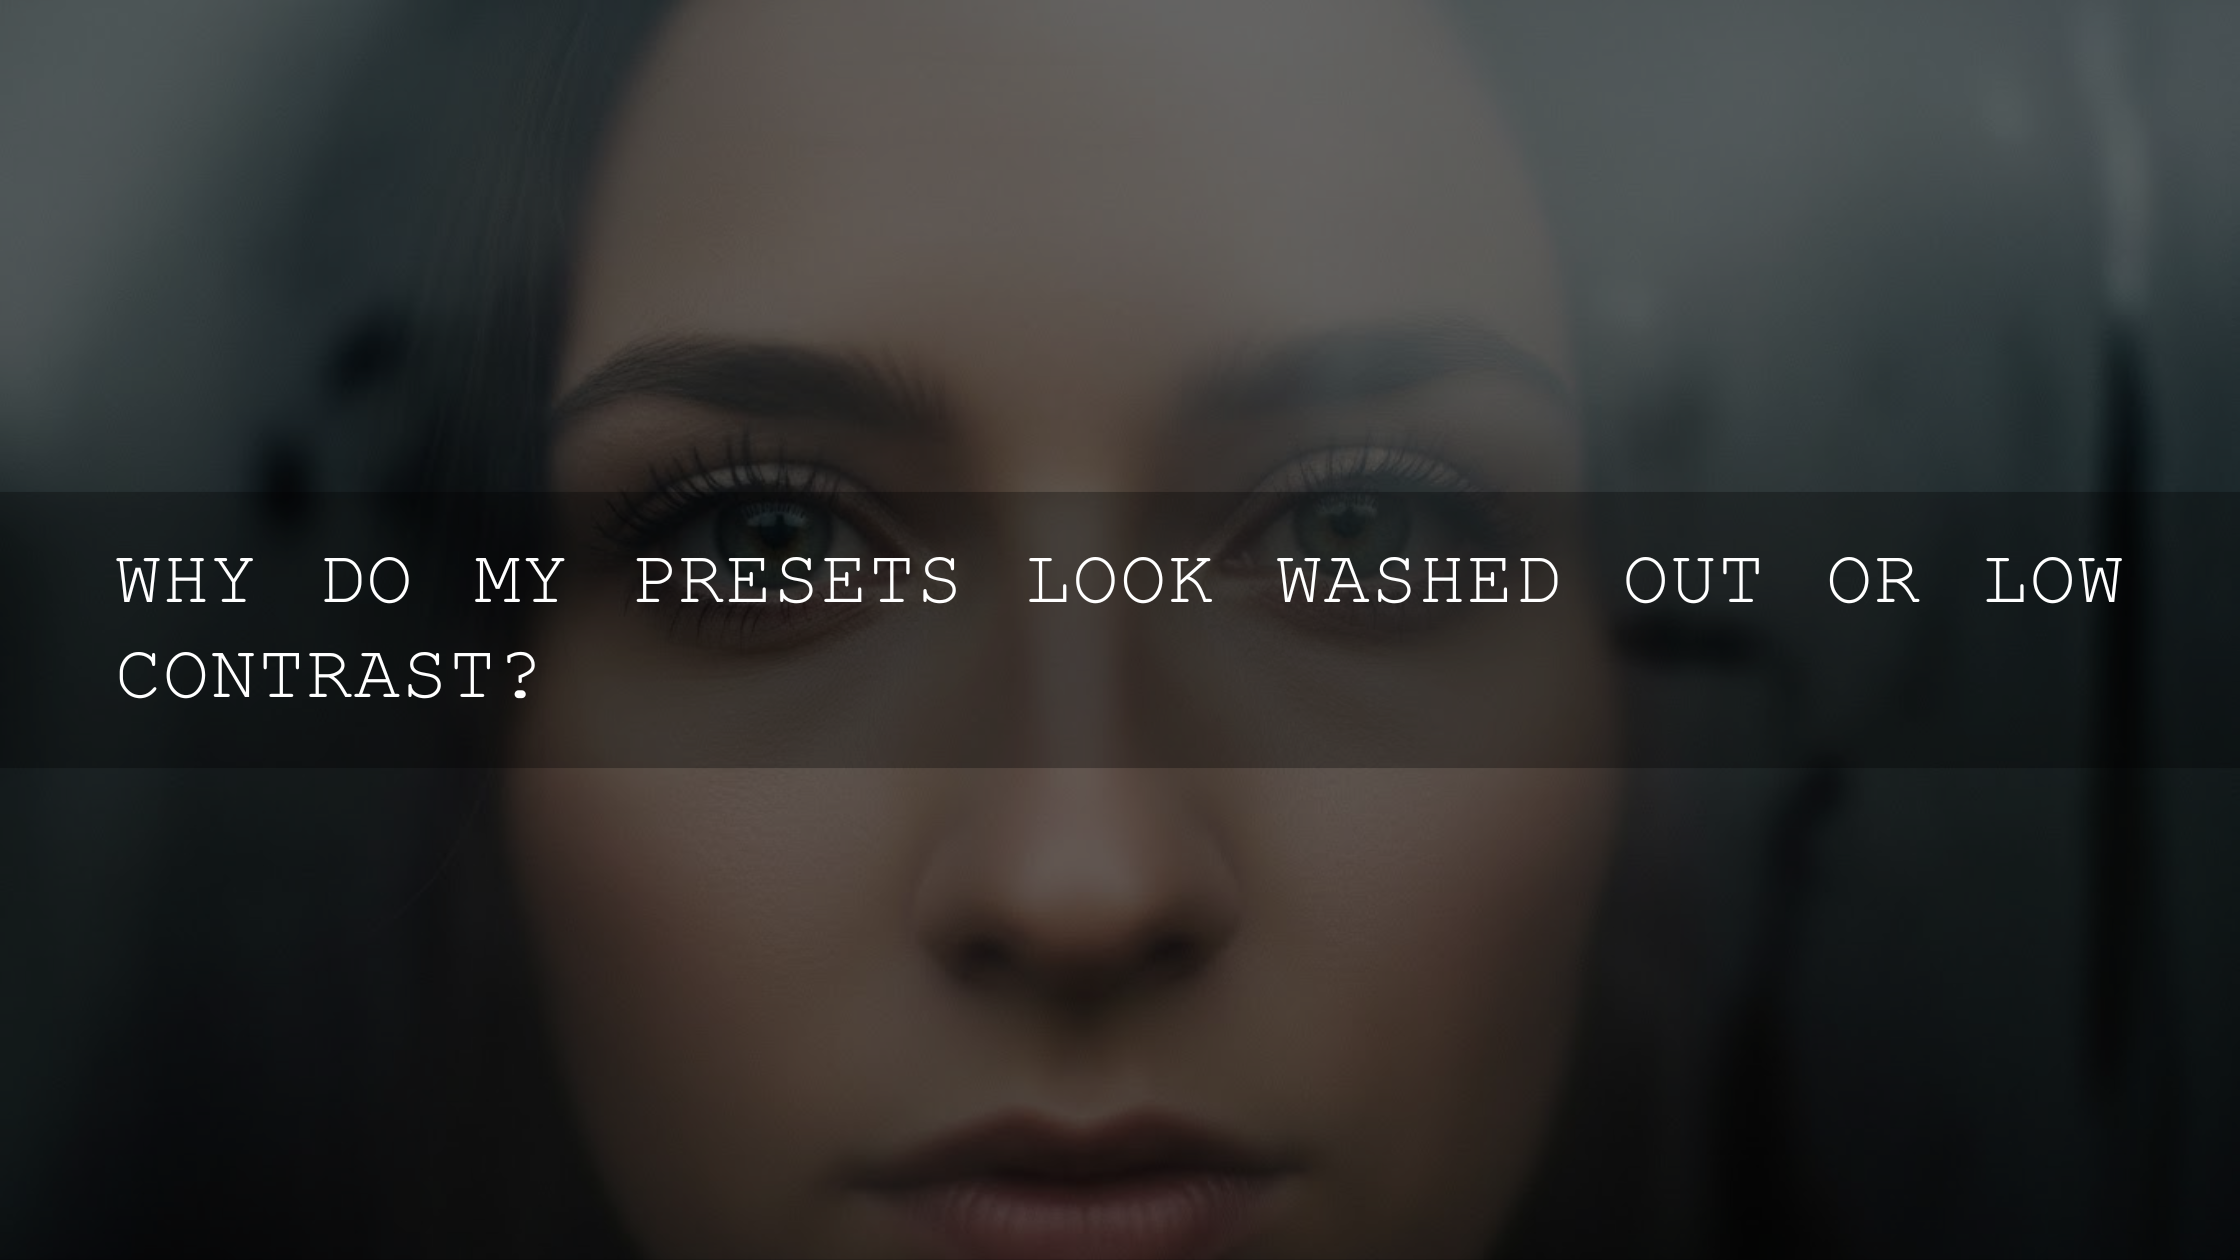
Tonal Range and Contrast: When the Preset “Crushes” Detail
Some presets have strong tone curves (deep blacks, bright highlights, punchy contrast). That’s great when your original is flat—but it can be too aggressive when your original already has harsh lighting.
Quick diagnostic: after applying the preset, check:
- Are shadows turning into solid black blobs? (Blacks too low / curve too steep.)
- Are highlights becoming pure white? (Highlights/Whites too high.)
- Does the image look “muddy”? (Too much contrast + lifted blacks, or color channels fighting.)
Fix in seconds: lower Contrast slightly, reduce Highlights, and lift Shadows just enough to restore detail. If the preset uses a heavy curve, a small curve tweak often does more than moving five different sliders.
RAW vs JPEG: Why Presets Behave Better on RAW
This matters a lot for preset consistency. RAW files hold more detail in highlights/shadows and allow cleaner white balance changes. JPEGs are already “baked” by your camera with sharpening, contrast, and noise reduction—so your preset has less flexible data to work with.
- RAW: easier recovery, smoother gradients, more reliable color tweaks.
- JPEG: faster, smaller, but easier to break (banding, clipped highlights, harsh skin tones).
Pro tip: if you shoot JPEG and presets feel inconsistent, use gentler presets (less curve/sharpening) and rely more on small manual tweaks after.
Camera Profiles, Versions, and Mobile vs Desktop Differences
Two photos can be “technically” similar and still render differently if:
- You used a different camera profile (Adobe Color vs Camera Standard vs a custom profile).
- You edited in Lightroom Mobile vs Lightroom Classic with different defaults.
- Your Lightroom version handles masking/adaptive presets differently.
If you bounce between devices, it helps to understand cross-device preset behavior and proper import methods. Adobe’s official resources are useful here:
- Adobe’s guide to applying presets in Lightroom Classic
- Adobe’s official guide to installing third-party presets and profiles
Sharpening, Clarity, and Noise: The “Crunchy Skin” Problem
If your preset includes heavy sharpening, texture, clarity, or dehaze, it can look amazing on a clean ISO 100 photo—but harsh on a high ISO indoor shot. Noise gets amplified, skin turns gritty, and backgrounds look messy.
Fast fix:
- Reduce Texture and Clarity on portraits.
- Add a touch of Noise Reduction before sharpening (especially for indoor photos).
- Use Masking (local adjustments) so you sharpen details but keep skin natural.
If you want to get surgical with this, Lightroom masking is your best friend: Adobe’s Lightroom Classic masking tool guide.
A Real-World Editing Example (What “Minor Tweaks” Actually Look Like)
Let’s say you’re editing a mini set: 1 outdoor portrait, 1 indoor café photo, 1 golden-hour street shot.
- Outdoor portrait (bright): apply preset → reduce Highlights (-30), reduce Whites (-10), slightly warm Temp (+200K).
- Indoor café (warm tungsten): correct WB first (cool Temp, adjust Tint), apply preset → lift Shadows (+20), reduce Clarity (-5) for skin.
- Golden-hour street: apply preset → lower Saturation slightly (especially oranges), add a tiny S-curve for pop.
I’ve tested this exact workflow on a low-light wedding set where mixed lighting was brutal (DJ lights + warm bulbs + window light). The “magic” wasn’t finding a perfect preset—it was doing a quick base correction, applying the preset, then making tiny targeted tweaks to protect skin tones and highlights.
Presets vs Manual Editing: Which One Should You Use?
Here’s the honest answer: the fastest editors do both. Presets give you speed and consistency; manual editing gives you precision.
- Presets win when: you need a consistent vibe across many photos, you’re batch editing, or you want a reliable starting point.
- Manual editing wins when: lighting is extreme, skin tones are critical, or you need a very specific look for one hero image.
The sweet spot: use a preset to get 70–90% of the look, then manually correct exposure, WB, and one or two color channels.
The “Preset Consistency” Checklist (Do This Every Time)
- Start with a clean base: exposure + highlights/shadows.
- Correct white balance: fix Temp/Tint first in mixed lighting.
- Apply the preset: don’t judge it instantly—wait 3 seconds, then tweak.
- Protect skin and sky: reduce highlights, tame oranges/reds, adjust luminance.
- Handle noise: high ISO needs gentler clarity/sharpening.
- Use masking for problem areas: local fixes beat global slider chaos.
Quick pro tip: If a preset looks “muddy,” don’t immediately change 10 sliders. First try: (1) lower Saturation a touch, (2) lift Shadows slightly, (3) reduce Blacks a tiny bit less aggressively. That fixes a surprising number of cases.
Choosing the Right Preset for the Scene (Instead of Forcing One Look)
One reason bundles are so practical is that you can match the preset to the lighting instead of fighting it. For example:
- For wide variety and fast matching across many scenes: 1000+ Master Lightroom Presets Bundle
- For street + lifestyle with soft film vibes: AI-Optimized Warm Pastel Street Film Lightroom Presets
- For travel landscapes where you want clean, punchy color: Lightroom Presets for Landscapes & Travel
- For wedding sets with consistent romantic tones: 150+ Gorgeous Lightroom Presets for Wedding Photography
If you prefer browsing by category first, start with Premium Lightroom Presets & LUTs Bundles or the full Lightroom Presets for Mobile & Desktop collection.
Related Reading (If You Want to Go Deeper)
- How to Install Lightroom Presets (Quick & Easy)
- How to Perfectly Edit Wildlife Photos with Lightroom Presets
- Street Photography Editing for Real Life & Raw Moments
- Wedding Photography Presets That Capture Emotion & Romance
- Why Do My Photos Look Different After Applying Presets?
When You’re Still Stuck: 3 Simple Troubleshooting Moves
- Reset only the “problem” area: If the colors are weird, don’t reset everything—just fix WB and HSL first.
- Try the preset on a “reference photo”: pick one image that represents the set, perfect it, then sync only key settings to the others.
- Ask for help (fast): if something looks broken (not just different), reach out via AAAPresets contact support.
If you’re ready to get more consistent edits without spending hours per photo, start with a bundle that gives you multiple looks for different lighting, then do tiny “polish” tweaks. A strong starting point makes everything easier—try the 1000+ Master Lightroom Presets Bundle, or browse Lightroom Presets for Mobile & Desktop. And if you want to maximize value, remember: Buy 3, Get 9 FREE when you add 12 items to your cart.
Why does the same Lightroom preset look great on one photo and terrible on another?
Because each photo starts with different exposure, white balance, and contrast. Presets apply the same slider values every time, so a bright image can get blown out while a dark image can get crushed. Do a quick base exposure and WB correction before applying the preset.
Should I fix exposure before or after applying a preset?
Most of the time, fix exposure and white balance first so the preset lands on a clean foundation. If you forgot, it’s fine—apply the preset, then immediately correct exposure/highlights/shadows. The goal is a neutral baseline plus a stylistic finish.
Do presets work better on RAW than JPEG?
Yes. RAW gives you more highlight/shadow recovery and cleaner white balance adjustments, which makes preset results more consistent. JPEG can still work, but you’ll often need gentler presets and fewer extreme tone curve changes.
Why do my presets look different on Lightroom Mobile vs Desktop?
Mobile and desktop can use different defaults, profiles, and rendering behaviors—especially if the photo is HDR or heavily processed. Make sure your profile is consistent and do small WB/exposure tweaks after applying the preset.
What’s the fastest way to make presets consistent across a whole photoshoot?
Edit one “reference” photo until it’s perfect, then sync/copy key settings to the rest. After that, adjust only exposure and white balance per image. This keeps a consistent look while respecting lighting differences.
Written by Asanka — creator of AAAPresets (10,000+ customers).
Leave a comment
This site is protected by hCaptcha and the hCaptcha Privacy Policy and Terms of Service apply.