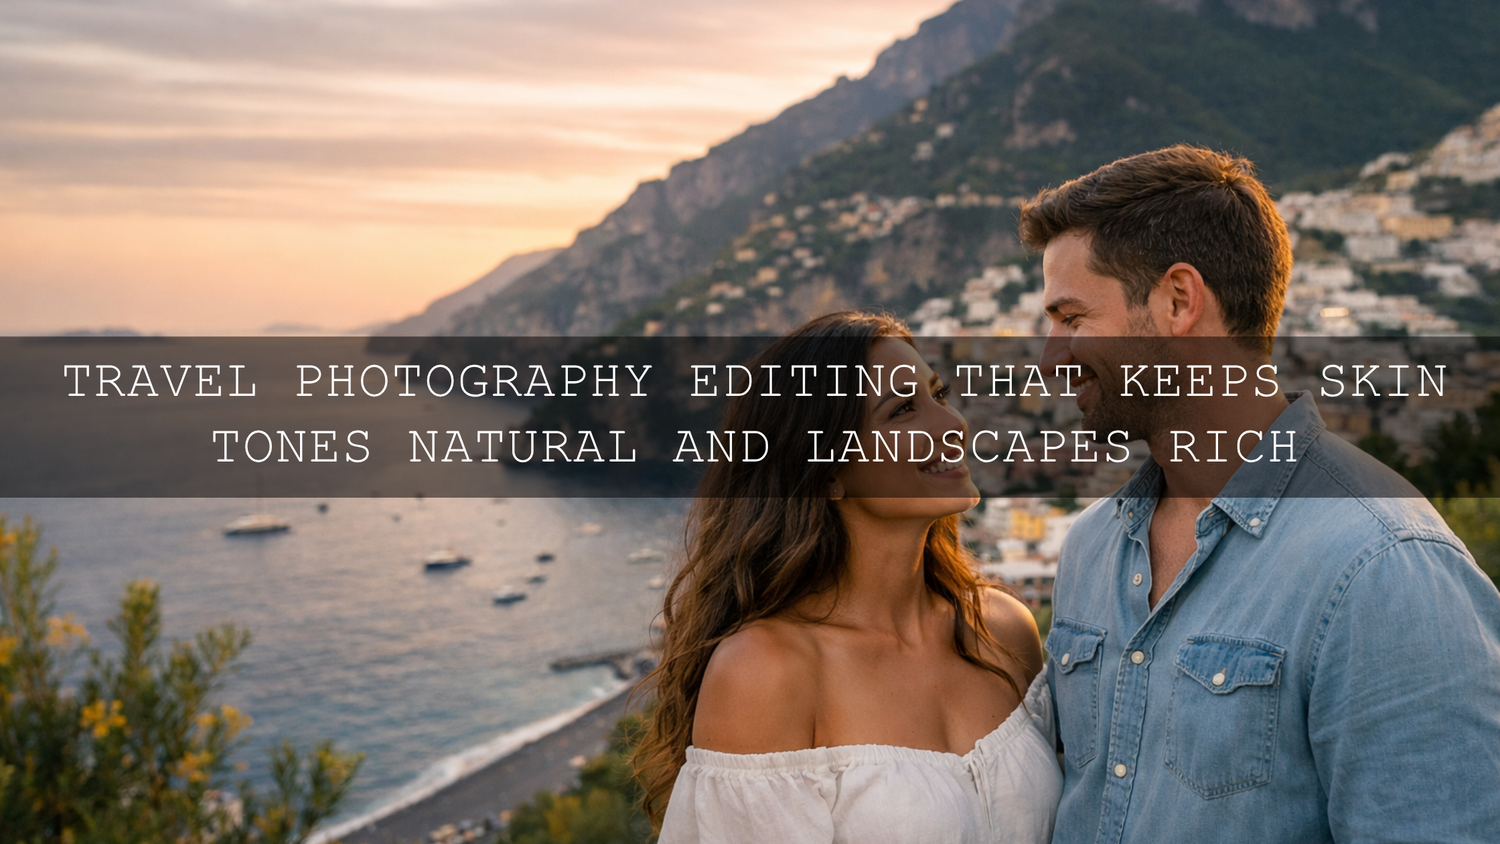
Travel Photography Editing That Keeps Skin Tones Natural and Landscapes Rich
Great travel photography editing is not just about making a destination look dramatic. It is about keeping natural skin tones believable while giving the background enough depth, color, and atmosphere to feel true to the place. That balance is what separates a polished travel photo editing workflow from an edit that feels forced. When people look healthy and real and the landscape still feels cinematic, your image starts telling a stronger story instead of just showing a location.
I run into this challenge all the time with travel portraits, city walks, mountain viewpoints, and mixed-light street scenes. A preset can make the sky and architecture look amazing, but if it pushes oranges, greens, or magentas too far, faces start looking wrong immediately. On the other hand, if you protect skin tones but leave the environment underdeveloped, the photo can feel flat. The goal is not to choose one over the other. The goal is to edit both with intention.
If you want a faster starting point, try the AI-Optimized Skin Tone Safe Pro Portrait Lightroom Presets for the people in your frame, and pair that mindset with the Professional Lightroom Presets for Landscape Photography collection when the location matters just as much as the subject. That combination works especially well if you want to build a travel workflow around clean color, believable people, and stronger environmental storytelling. It also fits naturally with Buy 3, Get 9 FREE.
The best travel edits usually start with restraint. Before I commit to any creative look, I fix exposure, white balance, and color balance first. I have tested travel presets on foggy viewpoints, rainy streets, café portraits, and bright midday landscapes, and the strongest edits almost always came from controlling the foundation before pushing the style.
Why Travel Edits Often Fall Apart
Most weak travel edits break in one of three places:
- Skin tones get contaminated by the environment. Green trees, teal water, neon signs, or warm sunset light can all shift faces in ways that look unnatural after color grading.
- The landscape gets overcooked. Heavy contrast, too much dehaze, or aggressive saturation can make a destination look harder, dirtier, or less believable than it felt in real life.
- One preset gets treated like a final answer. Presets and LUTs are powerful starting points, but travel scenes change too much for one-click editing to be the full workflow every time.
Here is why this matters: travel photography is emotional. People remember how the air felt, how the light moved, how the city or landscape opened up around them. When editing is too heavy-handed, that memory gets replaced by the effect.
For a broader travel editing approach, this guide on editing travel photos for a cinematic feel is a strong companion read, especially if you want a workflow that protects mood without losing realism.
Step-by-Step Travel Photo Editing Workflow
1. Correct exposure before judging the preset
Do not test a creative preset on a badly balanced file and assume the preset is the problem. Bring the image close to neutral first. Recover highlights if the sky is too bright. Open shadows only as much as needed. Keep blacks deep enough to hold structure. Good travel photography editing starts with readable light, not extreme sliders.
Adobe’s official Lightroom guide to image tone and color is useful here if you want a refresher on balancing exposure and white balance before grading.
2. Fix white balance before touching style
White balance is one of the biggest reasons skin tones fail in travel images. A preset might look excellent on a neutral file but too yellow, too green, or too magenta on another. Before you decide whether a preset is working, neutralize the file first. That does not mean making every image cold and clinical. It means giving yourself a clean base.
When I edit travel portraits, I usually ask one simple question: does the skin still look alive? If not, I fix that before I push the landscape. Adobe’s white balance overview for photographers is a helpful reference if you want to dial this in more carefully.
3. Protect skin tones with local adjustments
This is where a lot of travel images level up. Instead of letting one global edit control everything, use local masking to separate the subject from the background. A soft mask over the face and skin can help you reduce excess orange, magenta, or green while keeping the rest of the frame cinematic.
Adobe’s guide to masking in Lightroom Classic is worth bookmarking because masks are one of the cleanest ways to protect people while still shaping the place around them.
4. Build the location, not just the color
Good travel editing is not about making everything more vibrant. It is about deciding what the location should feel like. A rainy city might need deeper blacks, cleaner reflections, and controlled highlights. A mountain scene might need cleaner blues, richer greens, and gentle depth. A café portrait might need softer contrast and warmer midtones. Edit for atmosphere, not for maximum effect.
5. Add style with restraint
Once the image is balanced, now the preset has room to do its job. This is where travel Lightroom presets can save time and create consistency, but only if you stay in control. Reduce the intensity when necessary. Pull back saturation when skin feels pushed. Use HSL or Color Mixer tools to target only the color families causing trouble.
Presets vs Manual Editing
There is a false choice people make in travel editing: either use presets or edit everything manually. In real workflows, the best results usually come from both.
- Presets are better for speed and consistency. They help you build a repeatable look across a full travel set.
- Manual adjustments are better for problem-solving. They help you fix skin shifts, odd lighting, and location-specific color issues.
- The strongest workflow combines both. Start with a good preset, then refine exposure, white balance, masking, and selective color.
I rarely finish a serious travel portrait with a preset alone. I use the preset to establish direction, then I refine the file so it still feels personal to the scene. That is the difference between fast editing and thoughtful editing.
Preset Directions That Work for Different Travel Scenes
For portraits where skin tone is the priority
If the frame is people-first, start with the AI-Optimized Skin Tone Safe Pro Portrait Lightroom Presets. They are a smart fit when you want a flattering base before you shape the rest of the image. You can also browse the Portrait Photography Lightroom Presets collection if your travel content leans more into couples, lifestyle portraits, or family travel memories.

If skin correction is something you want to understand more deeply, these related reads help: how to edit natural skin tones and how to fix red skin, dark eyes, and flat light.
For wide scenic travel frames and destination detail
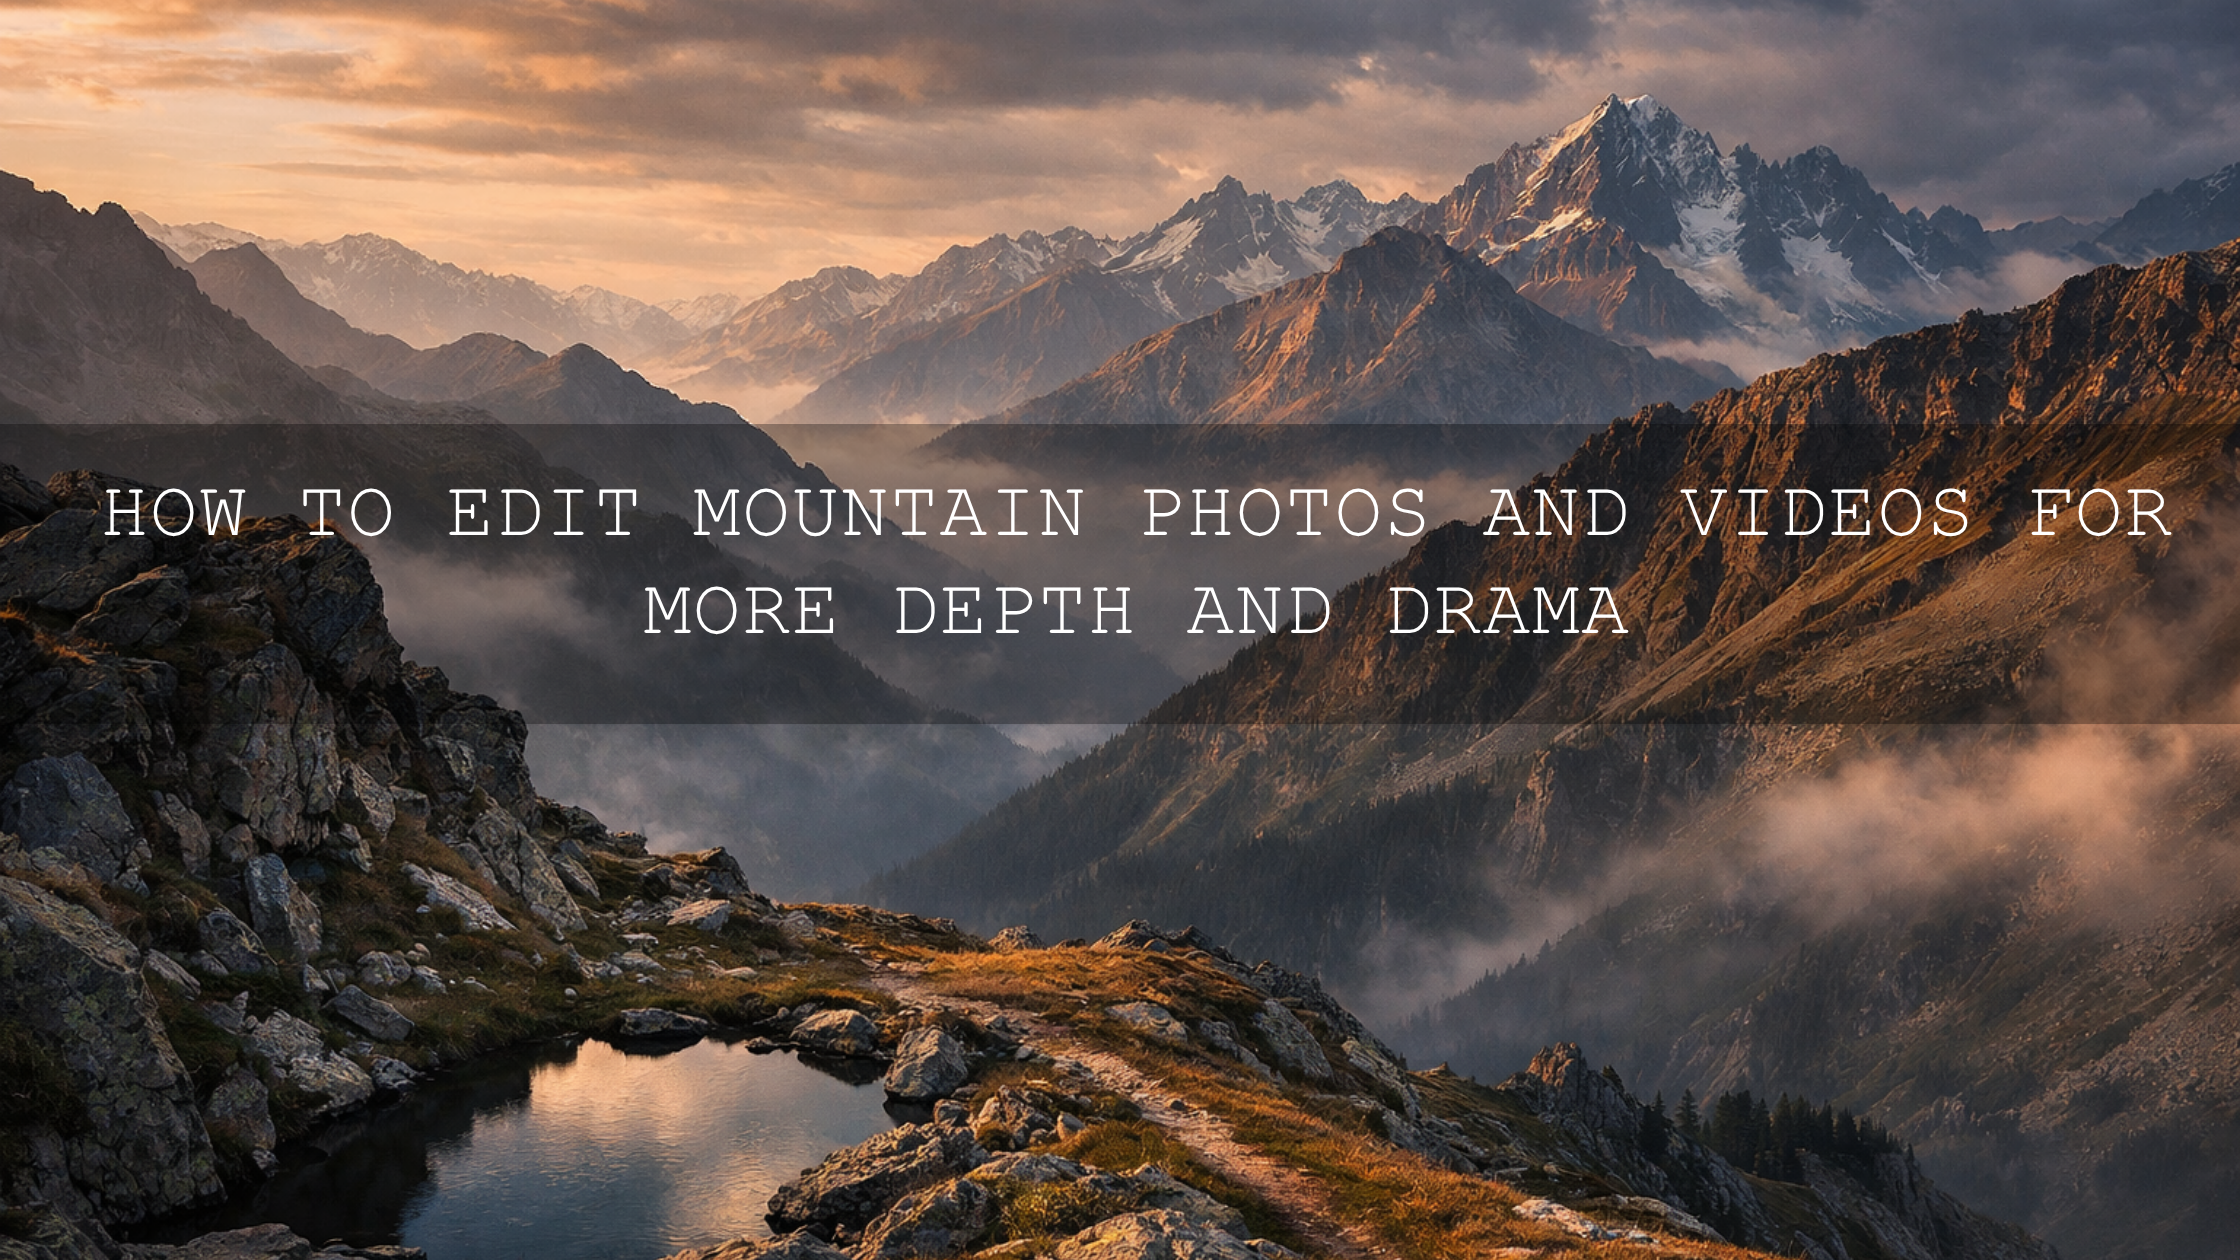
If the place needs to carry the image, the Lightroom Presets for Landscapes & Travel are a practical choice. They work well when you need richer skies, stronger depth, and a cleaner environmental finish without crushing the natural feel of the scene. For more options in the same direction, the Professional Lightroom Presets for Landscape Photography collection gives you broader room to build around mountains, coastlines, trails, and open landscapes.

If you shoot hiking and mountain travel, this article on editing hiking photos for crisp, clean tones is also worth reading.
For soft, atmospheric, overcast, or foggy travel footage
When your project includes video and the mood leans misty, overcast, or emotional, the Fogbound Cinematic Travel LUTs Pack is a strong fit. It helps create a cinematic atmosphere without forcing skin into muddy or unnatural color. This kind of look is especially useful for vlogs, travel reels, and documentary-style edits where weather is part of the story.

For bright, clean, editorial travel storytelling
Not every trip needs a heavy cinematic grade. Sometimes the best look is light, polished, and clean. The Travel Blogger Lightroom Presets work well when you want cities, cafés, beaches, and lifestyle moments to feel fresh and story-ready without overpowering the people in the frame.

How to Keep Skin Tones Natural Without Losing the Scene
This is the real skill. Here is the practical workflow I recommend:
- Check the face first. Before you judge the full image, zoom in and ask whether the skin looks believable.
- Reduce color contamination. If the face is too green from foliage or too blue from open shade, correct that locally instead of flattening the whole image.
- Control oranges and reds carefully. Skin becomes fake fast when these channels are pushed too hard.
- Let the landscape carry its own colors. You do not need the subject and the background to share the same color intensity.
- Use one hero mood. Choose one emotional direction for the frame: airy, moody, warm, cool, soft, or dramatic. That keeps the edit cohesive.
Adobe’s Color Wheel and harmony tools can also help when you want to think more intentionally about how warm skin tones sit against cooler skies, foliage, architecture, or water.
Travel Video Editing Needs the Same Discipline
The same rules apply to travel LUTs and video color grading. If your footage contains people and scenery in the same shot, global LUTs can create the same problem as heavy presets in photo editing. Skin can shift, skies can clip, and the background can overpower the human subject.
A better workflow is to apply the LUT as a base, then refine it with exposure tools, curves, color wheels, or secondary adjustments. If you are building a travel content system across both photos and video, it helps to keep your people edits and landscape edits speaking the same visual language instead of forcing identical color treatment on every frame.
For urban scenes and mixed-light travel content, this article on city travel photography editing techniques is a good next step.
Pro Tips That Make Travel Edits Feel More Premium
- Do not oversharpen everything. Skin, haze, and distant atmosphere should not feel crunchy.
- Use masks to guide attention. A subtle lift on the subject usually works better than blasting the whole frame with contrast.
- Protect highlight detail in skies. Travel images often feel expensive when the light looks controlled.
- Keep weather in the image. Fog, mist, rain, and low cloud are often the reason the scene feels memorable.
- Edit for the memory of the place. If the destination felt calm, romantic, dramatic, or raw, let the grading support that instead of overpowering it.
One of the biggest turning points in my own workflow was realizing that realism and style are not opposites. The best cinematic travel editing still feels believable. It just feels more intentional.
Related Reading
- How to edit travel photos for a cinematic feel
- City travel photography editing techniques for content creators
- How to get natural skin tones in portraits
- Portrait editing fixes for red skin and flat light
- How to edit hiking photos for crisp, clean travel color
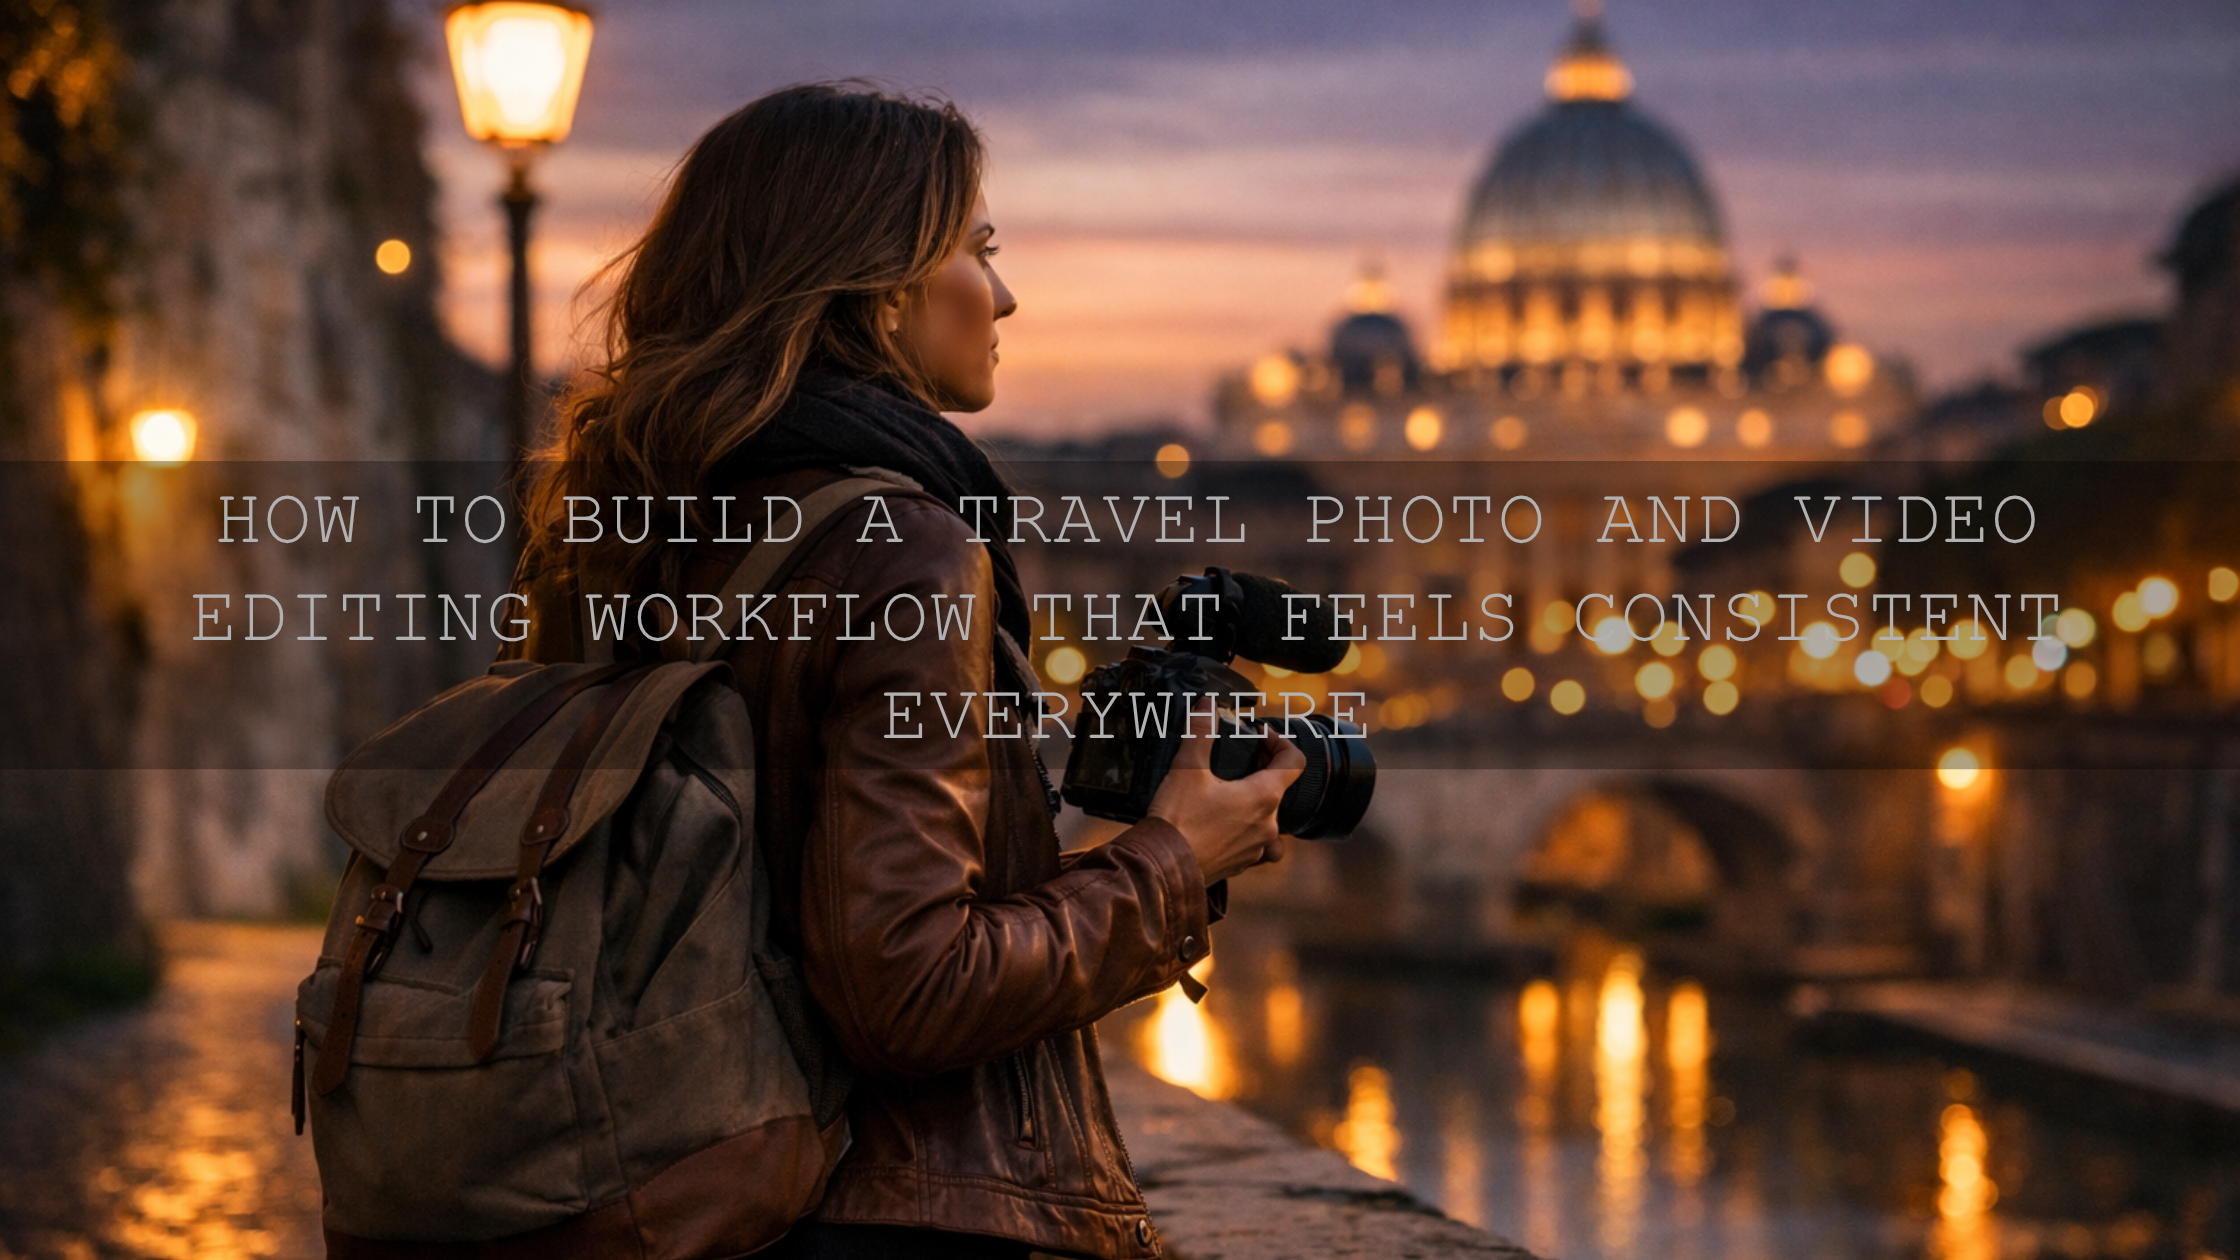
Bring Your Travel Images Together With a Smarter Starting Point
If you want your travel photos to feel polished without spending forever on every file, start with the Lightroom Presets for Landscapes & Travel for environment-driven edits, or use the AI-Optimized Skin Tone Safe Pro Portrait Lightroom Presets when people are the heart of the frame. You can keep exploring looks through the landscape presets collection and the portrait presets collection so your workflow stays flexible across destinations, lighting, and subject matter. If you need help choosing the right pack for your editing style, you can always contact the AAAPresets team. And if you are building your toolkit, Buy 3, Get 9 FREE makes it much easier to test multiple looks without overcommitting to one style.
FAQ
What is the best way to keep skin tones natural in travel photography editing?
Start by correcting white balance and exposure before applying a creative look. Then use masking or selective color adjustments to protect skin separately from the landscape.
Are presets enough for professional travel photo editing?
Presets are excellent starting points for speed and consistency, but the strongest edits usually need small manual refinements for skin tone, exposure, and scene-specific color.
Should I edit the subject first or the landscape first?
Fix the overall exposure and white balance first, then check the subject. If skin looks wrong, correct that before you push the environment more aggressively.
What kind of preset works best for travel portraits?
A skin-safe portrait preset is usually the safest place to begin when people are the main subject. You can then build mood around the environment with local adjustments and selective grading.
Do LUTs work for travel videos with people in the frame?
Yes, but they work best as a base grade. After applying a LUT, refine the footage with exposure, curves, or secondary adjustments so skin stays believable while the location keeps its mood.
Written by Asanka — creator of AAAPresets (10,000+ customers).
Leave a comment
This site is protected by hCaptcha and the hCaptcha Privacy Policy and Terms of Service apply.