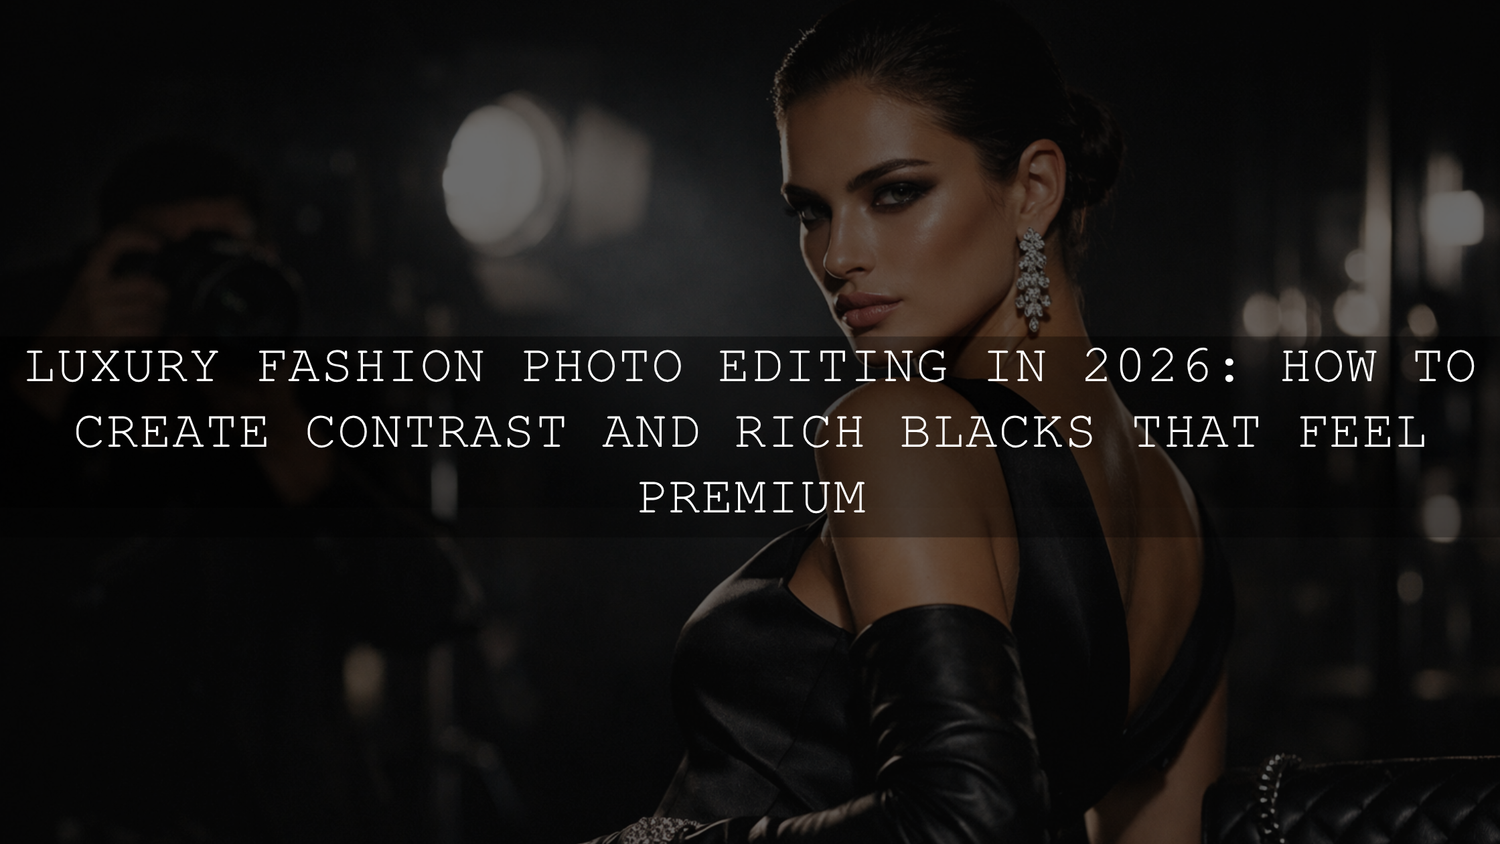
Luxury Fashion Photo Editing in 2026: How to Create Contrast and Rich Blacks That Feel Premium
Luxury fashion photo editing in 2026 is less about pushing every slider harder and more about making deliberate choices that create depth, polish, and control. The strongest luxury images usually rely on three things working together: high contrast fashion editing, rich black photo editing, and clean subject separation. When those three elements are balanced well, a frame starts to feel expensive, editorial, and memorable instead of simply dark.
That matters whether you are editing a portrait, a fashion campaign, a product-on-model shot, or a short reel for social media. Deep blacks can make tailoring feel sharper. Controlled highlights can make jewelry, satin, leather, and skin look refined instead of harsh. And when you keep the contrast intentional, your luxury visuals feel modern without losing detail.
If you want a fast starting point, try the AI-Optimized Luxury Black and White Lightroom Presets for editorial monochrome work, or browse the Lightroom Presets for Moody Photography collection for darker luxury looks. It is a practical way to build a premium visual direction quickly, and you can still fine-tune every frame around your own style with Buy 3, Get 9 FREE.
Why Contrast Matters So Much in Luxury Fashion Photo Editing
Contrast is what gives luxury imagery its visual authority. It tells the eye where to look first, what feels tactile, and which parts of the frame carry the most importance. In fashion work, that often means separating the face from the background, defining garment structure, preserving fabric texture, and giving shadows enough strength to feel intentional.
Here is why this matters: a luxury frame usually needs shape. A flat image can show the outfit, but it rarely communicates mood, quality, or exclusivity. Once you create tonal separation between highlights, midtones, and blacks, the same frame suddenly feels more designed.
I usually approach contrast in layers. First I fix exposure globally. Then I shape the frame with local adjustments instead of cranking global contrast too far. That is where Adobe’s guide to masking in Lightroom becomes especially useful for isolating the subject, background, or clothing and making more precise edits.
What good contrast looks like in a luxury frame
- Highlights stay controlled: white shirts, jewelry, glass, and skin do not clip harshly.
- Midtones stay elegant: faces and fabrics still look believable and premium.
- Blacks feel deep, not muddy: dark coats, black dresses, and shadows keep texture.
- The subject separates clearly: the viewer notices the model, garment, or product first.
If you want a helpful companion read on balancing fashion color before you stylize it, see this true-to-color clothing photography guide. It is a strong reminder that premium editing starts with believable color, then moves into mood.
How to Create Rich Blacks Without Crushing Detail
Rich blacks are one of the clearest signals of a luxury look, but they have to be handled carefully. The goal is not to bury detail. The goal is to make black tones feel dense, smooth, and intentional while still allowing texture in velvet, leather, wool, hair, and background surfaces to survive.
A simple mistake is pulling the Blacks slider too far left and assuming darker means better. In practice, crushed shadows often make luxury work feel cheaper because fabric texture disappears and skin starts to separate awkwardly from the rest of the image.
The better approach is to build black depth in stages:
- Set exposure first. If the base frame is too dark, you will overcompensate later.
- Lower blacks gradually. Watch how dark garments and backgrounds behave.
- Use the tone curve for finesse. A subtle S-curve usually feels more premium than aggressive slider moves.
- Protect shadow texture. Lift shadows slightly if fabrics start losing structure.
- Refine locally. Darken background zones or corners with masks instead of forcing the whole image darker.
Adobe’s Lightroom tone and grayscale controls are useful here because they explain how tone adjustments and the curve work together. In black and white luxury work especially, this is where the image either becomes elegant or falls apart.
I have tested this style of grade on frames with black satin, silver accessories, and dark studio backdrops, and the biggest improvement usually comes from restraint. The best luxury blacks almost never come from one heavy adjustment. They come from a series of smaller tonal decisions.
Presets vs Manual Editing for a Luxury Fashion Look
Both approaches matter. Presets save time and create consistency. Manual editing gives you control over light, texture, and skin. The smartest workflow is usually a hybrid one.
- Presets: Best for building a repeatable luxury direction fast, especially across a full set, campaign, or social content series.
- Manual editing: Best for handling mixed light, preserving skin tones, refining garments, and protecting dark detail.
- Best real-world workflow: Apply a strong preset base, then refine exposure, blacks, masking, white balance, and texture image by image.
If your preset ever looks too flat, too dark, or too bright, read this guide on exposure, contrast, and whites. It explains one of the most important truths in editing: a preset should support your photo, not replace your judgment.
Best AAAPresets Tools for Deep Blacks and Editorial Contrast
For monochrome fashion work, the AI-Optimized Luxury Black and White Lightroom Presets are a strong fit when you want clean contrast, premium black depth, and an editorial finish. They work especially well for portraits, tailoring, accessories, luxury branding, and fashion content where shape and texture matter more than color.

For color fashion work with a darker, more modern mood, the Luxury Black Lightroom Presets are ideal when you want bold depth, stronger shadows, and that polished black-forward aesthetic without losing the richness of the scene.

When I want a set to feel cohesive across stills, I usually begin with one luxury preset, sync the base edit, then adjust faces, black fabric, and reflective materials individually. That keeps the campaign consistent while still making every frame feel finished.
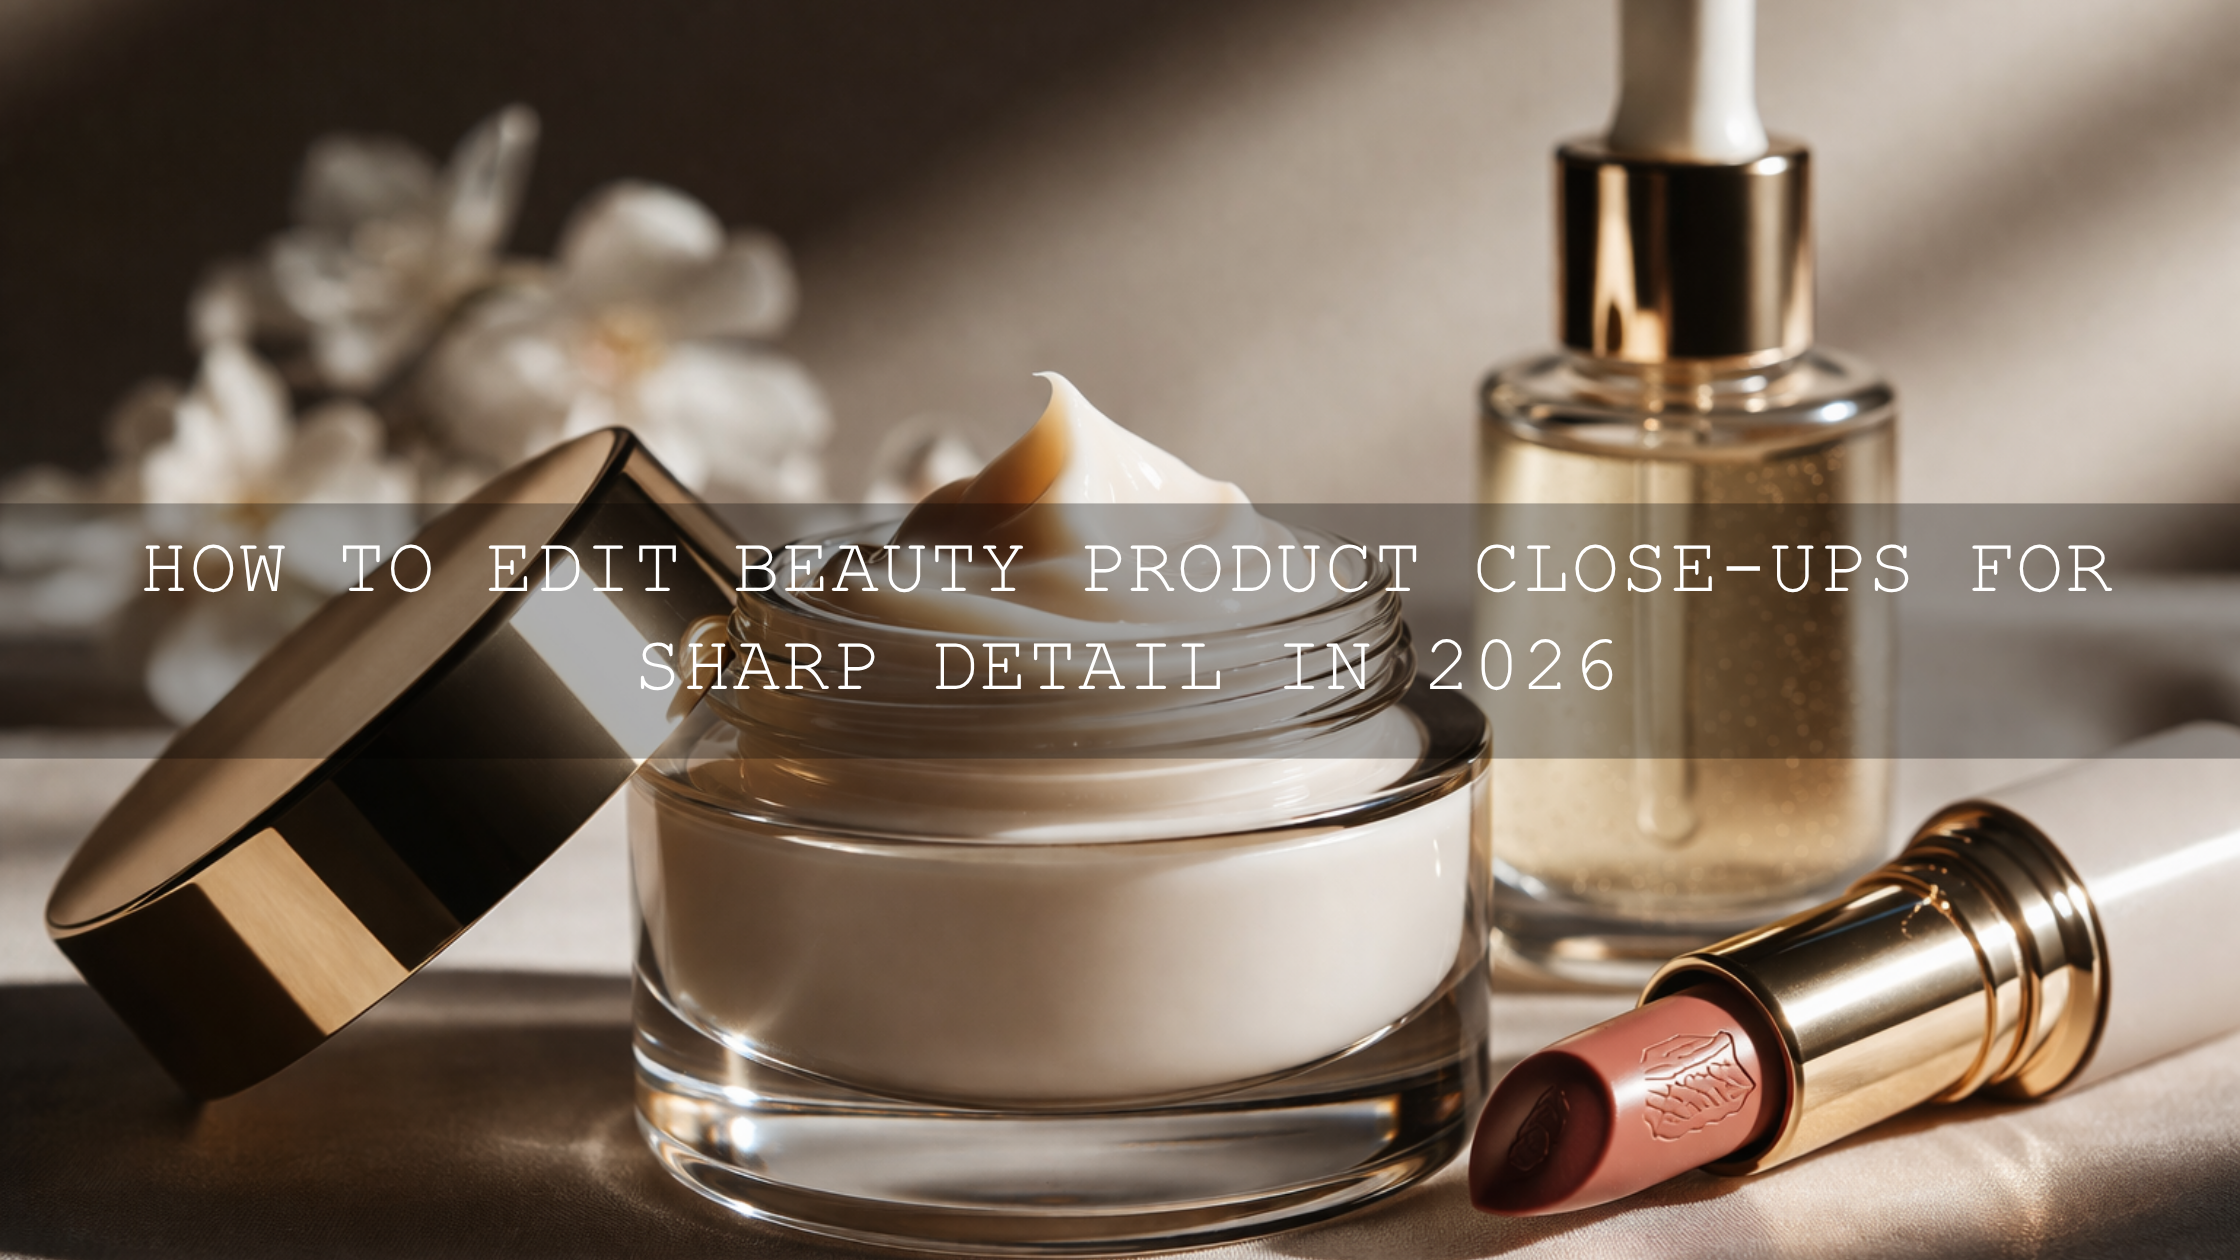
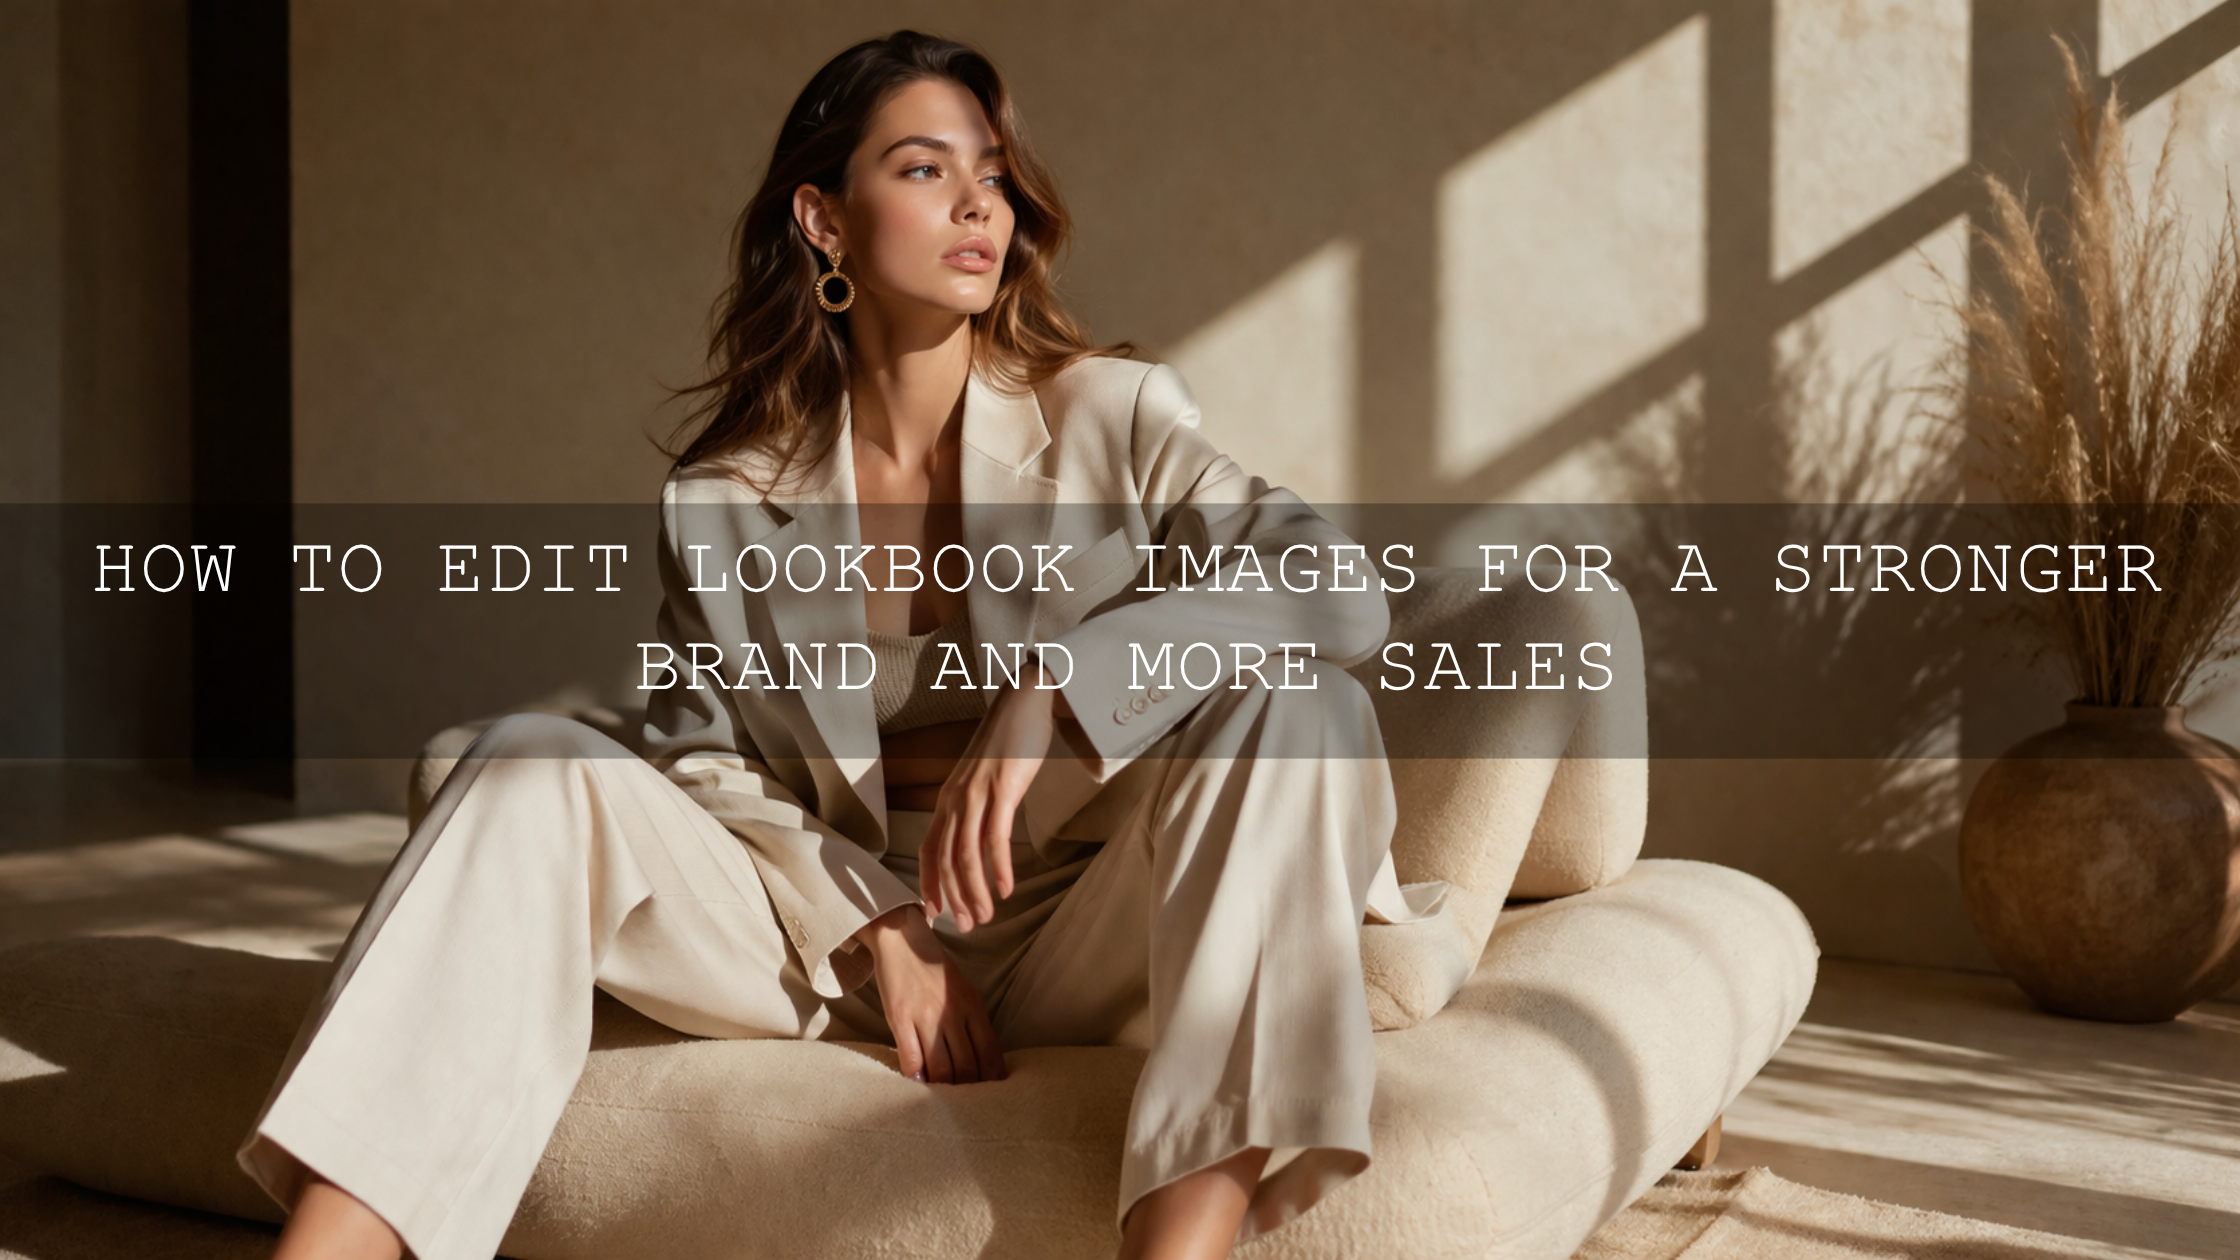
If you also edit e-commerce fashion sets or lookbooks, this lookbook editing guide is worth reading because it focuses on consistency, product clarity, and stronger brand presentation. For skin, especially across different models and lighting setups, this skin tone guide helps you keep the luxury mood without making people look over-processed.
How to Grade Luxury Fashion Video With Deep Blacks
The same visual rules apply to motion. Luxury fashion video needs clean contrast, steady skin tone control, elegant highlight handling, and dark tones that feel cinematic instead of crushed. In Premiere Pro, a strong workflow starts with correct color management, then a LUT, then shot-by-shot refinement. Adobe’s Lumetri Color and color management guide for Premiere Pro is a solid reference if you want more control over how your footage behaves before and after you apply a look.
For moody luxury video color, the Cinematic Luxury Black Cinematic Video LUTs Pack gives you a strong starting point for dark, premium contrast in reels, campaign edits, and cinematic brand videos.

If you want a timeless monochrome finish for fashion films, product reels, or editorial trailers, the Luxury Black and White LUTs Pack is a clean option for deep blacks, refined highlights, and smooth tonal transitions.

If video is a bigger part of your workflow, the Cinematic LUTs for Premiere Pro collection gives you more room to test different dark cinematic directions. And if you want more grading strategy before buying anything, this dark and dramatic color grading guide is a useful companion read.
A Step-by-Step Workflow for Luxury Fashion Editing
- Correct exposure and white balance first. Do not chase mood until skin, fabrics, and neutrals look believable.
- Apply your preset or LUT base. This sets the visual direction quickly and keeps the set consistent.
- Refine black depth. Use blacks, shadows, and the tone curve to make dark areas feel rich without killing texture.
- Control highlights. Bring down harsh specular areas on jewelry, satin, glass, or skin so the image feels premium instead of brittle.
- Use masks for precision. Brighten the subject slightly, hold back the background, and shape the eye path.
- Check skin tones last. Luxury fashion editing can go dark very fast, so make sure skin still looks intentional and alive.
- Compare frames together. A luxury set should feel like one visual story, not a group of unrelated edits.
On real edits, I often zoom out and compare two or three finished frames side by side before exporting. That quick check usually reveals whether the blacks are consistent, whether one frame is overcooked, or whether the series still feels premium as a group.
Common Mistakes That Make Luxury Edits Look Cheap
- Crushing blacks too far: you lose garment detail and the image starts feeling muddy.
- Overusing clarity or texture: leather, pores, and fabric can become harsh instead of refined.
- Ignoring skin while chasing mood: strong blacks should support the subject, not make the face look lifeless.
- Leaving mixed color casts in the frame: premium work usually feels controlled, even when it is dramatic.
- Using one edit on every shot without refinement: the luxury look still needs image-specific judgment.
If you are new to AAAPresets tools or want answers about setup and compatibility, the AAAPresets FAQ page is a helpful place to start.
Related Reading
- Mastering True-to-Color Clothing Photography in 2026
- The Ultimate Guide to Polishing Your Lookbook Images for Online Shops and Catalogs
- How to Fix Presets Using Exposure, Contrast, and Whites
- How to Make Lightroom Presets Work Across Every Skin Tone
- Mastering Dark and Dramatic Color Grading for Cinematic Storytelling
If you want your next fashion set to feel sharper, darker, and more expensive without spending hours building every edit from scratch, start with the Luxury Black Lightroom Presets for stills or the Cinematic Luxury Black Cinematic Video LUTs Pack for motion, then explore the Cinematic LUTs for Premiere Pro collection for more grading options. The fastest way to get a polished luxury direction is to begin with a strong base, refine it with intention, and build consistency across the full story.
FAQ
What is the fastest way to make fashion photos look more luxurious?
Start by correcting exposure, then add controlled contrast and deeper blacks while protecting skin and fabric texture. A strong preset can speed this up, but local adjustments usually make the biggest difference.
Should blacks be completely crushed for a luxury look?
No. The best luxury blacks feel deep and confident, but they still hold texture in clothing, hair, and shadows. If detail disappears, the edit often feels cheaper rather than more premium.
Are presets enough for luxury fashion photo editing?
Presets are excellent starting points for consistency and speed, but manual refinements are still important. Skin tone, highlight control, and black fabric usually need image-by-image adjustments.
Can I use the same luxury look for video and photos?
Yes, as long as you adapt the workflow to each format. Presets work well for stills, while LUTs and Lumetri refinements are better for motion. The visual goal stays the same: clean contrast, rich blacks, and polished highlight control.
Does black and white work for luxury fashion content?
Absolutely. Black and white can make tailoring, texture, jewelry, and facial structure feel even more editorial. It works especially well when the scene has strong light direction and clear tonal separation.
Written by Asanka — creator of AAAPresets (10,000+ customers).
Leave a comment
This site is protected by hCaptcha and the hCaptcha Privacy Policy and Terms of Service apply.