
How to Build a Signature Street Photography Look for Your City
A strong signature street photography look is not just about making your photos darker, brighter, or more cinematic. It is about building a repeatable visual language that makes your city street photography instantly feel like your work. The best street photographers do not only document a place. They shape mood, color, contrast, and timing so a frame carries the identity of that city. In 2026, that usually means combining observation, intentional editing, and the right street photography presets or street photography LUTs to stay consistent without losing realism.
If you want a faster starting point, try the Street Photography Lightroom Presets and browse the Street Photography Lightroom Presets collection. That gives you a clean foundation for building a city-specific style, and you can still shape each image around your own environment and taste. It also works naturally with Buy 3, Get 9 FREE.
Here is why this matters. Most cities already have a visual personality. Some feel cold, metallic, and fast. Some feel warm, nostalgic, and textured. Others come alive only at night, when wet roads, shop signs, headlights, and reflections start doing half the storytelling for you. Once you understand that personality, your editing gets easier because you stop guessing and start making decisions with purpose.
Start by Studying the Visual Personality of Your City
Before you choose a preset, look closely at what your city actually gives you. Not what is trending. Not what looks good on someone else’s feed. Your city has its own color palette, light quality, materials, and pace. That is the foundation of your editing style.
When I test a street workflow, I usually begin by sorting images into simple mood groups: overcast daytime, hard sunlight, golden hour, rainy reflections, and night neon. That one step immediately shows me whether a city wants a moody edit, a softer film-style look, or something brighter and cleaner.
- Color palette: Look for recurring tones such as concrete gray, brick red, rust, faded paint, green buses, yellow street lights, or neon blues and pinks.
- Light quality: Ask whether your city is mostly harsh and contrasty, soft and cloudy, or mixed with artificial light.
- Texture: Old walls, wet roads, train stations, glass towers, signs, smoke, and shadows all affect how much clarity and contrast your images can handle.
- Emotional tone: Is the city calm, tense, romantic, gritty, elegant, chaotic, futuristic, or nostalgic?
Once you define those traits, editing becomes much more consistent. A rainy historic city often looks better with deeper blacks, controlled highlights, and richer texture. A modern neon-heavy city may benefit from cleaner contrast, cooler shadows, and controlled color separation. A warmer, lifestyle-driven city often responds better to softer contrast and film-inspired tones.
Translate the City Into an Editing Direction
Here is a simple way to turn observation into style. Describe your city in three visual words. For example:
- Gritty, dark, cinematic
- Warm, faded, nostalgic
- Bright, fast, modern
- Neon, wet, electric
Those three words should guide your decisions on white balance, contrast, saturation, shadows, grain, and crop. This is also where good references help. If you want more control over local edits, color, and mood, it is worth reviewing Adobe’s guide to masking in Lightroom, Adobe’s color grading tips for Lightroom, and the Adobe Color harmony tools before building your own repeatable look.
Choose the Right Base Look for the Story You Want to Tell
Presets are not meant to replace taste. They are meant to give you a fast, consistent base. The key is choosing a base look that already matches the city mood you are trying to show.
For gritty, low-light, dramatic streets
If your city feels strongest after dark, the Street Cinematic Dark Moody Photography Lightroom Presets are a strong fit. They work well when the story depends on contrast, shadow shape, pavement texture, alleyway light, and a more dramatic urban mood. I have tested this type of look on rainy side streets and older downtown blocks, and it usually works best when you protect highlights first, then let the shadows carry the atmosphere.

For cleaner everyday city storytelling
The Street Photography Lightroom Presets are more flexible when you want a natural urban look that still feels polished. They are a good choice for candid portraits, crosswalk scenes, architectural layers, transit moments, and mixed daylight conditions. This is the safer base when you want your style to look intentional without becoming too heavy.
For warm, soft, film-inspired city edits
If your city has gentler light, pastel walls, warm storefronts, or a more lifestyle-driven feel, the AI-Optimized Warm Pastel Cinematic Street Film Lightroom Presets can help create a signature look that feels emotional without becoming flat. These are especially useful when you want to soften harsh digital edges and give your frames a more refined film mood.

For filmmakers and night-energy city visuals
If you shoot both stills and motion, a consistent city identity often needs both presets and LUTs. The Dark Street Cinematic LUTs Pack is ideal for moody urban footage, while the Tokyo City Street LUTs Pack is especially useful when your story depends on neon signs, reflective roads, saturated blues, and a sharper nightlife feel. You can also browse the broader cinematic LUTs for Premiere Pro collection if your city style needs to stay consistent across reels, travel edits, and short films.

Presets vs Manual Editing: What Actually Builds a Signature Look?
This is where many photographers get stuck. They assume using presets means the look is not really theirs. That is not true. A preset gives you speed and consistency. Your choices after the preset are what make the final result personal.
- Presets are best for: speed, consistency, batch editing, creative direction, and building a repeatable foundation.
- Manual editing is best for: correcting mixed light, refining skin tones, protecting highlights, recovering shadows, and adapting a look to difficult frames.
The strongest workflow usually uses both. Start with a preset that already matches the city mood, then manually adjust the image until it feels believable and specific to that scene.
For example, if you apply a dark moody preset to a midday frame, you may still need to lift exposure, cool the highlights, or soften the blacks. If you apply a warm film preset to a blue-hour street scene, you may need to reduce orange bias and protect the natural feeling of evening light. That is where your taste takes over.
A Step-by-Step Workflow for Building a City-Centric Street Editing Style
Here is a practical workflow you can reuse on almost every shoot.
1. Pick one visual direction before editing
Do not start with random slider moves. Decide whether the scene should feel gritty, elegant, nostalgic, cinematic, soft, or electric. This one decision keeps the rest of the edit focused.
2. Fix exposure before chasing style
If the base exposure is wrong, the preset will not feel right. Set the general brightness first. Protect important highlights such as sky, windows, headlights, and signs. Then check whether the midtones still hold detail.
3. Correct white balance for the city light
Mixed urban light is one of the biggest reasons street photos feel messy. Sodium street lamps, LED signs, cloudy daylight, and storefront interiors all push colors in different directions. On my own edits, white balance is often the difference between a frame that feels cinematic and one that feels accidental. Adobe’s white balance guide is a useful refresher when city light gets difficult.
4. Apply your preset or LUT base
Use the preset that fits the city mood, not just the one with the most dramatic preview. Strong style comes from alignment, not intensity.
5. Refine contrast and texture
Old buildings, road marks, railings, and rain reflections usually benefit from controlled contrast and selective texture. But be careful. Too much clarity makes street photos feel brittle. Add structure where the story needs it, not everywhere.
6. Use masking to guide the eye
Masking is often what makes a city frame feel professional. You can brighten a face, deepen a background, clean up a distracting sign, or shape a reflection without flattening the whole image. This is especially useful in crowded scenes where one subject needs visual priority.
7. Keep colors disciplined
Urban scenes already contain many colors. Your job is not to make all of them louder. It is to decide which colors matter. Maybe the warm traffic lights carry the mood. Maybe the teal shop glow and cool asphalt define the scene. Reduce distractions and let the key colors lead.
8. Save your final pattern as your own repeatable formula
Once you see the same successful adjustments repeating across your best city images, save them as part of your editing routine. That is how a signature look forms over time.
Common City Looks and How to Edit Them Well
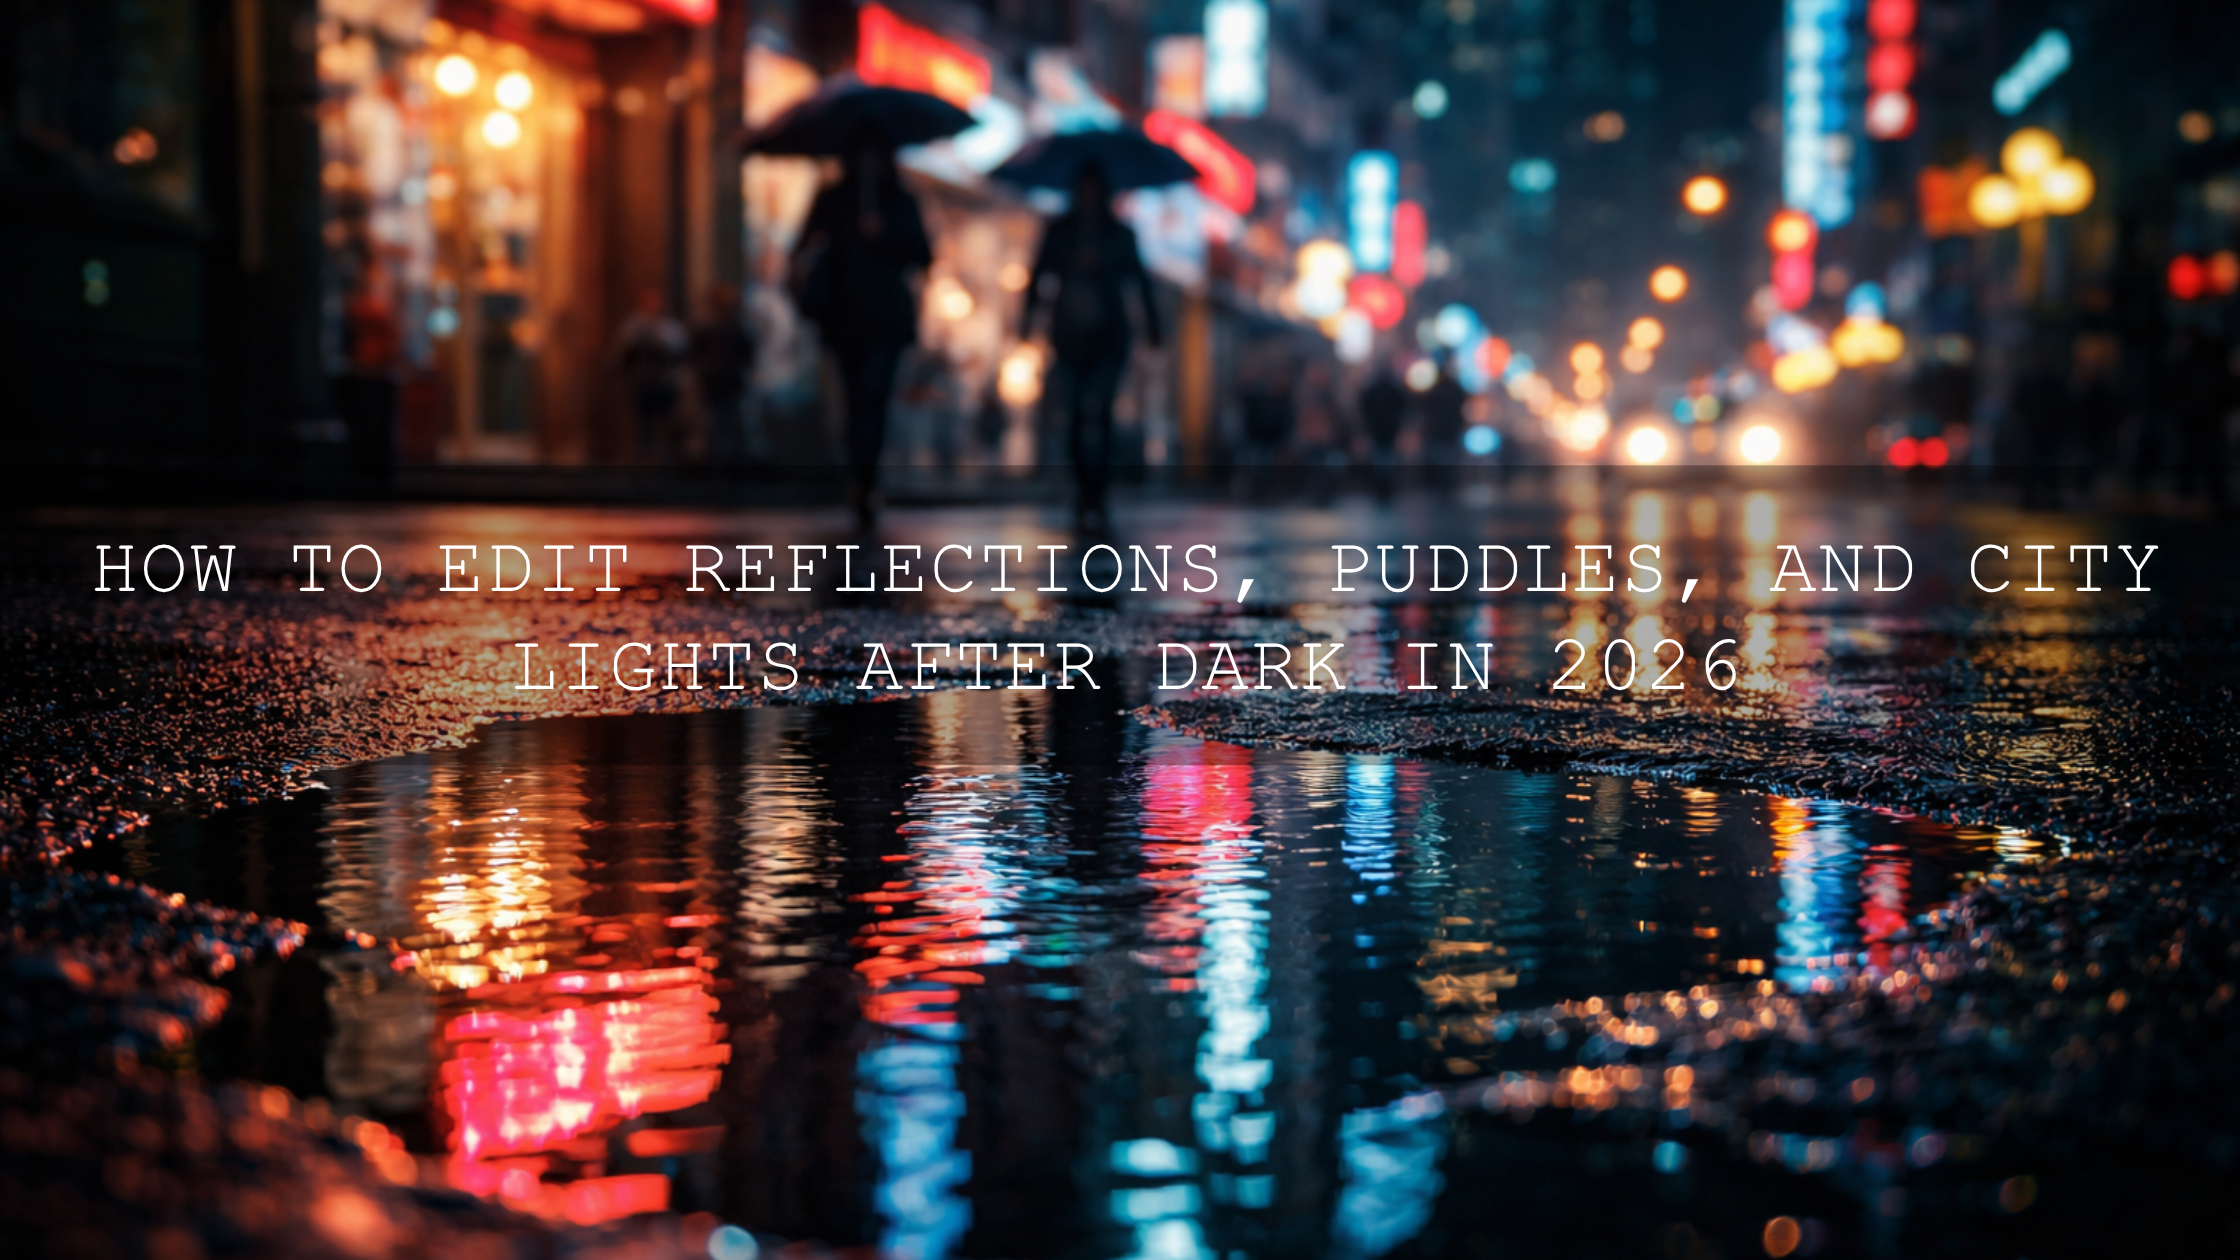
Rainy streets and reflections
Lower highlights first so reflective surfaces do not look blown out. Then deepen blacks slightly, add contrast in the midtones, and let color reflections stay controlled instead of oversaturated. If you enjoy this direction, you may also like the recent article Mastering the Glow: Editing Night City Photos with Neon Lights.
Hard midday light
Use cleaner presets, reduce harsh contrast, and watch skin tones carefully. Midday city light often looks best when you tame extremes instead of chasing drama.
Night neon and commercial districts
Protect highlight detail, cool down muddy shadows, and avoid pushing saturation everywhere. Let one or two dominant color families do the work. The Tokyo City Street LUTs Pack works well when neon color separation is part of the story.
Old town, heritage districts, and textured neighborhoods
These scenes often respond beautifully to warmer shadows, soft grain, and slightly faded contrast. If you want a more emotional analog-style finish, the AI-Optimized Warm Pastel Cinematic Street Film Lightroom Presets are a strong option.
Pro Tips That Make a Big Difference
- Do not edit every city the same way. A signature look should still respect local light, weather, and texture.
- Keep skin tones believable. Street photography often includes people, and unnatural skin breaks trust fast.
- Use one hero color. Let one color family define the frame instead of making everything compete.
- Crop with intention. A stronger crop can turn a busy city scene into a cleaner story.
- Review your grid, not just one photo. A signature style should hold together across a set of images, not just one lucky edit.
Build Consistency Across Photo and Video
If you post both stills and motion, consistency matters even more. Your Instagram grid, blog images, reels, and YouTube shorts should feel like they belong to the same visual world. One practical way to do that is to pair your photo workflow with matching motion tools. Use your photo base from the Street Photography Lightroom Presets or Street Cinematic Dark Moody Photography Lightroom Presets, then carry that mood into motion with the Dark Street Cinematic LUTs Pack or the broader cinematic LUTs for Premiere Pro collection.
That workflow is especially useful if you are building a personal brand, travel brand, or urban content series. For more inspiration, you can also read Craft Your Visual Identity: How to Create a Signature Editing Style for Personal Brands in 2026.
Related Reading
- Elevate Your Street Photography with These Cinematic Lightroom Presets
- Top 5 Street Lightroom Presets for Captivating Cityscapes
- The Best Street Photography Lightroom Presets
- Mastering Street Photography Editing for Grit, Mood, and Storytelling in 2026
- How to Install Lightroom Presets in a Quick and Easy Way
Make the Look Yours
Your best street photography look will not come from copying another city. It will come from editing in a way that respects your own streets, your own light, and your own timing. Start with tools that already match the mood, then refine the details until the images feel unmistakably yours. If you want a faster path, begin with the Street Photography Lightroom Presets, explore the Street Photography Lightroom Presets collection, and add motion consistency with the Dark Street Cinematic LUTs Pack. Questions about compatibility or setup can be answered on the FAQ page, and the Buy 3, Get 9 FREE offer makes it easier to build a complete city-editing toolkit without starting from scratch.
Frequently Asked Questions
How do I find my own street photography style?
Start by studying what your city naturally gives you: color, light, weather, texture, and mood. Then choose one editing direction and repeat it across multiple shoots until the look becomes recognizable.
Should I use presets for street photography?
Yes. Presets are a smart way to build consistency and save time. The strongest results usually come from using a preset as a base and then manually refining white balance, exposure, and local adjustments.
What is the best edit for rainy city photos?
Rainy city scenes usually look best when you control highlights, deepen blacks carefully, and keep reflected colors rich but not overdone. Texture and selective contrast matter more than extreme saturation.
Can I keep the same city look across photos and videos?
Yes. Use photo presets for stills and matching LUTs for video so the mood, contrast, and color direction stay aligned across your blog, social posts, and reels.
How many presets should I use for one signature style?
Usually one main base look and one or two supporting looks are enough. Too many different presets often weakens consistency instead of improving it.
Written by Asanka — creator of AAAPresets (10,000+ customers).
Leave a comment
This site is protected by hCaptcha and the hCaptcha Privacy Policy and Terms of Service apply.