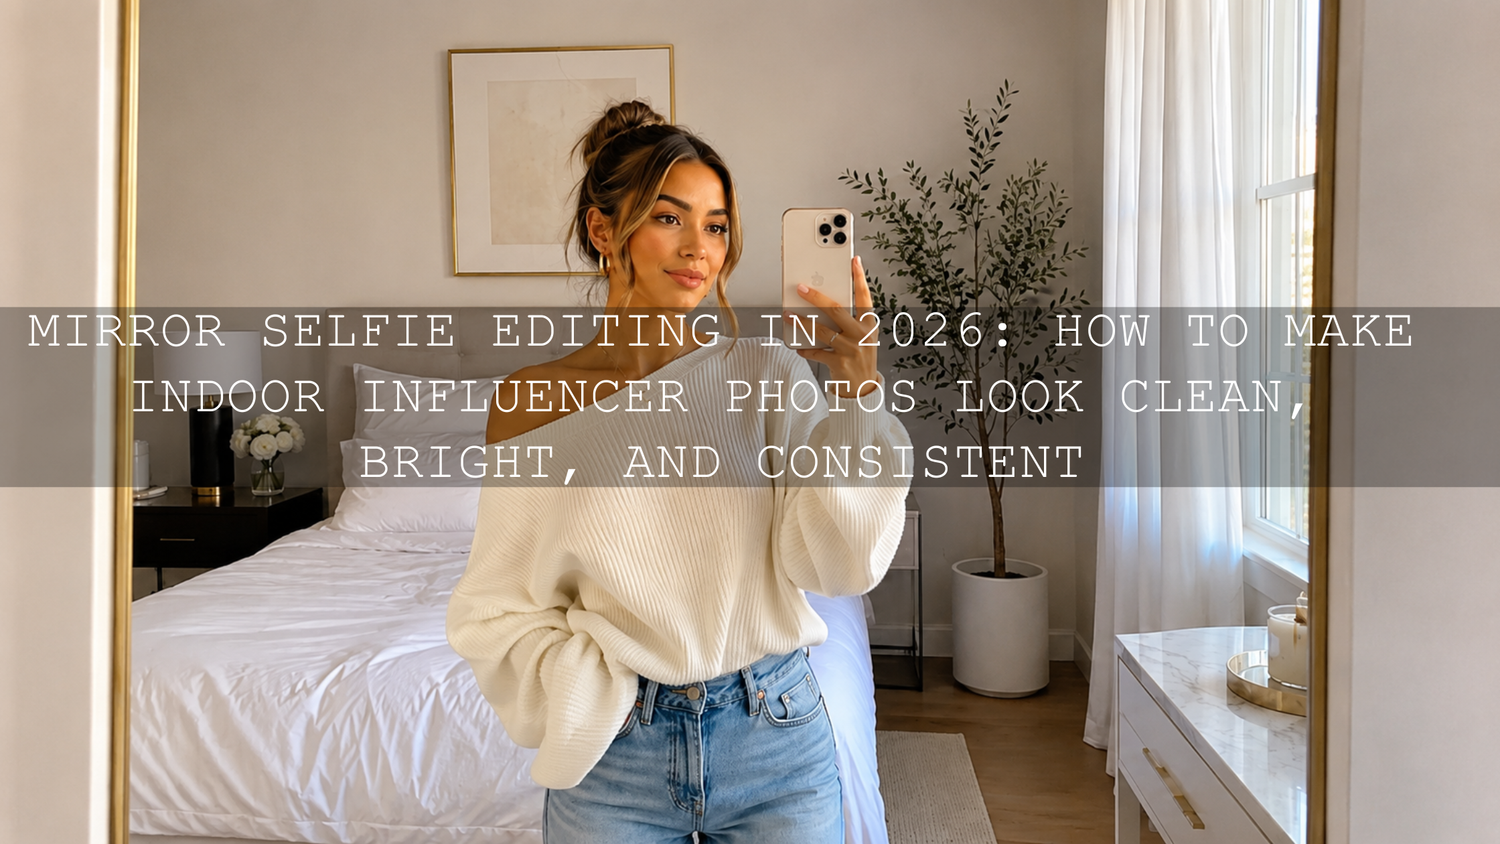
Mirror Selfie Editing in 2026: How to Make Indoor Influencer Photos Look Clean, Bright, and Consistent
Mirror selfie editing and indoor influencer photo editing are no longer just small finishing steps. They are part of the whole look. If you want cleaner skin tones, better outfit color, more flattering light, and a feed that feels polished instead of random, your edit matters as much as your pose. The good news is that you do not need a giant studio setup to get there. With a smart workflow, a few careful adjustments, and the right Lightroom presets for mobile and desktop, you can turn tricky indoor photos into content that feels intentional.
If you want a faster starting point, try the 1000+ Master Lightroom Presets Bundle and browse the full Instagram presets for content creators collection. It is a practical way to test different looks on mirror selfies, outfit photos, and indoor portraits without building every edit from scratch. And yes, you can Buy 3, Get 9 FREE when you add 12 items to your cart.
Why Mirror Selfies and Indoor Photos Are So Hard to Edit Well
Indoor photos usually come with problems that stack on top of each other. Mixed lighting can make skin look yellow, green, or flat. Dark corners can hide detail in clothes and hair. Bright windows can blow out highlights. And mirror selfies add another layer: fingerprints, crooked vertical lines, distracting backgrounds, and the challenge of making both you and the room look good at the same time.
That is why the best indoor influencer photo editing is not about throwing on a strong filter and hoping for the best. It is about fixing the foundation first. When you do that, presets become more useful, skin looks more believable, and your Instagram feed starts to feel consistent instead of chaotic.
If you are also working on a broader content style, this guide on editing influencer content for a flawless Instagram feed pairs really well with a mirror-selfie workflow.
The Best Editing Tools for Mirror Selfie Editing
For quick social content, most creators can do almost everything inside Lightroom Mobile. Adobe’s official Lightroom mobile app page is worth checking if you want to understand how the mobile workflow fits into the wider Lightroom ecosystem. For selective fixes like brightening your face without lifting the whole frame, Adobe’s guide to masking in Lightroom is especially helpful. And if you struggle to build a mood that still feels balanced, Adobe’s Color Wheel tool is a simple way to think about warm and cool color relationships before you push your grading too far.
Snapseed is still useful for quick healing and spot cleanup. Canva can help when you want collage layouts or text overlays. But for creators who care about repeatable, polished results, Lightroom Mobile stays the strongest all-around option because it lets you correct light, color, geometry, and local areas in one place.
A Simple Step-by-Step Workflow for Better Mirror Selfies
1. Fix the problems you can before you touch a preset
Clean the mirror. Straighten the phone. Check the edges of the frame. Move distracting items if possible. Editing is powerful, but it is always easier when the original photo is cleaner.
I have tested this on low-light bedroom selfies and changing just two things before shooting made the edit much easier: wiping the mirror and stepping half a meter closer to the best light source. Those tiny fixes saved far more time than any retouching tool.
2. Start with white balance, not style
This is the step most people skip, and it is one of the main reasons indoor photos look off. Before you add mood, correct the light.
- If the photo looks too yellow or orange, lower the temperature slightly.
- If the skin looks green from indoor bulbs, nudge the tint toward magenta.
- If the image feels blue and lifeless, warm it up a touch.
This matters because skin tone problems usually come from lighting first, not from the preset. If outfit color accuracy matters too, this article on true-to-color outfit photo editing is a strong next read.
3. Balance exposure before you add contrast
Indoor shots often need a gentle lift, but do not brighten the whole image blindly. Raise exposure only until the face and outfit feel readable. Then use highlights and shadows to recover detail.
- Lower highlights if a lamp or window is stealing attention.
- Lift shadows to recover hair, jacket texture, or room detail.
- Add contrast carefully after the brightness is under control.
Here is a useful rule: if the outfit looks right but the face is still dull, do not keep raising global exposure. Use a local mask on the face instead.
4. Crop and straighten early
Mirror selfies look more expensive when the lines feel intentional. Straighten door frames, wall lines, and mirror edges. Then crop out dead space and clutter. Even a beautiful edit can still feel amateur if the room looks tilted.
For fashion-heavy indoor content, it also helps to think like a lookbook editor. This guide to polishing lookbook images for online shops and catalogs has a lot of overlap with strong indoor portrait editing.
5. Apply a preset as a starting point, not the final answer
This is where people either save time or ruin the image. A good preset gives you a direction. It should not replace judgment.
For mirror selfies, I usually recommend starting with something clean and flattering rather than something extreme. The FASHION Portrait Lightroom Presets are a strong fit when you want indoor outfit photos to look polished without crushing detail. If skin tone consistency is the bigger issue, the AI-Optimized Skin Tone Safe Pro Portrait Lightroom Presets are a smart starting point.
6. Use masks for face, outfit, and background separately
This is where indoor edits start to look professional. Instead of forcing one edit across the whole image, separate the frame into parts.
- Mask the face and lift exposure slightly if needed.
- Mask the outfit if the clothing color needs a cleaner, truer look.
- Darken or soften the background a little so attention stays on you.
- Reduce clarity or texture only in the places that need softening, not everywhere.
When I push a portrait preset onto a warm apartment mirror selfie, this is the step that usually saves the image. The preset gives me mood fast, but masking lets me protect skin and clothing from going too orange or too muddy.
7. Retouch lightly
The best retouching is the kind people do not notice. Remove temporary blemishes, mirror dust, and obvious distractions, but keep natural texture. The goal is polished, not plastic.
If beauty detail is a big part of the image, you may also like this guide to editing beauty and makeup photos for clean skin glow.
Presets vs Manual Editing for Indoor Influencer Photos
Both matter. The best results usually come from combining them.
Presets
- Best for: speed, consistency, building a recognizable style
- Strength: gives you a polished baseline in seconds
- Risk: can exaggerate bad indoor lighting if applied blindly
Manual editing
- Best for: fixing mixed lighting, correcting skin tone, protecting outfit color
- Strength: gives you control scene by scene
- Risk: takes longer if you rebuild every image from zero
The smartest workflow is preset first, correction second. That is why creators who want both speed and quality often do better with a flexible base like the 1000+ Master Lightroom Presets Bundle and then refine each frame with manual white balance, exposure, and masking.
How to Make Your Indoor Photos Feel Consistent Across a Feed
A strong Instagram feed is not about making every photo identical. It is about making every photo feel related.
- Use one preset family for most posts. Jumping between cool, warm, faded, and high-contrast edits creates visual noise.
- Keep skin treatment similar. Do not make one post very airbrushed and the next ultra-textured.
- Protect whites and neutrals. This helps mirror selfies, fashion content, and room details look cleaner.
- Repeat your contrast style. Soft and airy, crisp and clean, or moody and cinematic all work better when repeated.
- Save your final adjustments as your own preset. Once you find a working formula, reuse it.
If you want the feed itself to feel more intentional, explore Instagram presets for content creators. And if you prefer a broader editing toolkit that works across phone and desktop, the Lightroom Mobile & Desktop presets collection is the safest place to browse.
Common Mistakes That Make Mirror Selfies Look Cheap
- Too much skin smoothing: this removes real texture and makes faces look fake.
- Ignoring color casts: a trendy preset cannot hide green or orange indoor light.
- Over-saturating clothes: this can make fashion content look less premium.
- Crushing shadows: dark corners may feel moody, but they can also kill useful detail.
- Leaving background clutter: the room is part of the story in a mirror selfie.
- Using a different editing style every day: this weakens your visual identity fast.
Actionable Pro Tips You Can Test Today
- Take one photo beside a window and one under overhead room light. Edit both the same way and compare how much easier the window shot is.
- Create one “clean indoor” preset. Save a version with softer contrast, corrected white balance, and mild skin protection.
- Use the healing tool before retouching skin. Dust, smudges, and wall marks often matter more than tiny facial imperfections.
- Lower highlights before increasing exposure. This keeps lamps and windows from blowing out.
- Check the image at normal size before posting. If the edit only looks good when zoomed in, it usually needs simplification.
Related Reading for Better Indoor Portrait and Creator Edits
- Editing influencer content for a consistent Instagram feed
- How to polish lookbook images for stronger fashion presentation
- How to keep outfit colors accurate in photo edits
- How to make presets work across different skin tones
- How to install Lightroom presets the quick way
If you are ready to speed up your mirror selfie editing and keep your indoor influencer photos looking clean and consistent, start with the FASHION Portrait Lightroom Presets, test the Skin Tone Safe Pro Portrait Lightroom Presets, and browse the Instagram presets collection for feed-ready looks. And if you need help choosing or installing the right pack, the AAAPresets contact page is there when you need support.
FAQs
What is the best app for mirror selfie editing?
Lightroom Mobile is usually the best all-around choice because it combines white balance correction, masking, healing, cropping, and preset workflows in one app. Snapseed is useful for quick cleanup, but Lightroom gives you more control for repeatable results.
Should I use presets or edit mirror selfies manually?
The strongest workflow is both. Use a preset to get a fast base look, then manually adjust white balance, exposure, skin tone, and masks so the image fits the actual lighting conditions.
How do I fix yellow indoor lighting in selfies?
Lower the temperature a little, watch the tint, and then check skin tone before adding extra contrast or saturation. If the face still looks warm, use a local mask instead of pushing the whole photo cooler.
How do I make indoor influencer photos look more professional?
Start with clean framing, correct the white balance, straighten lines, and keep retouching subtle. Consistent color treatment across multiple posts also makes your content feel much more professional.
Why do my presets look good on one selfie and bad on another?
Because presets react to the photo you feed them. Different light sources, skin tones, room colors, and exposures change the result, which is why a good preset still needs a few manual corrections.
Written by Asanka — creator of AAAPresets (10,000+ customers).

Leave a comment
This site is protected by hCaptcha and the hCaptcha Privacy Policy and Terms of Service apply.