
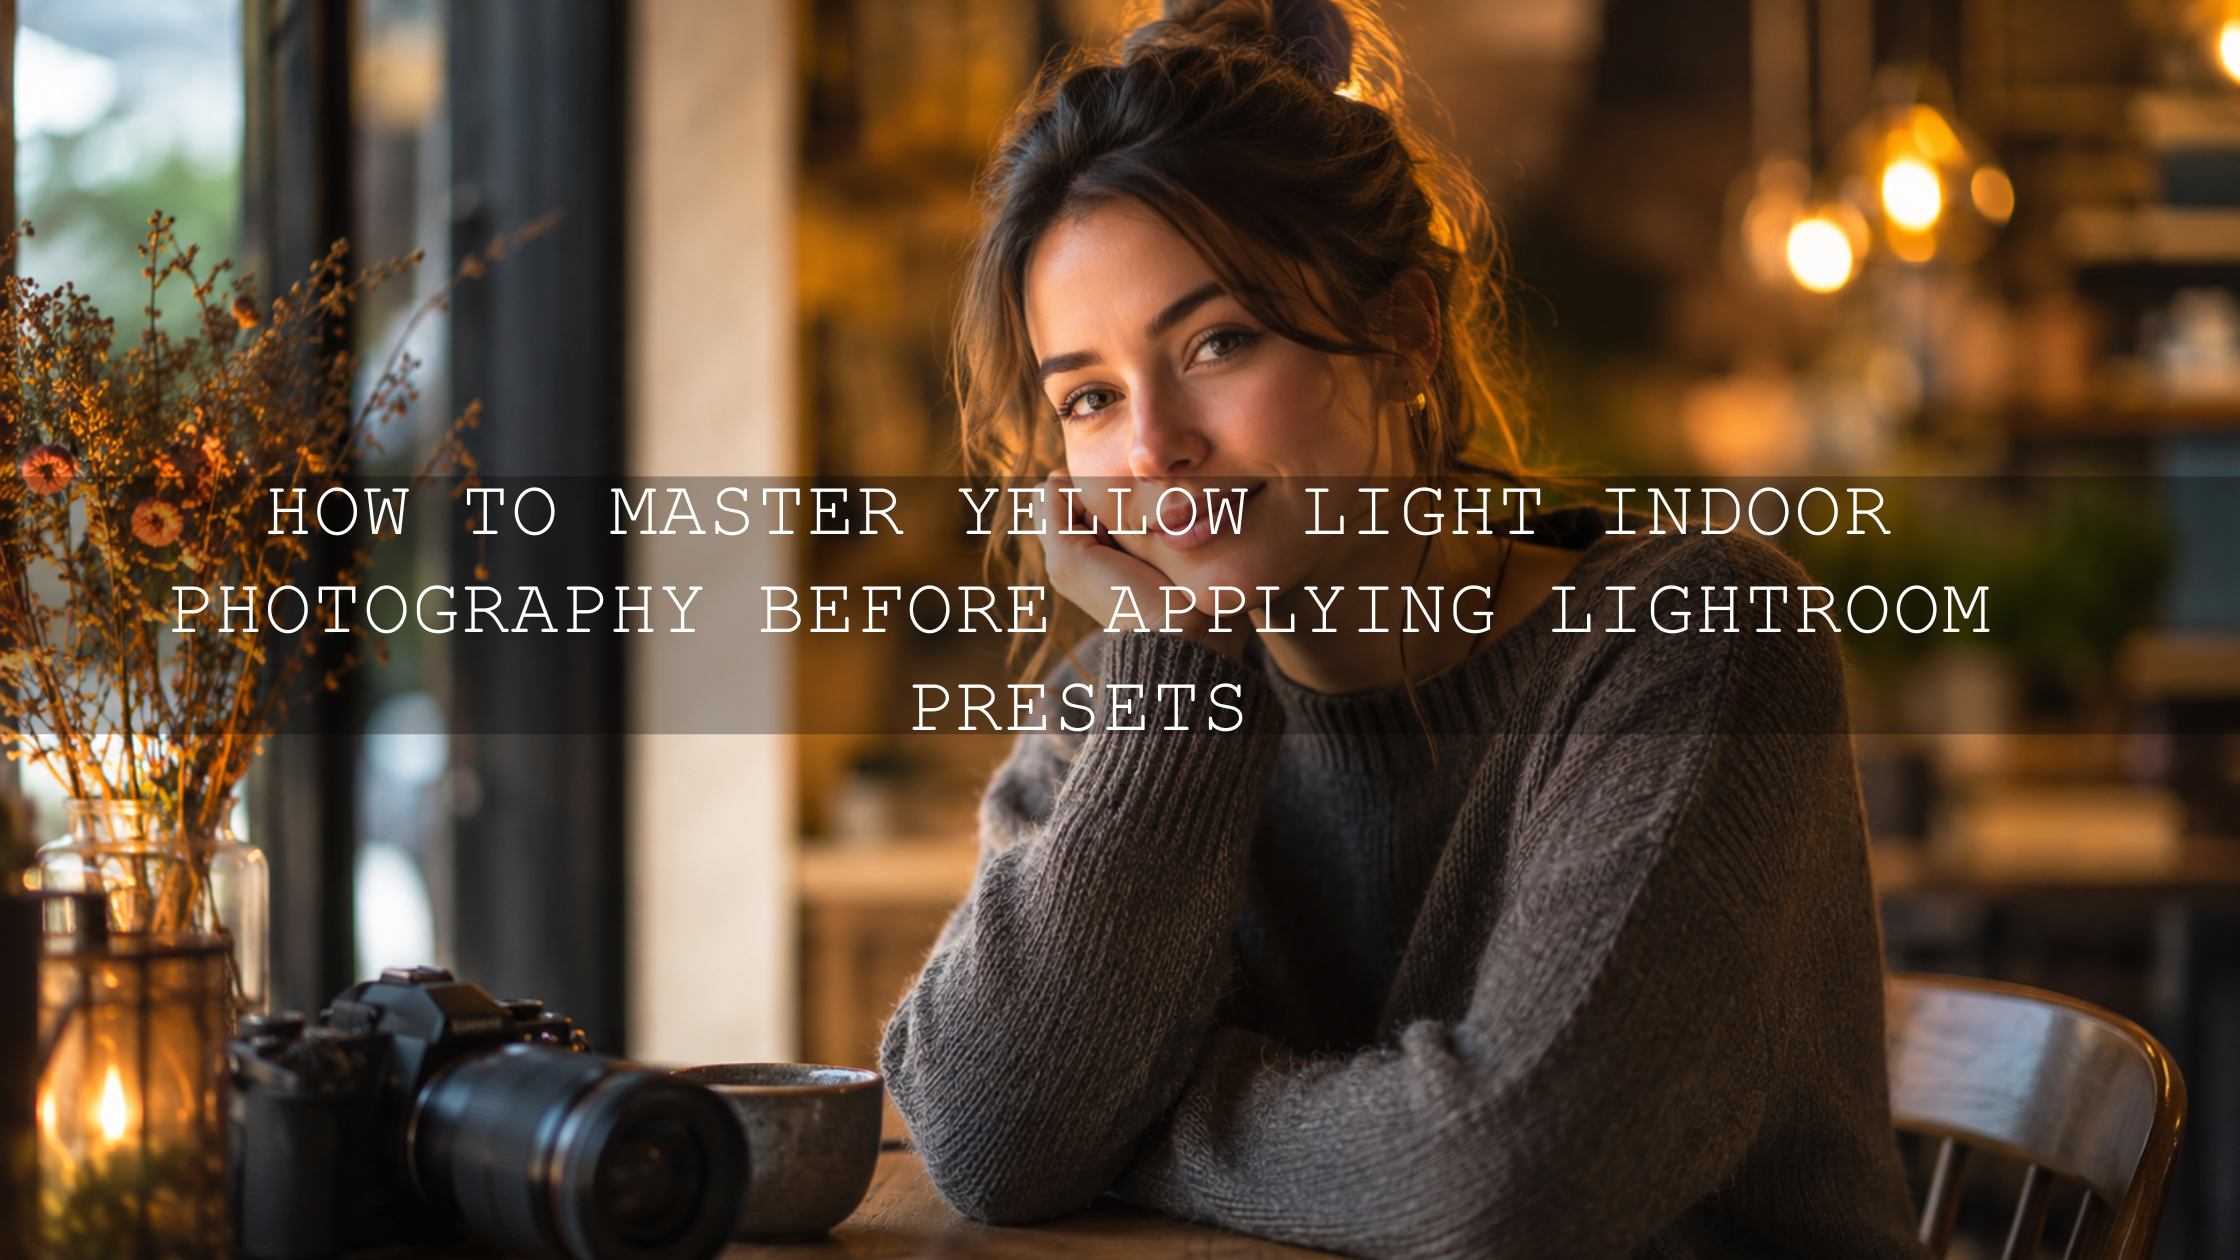
How to Fix Harsh Sunlight Photos Before Applying Lightroom Presets
Learning how to fix harsh sunlight photos before applying Lightroom presets can save your edit from looking washed out, muddy, overly contrasty, or unnatural. Harsh midday light creates bright highlights, deep shadows, warm color casts, and strong contrast that most presets are not designed to repair automatically. The better workflow is simple: correct the lighting foundation first, then apply your creative preset second.
Here’s why this matters: Lightroom presets are style tools, not rescue tools. They can enhance color, contrast, mood, and tone, but they work best when your photo already has a clean base. If your sky is pure white, your subject’s face is too bright, or the shadows are completely blocked, a preset may make the problem stronger instead of fixing it.
For a smoother editing workflow, start with a flexible pack like the 1000+ Master Lightroom Presets Bundle and browse more styles in the Lightroom Presets for Mobile & Desktop collection. Correct the harsh sunlight first, apply your preset second, then fine-tune the final look. Try these presets today — Buy 3, Get 9 FREE.
Why Harsh Sunlight Makes Presets Look Bad
Harsh sunlight is difficult because it pushes your photo into extreme contrast. The camera may capture a bright sky, dark shadows under the eyes, reflective skin highlights, and flat color all in one frame. Your eyes can adapt to this scene naturally, but your camera sensor has limits.
When direct sunlight is too strong, you may see:
- Blown highlights: skies, white clothing, faces, sand, concrete, or reflective surfaces become too bright.
- Crushed shadows: dark areas lose detail, especially under hats, trees, buildings, hair, and facial features.
- Unnatural skin tones: skin can look too orange, yellow, red, or shiny.
- Flat midtones: the photo may feel harsh but still lack smooth depth.
- Preset mismatch: a preset made for soft light may look too heavy, too bright, or too contrasty on hard sunlight photos.
Before applying any preset, check whether your image still has recoverable detail. Adobe explains highlight and shadow clipping inside the histogram in Adobe’s Lightroom guide to highlight and shadow clipping. This is one of the most useful checks when editing bright outdoor images.
Step 1: Check the Histogram Before You Touch the Preset
The histogram tells you if the photo is losing detail in the brightest or darkest areas. If the graph is pushed hard against the right edge, your highlights may be clipped. If it is pushed hard against the left edge, your shadows may be crushed.
Do not panic if the image looks bad at first. The goal is not to make the photo perfect before the preset. The goal is to bring the exposure into a safer editing range so the preset has something useful to work with.
Start with this quick check:
- Open the image in Lightroom.
- Look at the histogram before applying any preset.
- Turn on clipping warnings if needed.
- Check the sky, face, white clothes, and deep shadow areas.
- Make base corrections first, then apply the preset.
I use this step often when testing outdoor presets for AAAPresets. A preset can look beautiful on a balanced portrait, but the same preset can look harsh if the original file has clipped skin highlights or blocked shadows.
Step 2: Recover Highlights Without Making the Photo Dull
Highlights are usually the first problem in harsh sunlight photos. Bright skies, wedding dresses, white shirts, beach sand, metal surfaces, and shiny skin can quickly become too bright.
Start with the Highlights slider. Pull it down gradually until you see detail returning in the brightest areas. Do not drag it too far just because the slider allows it. If you over-recover highlights, the photo can start looking gray, flat, or unnatural.
Then adjust Exposure only if the entire image is too bright. Exposure changes the whole photo, while Highlights focuses more on the bright parts. In most harsh sunlight edits, a small exposure reduction plus a moderate highlight recovery works better than one aggressive move.
Pro tip for bright skies
If the sky is too bright but the subject looks okay, avoid reducing the entire exposure too much. Use a sky mask or linear gradient instead. This keeps the subject natural while bringing the sky under control. Adobe explains local editing tools in Adobe’s guide to masking in Lightroom.
Step 3: Lift Shadows Carefully to Bring Back Detail
After fixing highlights, look at the shadows. Harsh sunlight often creates deep shadow areas under the eyes, chin, nose, trees, cars, walls, and clothing folds. Lifting shadows can bring back important detail, but too much can create noise and a faded look.
Use the Shadows slider slowly. The aim is to recover enough detail so the viewer can understand the subject, not to remove every shadow from the photo. Shadows create shape, depth, and mood. If you remove them completely, the image can look fake.
Next, use the Blacks slider to control the deepest tones. If the photo looks too gray after lifting shadows, lower Blacks slightly to bring back depth. If the photo still feels too blocked, raise Blacks a little. Small changes are enough.
A clean harsh sunlight edit is not about making everything bright. It is about keeping detail in the highlights, enough information in the shadows, and natural contrast in the subject.
Step 4: Fix White Balance Before Applying Presets
White balance before presets is especially important in harsh sunlight. Direct sun can make a photo look too warm, while shaded areas can look too cool or blue. If you apply a cinematic preset before fixing white balance, the preset may exaggerate the color cast.
Look for a neutral area in the image, such as a white shirt, gray wall, or neutral pavement. Use the white balance eyedropper if the scene has a reliable neutral point. If not, adjust Temperature and Tint manually until skin, whites, and shadows look believable.
For outdoor portraits, be careful with skin. A slightly warm photo can feel beautiful, but too much warmth can turn skin orange. A slightly cool shadow can add mood, but too much blue can make the subject look unnatural.
This is also where presets become easier to judge. Once the white balance is clean, you can tell whether the preset fits the photo or whether the original lighting was causing the problem.
Step 5: Use Masking for Faces, Skies, and Hot Spots
Global sliders affect the whole image. That is useful for the base edit, but harsh sunlight problems are often local. The face may be too bright while the background is fine. The sky may be blown out while the subject is properly exposed. A shadow under the eyes may need a gentle lift without changing the entire photo.
Use masking when one area needs special attention:
- Subject mask: brighten the subject slightly without changing the background.
- Sky mask: reduce highlights, exposure, or haze in a bright sky.
- Brush mask: soften small hot spots on the forehead, cheeks, nose, or hands.
- Linear gradient: balance bright skies, beach scenes, roads, and open landscapes.
- Luminance range: target only the brightest or darkest tones when the edit needs more precision.
A real example: when I test outdoor portrait presets, I often lower the highlights on the face with a soft mask before applying the preset. The result looks much more natural because the preset enhances the portrait instead of fighting shiny skin and hard shadows.
Step 6: Rebuild Contrast Without Making the Edit Harsh
After recovering highlights and shadows, your photo may look a little soft or flat. That is normal. You have expanded the tonal range, so now you need to rebuild contrast carefully.
Use Contrast in small amounts. Then adjust Whites and Blacks to set a clean tonal range. The photo should have enough punch, but not so much that the sky becomes clipped again or the shadows turn black.
Use Texture and Clarity carefully, especially on portraits. These tools can make fabric, buildings, rocks, and landscapes look sharper, but they can also make skin look rough under harsh light. If the subject is a person, keep clarity low or apply it only to non-skin areas with a mask.
Dehaze can help with washed-out outdoor photos, but use it gently. Too much Dehaze can make blue skies too dark, greens too heavy, and shadows too gritty.
Step 7: Correct Color With HSL and Color Mixer
Harsh sunlight can push colors in strange directions. Greens may look yellow, skies may look pale, skin may look orange, and shadows may look blue. This is where the HSL or Color Mixer panel becomes useful.
Use the Color Mixer for targeted color control instead of changing the whole image with Saturation. Adobe explains Hue, Saturation, and Luminance adjustments in Adobe’s Lightroom Color Mixer guide.
Try these simple color corrections:
- Reduce orange saturation slightly if skin looks too strong.
- Adjust orange luminance if skin looks too dark or too bright.
- Reduce yellow saturation if sunlight makes grass or skin look too warm.
- Increase blue saturation slightly if the sky looks washed out, but avoid making it fake.
- Shift green hue carefully if outdoor scenes look too neon or too yellow.
Vibrance is usually safer than Saturation for harsh sunlight edits because it boosts weaker colors more gently. Saturation affects all colors more evenly, so it can quickly make skin and greens look overdone.
Presets vs Manual Editing: Which Comes First?
Presets and manual editing should work together, but they do different jobs.
- Manual editing fixes the foundation: exposure, highlights, shadows, white balance, clipping, and local problem areas.
- Presets create the style: cinematic tone, moody contrast, warm film color, bright summer energy, vintage fade, or clean portrait color.
- Manual editing after presets fine-tunes the result: small exposure changes, skin tone corrections, masking, crop, and final polish.
The best workflow is not “preset only” or “manual only.” It is base correction first, preset second, final refinement third. This gives you speed without losing control.
For outdoor daylight photos, try clean and flexible options like Bright and Minimal Lightroom Presets, cinematic options like Cinematics Look Lightroom Presets Pack, or warm outdoor styles like AI-Optimized Luxury Golden Tones Lightroom Presets. For a wider editing library, the AI-Optimized Lightroom Presets collection gives you more options for portraits, travel, lifestyle, and outdoor scenes.
A Simple Harsh Sunlight Lightroom Workflow
Use this quick workflow before applying your preset:
- Check clipping: look at the histogram and identify blown highlights or crushed shadows.
- Correct exposure: reduce exposure only if the whole image is too bright.
- Recover highlights: pull Highlights down until bright areas regain detail.
- Lift shadows: raise Shadows carefully to reveal important detail.
- Set white balance: correct strong yellow, orange, blue, or green casts.
- Use masks: fix the face, sky, background, or small bright hot spots separately.
- Rebuild contrast: adjust Contrast, Whites, Blacks, Texture, and Clarity gently.
- Adjust color: use Vibrance and Color Mixer for natural tones.
- Apply your preset: choose the style after the photo is balanced.
- Fine-tune: make small final adjustments so the preset fits the image.
Here’s a common before-and-after editing example: a beach portrait shot at noon may start with a white sky, bright forehead, dark eyes, and yellow skin. Before applying the preset, reduce Highlights, use a subject mask to lift the eyes, cool the white balance slightly, lower orange saturation a little, and recover the sky with a linear gradient. Then apply a clean summer or cinematic preset. The final image will look styled, not rescued.
Common Mistakes to Avoid
- Applying the preset first on a damaged base: this often makes clipped highlights and blocked shadows worse.
- Over-lifting shadows: too much shadow recovery can create noise and a fake HDR look.
- Overusing clarity on skin: harsh sunlight already reveals texture, so too much clarity can look rough.
- Ignoring white balance: a beautiful preset can still look wrong if the original color temperature is off.
- Trying to fix everything globally: use masks when only the sky, face, or background needs correction.
Related Reading
- Editing outdoor portraits in harsh sunlight
- How to pick photos that work well with presets
- Why Lightroom presets look different on every photo
- How to build safe base presets for difficult lighting
- Why presets make photos too dark and how to fix it
- How to adapt Lightroom Mobile presets to different lighting
Final Thoughts
Harsh sunlight does not have to ruin your Lightroom preset workflow. The secret is to stop treating presets as a rescue button and start treating them as a creative finish. Recover your highlights, open the shadows carefully, correct white balance, use masks for local problems, and control color before you apply the look.
Once the base is clean, your presets can do what they are meant to do: add mood, polish, color, and consistency. For flexible editing across bright outdoor scenes, portraits, travel photos, and lifestyle images, explore the 1000+ Master Lightroom Presets Bundle, try outdoor-friendly packs like Bright and Minimal Lightroom Presets, and browse the full Lightroom Presets for Mobile & Desktop collection. Try these presets today — Buy 3, Get 9 FREE.
FAQ
Should I fix harsh sunlight photos before applying Lightroom presets?
Yes. Correct exposure, highlights, shadows, and white balance first. This gives the preset a cleaner base and helps the final edit look more natural.
What is the best Lightroom slider for blown highlights?
Start with the Highlights slider, then adjust Exposure only if the whole image is too bright. For bright skies or small hot spots, use masking instead of changing the entire photo.
Why do my presets look too contrasty in harsh sunlight?
Harsh sunlight already has strong contrast. If the preset adds more contrast, clarity, blacks, or dehaze, the image can look too heavy. Reduce the harsh light first, then apply the preset.
How do I fix dark shadows under the eyes in outdoor portraits?
Use a soft mask on the face or eye area and gently raise Shadows or Exposure. Avoid lifting the whole image too much because the background may become flat.
Can Lightroom presets fix bad lighting automatically?
Presets can improve style and mood, but they cannot fully recover clipped highlights or severely crushed shadows. A quick manual base correction before the preset gives better results.
Written by Asanka — creator of AAAPresets (10,000+ customers).

Leave a comment
This site is protected by hCaptcha and the hCaptcha Privacy Policy and Terms of Service apply.