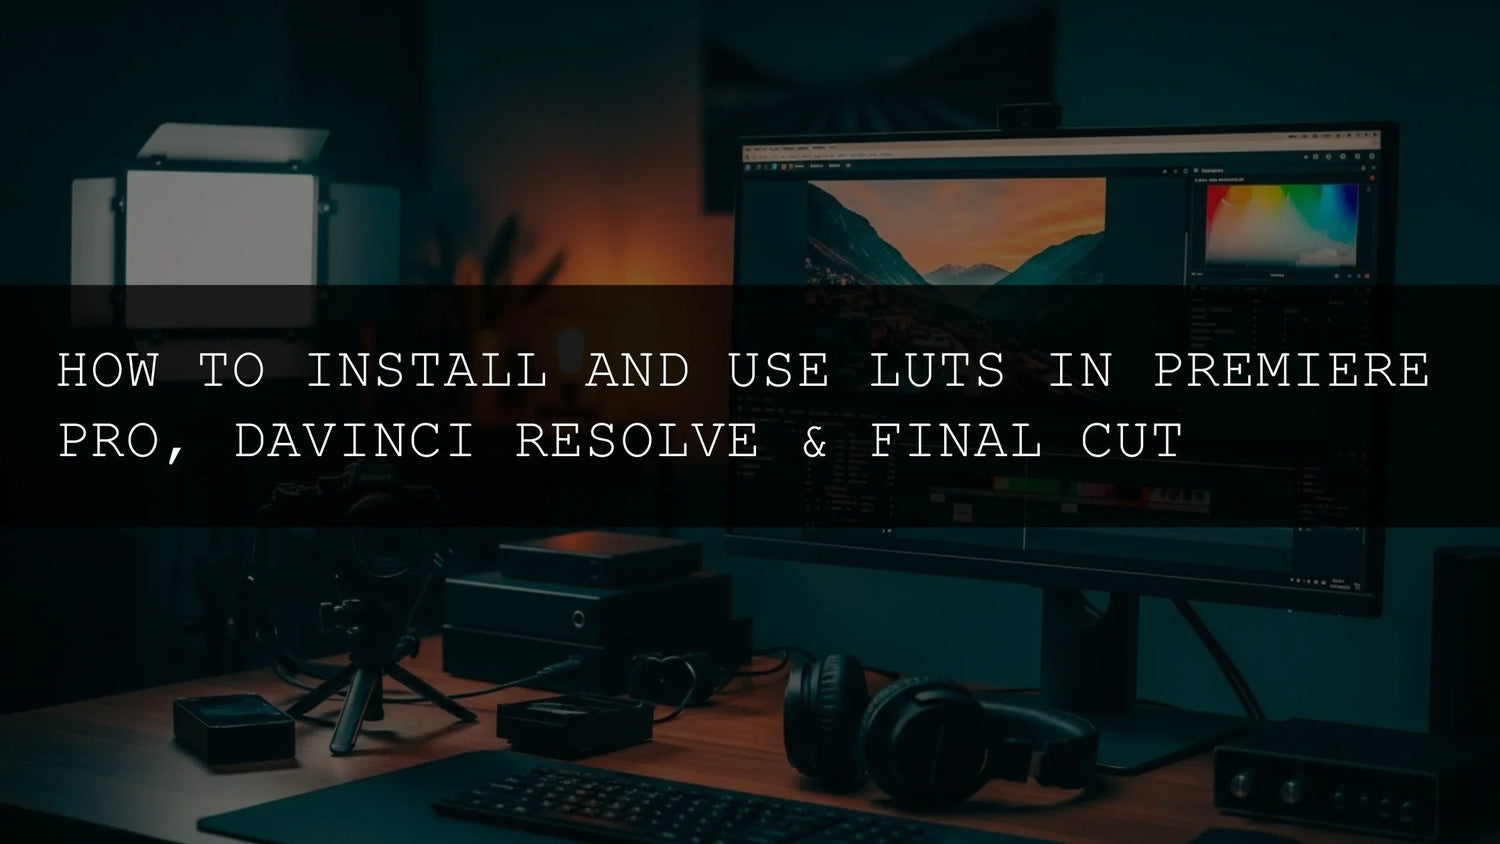
Unlock Cinematic Color: A Comprehensive Guide to Installing and Using LUTs in Premiere Pro, DaVinci Resolve & Final Cut Pro
Hey there, fellow filmmakers, content creators, and anyone with a passion for visual storytelling! Ever scrolled through your feed and been mesmerized by the rich, evocative colors of a film or a viral video? That distinctive cinematic look, the mood, the atmosphere – it's often crafted with the help of Look-Up Tables, or LUTs. These powerful digital tools are essentially color presets that can dramatically transform your raw footage, imbuing it with a professional, stylized aesthetic. But let's be honest, the world of LUTs can seem a little intimidating at first. Where do you find them? How do you actually get them into your editing software? And how do you use them effectively without making your footage look like a bad phone filter? Mastering LUTs is more accessible than ever, and the benefits to your final product are undeniable. Whether you're a seasoned pro looking to streamline your workflow or just starting your editing journey and aiming to achieve that polished, professional look, this comprehensive guide will walk you through the essential steps of installing and using LUTs in the three leading non-linear editing (NLE) platforms: Adobe Premiere Pro, DaVinci Resolve, and Apple Final Cut Pro. Get ready to elevate your color grading game and make your footage truly stand out!
Demystifying the LUT: What is it Really?
Before we dive into the technicalities, let's get a clear understanding of what a LUT actually is. At its core, a LUT is a data file that stores a table of values, mapping input colors to output colors. Think of it as a sophisticated color filter or a digital recipe for color transformation. When you apply a LUT to your footage, it reads the color information of each pixel and applies the corresponding color transformation defined in the LUT file. This allows for:
- Instant Styling: Achieve specific looks like vintage film, moody blues, warm golden hours, or vibrant sci-fi aesthetics with a single click. This can save you hours of manual color correction.
- Efficiency: Save immense amounts of time compared to manually adjusting color wheels, curves, and HSL qualifiers for every single clip in your project. This is a massive advantage, especially when dealing with tight deadlines or large volumes of footage.
- Consistency: Apply the same look across multiple clips, ensuring a cohesive visual narrative throughout your project. This is especially crucial when working with footage from different cameras, varying lighting conditions, or even different takes of the same scene. A consistent look is a hallmark of professional production.
- Creative Expression: Explore unique color palettes and push the boundaries of your visual storytelling. LUTs can help you convey specific emotions, set a particular tone, or even create a signature visual style for your brand or personal work.
LUTs are commonly found in formats like `.cube` (Cube files) and `.3dl` (3D Look files), both of which are widely supported by professional editing software. Understanding these formats is the first step to unlocking their potential.
The Hunt for the Perfect Look: Where to Find LUTs
Your quest for the ideal color grade begins with finding the right LUTs. Fortunately, the landscape of LUT availability is vast and ever-growing, with options catering to every budget and aesthetic preference.
- Camera Manufacturer LUTs: If you shoot with cameras that utilize log profiles like Sony (S-Log, S-Log2, S-Log3), Canon (C-Log, C-Log 2), Panasonic (V-Log), or Blackmagic Design (BRAW/Pocket Cinema Camera footage), these manufacturers often provide free official LUTs designed to convert their log footage into a standard color space (like Rec.709). These are excellent starting points for preserving dynamic range and achieving a clean, neutral base before applying creative looks.
- Free Online Resources: The internet is a treasure trove of free LUTs! Websites like Mixkit, RocketStock (often offering free packs with sign-up), and countless YouTube channels dedicated to filmmaking and editing regularly share high-quality, free LUT packs. Searching terms like "free cinematic LUTs," "filmic LUTs download," "free LUT pack 2025," or "best free LUTs for [your camera model]" will yield a plethora of options. Be discerning, as quality can vary wildly.
- Premium LUT Marketplaces: For truly unique, professional-grade, and often highly specific looks, investing in paid LUT packs is a fantastic option. Platforms like FilterGrade, aaapresets, Motion Array, CinePlus, and Color Grading Central offer curated collections designed by professional colorists who have worked on Hollywood films and major commercials. These often come with detailed instructions, compatibility notes, and support, and the quality is usually significantly higher and more refined. They can save you immense time and elevate your projects dramatically.
Once you've downloaded your chosen LUTs, the next crucial step is integrating them seamlessly into your editing workflow. This is where the real magic begins.
Mastering LUTs in Adobe Premiere Pro
Premiere Pro, a staple in the video editing industry, offers a streamlined and user-friendly process for using LUTs, primarily through its powerful Lumetri Color panel. This panel consolidates all your color grading tools in one intuitive interface.
Installation: The Simple Folder Method
Premiere Pro doesn't require complex plugin installations for LUTs. You simply need to place them in the correct application folder. This makes it easy to manage and update your LUT library.
-
Locate the Premiere Pro LUTs Directory: This is the most critical step. The exact path can vary slightly depending on your Premiere Pro version and operating system, but here are the common locations:
- On macOS: Navigate to `Library/Application Support/Adobe/Color/LUTs/Creative/`
- On Windows: Navigate to `C:\Program Files\Adobe\Common\Contents\CS6\LUTs\Creative\`
- Copy Your LUT Files: Simply drag and drop your `.cube` or `.3dl` files into the `Creative` folder. It's highly recommended to create subfolders within `Creative` if you want to organize your LUTs by style (e.g., "Cinematic," "Vintage," "Faded," "Rec.709 Conversions"). This organization will save you significant time when searching for the right look later.
- Restart Premiere Pro: It's crucial to close Premiere Pro completely and reopen it after placing the LUT files. This ensures that the software rescans the LUT directory and recognizes your newly added files. If you forget this step, your LUTs simply won't appear in the Lumetri panel.
Applying LUTs in Your Premiere Pro Workflow
With your LUTs installed and Premiere Pro restarted, applying them is a visual and intuitive process within the Lumetri Color panel.
- Select Your Clip: In your Premiere Pro timeline, click on the video clip you wish to color grade. You can apply a LUT to individual clips or use an Adjustment Layer for a project-wide look.
- Open the Lumetri Color Panel: Go to the "Window" menu and select "Lumetri Color" if it's not already visible. This panel is your command center for all color grading operations.
- Access the "Creative" Tab: Within the Lumetri Color panel, you'll find several tabs (Basic Correction, Creative, Curves, Color Wheels, HSL Secondary, etc.). Click on the "Creative" tab. This is where the "Look" dropdown resides.
- Choose Your Look: Under the "Look" dropdown menu, you'll see a "None" option at the top. Click on this dropdown, and scroll down. Your installed LUTs will appear here, typically listed under the "Creative" folder you used for installation. If you created subfolders, they will be organized accordingly, making it easy to browse your collection. Hovering over a LUT will often show a preview directly in your program monitor.
- Tweak the Intensity: This is where the magic happens for a natural, professional look! Premiere Pro provides an "Intensity" slider right below the "Look" dropdown. Most LUTs are designed with a full-strength application in mind, but dialing this back (often between 50-80%) can create a much more subtle, integrated, and less "filtered" color grade. Experiment extensively with this slider to find the perfect balance that complements your footage without overpowering it.
For applying a LUT to multiple clips efficiently, consider placing it on an Adjustment Layer. Create a new Adjustment Layer (File > New > Adjustment Layer), place it above your clips in the timeline, and then apply the Lumetri Color effect with your chosen LUT to the Adjustment Layer itself. This allows for global color changes and easy adjustments.
Harnessing the Power of LUTs in DaVinci Resolve
DaVinci Resolve, renowned for its unparalleled professional color grading capabilities, offers a robust and incredibly flexible system for integrating and utilizing LUTs. Its node-based workflow provides immense control.
Installation: The Dedicated LUT Folder
Resolve manages LUTs through a specific folder within your project settings, making it easy to update your library without needing to restart the entire application frequently.
- Launch DaVinci Resolve: Open the application.
- Access Project Settings: Click on the small gear icon located in the bottom-right corner of the interface. This opens the main project configuration window.
- Navigate to Color Management: In the Project Settings window, select "Color Management" from the list on the left-hand side. This section controls how Resolve interprets and displays color.
- Open the LUTs Folder: Scroll down within the Color Management settings until you find the "Color Lookup Tables" section. You'll see a button labeled "Open LUTs Folder." Click this button. This will directly open the designated folder in your operating system's file browser.
- Copy Your LUT Files: A Finder window (macOS) or File Explorer window (Windows) will open, directing you to the correct LUTs folder for Resolve. Copy your `.cube` or `.3dl` files into this folder. As with Premiere Pro, it's highly recommended to create subfolders here for better organization (e.g., "Film Emulation," "Technical LUTs," "Creative Looks").
- Refresh and Apply: Close the Project Settings window. Resolve usually refreshes its LUT list automatically, but if your LUTs don't appear, you may need to restart DaVinci Resolve for them to be recognized and appear in the Color page's effects browser.
Applying LUTs in the DaVinci Resolve Color Page
Resolve's Color page is where the real color grading magic happens, and applying LUTs is a seamless and powerful process within its node-based system.
- Switch to the Color Page: At the bottom of the Resolve interface, click on the "Color" tab. This is dedicated to color correction and grading.
- Access the LUTs Browser: On the right-hand side of the Color page interface, you'll typically find a panel containing "Power Windows," "Qualifiers," and "LUTs." If this panel isn't visible, click the "Browse" button (often represented by a downward-pointing arrow or a grid icon) at the top-right of the viewer area. Ensure the "LUTs" tab within this panel is selected. This browser lists all your installed LUTs, categorized by their source folder.
- Apply LUTs via Nodes: The most professional and flexible way to use LUTs in Resolve is by applying them to specific nodes. Right-click on an empty node in your node editor (the graph showing your processing steps). Select "Add LUT" and then navigate through your library to choose the desired LUT. Alternatively, you can simply drag and drop a LUT directly from the LUTs browser onto an empty node.
- Control and Blend: Resolve offers exceptional granular control over LUT application. Once a LUT is applied to a node, you can adjust its "Mix" or "Opacity" parameter directly within that node. This is vital for achieving subtle, natural-looking results and blending the LUT seamlessly with your existing grade. You can also add LUTs on separate nodes to layer different looks, perform complex grading operations, or use them in conjunction with other grading adjustments like curves and color wheels.
Resolve also allows for LUTs to be applied as Input Color Space Transforms (for converting log footage) or as a specific "Display Device LUT" within the Color Management settings, offering even more advanced workflow options for professional color pipelines.
Integrating LUTs into Final Cut Pro
Final Cut Pro, known for its intuitive interface and efficient editing capabilities, also makes incorporating LUTs a straightforward affair, allowing for quick application and adjustment.
Installation: The Standard Folder Location
Similar to Premiere Pro, Final Cut Pro relies on a specific folder within your user directory for LUT management.
-
Locate the Final Cut Pro LUTs Folder: This is where your custom LUTs need to reside for Final Cut Pro to recognize them. The standard location is:
- On macOS: Navigate to your `Movies` folder, then find `Motion Templates`, and inside that, create a folder named `LUTS` if it doesn't already exist. The full path is `~/Movies/Motion Templates/LUTS/`
- Copy Your LUT Files: Drag and drop your `.cube` or `.3dl` files into this `LUTS` folder. You can create subfolders within `LUTS` for organizational purposes (e.g., "Cinematic Looks," "Vintage Film," "Rec.709 Conversion"). This organization is key to efficiently finding the LUT you need during editing.
- Restart Final Cut Pro: Ensure Final Cut Pro is fully closed and then reopened for the software to scan the new directory and recognize the recently added LUT files. This is a necessary step for the LUTs to appear in the Color Inspector.
Applying LUTs within Final Cut Pro
Applying LUTs in Final Cut Pro is a highly visual process, integrated directly into the color grading tools within the inspector panel.
- Select Your Clip: In your Final Cut Pro timeline, click on the video clip you want to apply a LUT to.
- Open the Color Inspector: Click on the Color Board icon (looks like three overlapping circles) in the top-right corner of the viewer, or use the keyboard shortcut Command-7. This opens the comprehensive Color Inspector panel.
- Find the "Color LUT" Effect: Within the Color Inspector panel, look for the section labeled "Color LUT." This is where you'll find the option to apply a LUT.
- Select Your LUT: Click the dropdown menu next to "Color LUT." Your installed LUTs will be listed under "Custom LUTs." If you created subfolders, they'll be organized as such, making browsing straightforward. Final Cut Pro often provides a live preview of the LUT as you hover over it in the dropdown.
- Adjust the "Amount": Just like in Premiere Pro, Final Cut Pro provides an "Amount" slider for the LUT effect. This slider is crucial for controlling the intensity of the LUT and achieving a balanced, professional look. Experiment with this slider to blend the LUT seamlessly with your original footage, ensuring it enhances rather than overwhelms the image.
For applying LUTs to multiple clips, Final Cut Pro doesn't have a direct Adjustment Layer equivalent in the same way as Premiere Pro. However, you can create a "color effect" from a clip with a LUT applied and then save and apply that custom effect to other clips. Alternatively, some editors create a single-frame "black" or neutral clip, apply a LUT to it, and then duplicate that clip with the effect applied across multiple tracks or projects, acting as a pseudo-adjustment layer.
Pro Tips for Next-Level LUT Usage
Simply applying a LUT and calling it a day is rarely the best approach for achieving a truly professional and polished look. Elevate your color grading by adopting these expert techniques and best practices:
- Shoot in LOG or Flat Profiles: LUTs are most effective and provide the most flexibility when applied to footage shot with a "flat" or "logarithmic" color profile (like Sony's S-Log3, Canon's C-Log, Panasonic's V-Log, or Blackmagic's Film Log). These profiles capture the maximum amount of dynamic range and color information, providing a clean, neutral canvas for the LUT to work its magic. Applying a LUT to footage that already has a strong, baked-in color grade or is heavily compressed can lead to unpredictable, artifact-prone, and undesirable results.
- Use LUTs as a Starting Point, Not the Endpoint: Think of a LUT as the first brushstroke on a canvas, or a foundational layer. After applying a LUT, always use your software's primary color correction tools (exposure, contrast, white balance, saturation, tint) to refine the image. You might need to adjust the exposure slightly to compensate for the LUT's effect, tweak the white balance if it shifts too warm or cool, or enhance saturation to make the look truly yours and fit the mood of your project. The goal is integration, not just application.
- The "Intensity" Slider is Your Best Friend: I cannot stress this enough, as it's the most common mistake beginners make. Most LUTs are designed to be applied at 100% intensity, but this often looks too strong, artificial, or "digital." Always experiment with the intensity or amount slider provided by your NLE. Often, an intensity of 50-70% provides a much more natural, subtle, and integrated look, allowing your original footage's characteristics and natural beauty to still shine through while still benefiting from the LUT's color transformation.
- Stacking and Layering: Don't be afraid to experiment with applying multiple LUTs. A common workflow involves applying one LUT to convert your log footage to a standard color space (e.g., a technical Rec.709 conversion LUT) and then applying a second, creative LUT on top of that for the stylistic look. You can even stack multiple creative LUTs. Just be mindful of how the colors interact and adjust the intensities of each LUT accordingly to avoid muddy or overly processed results. Resolve's node system is particularly well-suited for this.
- Organization and Workflow: As you accumulate LUTs from various sources, keep them meticulously organized! Create logical subfolders within your software's LUT directory (e.g., by style, by camera type, by purpose like "conversion" or "creative"). This level of organization will save you invaluable time during the demanding editing process. Learn the keyboard shortcuts for accessing your color panels and applying effects to speed up your workflow significantly.
- Understand Your LUTs: Know what a LUT is designed to do. Some are specifically created for converting log footage from a particular camera into Rec.709, while others are purely for creative stylistic looks, and some may even aim to emulate specific film stocks. Reading the description or documentation that comes with a LUT pack can be incredibly helpful in understanding its intended purpose and how to best use it.
- Test on Different Footage: What looks good on one clip might not work on another. Always test your chosen LUTs on a variety of your footage – different lighting conditions, different subjects, different camera settings – to see how they perform. This will give you a better understanding of a LUT's versatility and limitations.
Conclusion: Embrace the Power of Color
LUTs are an indispensable tool in the modern video editor's arsenal, offering a fast, efficient, and highly creative way to transform your footage and establish a compelling visual identity. By understanding how to install and effectively utilize LUTs within Premiere Pro, DaVinci Resolve, and Final Cut Pro, you unlock a world of cinematic possibilities, allowing you to consistently achieve professional-looking results with greater speed and ease. Remember to start with well-shot footage, use LUTs as a foundational element, refine your grade with primary color corrections, and always, always experiment with the intensity slider to achieve the most natural and impactful look. So, go ahead, download some new LUTs, experiment with different looks, and let your creativity flow. Happy editing, and may your colors always be cinematic!
Leave a comment
This site is protected by hCaptcha and the hCaptcha Privacy Policy and Terms of Service apply.