
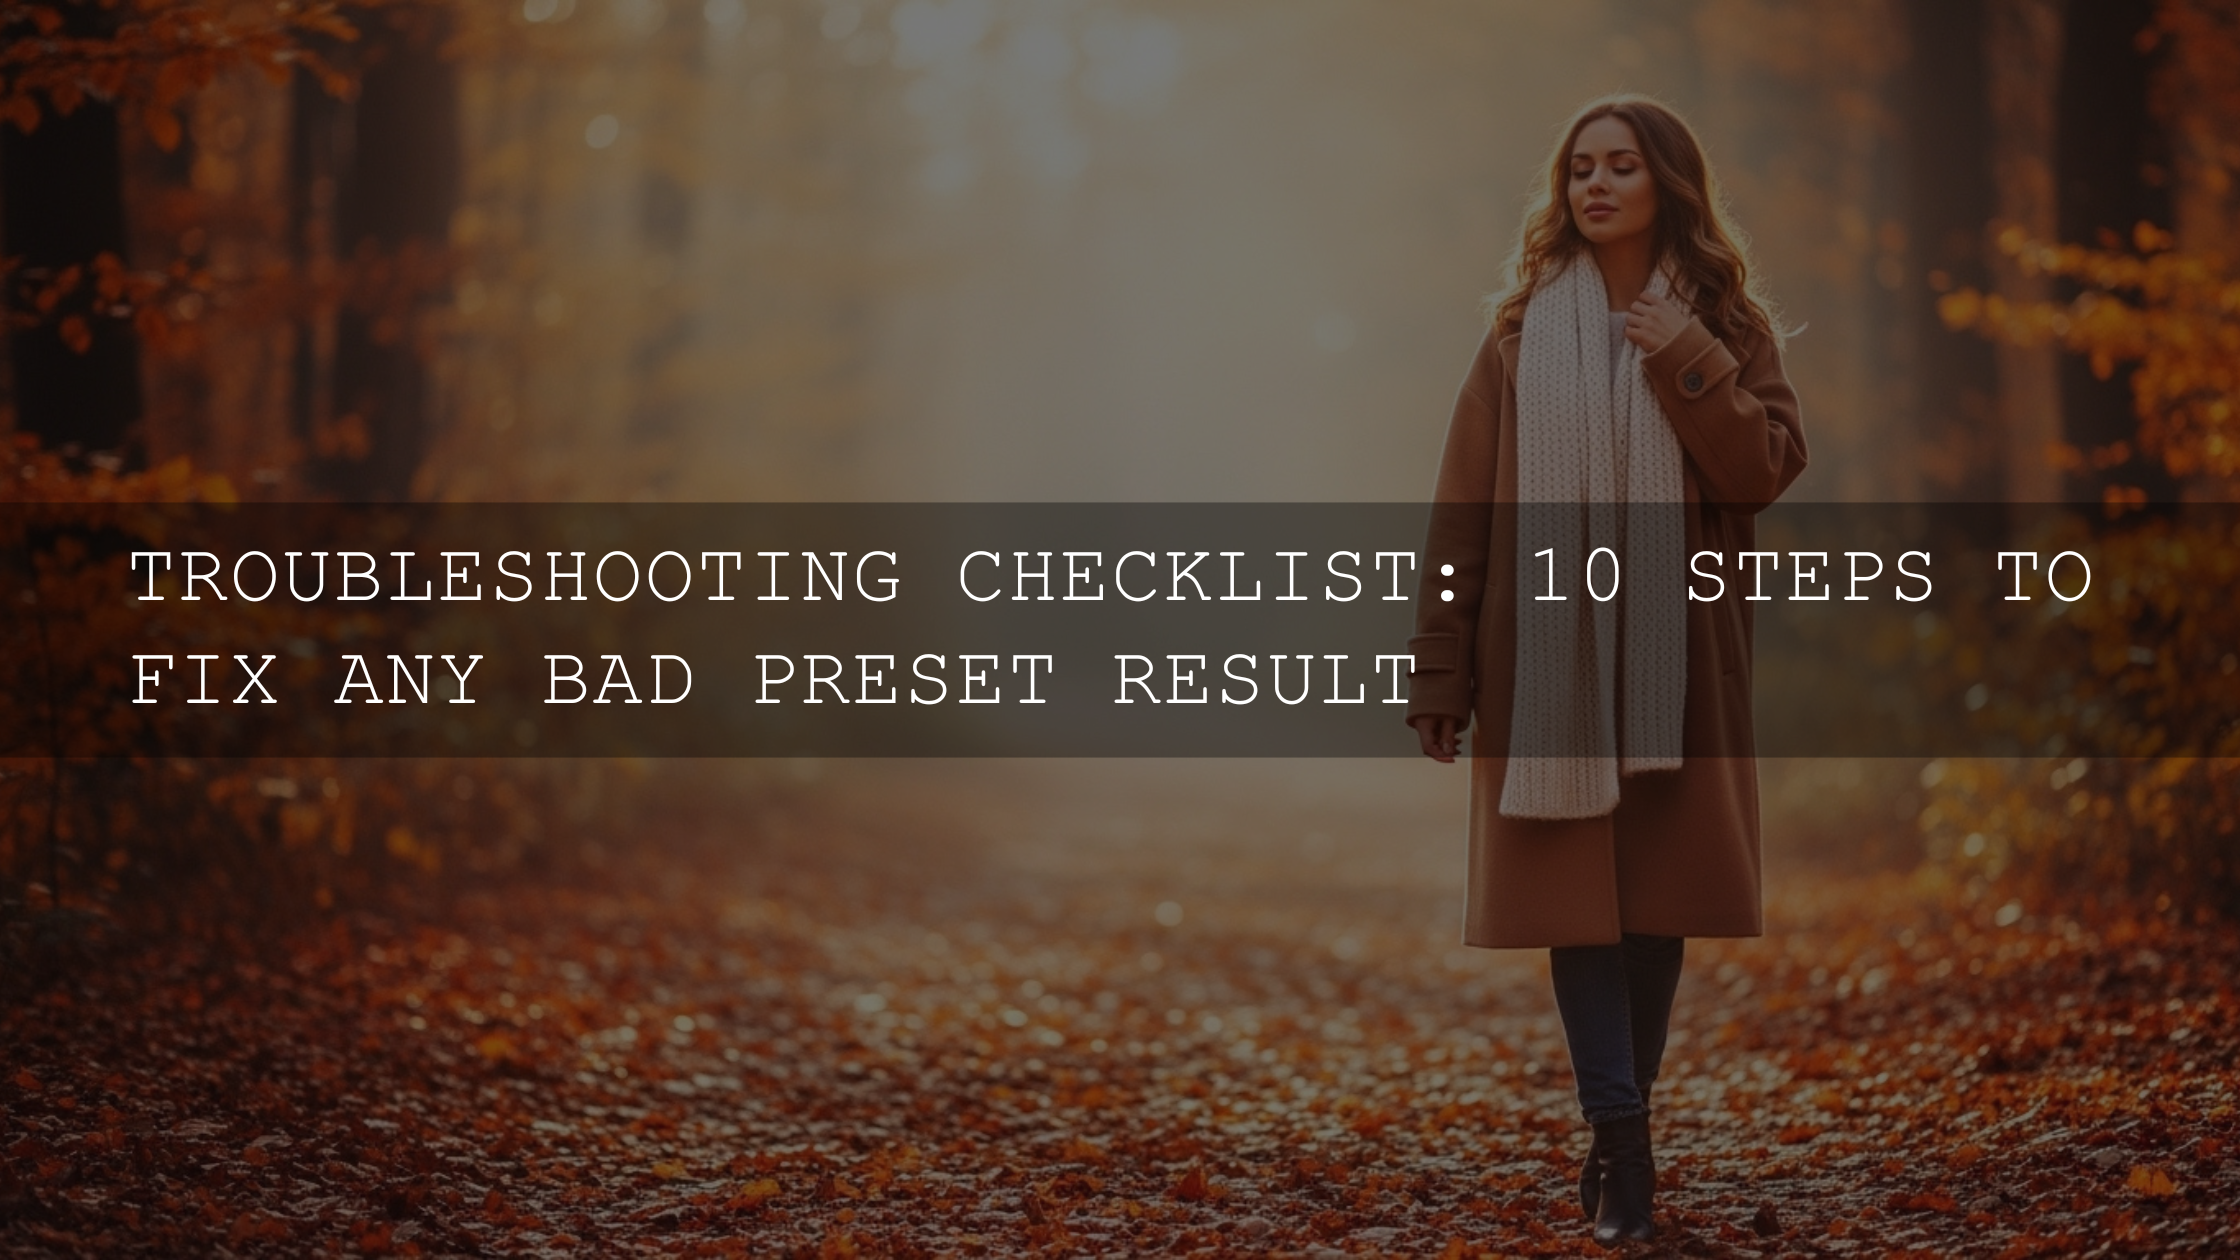
Power Windows & Masks in DaVinci Resolve: Localized Color Grading that Looks Cinematic
If you want truly cinematic results, global grades alone won’t cut it. The real polish comes from localized color grading—using Power Windows and masks in DaVinci Resolve to target skin, skies, and backgrounds with precision. In this guide, we’ll break down practical workflows for localized color grading, when to track vs. roto, and how to combine masks with wheels, curves, and LUTs. I’ll also share field notes from real shoots and link to a few Adobe resources (for masking, scopes, and color theory) that reinforce the fundamentals.
Want a fast head start? Try a clean, consistent look with a reliable LUT set, then finesse locally with masks. Explore a curated option here—Cinematic LUTs Pack—or keep browsing the LUTs Collection. Try them today—Buy 3, Get 9 FREE.
Why localized grading matters (and where it shows)
Think of your grade as lighting on a miniature set: small tweaks in the right places create depth, focus, and realism. With power windows and masks you can:
- Correct inconsistencies (hotspots on the forehead, mixed lighting on faces).
- Guide attention (lift the subject, subtly subdue the background).
- Create dimension (shape light to add separation and depth).
- Stay natural (target just the issue area instead of over-correcting globally).
Field note: On a wedding shoot, I used a soft circular window to tame a blown-out cheek highlight while keeping the room’s warm ambience intact—ten seconds of tracking saved the shot.
The toolkit: windows, masks, and feathering
Shapes you’ll use most
- Circles/Radials for faces, eyes, and gentle vignettes.
- Rectangles for windows, monitors, or architectural features.
- Polygons/Bézier curves for silhouettes, clothing, cars, foliage, and complex edges.
Feathering is everything. A good feather makes the adjustment disappear into the scene. Hard edges read as “fake.” Start wide, then tighten just enough to hold shape.
Mask interactions you should know
- Add/Subtract/Intersect to combine or refine areas precisely.
- Invert to grade the outside when you drew the inside (and vice versa).
- Qualifiers (HSL) inside a window to isolate just the hue/sat you want (e.g., a red jacket but not skin).
Motion: when to track and when to roto
Auto tracking first, manual roto if needed
Start with the tracker for faces, torsos, or moving props. If motion is complex (hair, hands crossing the face), refine with keyframes or light roto. Keep edges soft and avoid over-constraining the mask.
- Place/shape the mask loosely around the subject.
- Track forward/backward; stop where it slips.
- Correct the shape at slip points; the software will interpolate.
- Add subtle feather and a touch of blur if the edge is too crisp.
Five proven localized grades (with step-by-steps)
1) Perfect skin tones (the most common fix)
- Create a custom curve window around face/arms; enable tracking.
- Use a gentle HSL qualifier to reduce spill (greens/blues from ambient light).
- Lift exposure slightly; nudge tint toward magenta/yellow for healthier skin.
- Add generous feather so the correction melts into the scene.
Deep dive on measurement: see Adobe’s guide to Lumetri Scopes for reading Waveform, Parade, and Vectorscope.
2) Rescue or stylize skies
- Draw a horizon-aware polygon or linear gradient for the sky; track if the camera moves.
- Reduce gain to pull back detail; add contrast and a cooler temp for drama.
- If the sky steals attention, invert the mask and gently dim/desaturate the rest.
3) Subject pop without looking “spotlit”
- Mask the subject; raise midtones slightly; add micro-contrast.
- Invert and lower background exposure ~0.1–0.2 stops; tiny desat if needed.
- Check the vectorscope for saturation balance so skin doesn’t overshoot.
4) Elegant vignette
- Large soft circular window centered on the action.
- Invert; lower exposure on edges very gently; keep feather huge.
5) Color-only isolation (e.g., control a red car)
- Draw/track a window over the car.
- Add HSL qualifier for reds; refine softness and denoise.
- Adjust saturation/hue/luma; keep reflections and metal speculars natural.
Layering, keyframing, and combining tools
- Stacks of masks let you split face, wardrobe, and background into independent controls.
- Keyframe shape/feather when distance to camera changes (subject walks forward).
- Blend with wheels/curves/LUTs: apply a clean global base (or LUT) and do the rest locally.
If you also grade stills, Adobe’s masking workflows map 1:1 conceptually—see Lightroom Classic’s Masking tool and masking & tracking in Premiere Pro. For palette planning, explore Adobe Color to build harmonies you’ll emulate in your grade.
Presets/LUTs vs. manual grading (use both)
- Presets/LUTs give speed, consistency, and a creative baseline.
- Manual tweaks localize the look, fix issues, and ensure realism shot-to-shot.
A practical flow: apply a look from the Cinematic LUTs Pack, balance exposure/white balance, then localize with windows for skin, sky, and subject separation. If you’re in Lightroom for stills, pair with the 1000+ Master Lightroom Presets Bundle and finalize with targeted masks.
Workflow checklist you can reuse
- Correct exposure/WB globally; ensure scopes are in range.
- Apply a LUT/look to set mood (optional).
- Window 1: skin; Window 2: subject lift; Window 3: background control; Window 4: sky (if outdoor).
- Track, then refine edges (feather/blur) and HSL qualifiers.
- Final pass: toggle masks on/off; reduce aggressiveness anywhere it “shows.”
Common pitfalls (and quick fixes)
- Over-masking: If you can see the mask, it’s too strong or too sharp—add feather, reduce intensity.
- Color drift across cuts: Copy/paste nodes carefully; re-track masks when perspective changes.
- Skin oversaturation: Check vectorscope skin line; dial back sat or add a tiny hue shift.
Try this on your next project
Pick one scene and do three passes: (1) global balance only, (2) add your favorite LUT, (3) add windows for skin/subject/background. Compare each pass on scopes and visually. The small, local moves are what make a grade feel expensive.
Ready to experiment? Start with a filmic base from the Cinematic LUTs Pack and keep exploring the full LUTs Collection. Try them today—Buy 3, Get 9 FREE.
Related reading
- Video Scopes Explained: Waveform, RGB Parade & Vectorscope (Premiere Pro/Lumetri)
- Lift, Gamma, Gain: How to Shape Shadows, Mids & Highlights
- Color Grading vs Color Correction in DaVinci Resolve
- Correcting White Balance & Exposure Before Grading
- DaVinci Resolve Color Page Essentials
- How to Import & Apply LUTs in DaVinci Resolve
Lightroom Presets Collection • DaVinci Resolve LUTs • How to Install LUTs
FAQ
What’s the difference between a power window and a mask?
In Resolve, a power window is the shape you draw; the mask is the region of influence. Practically, you use them together to isolate and adjust specific areas with feathered falloff.
Should I track first or refine the shape first?
Rough in the shape, track, then refine. Correct where the track slips and re-track short sections if motion changes.
How do I keep skin tones natural?
Use a soft window plus a light HSL qualifier. Keep saturation modest and check the vectorscope skin line to avoid overshoot.
Where do LUTs fit in a localized workflow?
Apply a LUT (or base look) after global balance, then localize with windows for skin, subject, and background. Think “look first, polish locally.”
Do these ideas translate to stills?
Yes. Lightroom’s Masking tools mirror the logic of windows in video. See Adobe’s Lightroom Classic Masking guide for still workflows.
Written by Asanka — creator of AAAPresets (10,000+ customers).

Leave a comment
This site is protected by hCaptcha and the hCaptcha Privacy Policy and Terms of Service apply.