Unlock Cinematic Brilliance: Your Ultimate DaVinci Resolve Color Grading Workflow for Music Videos
In the dynamic and visually driven landscape of music videos, color grading isn't just an aesthetic choice; it's a critical storytelling tool. It sets the mood, enhances the energy, and immerses the viewer in the artist's world. DaVinci Resolve, a titan in the post-production industry, provides an unparalleled platform for crafting these compelling visual narratives. Whether you're a seasoned professional or an aspiring filmmaker, understanding a robust workflow for music video grading in DaVinci Resolve is essential for bringing your creative vision to life. Today, we're embarking on a comprehensive, step-by-step journey to master this art, ensuring your music videos achieve maximum visual impact and emotional resonance.
The Nuances of Music Video Color Grading
Music videos occupy a unique space in the world of visual media. Unlike narrative films, where color palettes are often dictated by character arcs and plot development, music videos thrive on immediacy, energy, and genre-specific aesthetics. A high-octane electronic dance music (EDM) track might demand hyper-saturated, neon-infused visuals, while a melancholic indie ballad could benefit from desaturated tones, soft contrast, and a vintage film look. The key is to deeply understand the song's tempo, lyrical content, and overall vibe, and then translate that into a cohesive and impactful color grade. It’s about creating an emotional synergy between the audio and visual components.
Laying the Groundwork: Pre-Production and Acquisition for Color
While this article focuses on the grading process, it’s vital to acknowledge that great color grading starts long before you open DaVinci Resolve. Thoughtful production choices make the grading process significantly easier and more effective. Shooting in a flatter picture profile (like Log or a neutral profile) preserves the maximum amount of dynamic range and color information, offering greater flexibility in post. Ensuring consistent lighting on set, even if the aesthetic is intentionally high-contrast or moody, provides a solid foundation to build upon. Good lighting captures detail in both the highlights and shadows, which are essential for nuanced color adjustments.
Step 1: Setting Up Your DaVinci Resolve Project for Success
Once your footage is ingested, the first crucial step in DaVinci Resolve is proper project setup. Navigate to the Project Settings (Cmd+9 or Ctrl+9) and access the Color Management section. For most modern workflows, especially those involving Log footage or aiming for maximum flexibility, setting your Color Science to "DaVinci Wide Gamut / Intermediate" is the gold standard. This configuration ensures that DaVinci Resolve operates within the widest possible color space, preserving the subtle nuances of your footage and allowing for more aggressive color manipulations without introducing unwanted artifacts. It’s the bedrock of a professional color grading pipeline.
Step 2: The Critical Primary Grade – Balancing and Neutralizing
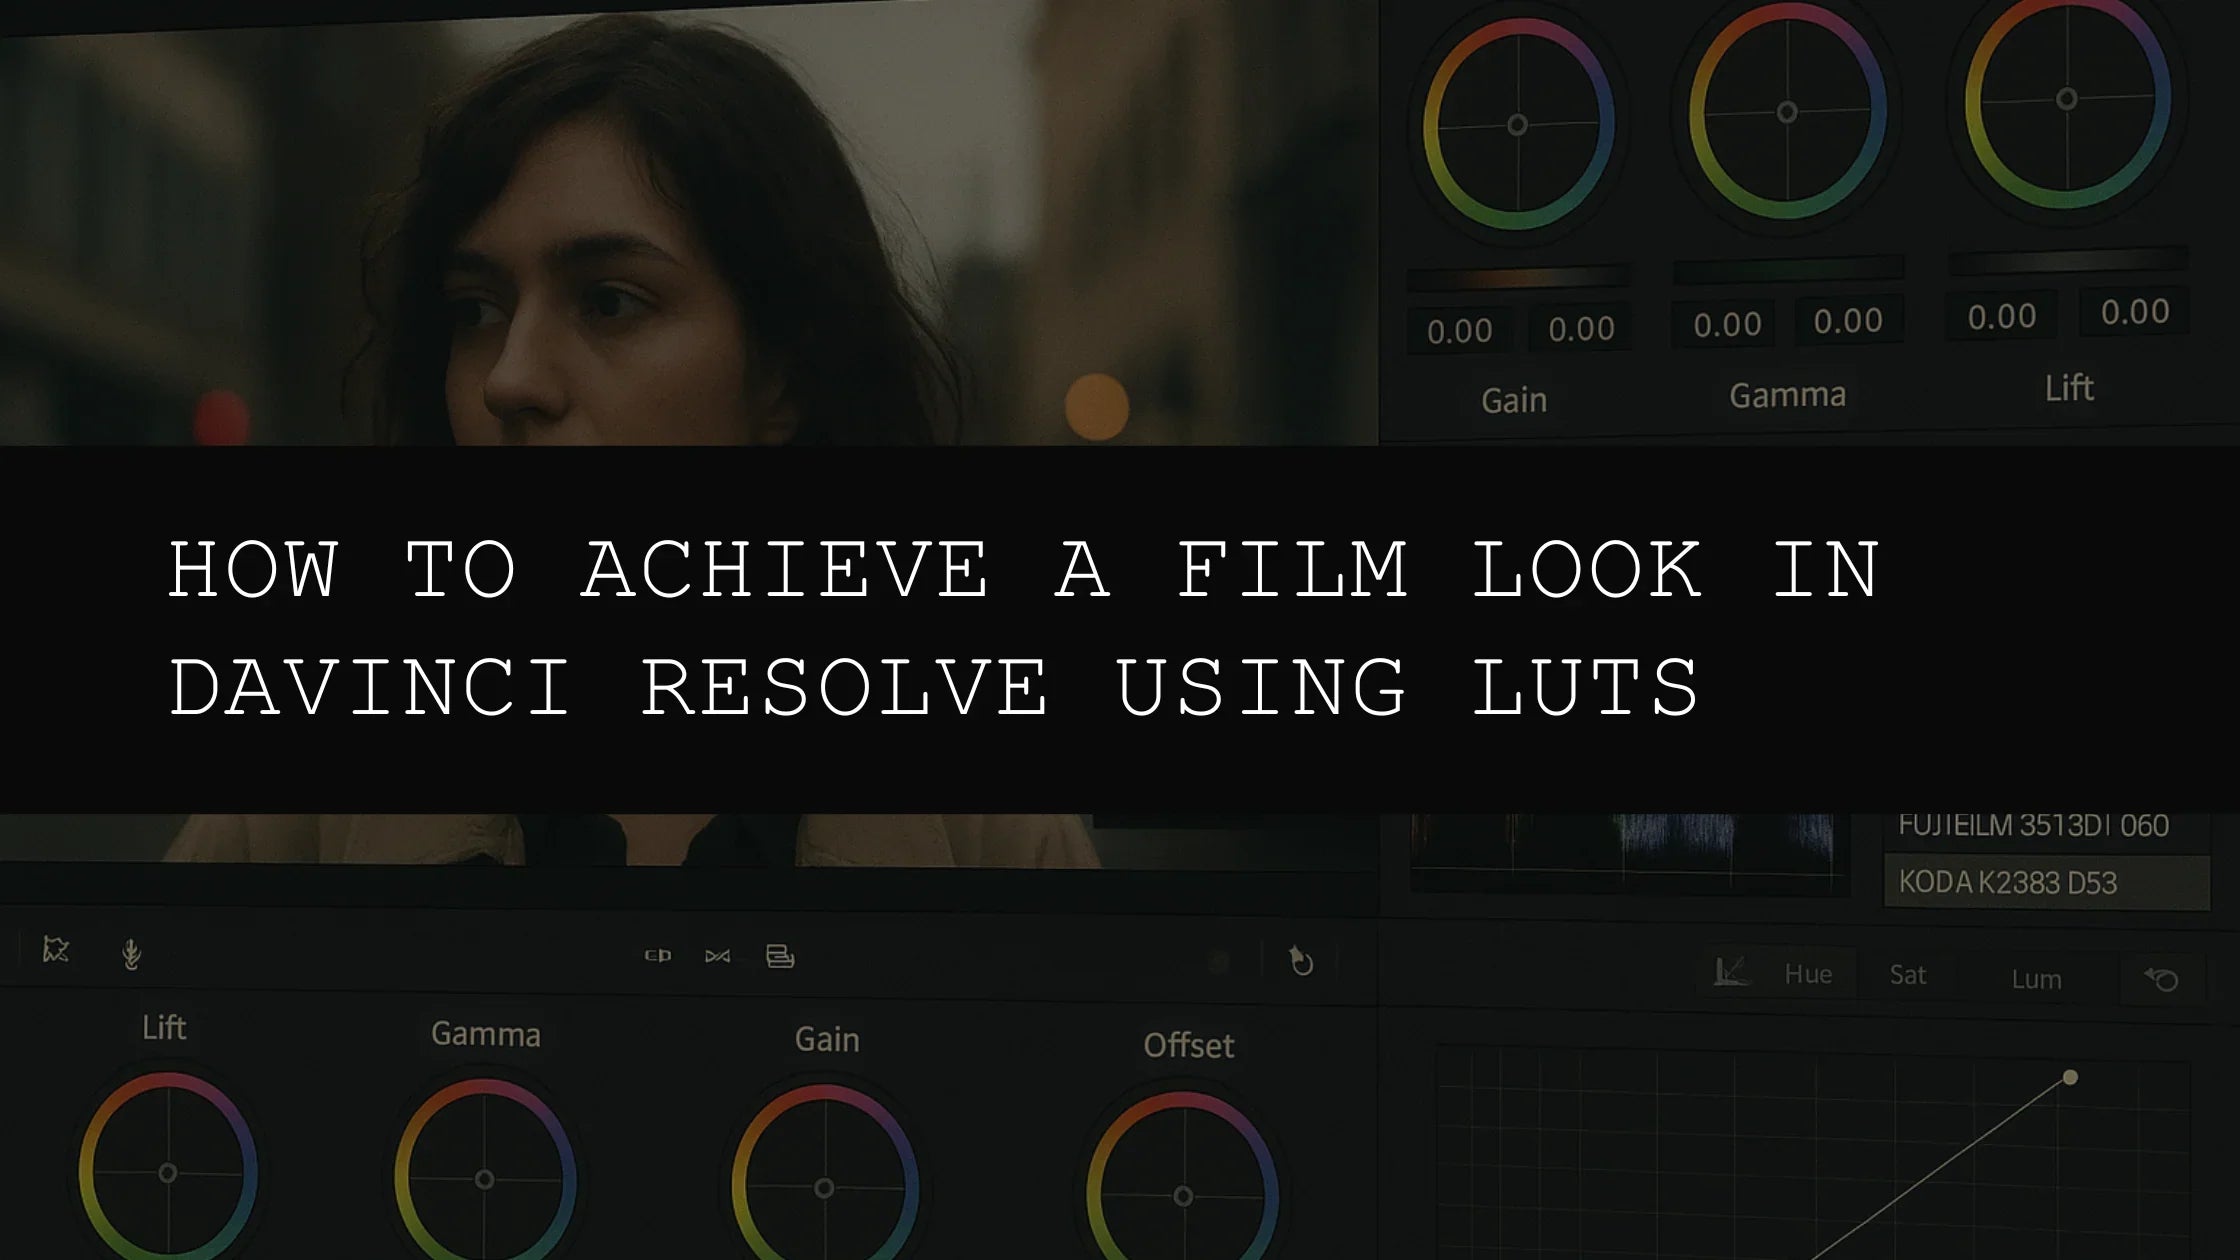
Every masterful color grade begins with a solid primary correction. This stage is all about establishing a technically sound and neutral baseline. Your goal here is to correct any exposure imbalances, fix white balance issues, and ensure the contrast ratio is well-managed across the entire image. To achieve this, leverage DaVinci Resolve’s suite of powerful scopes: the Waveform monitor for exposure and contrast, the Vectorscope for saturation and hue, and the Histogram for tonal distribution. Use the Lift (shadows), Gamma (midtones), and Gain (highlights) controls in the Primaries Wheels or the Color Wheels panel to meticulously balance your image. A well-executed primary grade ensures that your footage looks natural and balanced before you introduce any creative color treatments.
Step 3: Unleashing Creative Potential with High-Quality LUTs
This is where the magic truly begins to happen. Look-Up Tables (LUTs) are incredibly powerful tools that can instantly apply sophisticated color transformations to your footage, providing a creative springboard for your music video grade. For editors seeking to inject their videos with cinematic quality, vibrant energy, and unique artistic flair, the
300+ Music Video Color Grading LUTs Pack is an indispensable asset. This extensive collection features over 300 professionally designed LUTs, meticulously crafted to enhance visual storytelling and create eye-catching looks suitable for a wide array of music genres.

These LUTs are specifically designed for compatibility with DaVinci Resolve, offering an effortless way to achieve professional-level color grading in just a few clicks. To implement a LUT, navigate to the Color page in DaVinci Resolve. On your node graph, right-click on an empty node, select “Apply LUT,” and then choose your desired look from the
300+ Music Video Color Grading LUTs Pack. It’s important to remember that a LUT is often a starting point, not a final destination. You can fine-tune the intensity of the LUT’s effect by adjusting the gain control on the node, or layer additional adjustments on subsequent nodes to further refine the look.
Step 4: Precision with Secondary Color Adjustments
While LUTs provide an excellent foundation, the true artistry of music video grading often lies in the nuanced application of secondary color corrections. This stage involves selectively targeting and manipulating specific aspects of your image. For instance, you might want to enhance the vibrancy of a particular color in the background, subtly adjust the skin tones of the performers to make them pop, or introduce a specific color cast to the shadows to deepen the mood. DaVinci Resolve excels here with its advanced secondary tools. The HSL Qualifier allows you to select colors based on Hue, Saturation, and Luminance. Power Windows (like circular or gradient masks) enable you to isolate specific areas of the frame. Combined with curves and color wheels, these tools give you unparalleled control to sculpt the color and tone of your image with surgical precision.
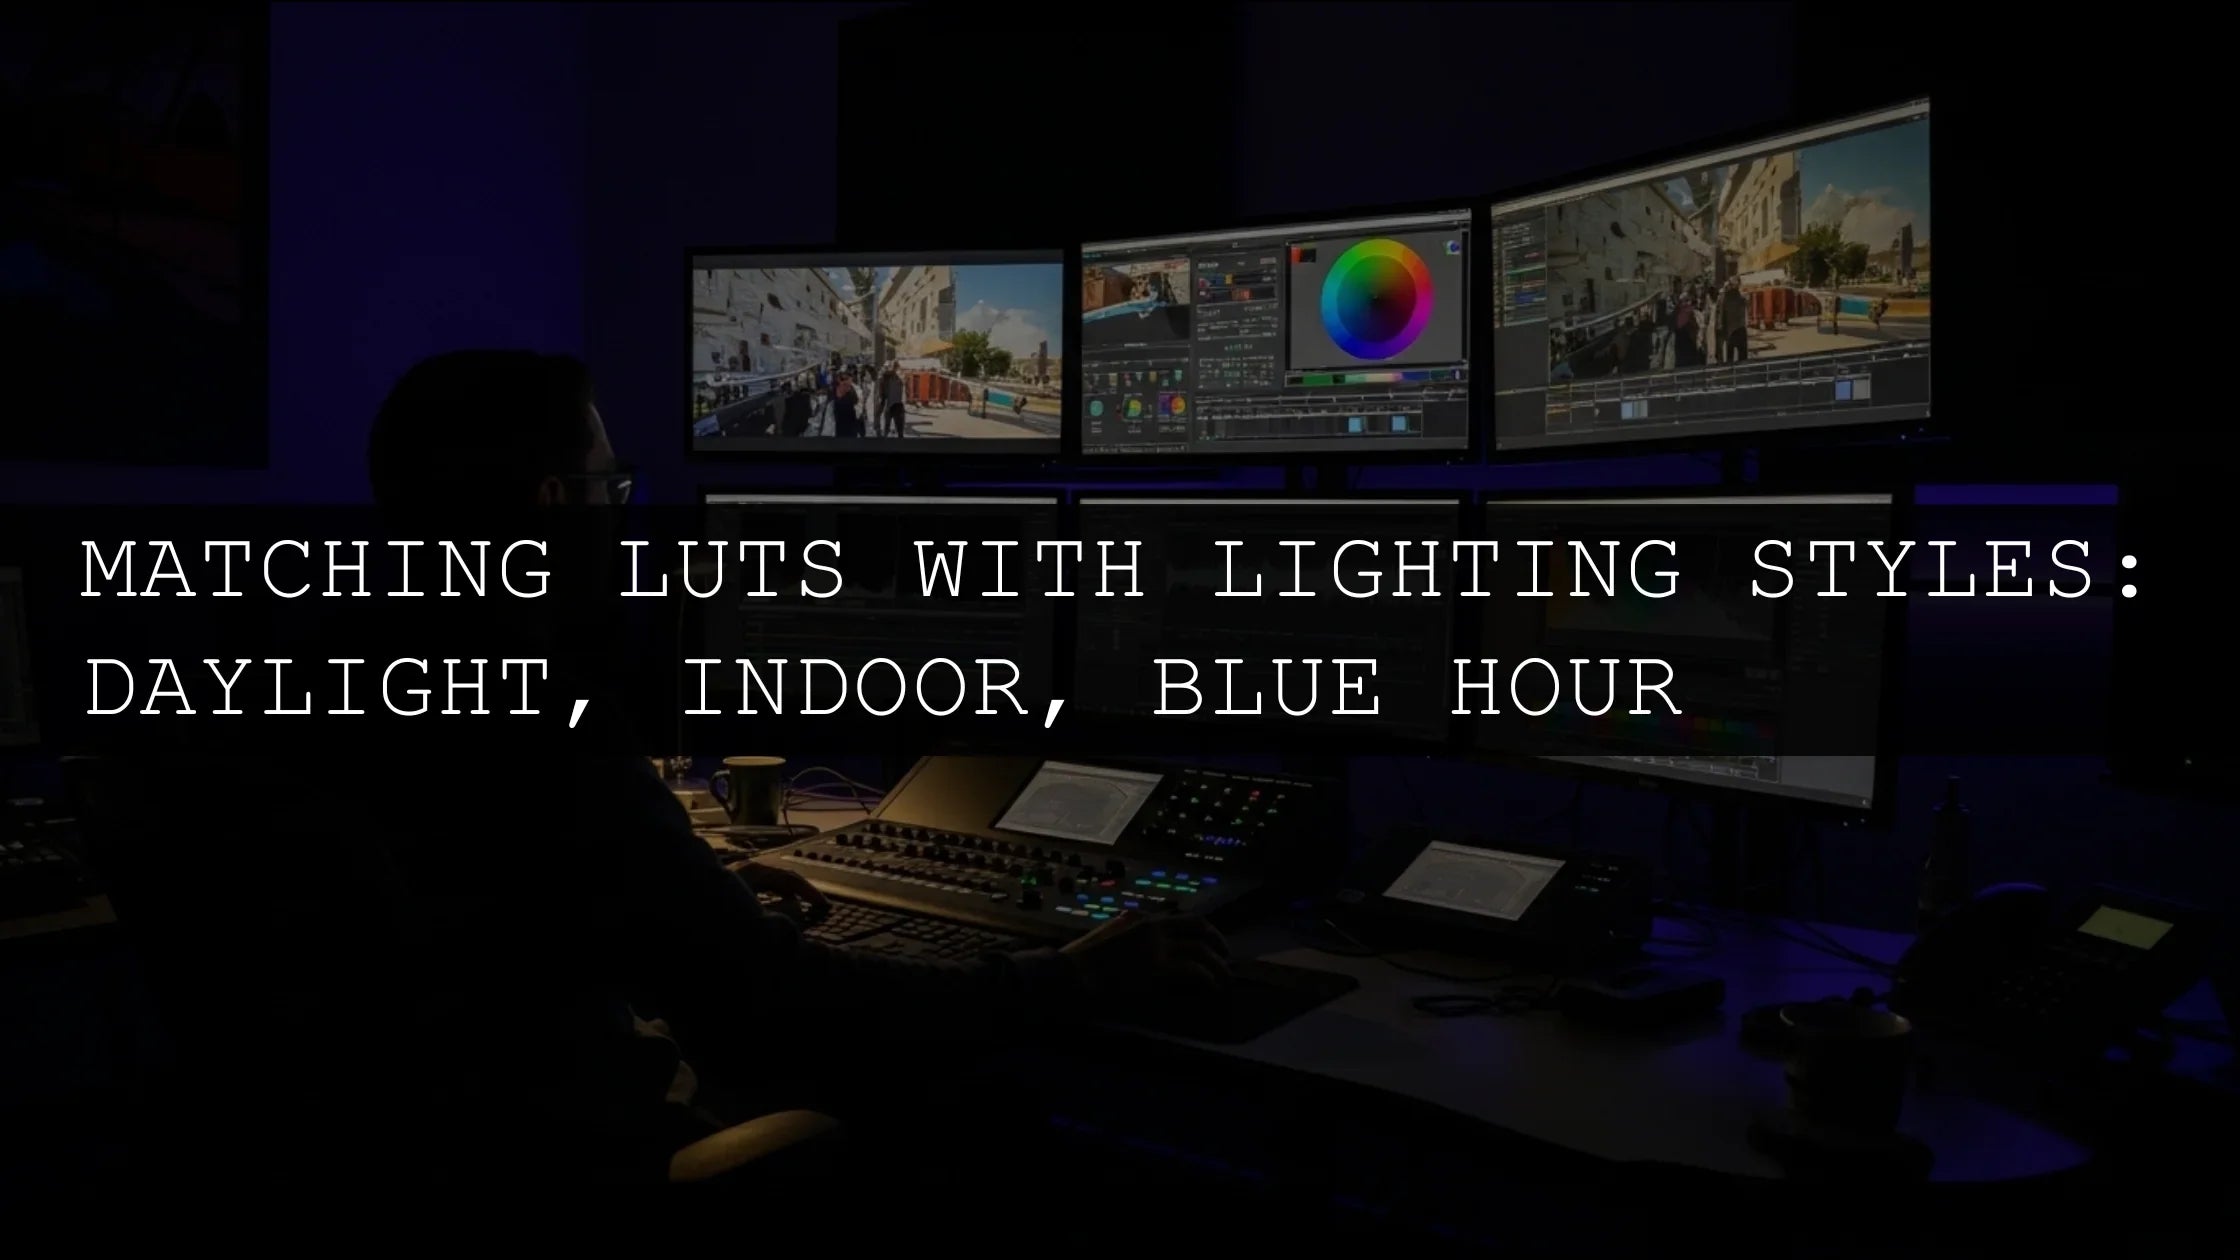
Step 5: Ensuring Consistency and Final Polish
In music videos, visual consistency across different shots and scenes is paramount for maintaining viewer immersion. Your color grade needs to feel cohesive, tying all the visual elements together seamlessly. DaVinci Resolve offers several methods for ensuring this consistency. You can use the “Grab Still” feature to capture a reference frame of a graded shot and then “Apply Grade” to other clips, or simply copy and paste node settings. Pay meticulous attention to skin tones throughout the grading process; they are often the most critical element for viewer connection and should generally appear natural and pleasing, unless a stylistic choice dictates otherwise. Finally, before exporting, conduct a thorough review of your entire music video on a calibrated monitoring system. This final check allows you to catch any lingering inconsistencies, distracting artifacts, or areas where the grade might not be serving the song's narrative effectively.
Why the 300+ Music Video Color Grading LUTs Pack is Essential for Your Toolkit
For any videographer or editor aiming to elevate their music video projects, the
300+ Music Video Color Grading LUTs Pack represents a significant advantage. Here’s why it’s a game-changer for your workflow:
-
Unrivaled Variety: With an immense library of over 300 unique LUTs, you gain access to an incredibly diverse range of creative looks, ensuring you always have the perfect aesthetic to match any musical genre, artist style, or directorial vision.
-
Accelerated Workflow: The time-saving capabilities of these LUTs are substantial. By providing instant, high-quality color transformations, they dramatically reduce the time spent on initial grading, allowing you to dedicate more valuable time to refining creative details and achieving a polished final product.
-
Professional-Grade Results: Each LUT in this pack has been expertly crafted and tested by industry professionals. This means you can consistently achieve polished, cinematic results that rival those of high-end productions, instantly elevating the perceived quality of your music videos.
-
Sparking Creative Inspiration: Beyond just applying looks, these LUTs serve as powerful sources of inspiration. They can help you explore new stylistic directions, experiment with different color theories, and discover innovative ways to visually interpret the music, pushing your creative boundaries further than ever before.
-
Ease of Use and Accessibility: Designed for intuitive integration, these LUTs are incredibly user-friendly. Whether you are just starting with color grading or are an experienced professional, you can easily apply and adapt these looks to suit your specific footage and artistic goals. Our aim is to make professional editing more fun and accessible for everyone.
We believe that every creator should have the tools to express their unique style without being hindered by technical complexities. This collection is designed to empower you, enabling you to achieve professional results effortlessly and confidently.
Conclusion: Mastering Music Video Grading in DaVinci Resolve
Color grading is an art form that can profoundly impact how a music video is perceived and felt. By adopting a structured workflow within DaVinci Resolve, from careful project setup and precise primary corrections to the strategic application of professional LUTs like those found in the
300+ Music Video Color Grading LUTs Pack, and detailed secondary adjustments, you can achieve stunning, professional results. Embrace the power of these tools, experiment with different looks, and let your creativity flow. The goal is to make your music videos not only look exceptional but also to amplify the emotional core of the music, creating a truly unforgettable visual and auditory experience for your audience.
Leave a comment
This site is protected by hCaptcha and the hCaptcha Privacy Policy and Terms of Service apply.