POV, Sports & Adventure LUTs for 2026: Make Action Footage Look Cinematic (Without Killing Your Workflow)
If you shoot POV, sports, or adventure content, you already know the pain: the moment felt insane in real life, but the raw clip looks flat, grey, or “too digital.” In 2026, the fastest way to turn action camera footage into a punchy, cinematic look is still a smart LUT workflow—especially when you’re dealing with mixed lighting, fast motion, and outdoor contrast. In this guide, I’ll break down how POV, sports & adventure LUTs actually work, how to pick the right style for your scene, and how to apply them cleanly in DaVinci Resolve or Premiere Pro without wrecking skin tones, skies, or highlights.
If you want a ready-to-use library that covers most action scenarios (sun, shade, overcast, night lights), start with 700+ Cinematic Video LUTs For Your Next Project and browse the full Cinematic LUTs collection for Premiere Pro, DaVinci & more. And if you’re building a full look library, you can Buy 3, Get 9 FREE when you add 12 items to your cart.
Why Action Footage Needs a Different LUT Mindset
Sports and POV clips are brutal on color for three reasons:
- Extreme contrast: bright skies + deep shadows (trees, helmets, stadium tunnels) can clip fast.
- Fast motion: heavy sharpening, high frame rates, and motion blur can make a LUT feel “too crunchy.”
- Mixed lighting: sun → shade → backlight within seconds, especially in trail riding, skiing, hiking, or street sports.
A good action LUT doesn’t just “add color.” It should:
- Protect highlights (sky detail, snow detail, jersey whites).
- Keep skin tones believable (or at least consistent) when faces appear.
- Hold greens and cyans without turning foliage neon or water radioactive.
- Stay stable across clips so your edit feels like one story, not ten different cameras.
I tested a teal-and-orange action look on a fast downhill POV clip where the lighting kept switching between forest shade and harsh sun. The LUT looked “too much” at 100%—but at 45% intensity, with a small highlight recovery and a tiny WB correction, the footage suddenly felt like a real film sequence instead of a raw action cam dump.
Two Types of LUTs You Should Know (And When to Use Each)
Most creators accidentally misuse LUTs because they treat every LUT as the same thing. For action footage, separate your workflow into two stages:
1) Technical LUTs (Log/Flat to Rec.709)
If you shoot a flat or LOG-ish profile (GoPro Flat, DJI D-Log/D-Log M, “neutral” profiles), you usually need a technical conversion to get into a normal viewing space (Rec.709). This step restores contrast and saturation in a controlled way so your creative LUT behaves predictably.
2) Creative LUTs (The Look)
This is the cinematic style: teal-and-orange, gritty contrast, clean natural, golden hour, winter punch, moody shadows, etc. Creative LUTs should be treated like a starting point, not a one-click final grade.
Quick LUT Picker: Which Look Fits Your Action Genre?
Here are LUT styles that consistently work for POV, sports, and adventure—plus what they’re best for.
Vibrant Adventure (Clean Pop)
- Best for: travel, hiking, beach, surfing, cycling, outdoor vlogs.
- What it does: boosts blues/greens, adds pleasing contrast, keeps it energetic.
- Watch out for: oversaturated trees and neon skies—reduce intensity first.
Teal & Orange (Modern Cinematic)
- Best for: action highlights, competitive sports, epic landscapes, urban night scenes.
- What it does: strong warm/cool separation that feels instantly “movie.”
- Watch out for: skin tones going too orange—use selective adjustments after.
Gritty High Contrast (Industrial/Extreme)
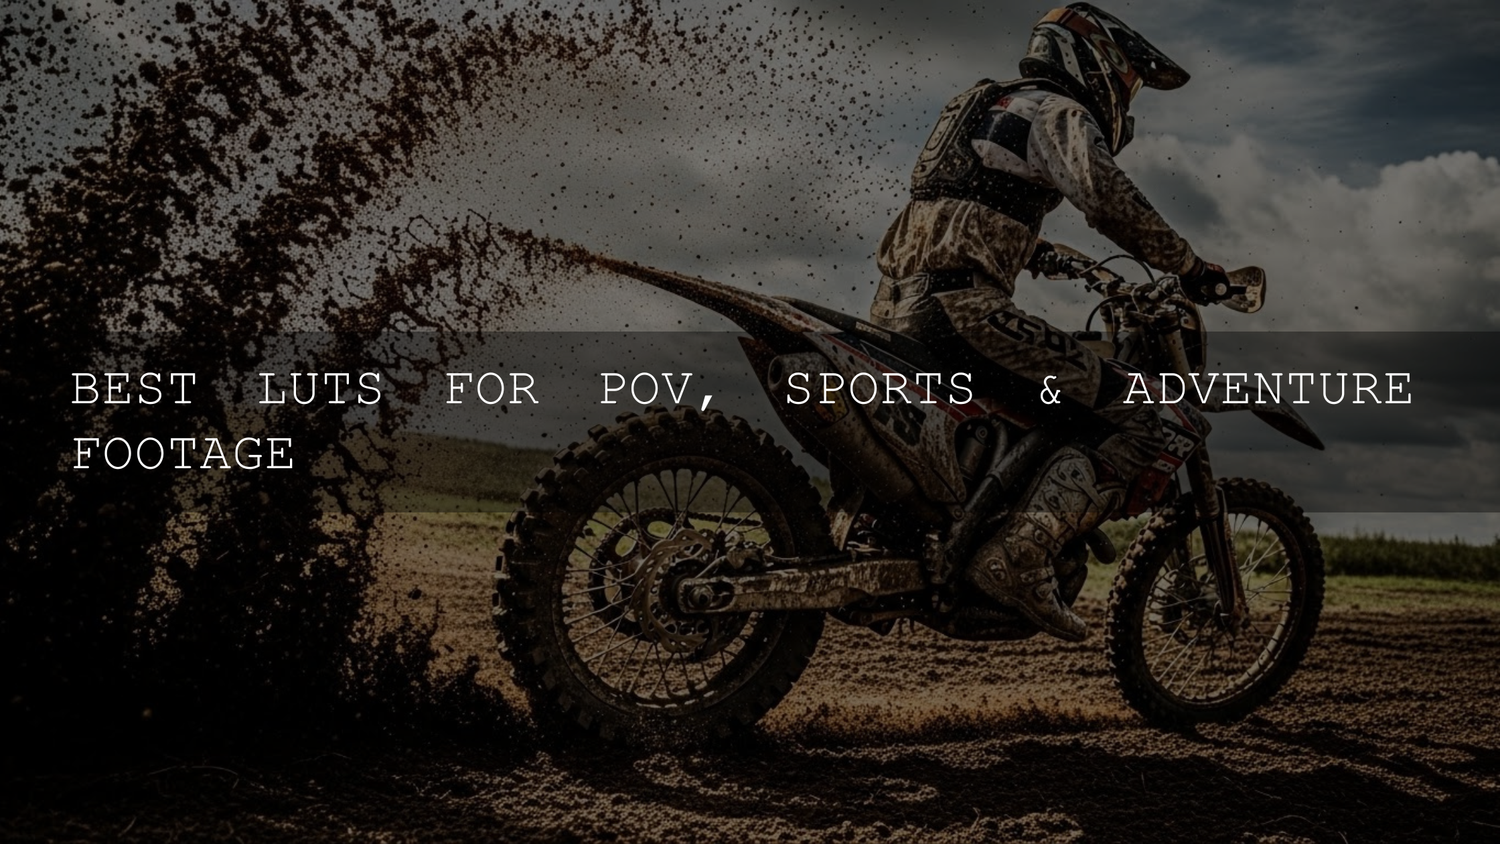
- Best for: motocross, street sports, climbing, stormy weather, gym/training content.
- What it does: deeper shadows, tougher midtone contrast, “edge.”
- Watch out for: crushed blacks—lift shadows slightly instead of removing contrast.
Natural Broadcast (Realistic, Still Premium)
- Best for: documentary-style sports, coaching videos, clean brand content.
- What it does: refined color balance and contrast without screaming “LUT.”
- Watch out for: looking too flat—add a tiny S-curve or midtone contrast.
Golden Hour Warmth (Sunrise/Sunset)
- Best for: drone sunsets, mountain silhouettes, travel montage, beach sports.
- What it does: warm glow, smoother highlights, richer oranges/reds.
- Watch out for: clipping reds—reduce saturation in the red/orange range if needed.
My Go-To Packs for Sports & Adventure Edits (AAAPresets Picks)
If you want LUT packs that cover the real-world stuff (fast changing light, harsh sun, stadium lights, drone skies), here are strong starting points:
- All-around action library: 700+ Cinematic Video LUTs For Your Next Project (huge variety for different scenes and moods)
- Hollywood-style intensity (great for action highlights): 120+ Cinematic Blockbuster Movie Look LUTs Pack
- Drone + adventure landscapes: 70+ Cinematic Drone Video LUTs Pack and the broader Cinematic Drone Video LUTs collection
- Clean pro baseline (easy to blend): Professional Cinematic LUTs Pack
Step-by-Step: A Clean LUT Workflow for Action Cameras
This is the repeatable workflow that keeps your footage consistent across a full edit—POV clips, drone shots, and handheld sports coverage.
Step 1: Start with exposure you can actually grade
LUTs are not magic. If your sky is completely blown or your shadows are pure black, no LUT will “bring it back.” For outdoor action:
- Protect highlights first: slightly underexpose when the sky is important.
- Lock white balance if possible: auto WB can shift mid-run and break consistency.
- Use flatter profiles when you can: they hold more detail for grading (but require the next steps).
If you’re shooting GoPro-style footage, GoPro’s official Protune notes explain why a Flat profile gives more flexibility for color correction: GoPro’s Advanced Protune Controls explained.
Step 2: Convert flat/LOG footage the right way
If you shot flat/LOG-ish: apply your technical conversion first (Log/Flat → Rec.709). In DaVinci Resolve, you can do this with color management, CST, or a technical LUT before your creative look. Blackmagic’s official resources are great if you want to understand the Color Page tools deeply: Blackmagic’s DaVinci Resolve Color page overview.
Step 3: Apply your creative LUT, then immediately reduce intensity
For action footage, 100% LUT strength is usually too aggressive. Try this simple rule:
- Start at 40–60% intensity for most outdoor action.
- Start at 20–40% for harsh midday sun or heavily sharpened action cam clips.
- Go higher (60–80%) only if your exposure is controlled and the LUT is designed to be gentle.
In Premiere Pro, you’ll typically manage this through Lumetri’s creative looks / intensity controls. Adobe’s official guide explains how Lumetri looks work: Adobe’s guide to using Lumetri creative looks.
Step 4: Fix the “three action problems” (highlights, greens, skin)
After the LUT is on (at reduced intensity), do these quick corrections:
- Highlights: pull highlights down slightly to recover sky/snow/jersey whites. If the LUT added too much contrast, lift the top end gently.
- Greens/Cyans: if foliage looks neon, reduce green saturation a touch (or shift green hue slightly toward natural). If water looks too cyan, pull cyan saturation down a little.
- Skin tones (when faces appear): keep skin from going orange/red. If needed, reduce orange saturation slightly and add a tiny bit of luminance to keep faces healthy.
Step 5: Add “motion-safe” contrast instead of crunchy contrast
Action clips can get harsh fast. Instead of slamming contrast:
- Use a gentle S-curve (small lift in shadows, small roll-off in highlights).
- Increase midtone contrast slightly rather than crushing blacks.
- If the clip is over-sharpened: keep clarity/texture low; let color carry the impact.
Step 6: Match multiple cameras (POV + drone + phone) the simple way
When you mix action cam + drone + phone + mirrorless, the goal isn’t perfect “scientific” matching—it’s consistent storytelling. A practical method:
- Normalize each camera first (technical conversion / basic correction) so they live in the same general contrast and white balance.
- Pick one hero look (your main creative LUT) and apply it to all sources at different intensities.
- Match exposure, then saturation (in that order). Exposure mismatches are more distracting than color mismatches.
If you want extra help on matching different cameras using LUTs, these internal guides are useful:
- How to use LUTs for color matching between cameras
- Grading LOG footage in Premiere Pro (S-Log, C-Log, V-Log)
Comparison: LUTs vs Manual Grading for Action Footage
Both are valid. The trick is knowing what each is best at.
When LUTs win
- Speed: perfect for weekly uploads, reels, sports highlights, event turnaround.
- Consistency: one look across 50 clips is easier with LUTs.
- Style: cinematic palettes (teal/orange, blockbuster contrast) are faster with a good creative LUT.
When manual grading wins
- Problem shots: crazy mixed lighting, heavy color casts, or extreme under/overexposure.
- Brand accuracy: team jersey colors, sponsor logos, product colors that must be exact.
- Skin tone priority: interviews, athlete features, documentary segments.
The hybrid approach (best of both)
Use manual corrections to normalize and protect the image, then use LUTs to establish the look. That’s how you get speed and quality.
DaVinci Resolve vs Premiere Pro for Sports & Adventure LUT Workflows
You can get great results in both. Here’s the practical difference for action creators:
- DaVinci Resolve: best when you want precise control (nodes, CST, advanced secondaries, cleaner highlight roll-off). Great for mixed lighting and high-contrast outdoor scenes.
- Premiere Pro: best when your edit speed matters and you want LUTs integrated into a fast timeline workflow (Lumetri, adjustment layers, quick look intensity control).
If you’re learning faster LUT application in Resolve, this internal guide can help: How to import & apply LUTs in DaVinci Resolve (step-by-step).
Pro Tips You Can Test Today (Fast Results)
- Use intensity like a “taste” slider: if the LUT looks fake, lower intensity before touching anything else.
- Fix WB before chasing colors: a slightly wrong white balance can make every LUT feel wrong.
- Don’t punish shadows in action clips: crushed blacks hide detail and make compression artifacts worse on YouTube/TikTok.
- Match exposure across clips first: viewers forgive small color shifts, but they notice brightness jumps instantly.
- Protect skies and snow: a tiny highlight roll-off makes your whole video feel more expensive.
Related Reading (If You Want to Go Deeper)
- Neural & Spatial LUTs: adaptive grading in 2025
- Drone footage LUTs: best looks for aerial cinematics
- Color matching between cameras with LUTs
One Last Practical Checklist Before You Export
- Check skin tones (if any faces): no orange faces, no red clipping.
- Check skies: no banding, no crushed gradients, no nuclear cyan.
- Check greens: foliage should look alive, not neon.
- Check consistency: watch 10 seconds from three different parts of the video—does it feel like one story?
If you’re ready to lock in a repeatable look for your POV and sports edits, explore 120+ Cinematic Blockbuster Movie Look LUTs Pack for bold action-grade styles, or grab an all-in-one variety library with 700+ Cinematic Video LUTs For Your Next Project. For aerial sequences, pair your edit with 70+ Cinematic Drone Video LUTs Pack and browse the Drone LUTs collection—and remember, you can Buy 3, Get 9 FREE when you add 12 items to your cart.
What’s the difference between a technical LUT and a creative LUT?
A technical LUT converts flat/LOG footage into a normal space (like Rec.709) so colors and contrast behave correctly. A creative LUT is the “style” that gives your footage a cinematic mood (teal/orange, gritty, warm sunset, clean natural).
Why does my action cam LUT look too strong at 100%?
Action cameras often add sharpening and have extreme outdoor contrast, so a full-strength LUT can clip highlights and oversaturate greens. Lower the LUT intensity first (often 20–60%) and then do small highlight and white balance fixes.
Can I use the same LUT for GoPro, drone, and phone footage?
Yes, but normalize each camera first (basic correction or technical conversion), then apply the same creative LUT at different intensities. Match exposure across clips before you worry about perfect color matching.
Should I apply LUTs before or after stabilizing and noise reduction?
In most workflows, stabilize first (so framing doesn’t shift while you grade). For heavy noise reduction, a basic normalization step before NR can help, then apply your creative LUT after, keeping intensity moderate.
What’s the fastest way to get a cinematic sports look without over-editing?
Normalize exposure and white balance, apply a clean cinematic LUT at reduced intensity, protect highlights, and keep greens/skin tones under control. Consistency across your timeline will make the video feel “pro” faster than extreme effects.
Written by Asanka — creator of AAAPresets (10,000+ customers).


Leave a comment
This site is protected by hCaptcha and the hCaptcha Privacy Policy and Terms of Service apply.