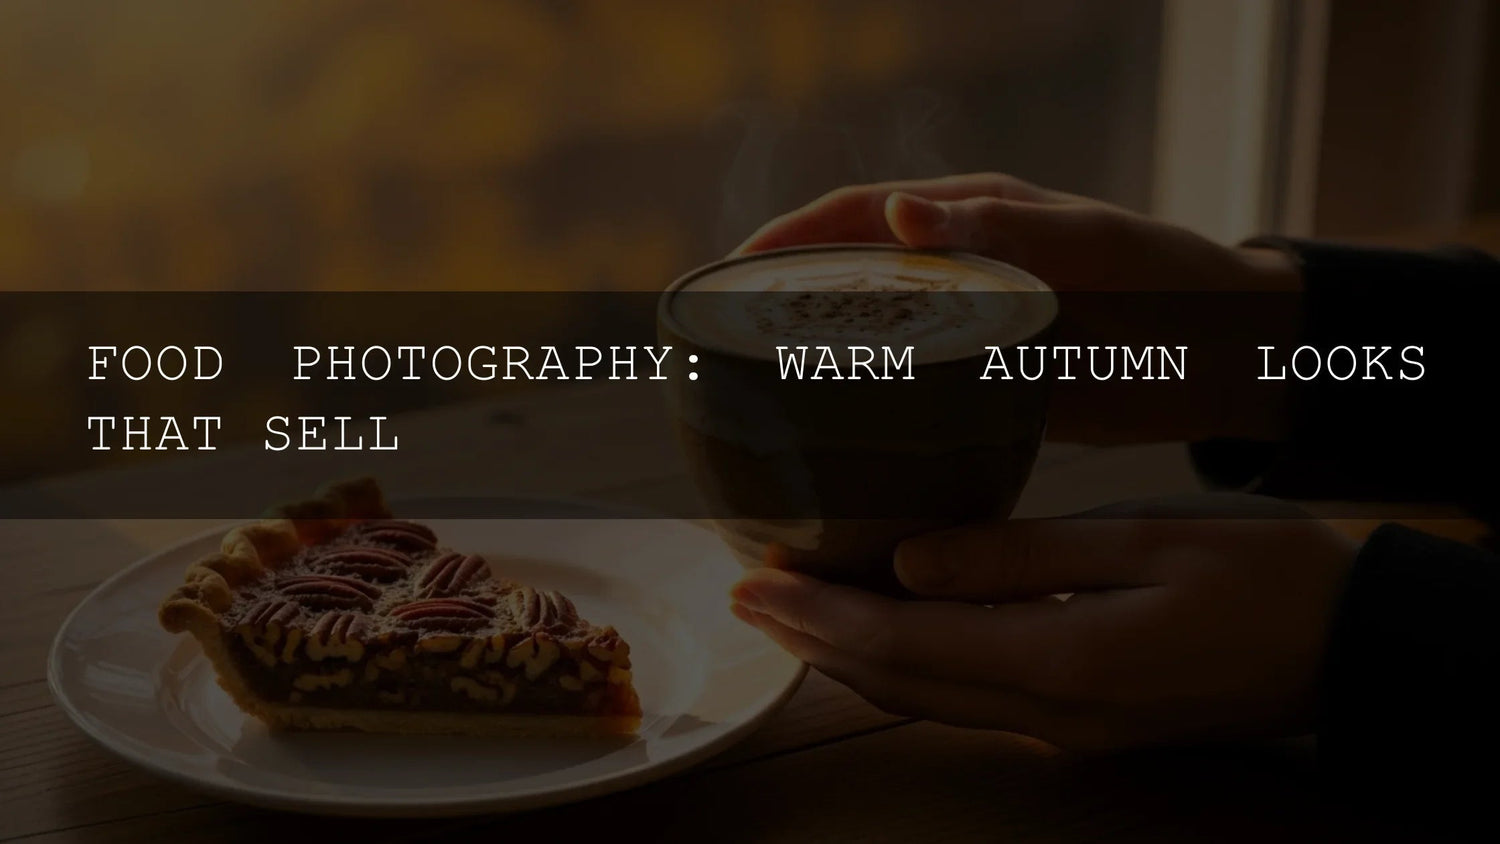
Warm Autumn Food Photography: Light, Color, and Cozy Styling That Sells
As summer greens fade into crimson, gold, and russet, food scenes take on a mood that’s naturally inviting—and incredibly marketable. This guide shows you how to craft warm autumn food photography with the right light, color, and styling, then finish with a fast, consistent edit in Lightroom. If you want a head start, try Food Photography Presets for Lightroom and browse the full Food Photography Lightroom Presets collection—you can Buy 3, Get 9 FREE.
Harnessing Golden Light (Even Indoors)
Warm food images begin with warm light. Aim for windowside sets during early morning or late afternoon, and angle plates so highlights skim across textures (crusts, glazes, steam). On grey days, simulate direction with a single diffused light and a white card as a fill.
Field note: I tested a cinnamon-roll set near a north-facing window; adding a black flag opposite the light deepened shadows and made the icing glow—no heavy edits needed. For consistent results, finish with a one-click grade like Vibrant Lightroom Presets for Food Photography.
To shape light precisely in Lightroom, use modern masking: start with a Subject or Linear Gradient to nudge warmth into highlights and add subtle clarity to textures. See Adobe’s guide to Masking in Lightroom Classic and the Masking panel in Lightroom (cloud) for step-by-step tools.

Color That Feels Like Fall
Build a palette around spiced pumpkin, caramelized apples, toasted nuts, and browned crusts. Let one dominant hue lead (e.g., burnished orange), with supporting earth tones and a cool accent (slate plate, blue linen) for balance. If you need help choosing harmonies, try the Adobe Color wheel to generate complementary or split-complementary sets.
Inside Lightroom, keep global temperature warm but not orange; use Point Color or HSL to selectively deepen reds and oranges while protecting skin-tone-like browns. For finishing touches, the Color Grading wheels are perfect for adding a whisper of amber to highlights and a cocoa tint to shadows.
Cozy Styling That Sells the Mood
- Textures: Rough wood, linen, parchment, stoneware. Stack them to create depth (board → cloth → plate → garnish).
- Steam & shine: Photograph hot dishes immediately; a small backlight reveals steam and makes glazes look glossy.
- Story props: Whole spices, cutlery with patina, a folded napkin. Keep props tonal, not loud.
Field note: On a chocolate-pear tart, I used a matte stone plate so the tart’s sheen stayed the hero, then applied AI-Optimized Cake Photoshoot Lightroom Presets to refine contrast without crushing crumb detail.

Street-Market Autumn: Bold, Real, Appetizing
Cooler air and night markets = dramatic food stories. Look for tungsten strings or neon spill for colorful rim light around skewers, soups, and grills. Balance mixed color by warming highlights and using a gentle Luminance Range mask to lift smoky midtones. For fast, tasty color, use AI-Optimized Street Food Photography Lightroom Presets.

Step-by-Step: A Warm Autumn Edit in Lightroom
- White balance: Use a neutral prop (parchment/plate) as a picker, then warm slightly with Temp + Tint for cozy tones.
- Exposure & contrast: Raise Exposure to a clean midtone; add Contrast sparingly. Use the Tone Curve for a subtle matte lift in shadows.
- Selective warmth: Add a Linear Gradient from the light source; warm highlights a touch and reduce Dehaze to mimic bloom.
- Texture & clarity: Add Texture for crusts; keep Clarity moderate to avoid plastic glazes.
- HSL/Point Color: Nudge Oranges toward pumpkin; tame oversaturated reds. Protect browns so food stays appetizing.
- Color Grading: Amber in Highlights (+5–10 Sat), cocoa in Shadows (+3–6 Sat). Keep Midtones neutral for natural skin-tone browns.
- Masking polish: Brush a tiny Exposure/Highlights lift on sauces; add a Color Range mask to perk up cranberries or pomegranate arils.
Want consistent, repeatable results across a whole set? Start with a one-click baseline from Food Photography Presets for Lightroom, then fine-tune with masks. For more on selective edits, see Luminance Range masking.
Presets vs. Manual Editing (What to Use When)
- Presets are best for speed and consistency—batching a series (e.g., an entire pie story) so every frame matches. Try Vibrant Food Presets for poppy seasonal color.
- Manual shines for local nuance—lifting a syrup glaze, cooling an over-orange wood board, or isolating steam highlights with a brush.
- Hybrid wins for client work: one click from a preset set, then targeted masks. All edits remain non-destructive in Lightroom Classic’s Develop module (see Adobe’s overview of the Develop module).
Quick Pro Tips
- Garnish last: Add moisture (glaze/oil) and leaf herbs right before shooting; they wilt fast under warm light.
- Warm highlights, neutral mids: Keep midtones true to food; push warmth only in highlights for a natural glow.
- Edge control: Use a subtle vignette or Radial Gradient to keep eyes on the hero bite.
- Test card: Shoot a grey card frame at each setup; it speeds perfect WB across a set.
Try This Today
Set a small scene—pumpkin soup with toasted seeds on stoneware. Shoot by a window, flag one side for shape, then batch-edit with Food Photography Presets for Lightroom. For dessert work, keep AI-Optimized Cake Photoshoot Presets handy to protect delicate textures. Prefer to explore a range? Browse the wider Lightroom Presets for Mobile & Desktop collection—and remember, you can Buy 3, Get 9 FREE.
Related Reading
- Autumn & Fall Photo Editing Tips: Cinematic Lightroom Presets Guide
- The Best Presets for Golden Hour & Blue Hour Shots
- Quick Lightroom Hacks: 5-Minute Edits for Creators
- How to Install Lightroom Presets in a Quick and Easy Way
- Mastering Lightroom Mobile Presets: Adapting to Any Lighting
- Street Photography in Fall: Grit, Texture & Storytelling
FAQs
What’s the fastest way to get a warm autumn look without over-saturating food?
Start with a preset tuned for food (e.g., Vibrant Food Presets), then reduce global saturation slightly and deepen oranges via HSL/Point Color. Add warmth only to highlights with a mask.
How do I keep browns appetizing instead of muddy?
Balance warmth with contrast: raise midtone contrast via the Tone Curve and add a small clarity boost to crusts or crumb. Keep shadow color near neutral; push cocoa tones into shadows via Color Grading sparingly.
My kitchen is dim. Can I still get the look?
Yes—use a single diffused light angled like a window and a white card as fill. Add a Linear Gradient in Lightroom to simulate sun direction, then finish with a warm highlight grade.
Are presets non-destructive?
Yes. Lightroom stores edits as instructions—you can revert or tweak any step. For details, see Adobe’s overview of the Develop module.
Where can I get help installing presets?
Follow our step-by-step guide: How to Install Lightroom Presets or check the FAQ page.
Written by Asanka — creator of AAAPresets (10,000+ customers).
Leave a comment
This site is protected by hCaptcha and the hCaptcha Privacy Policy and Terms of Service apply.