
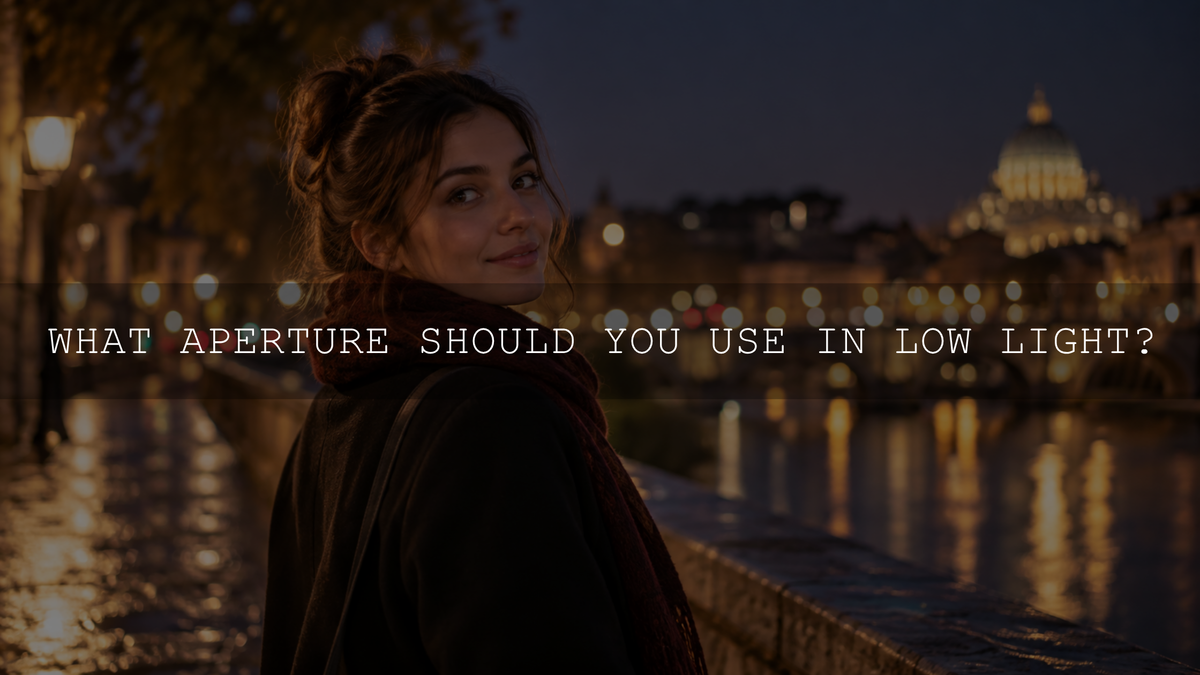
For handheld low-light photography, f/1.8 to f/2.8 is often a practical starting range when your lens allows it. A wider aperture lets more light through the lens, which can help you maintain a faster shutter speed or use a lower ISO. However, the best aperture is not automatically the widest setting available. You still need enough depth of field to keep the important parts of your subject acceptably sharp.
A single person in a dim restaurant may work well around f/1.8 or f/2, while a small group may need f/2.8, f/4 or narrower. A stationary night cityscape photographed from a tripod may not need a wide aperture at all because you can use a longer exposure instead.
The useful question is therefore not simply, “What is the widest aperture my lens has?” It is, “What is the widest aperture that still gives me the depth of field this photograph needs?” If you want the broader exposure context first, see how aperture, shutter speed and ISO work together.
Best Aperture for Low-Light Photography by Situation
Use these ranges as starting points rather than fixed rules. Available light, focal length, focusing distance, subject movement, camera format and your creative intention can all change the aperture you need.
- Single person indoors or at night: Try around f/1.4 to f/2.8 when you want to gather more light and shallow depth of field is acceptable.
- Couple or small group: Around f/2.8 to f/4 can provide more depth-of-field margin, especially when people are not perfectly aligned at the same distance.
- Night street photography: Around f/1.8 to f/2.8 is useful for moving people or handheld work. You can stop down when the scene is brighter or the subject is stationary.
- Concerts and events: Fast apertures such as f/1.8 or f/2.8 can help preserve the shutter speed needed for moving performers, although depth of field still matters.
- Night cityscape on a tripod: Apertures around f/5.6 to f/11 may be more appropriate when depth of field matters because the tripod allows a longer exposure.
- Astrophotography and stars: A wide setting such as f/1.4 to f/2.8 is often useful, but check whether your lens produces acceptable star shapes, sharpness and vignetting near its maximum aperture.
These values are not exposure recipes. Two locations that both appear dark to your eyes can have very different amounts of usable light, and two subjects can require completely different shutter speeds.
Why a Wide Aperture Helps in Low Light
Aperture is the adjustable opening inside the lens. A lower f-number represents a wider opening, so f/1.8 is wider than f/4.
A common full-stop aperture sequence is:
f/1.4 → f/2 → f/2.8 → f/4 → f/5.6 → f/8 → f/11
Moving one full stop toward a wider aperture approximately doubles the amount of light passing through the lens. Moving one full stop toward a narrower aperture approximately halves it.
For example, moving from f/2.8 to f/1.4 is a two-stop change, so approximately four times as much light can pass through the lens at the same shutter speed. That additional exposure could allow a shutter speed two stops faster, an ISO setting two stops lower, or a combination of both.
This is why lenses with wide maximum apertures are commonly described as fast lenses. Nikon's low-light photography guidance likewise explains that a wide maximum aperture can help photographers work with faster shutter speeds in dim conditions.
Why You Should Not Automatically Shoot Wide Open
Opening the aperture solves one low-light problem but can create another: reduced depth of field.
Suppose you photograph a person close to the camera at f/1.4. You may get enough light for the shutter speed you want, but the zone of acceptable sharpness can become shallow. If the face is angled relative to the camera, important facial features may not all fall within that zone.
The same issue becomes more important with couples and groups. Two people who appear side by side may actually be different distances from the camera. An aperture that works for one face may leave another visibly soft.
Depth of field also depends on focal length, focusing distance, framing and how the final photograph is viewed. Camera format can affect the result indirectly when you change focal length or shooting distance to produce equivalent framing. There is therefore no f-number that guarantees a particular amount of sharpness for every photograph.
Lens Performance Can Also Change Wide Open
The widest aperture is not necessarily the setting at which every lens delivers its strongest optical performance. Depending on the lens, wide-open photographs may show more corner softness, vignetting, chromatic aberration or other optical characteristics.
That does not mean you should avoid the maximum aperture. In genuine low light, gaining enough light to preserve the required shutter speed can be considerably more important than small improvements in technical sharpness. The point is simply to choose the aperture because it solves the photograph in front of you, not because the lowest f-number is automatically superior.
Best Aperture for Low-Light Portraits
For a single-person low-light portrait, around f/1.8 to f/2.8 is a useful place to begin.
Move toward f/1.4 or another wider aperture when light is extremely limited and shallow depth of field suits the portrait. Move toward f/2.8 or f/4 when you need more of the face or body to remain within the depth of field.
Focus accuracy becomes particularly important at close distances. Do not accept an out-of-focus eye simply because the background looks attractive.
If available light remains insufficient after selecting the aperture that gives you the depth of field you need, increasing ISO may be preferable to allowing the shutter speed to become so slow that the person's movement creates blur.
Best Aperture for People and Groups in Low Light
Photographing several people changes the priority. The widest aperture that works for one person may be too shallow for a group.
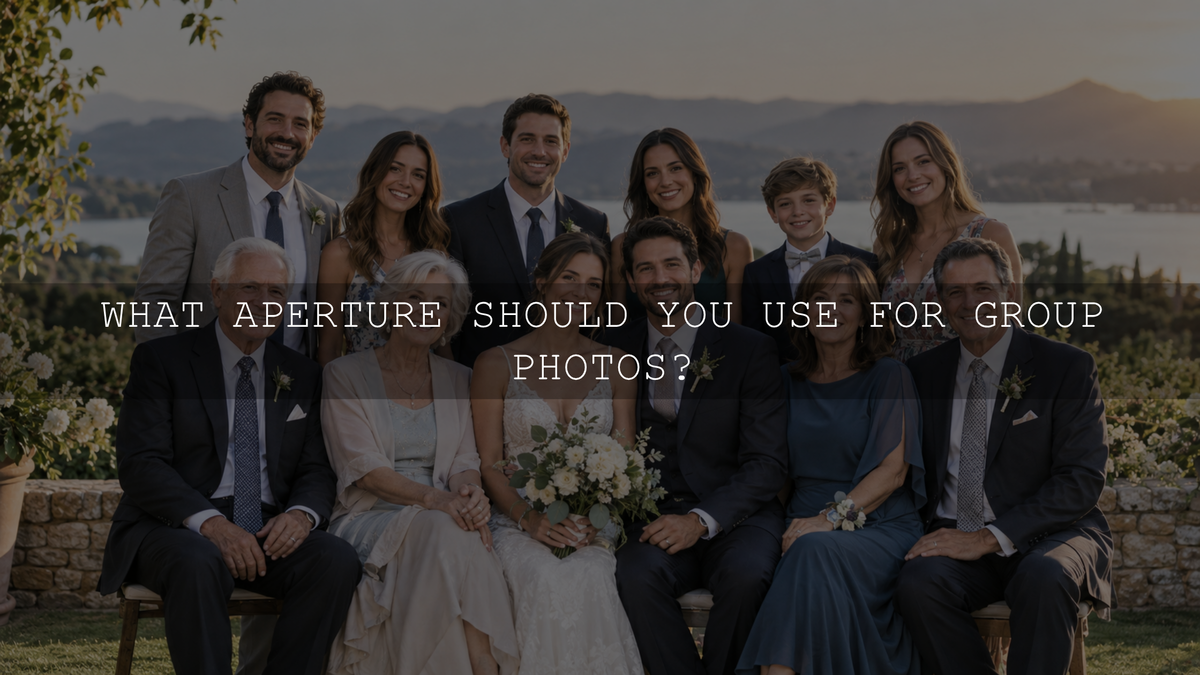
If two or three people are positioned at roughly the same distance from the camera, around f/2.8 to f/4 may provide a useful starting point. If the group has greater front-to-back depth, you may need f/4, f/5.6 or a smaller aperture.
Instead of choosing the aperture according to the number of people alone, look at their physical arrangement. A single row requires less depth of field than several staggered rows.
When stopping down reduces the light reaching the camera, you may need additional ambient light, flash when appropriate, or a higher ISO to prevent the shutter speed from falling too far.
Best Aperture for Night Street Photography
Night street photography often combines limited light with subject movement, so a relatively wide aperture is especially useful.
Around f/1.8 to f/2.8 can be a practical starting range for pedestrians, candid portraits and other moving subjects. If you are photographing a stationary building, parked vehicle or quiet street, you may have more freedom to use f/4 or another smaller aperture and reduce the shutter speed.
This distinction matters because a setting that is safe for the photographer's hands may still be too slow for the subject. Image stabilization can reduce blur caused by camera movement, but it cannot freeze a person walking through the frame.
Best Aperture for Night Landscapes and Cityscapes
A tripod changes the low-light aperture decision because the camera no longer needs a wide aperture simply to maintain a handholdable shutter speed.
For a stationary cityscape or landscape, you can choose the aperture primarily according to depth of field and image quality, then let the exposure remain open longer when the scene allows it.
Something around f/5.6 to f/11 may therefore be more useful than f/1.8 when foreground and distant details both need to appear acceptably sharp.
This also shows why the common advice to avoid f/4 or f/8 in low light is misleading. Those apertures are entirely usable when subject movement and camera stability allow a longer exposure.
Best Aperture for Astrophotography
Stars are different from stationary buildings because the apparent movement of the night sky limits how long an exposure can remain open before stars begin to record as trails.
That makes wide-aperture lenses particularly useful. Around f/1.4 to f/2.8 can provide a practical starting range depending on the lens, focal length, sky conditions and composition.
However, test your particular lens instead of assuming its maximum aperture is automatically best. Some lenses render stars near the corners better when stopped down slightly. A small loss of light may be worthwhile when it produces cleaner star shapes or more consistent sharpness across the frame.
Is f/2.8 Good Enough for Low-Light Photography?
Yes. f/2.8 is a useful low-light aperture for many situations.
Compared with f/4, f/2.8 provides approximately one additional stop of exposure through the aperture. That means you could roughly double the shutter speed while maintaining similar image brightness, or use an ISO setting one stop lower.
An f/2.8 zoom can therefore be useful for events, street photography, indoor work and other situations where changing focal length quickly matters.
However, f/2.8 is not automatically enough for every dark location. If the subject is moving quickly in very limited light, you may still need a higher ISO, additional lighting or a lens with an even wider maximum aperture.
Do You Need an f/1.4 Lens?
No. An f/1.4 maximum aperture gives you additional light-gathering flexibility compared with f/1.8, f/2 or f/2.8, but maximum aperture is only one part of choosing a lens.
An f/1.8 prime can still provide strong low-light capability and may offer a useful balance of size, cost and depth of field. An f/2.8 zoom gives up some light compared with faster primes but offers focal-length flexibility that can be more valuable during events or fast-moving situations.
Choose a lens around the photographs you actually make rather than buying the lowest available f-number solely for low-light performance.
How Aperture, Shutter Speed and ISO Should Work Together
In low light, begin with the requirement that matters most.
- Decide how much depth of field you need. Choose an aperture wide enough to gather useful light but not so wide that important parts of the subject become unintentionally soft.
- Protect the shutter speed required by the subject. Moving people, performers, animals and vehicles generally need shorter exposure times than stationary scenes.
- Raise ISO when necessary. Do not force ISO to remain extremely low if doing so requires a shutter speed that creates unwanted motion blur.
- Use stabilization when it actually helps. Lens or in-body stabilization can help control camera movement during slower exposures, but it does not stop subject motion.
- Review the photograph. Check focus, motion blur, important highlights, shadow detail and overall brightness rather than judging the result only from the exposure meter.
For a deeper explanation of these controls, see the AAAPresets guide to exposure in photography.
Should You Raise ISO or Slow the Shutter?
The subject usually determines the answer.
If a person is moving and your shutter is already near the slowest speed that records them sharply, raise ISO rather than slowing the shutter further. Some visible noise can often be reduced during editing, while strong subject-motion blur cannot simply be corrected by adding sharpening.
If the subject is completely stationary and the camera is securely supported, a longer exposure can let you capture more light without increasing ISO.
This is also why there is no universal low-light ISO setting. The useful ISO is the one that allows the aperture and shutter speed your photograph requires.
How Low-Light Exposure Affects Editing
Low-light editing starts with the information captured in-camera. If too little light is recorded and dark areas need substantial brightening later, noise and color irregularities can become more visible.
A wide aperture can help by allowing more scene light through the lens, but it should not be used at the expense of necessary depth of field. The better approach is to balance aperture, shutter speed, available lighting and ISO while capturing the image.
If noise becomes a problem afterward, see the AAAPresets guide to reducing noise in low-light photo edits.
Sensor format can also affect low-light trade-offs when equivalent framing and comparable camera generations are considered, although the lens, exposure and individual camera still matter. The guide to full-frame and APS-C cameras explains those differences in more detail.
Common Low-Light Aperture Mistakes
Automatically Choosing the Widest Aperture
More light is useful, but insufficient depth of field can leave an important part of the subject soft. Stop down when the photograph needs additional depth.
Trying to Keep ISO at Its Minimum
A very low ISO does not help if the shutter becomes too slow for a moving subject. Protect the shutter speed the photograph requires and raise ISO when necessary.
Assuming Image Stabilization Freezes People
Stabilization addresses camera movement. A moving person can still blur during a long exposure even when the camera itself remains stable.
Avoiding f/4 or Smaller Apertures Simply Because It Is Dark
If the camera is on a tripod, the subject is stationary or the available artificial light is sufficient, smaller apertures can work well in low light.
Buying a Faster Lens Without Considering Depth of Field
An f/1.4 lens provides additional light-gathering flexibility, but it does not eliminate the need to focus accurately or choose sufficient depth of field.
A Simple Low-Light Aperture Workflow
When you enter a dark location, use this sequence instead of memorizing one universal f-stop:
- Look at how much of the subject must remain sharp.
- Choose the widest aperture that still provides the depth of field the photograph requires.
- Set a shutter speed appropriate for subject movement, focal length and camera stability.
- Increase ISO if the available light cannot support those two settings.
- Take a photograph and check actual focus and motion blur at a useful magnification.
- Adjust the setting responsible for the problem rather than changing everything at once.
For a single person in dim available light, that process may lead you to f/1.8. For three people at different distances, it may lead to f/4 and a higher ISO. For a night landscape on a tripod, it could lead to f/8 and an exposure lasting several seconds.
For handheld or motion-sensitive low-light photography, a useful rule is to use the widest aperture that still gives you the depth of field the photograph requires. Use the additional light to protect shutter speed when movement matters. For stationary scenes photographed from stable support, choose the aperture for the depth of field and image quality you need, then allow a longer exposure when appropriate.
Written by Asanka, creator of AAAPresets.

Leave a comment
This site is protected by hCaptcha and the hCaptcha Privacy Policy and Terms of Service apply.