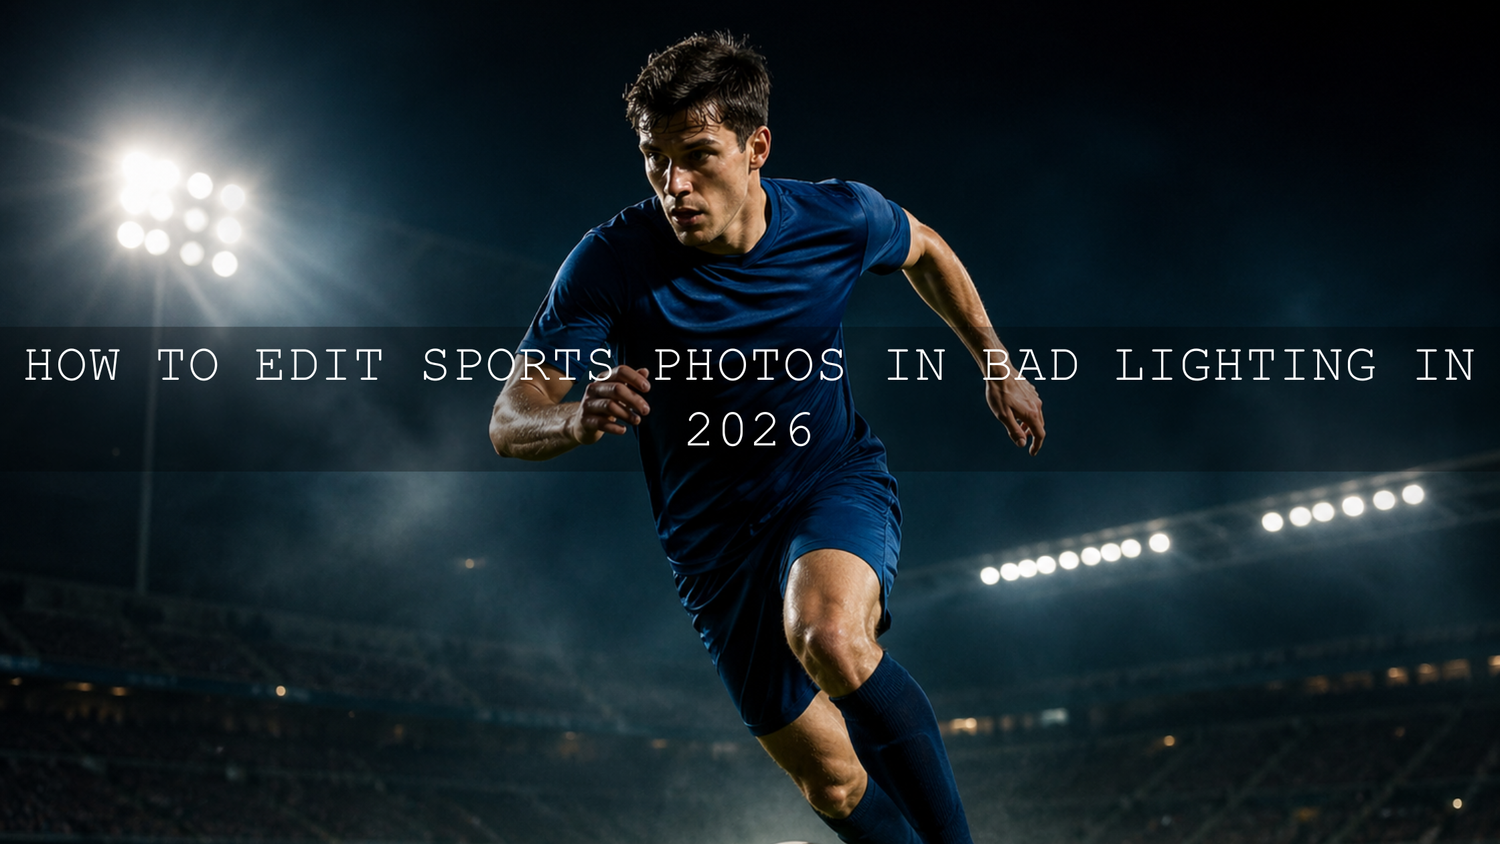
How to Edit Sports Photos in Bad Lighting in 2026
Learning how to edit sports photos in bad lighting is one of the most important skills for photographers, videographers, coaches, fitness creators, and social media teams in 2026. Stadium lights, indoor arenas, gyms, night matches, and mixed LED lighting can make even a strong action shot look flat, noisy, yellow, green, or too dark. The good news is that with Lightroom sports presets, careful exposure correction, clean color grading, smart noise reduction, and the right LUT workflow, you can turn difficult sports lighting into sharp, dramatic, professional visuals.
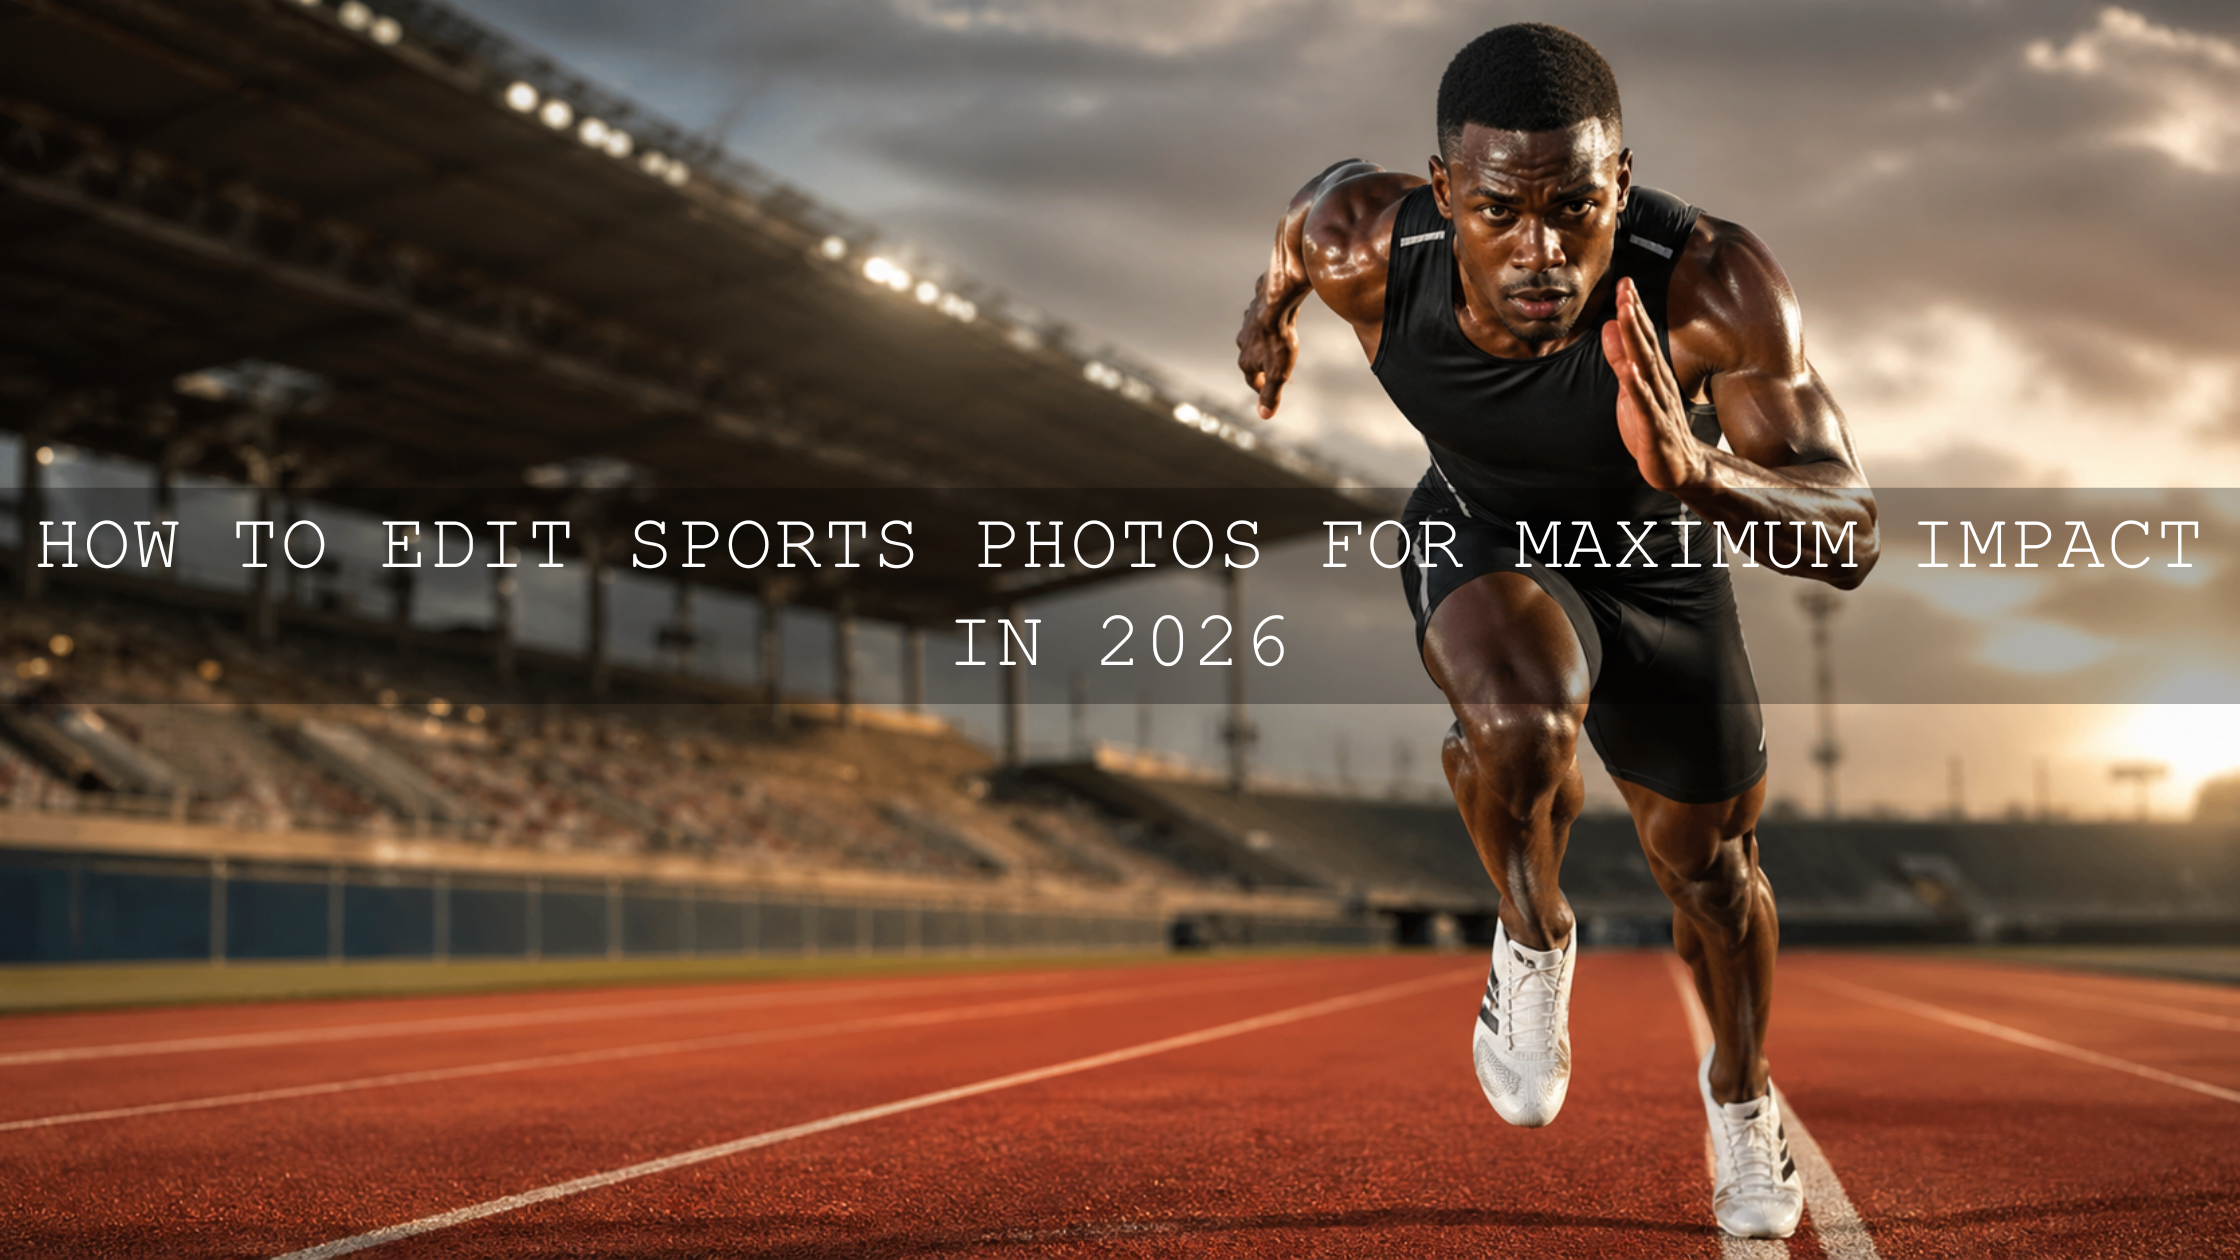
Here’s why this matters: sports images are not only about freezing movement. They are about energy, speed, emotion, and attention. A powerful edit should help the viewer feel the sprint, the tackle, the lift, the jump, the goal, or the final whistle. For a faster editing base, start with AI-Optimized Soccer Sports Lightroom Presets, then browse the Lightroom Presets for Lightroom Mobile and Desktop collection for more flexible sports, fitness, and action editing styles. Try these presets today — Buy 3, Get 9 FREE.
Why Sports Lighting Is So Difficult
Sports venues are exciting to shoot, but they are rarely easy to edit. A football field may have bright floodlights above the players and deep shadows near the corners. A gym may have greenish fluorescent light, shiny equipment, black walls, and harsh overhead lamps. An indoor court may mix warm ceiling lights with cooler daylight coming from windows. These conditions create problems that basic one-click edits cannot always solve perfectly.
The most common sports lighting problems include:
- High contrast: Bright jerseys, helmets, or stadium lights can blow out while faces fall into shadow.
- Color casts: Artificial lights can make skin look yellow, green, orange, or dull.
- High ISO noise: Low-light action often requires higher ISO, which adds grain and color speckles.
- Motion blur: Slower shutter speeds may brighten the image but can soften fast movement.
- Flat atmosphere: Some raw files look technically usable but lack energy, separation, and drama.
I have tested sports-style edits on fast-moving soccer, gym, and training images where the original file looked too dark or uneven. The biggest lesson is simple: do not try to fix everything with one slider. Build the edit in layers: exposure first, white balance second, subject separation third, color grading last.
Start With a Clean Base Before Applying Presets
Before you apply a sports preset or LUT, make the image technically balanced. Presets work best when the photo already has a reasonable exposure and white balance. If the raw file is very underexposed, too warm, or too green, the preset may exaggerate the problem instead of fixing it.
Use this simple base correction workflow:
- Check the histogram: Make sure highlights are not heavily clipped and shadows are not completely crushed.
- Adjust exposure: Lift the photo gently if it is too dark, but avoid making the background look washed out.
- Recover highlights: Pull back bright jerseys, lights, reflective floors, and shiny equipment.
- Open shadows carefully: Bring back face and uniform detail without making the image noisy.
- Correct white balance: Remove strong yellow, green, or blue casts before styling the image.
After that, you can apply a preset as a creative starting point. For sports photos with grass, uniforms, and stadium light, AI-Optimized Soccer Sports Lightroom Presets are useful because they are built around action, green field tones, jersey contrast, and clean sports energy.

Use Local Adjustments to Guide the Viewer’s Eye
Global edits affect the entire image, but sports photos often need selective control. The player’s face may be dark while the background is bright. A white jersey may be too strong while the subject’s eyes are hidden. A gym photo may need more shape on the athlete without brightening the whole room.
This is where masks become powerful. Adobe’s Lightroom masking guide for local adjustments explains how tools like Select Subject, Brush, Linear Gradient, Radial Gradient, Color Range, and Luminance Range can help target specific parts of a photo. For sports editing, use these tools to shape attention instead of simply making the whole photo brighter.
Best Masking Moves for Sports Photos
- Select Subject: Slightly lift exposure, texture, and clarity on the athlete while keeping the background controlled.
- Radial Gradient: Add subtle brightness around the main player to create a natural spotlight effect.
- Linear Gradient: Darken empty sky, arena ceilings, or distracting sidelines.
- Color Range: Target team jerseys, grass, court colors, or distracting neon lights.
- Luminance Range: Control only the brightest stadium lights or only the deepest shadow areas.
Pro tip: Do not over-brighten faces in sports photos. Keep some shadow because shadow adds intensity. The goal is readable emotion, not a flat portrait look.
Fix Noise Without Destroying Detail
Bad lighting usually means higher ISO. Higher ISO usually means more noise. The challenge is to reduce grain while keeping jerseys, hair, grass, equipment, and facial details sharp. If you push noise reduction too far, the athlete can look soft or waxy.
Adobe’s Lightroom image enhancement and Denoise guide is useful for understanding how AI-powered Denoise can reduce noise while preserving detail in low-light and high-ISO images. For sports photos, this matters because detail is part of the energy. A clean image is good, but a clean image with no texture can feel fake.
Use this order:
- Apply basic exposure and white balance corrections first.
- Use Denoise or manual noise reduction before heavy sharpening.
- Zoom to 100% and check skin, jersey edges, and background shadows.
- Add sharpening after noise reduction, not before.
- Use masking in the Detail panel so sharpening mostly affects strong edges.
Pro tip: For night sports, leave a little natural grain if it helps the photo feel real. A perfectly smooth image can lose the grit and atmosphere of the match.
Correct Color Casts From Stadium and Gym Lights
Color correction is one of the biggest differences between an amateur sports edit and a professional one. Under mixed lighting, automatic white balance can struggle. Skin may look too orange, grass may look neon, white uniforms may look yellow, and black jerseys may shift green.
Start with white balance, then refine with HSL. Do not jump straight into heavy color grading. A cinematic look only works when the core colors are believable.
Simple Sports Color Correction Workflow
- Neutralize skin: Adjust Temperature and Tint until skin looks natural for the venue.
- Control greens: Reduce over-saturated grass or court reflections if they distract from the athlete.
- Protect team colors: Use HSL to improve jersey color without changing skin tones too much.
- Balance shadows: Remove ugly green or purple shadow casts from artificial lighting.
- Add final mood: Only after correction, apply a subtle warm highlight or cool shadow tone.
For soccer and football photos, grass can easily become too bright. Instead of increasing global saturation, adjust greens and yellows separately. This keeps the field alive without making the entire image look artificial.
Presets vs Manual Editing for Sports Photos
Both presets and manual editing have a place in sports photography. The smartest workflow is not choosing one over the other. It is using both correctly.
Manual Editing
Manual editing gives you full control. It is best for difficult hero shots, paid client images, editorial photos, and images with unusual lighting. You can control every detail: exposure, mask placement, color cast, noise, sharpness, and skin tone.
Presets
Presets save time and help create consistency across a full gallery. They are especially useful when editing a full match, a gym campaign, a school sports event, or a social media content batch. A good preset gives you a strong base, then you fine-tune exposure and white balance for each image.
For example, if you are editing a full soccer match, you might apply AI-Optimized Soccer Sports Lightroom Presets to the full set, then manually adjust the darkest sideline shots, brightest goal celebrations, and close-up portraits. If you want to learn more about building custom looks from multiple edits, read how to stack Lightroom presets for unique results.
Editing Soccer Photos Under Stadium Lights
Soccer is one of the best examples of difficult sports lighting. You may shoot one player under direct light while another is running into shadow. White lines, reflective boots, bright jerseys, and green grass all compete for attention.
For soccer edits, focus on three priorities:
- Subject clarity: Keep the player sharp and separated from the field.
- Natural greens: Make grass rich but not neon.
- Jersey impact: Make team colors pop without damaging skin tones.
The AI-Optimized Soccer Sports Lightroom Presets are designed for match photos, training sessions, stadium shots, and football content. Use them as a clean starting point, then fine-tune highlights, shadows, and white balance based on each scene.
Pro tip: If a player’s face is in shadow but the jersey is bright, do not lift exposure globally. Use a subject mask or brush to brighten the face slightly, then pull down highlights on the jersey.
Color Grading Sports Videos With LUTs
Sports video editing has a similar challenge: you need energy, speed, and consistency across clips. A highlight reel may include daytime footage, sunset footage, low-light stadium footage, and close-up player shots. LUTs can help create a consistent style, but they should be used after basic correction.
Adobe’s guide to adding LUTs in Premiere explains how LUTs can be used in the Lumetri Color panel as a starting point for color grading. For sports videos, correct exposure and white balance first, then apply the LUT, then adjust intensity, contrast, and saturation.
For football reels, training videos, and match highlights, the Soccer Sports LUTs Pack is a strong choice because it is made for field color, stadium light, jerseys, and high-energy sports footage.

Best LUT Workflow for Sports Highlights
- Choose one well-exposed clip as your reference.
- Correct white balance before applying the LUT.
- Apply the LUT at a lower intensity first.
- Increase contrast only if shadows still hold detail.
- Match the rest of the clips to your reference shot.
- Export with settings that protect motion detail and sharpness.
For more video workflow ideas, read the 2026 guide to POV, sports, and adventure LUTs and the guide to the best LUTs for iPhone, Android, TikTok, and Reels.
Editing Gym and Fitness Photos in Harsh Indoor Lighting
Gym photography has a different visual language from outdoor sports. It often needs stronger contrast, deeper shadows, sharper texture, and controlled highlights. But gym lighting can be messy: overhead LEDs, colored strips, mirrors, dark corners, and reflective machines can all create problems.
For gym edits, do not make everything bright. A good fitness photo often needs shadow. Shadow helps show form, muscle definition, and effort. The goal is controlled drama, not flat brightness.
The Fitness Workout Lightroom Presets are useful for workout photos, personal trainer content, gym campaigns, and athletic portraits. They help create a stronger fitness look while keeping the image clean and professional.

For a bold, high-contrast training style, the Gym Fitness Lightroom Presets can help create sharper definition, cleaner highlights, and a stronger athletic mood.

Gym Editing Tips That Work
- Reduce orange skin carefully: Lower orange saturation slightly if skin looks too intense.
- Protect highlights: Sweat, mirrors, and metal equipment can blow out quickly.
- Add texture selectively: Texture works well on clothing and equipment, but too much can make skin rough.
- Darken distractions: Use masks to reduce attention on cluttered backgrounds.
- Keep blacks rich: Deep blacks can make fitness images feel premium, but do not crush all detail.
Step-by-Step Sports Photo Editing Workflow
Let’s break it down into a simple editing process you can repeat for soccer, basketball, gym, athletics, school sports, fitness shoots, and event coverage.
- Choose the strongest frame: Look for emotion, body position, ball contact, speed, or tension.
- Crop for impact: Remove empty space unless it adds direction or story.
- Correct exposure: Balance the subject first, not the background.
- Set white balance: Fix yellow, green, or blue lighting before adding style.
- Recover highlights: Protect jerseys, lights, helmets, sweat, and reflective surfaces.
- Open shadows selectively: Use masks for faces and important details.
- Apply preset: Use a sports or fitness preset as a creative base.
- Fine-tune HSL: Control grass, jerseys, skin tones, and background colors.
- Reduce noise: Clean high-ISO grain while preserving detail.
- Sharpen edges: Focus on jerseys, equipment, eyes, and player outlines.
- Add final contrast: Use a gentle S-curve or contrast adjustment for punch.
- Export for platform: Prepare different crops for website, Instagram, TikTok, YouTube Shorts, and client galleries.
If you are preparing sports content for Reels, TikTok, or Shorts, also read the export settings guide for Instagram Reels, TikTok, and YouTube Shorts so your final video keeps enough motion detail after upload.
Common Sports Editing Mistakes to Avoid
Sports editing should feel powerful, but it should not feel fake. Many bad sports edits happen because the editor tries to add too much contrast, too much saturation, or too much clarity.
- Do not over-sharpen: It can make grass, noise, and skin look harsh.
- Do not make grass neon: Rich green is good; electric green looks distracting.
- Do not crush shadows completely: Deep shadows are dramatic, but important details should remain visible.
- Do not ignore skin tones: Jerseys can be bold, but skin should still look believable.
- Do not use one preset at full strength for every photo: Adjust each image based on lighting and subject position.
Pro tip: When editing a batch, choose one hero image as your reference. Match the rest of the gallery to that look instead of making each photo a separate style.
Best AAAPresets Tools for Sports and Fitness Creators
If your work includes sports photography, gym content, training videos, team media, or athlete branding, build a small editing toolkit instead of using random looks for every project.
- AI-Optimized Soccer Sports Lightroom Presets for soccer, football, field sports, team photos, and stadium edits.
- Soccer Sports LUTs Pack for match highlights, football reels, training videos, and sports promos.
- Fitness Workout Lightroom Presets for workout photography, gym campaigns, and trainer content.
- Gym Fitness Lightroom Presets for bold, dramatic, high-contrast fitness edits.
For video creators, the Cinematic LUTs Pack for Premiere Pro, DaVinci Resolve, Final Cut Pro, and more gives you more options for different cameras, platforms, and sports video styles.
Related Reading
- 2026 guide to POV, sports, and adventure LUTs
- Best LUTs for iPhone, Android, TikTok, and Reels in 2026
- How to stack Lightroom presets for unique results
- Why AI-powered presets are changing photo editing
Final Thoughts
Bad lighting does not have to ruin a sports photo. In fact, difficult lighting can create some of the most dramatic images if you know how to control it. Start with exposure and white balance. Use masks to shape the subject. Reduce noise without losing texture. Protect skin tones and team colors. Then use sports presets or LUTs to speed up your workflow and keep your visual style consistent.
If you want a faster starting point for match photos, gym content, and sports visuals, try AI-Optimized Soccer Sports Lightroom Presets, Fitness Workout Lightroom Presets, and the Lightroom Presets for Lightroom Mobile and Desktop collection. For sports videos, pair your footage with the Soccer Sports LUTs Pack. Try these tools today — Buy 3, Get 9 FREE.
FAQ
How do I fix dark sports photos in Lightroom?
Start by lifting exposure slightly, reducing highlights, opening shadows carefully, and correcting white balance. Then use masks to brighten the athlete’s face or body without making the whole background too bright.
What is the best way to reduce noise in low-light sports photos?
Correct exposure first, then use Lightroom Denoise or manual noise reduction before sharpening. Zoom to 100% and keep enough texture so the image does not become overly smooth.
Should I use presets for sports photography?
Yes, presets are helpful for creating a consistent sports look across a full gallery. Use them as a starting point, then fine-tune exposure, white balance, shadows, highlights, and skin tones for each image.
How do I make soccer photos look more professional?
Focus on sharp subject detail, natural grass color, controlled highlights, clean jersey contrast, and balanced skin tones. A soccer-focused Lightroom preset can speed up the process while keeping the edit consistent.
Can LUTs be used for sports videos?
Yes, LUTs are useful for sports highlights, training videos, and reels. Correct exposure and white balance first, apply the LUT, then adjust intensity, contrast, saturation, and skin tones for a clean final grade.
Written by Asanka — creator of AAAPresets (10,000+ customers).

Leave a comment
This site is protected by hCaptcha and the hCaptcha Privacy Policy and Terms of Service apply.